7
TESTING THE MOVEMENT OF THE DOOR
Note that the open now and close now functions only operate from sleep mode (blank display) and the button must
be pressed for 5 seconds which helps prevent accidental operation. To test the door operation:
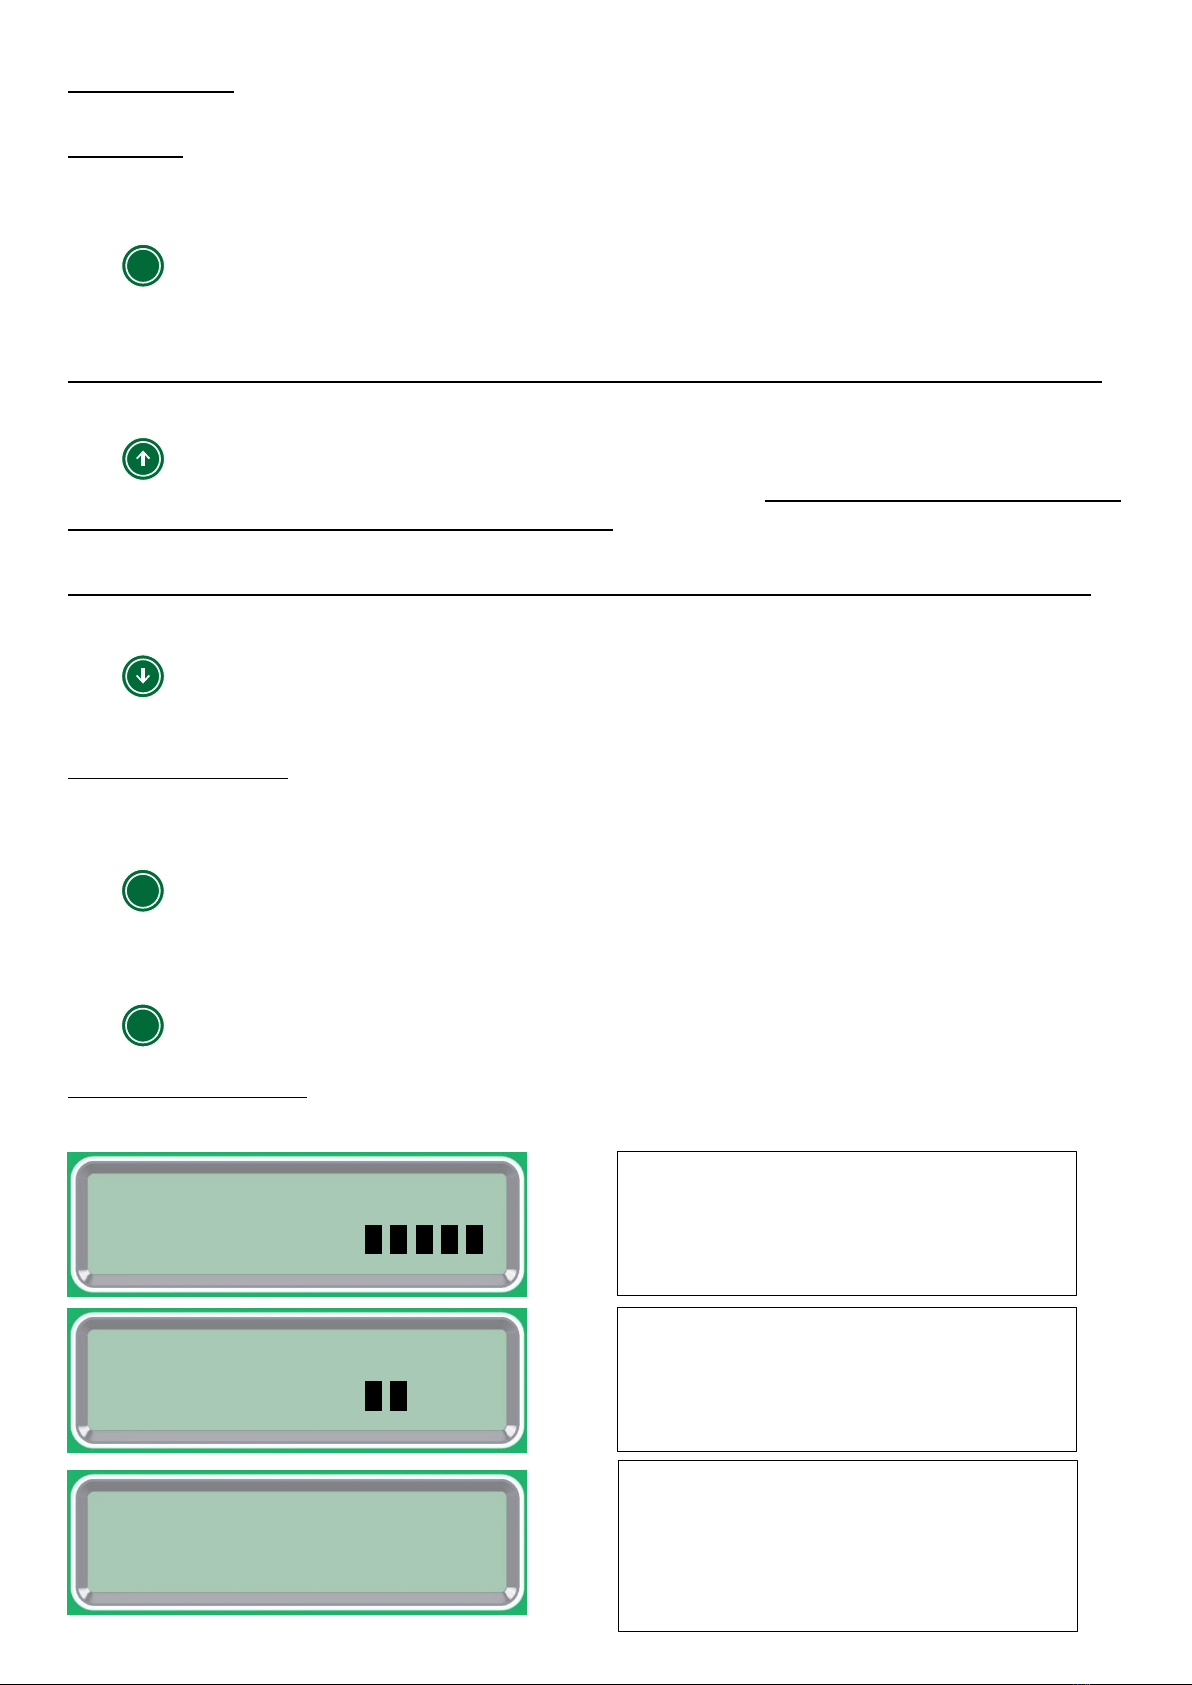
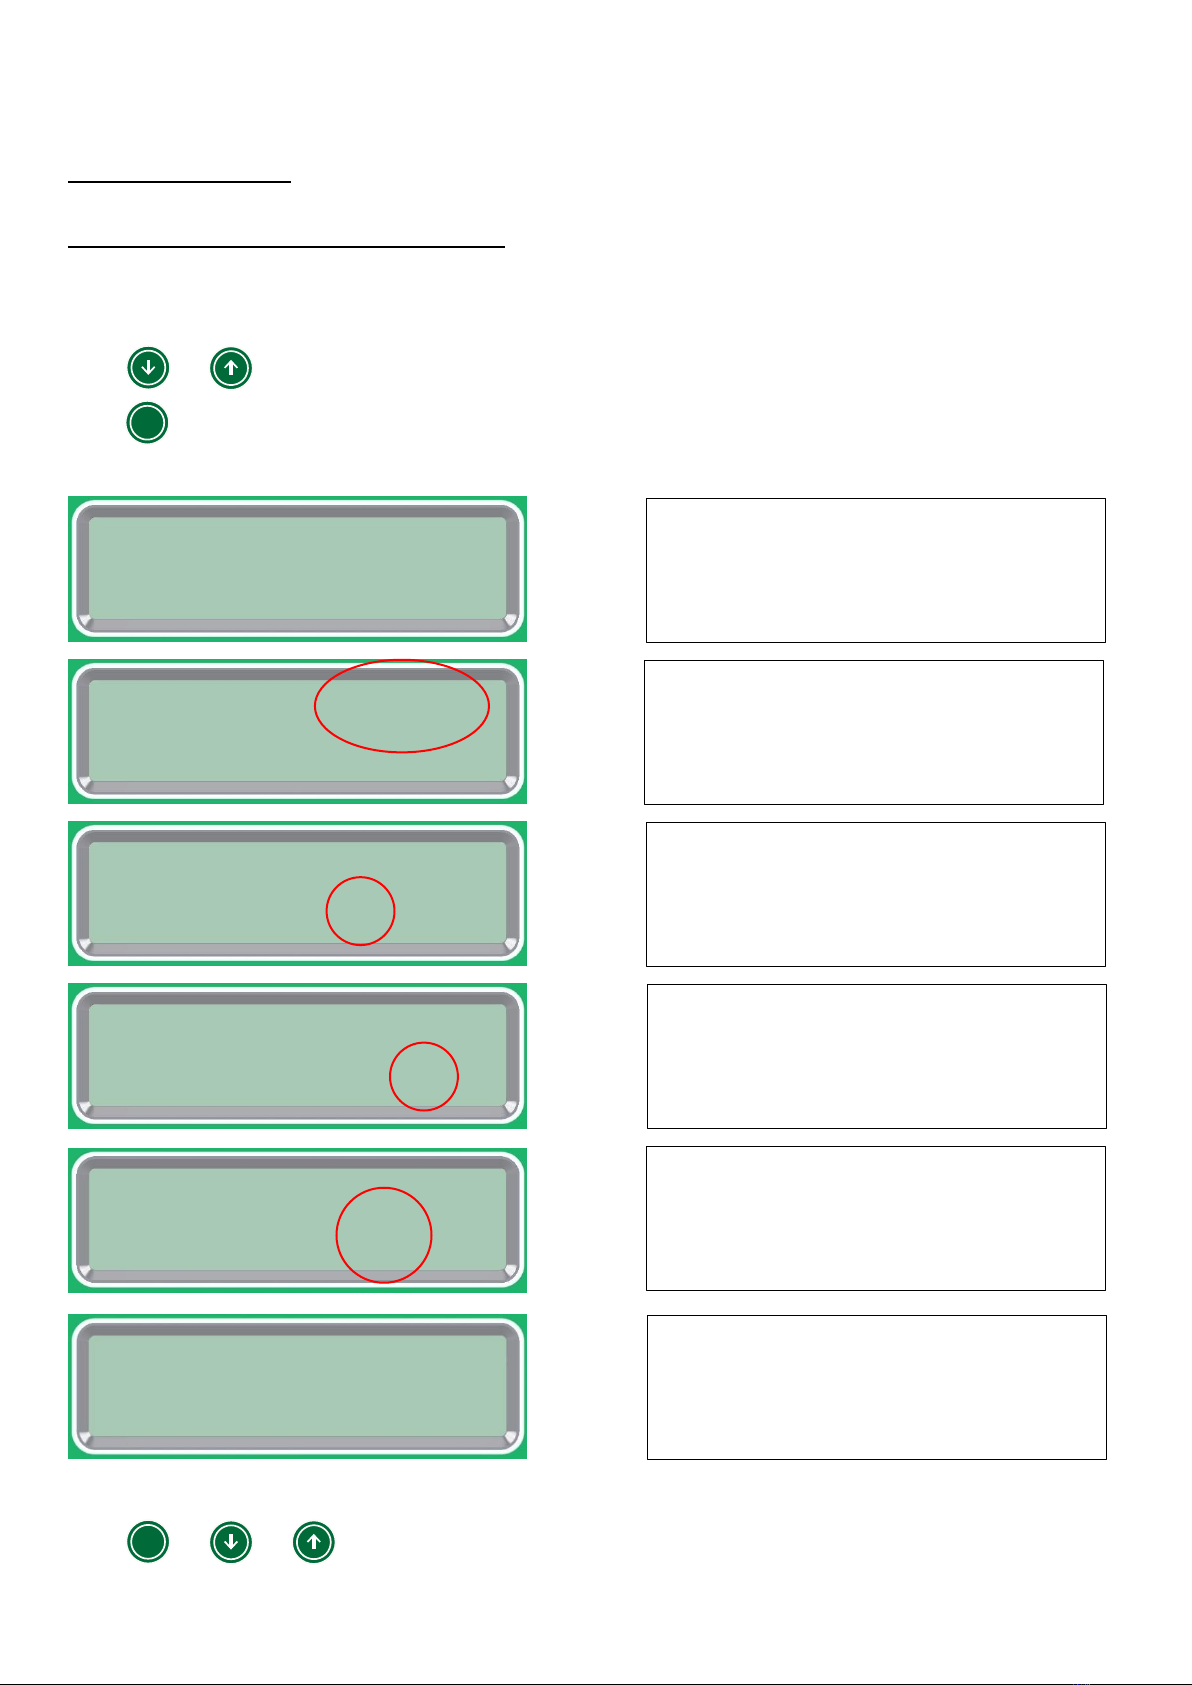
From sleep mode, press and hold for 5 seconds. The door will close. The motor should stop as the door lands
on the flat surface at the bottom of the pop hole. If it stops sooner, the door is getting stuck in its runners.
From sleep mode, press and hold for 5 seconds. The door will open. The motor should stop as the door reaches
its fully open position, where it was held open during installation.
To test the light sensing function:
The main menu settings must still be set as their default values with both open mode and close mode set to light.
Cover the ChickSafe with a dark cloth or box. It must be very dark under the cover. The door will close after
approximately 6 minutes. Remove the cloth or box. The door will open after approximately 6 minutes.
MAIN MENU FUNCTIONS
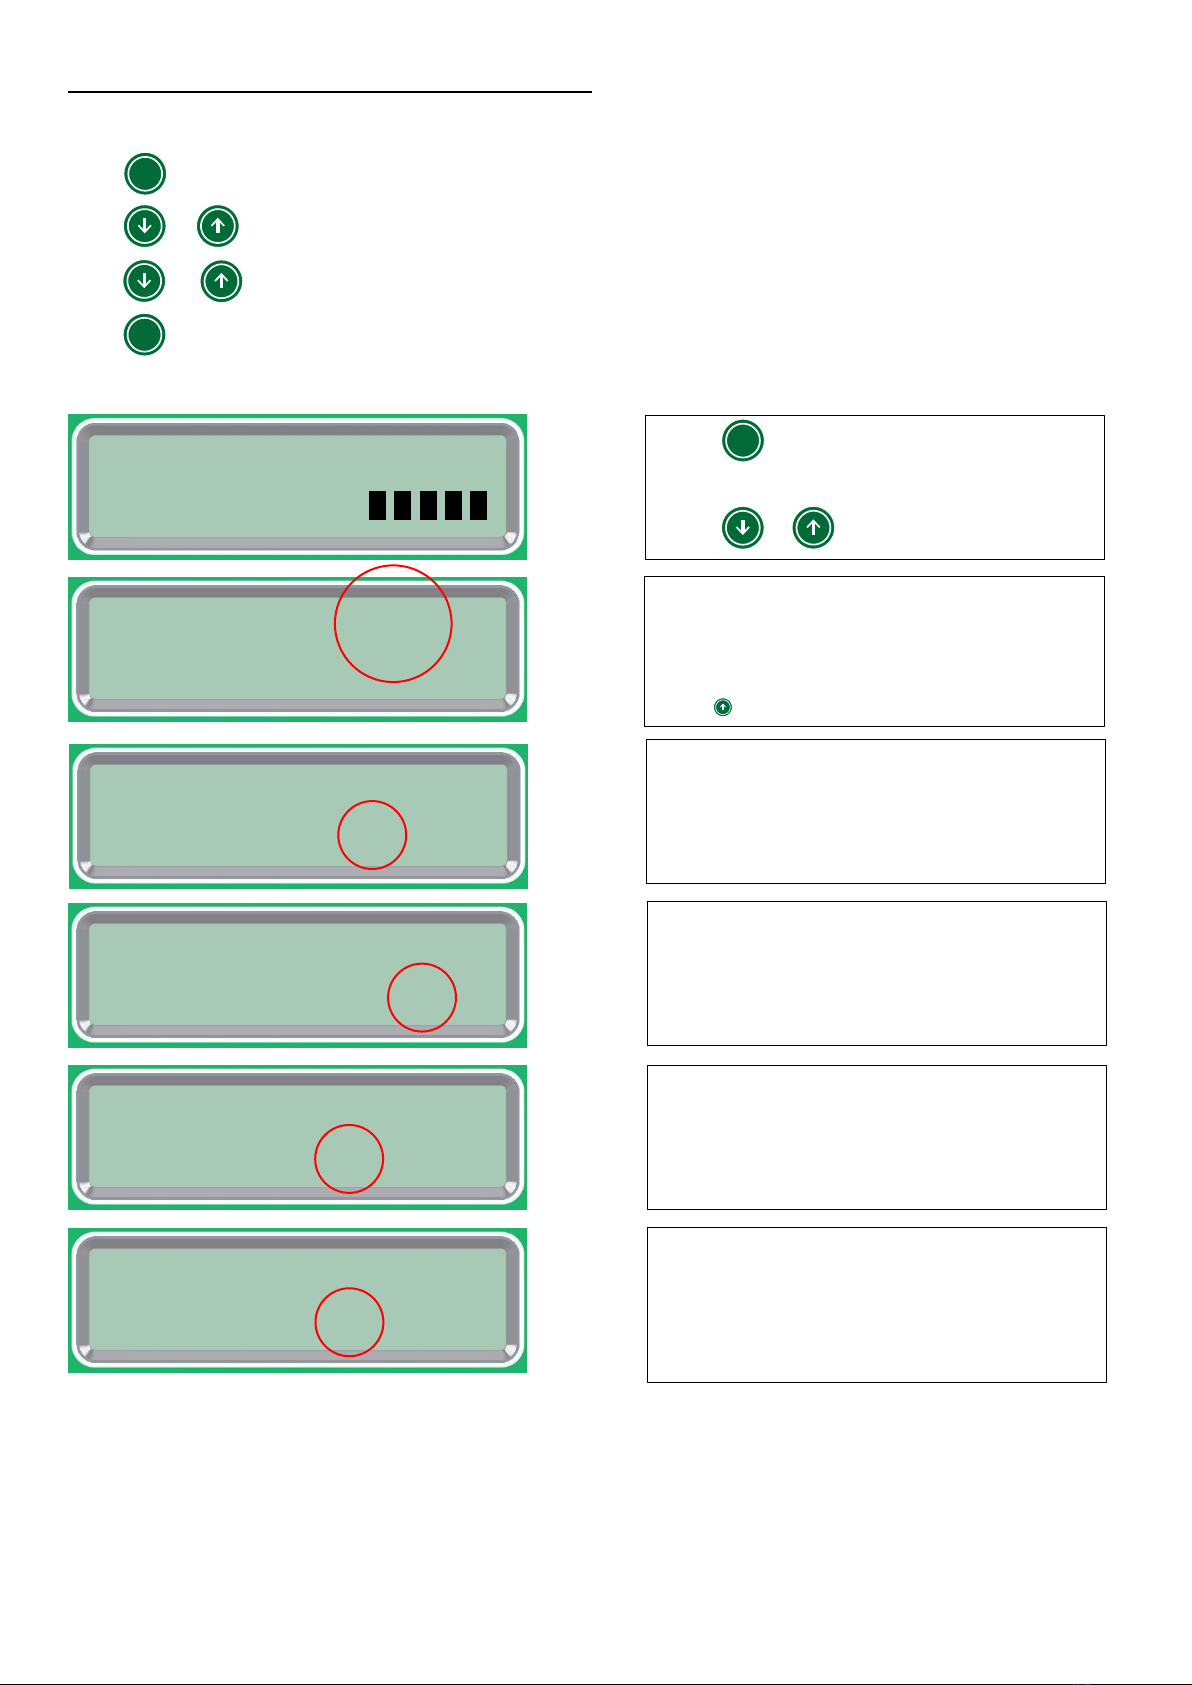
Open Mode:
Select to open the door according to:
Light –the door will open as it gets light.
Time –the door will open at the set time.
Manual –the door will only open when you press
Open Delay:
If open mode is set to light the open delay will open the door 0, 1, 2 or 3 hours after it gets light. This can be useful in
the summer months when it gets light very early. A different delay may be set for the weekend (Saturday and Sunday)
to allow a later opening of the door on those days.
If open mode is set to time the open delay will open the door 0, 1, 2 or 3 hours after the set time. A different delay
may be set for the weekend (Saturday and Sunday) to allow a later opening of the door on those days.
Close Mode:
Select to close the door according to:
Light –the door will close as it gets dark.
Time –the door will close at the set time.
Light + Time –the door will close as it gets dark, but no later than the set time.
Manual –the door will only close when you press
Closing Light Level:
The closing light level at dusk may vary with location and how the sunlight falls on the ChickSafe. The light level that
makes the door close may be adjusted between 0 and 255 where 0 is complete darkness. The default number is 50
and suitable for most locations.