10
Sign in to your MyOceSuite™ account at
MyOcesuite.broadviewnet.com with your username
and password that you created when you rst logged
into your MyOceSuite™ account. If you forgot your
password, you may click Forgot your password to
reset it.
Once logged in, you are presented with the Dashboard
from which you manage the phone system and your
services. Across the top of the Dashboard is a series
of tabs with dierent functions and in the center of
the Dashboard are widgets from which you can make
changes to the system and services. Each widget has an
information icon describing its function. To customize
the presentation of the Dashboard, click on Customize
Dashboard to add, remove, or reorder the widgets
according to your preference.
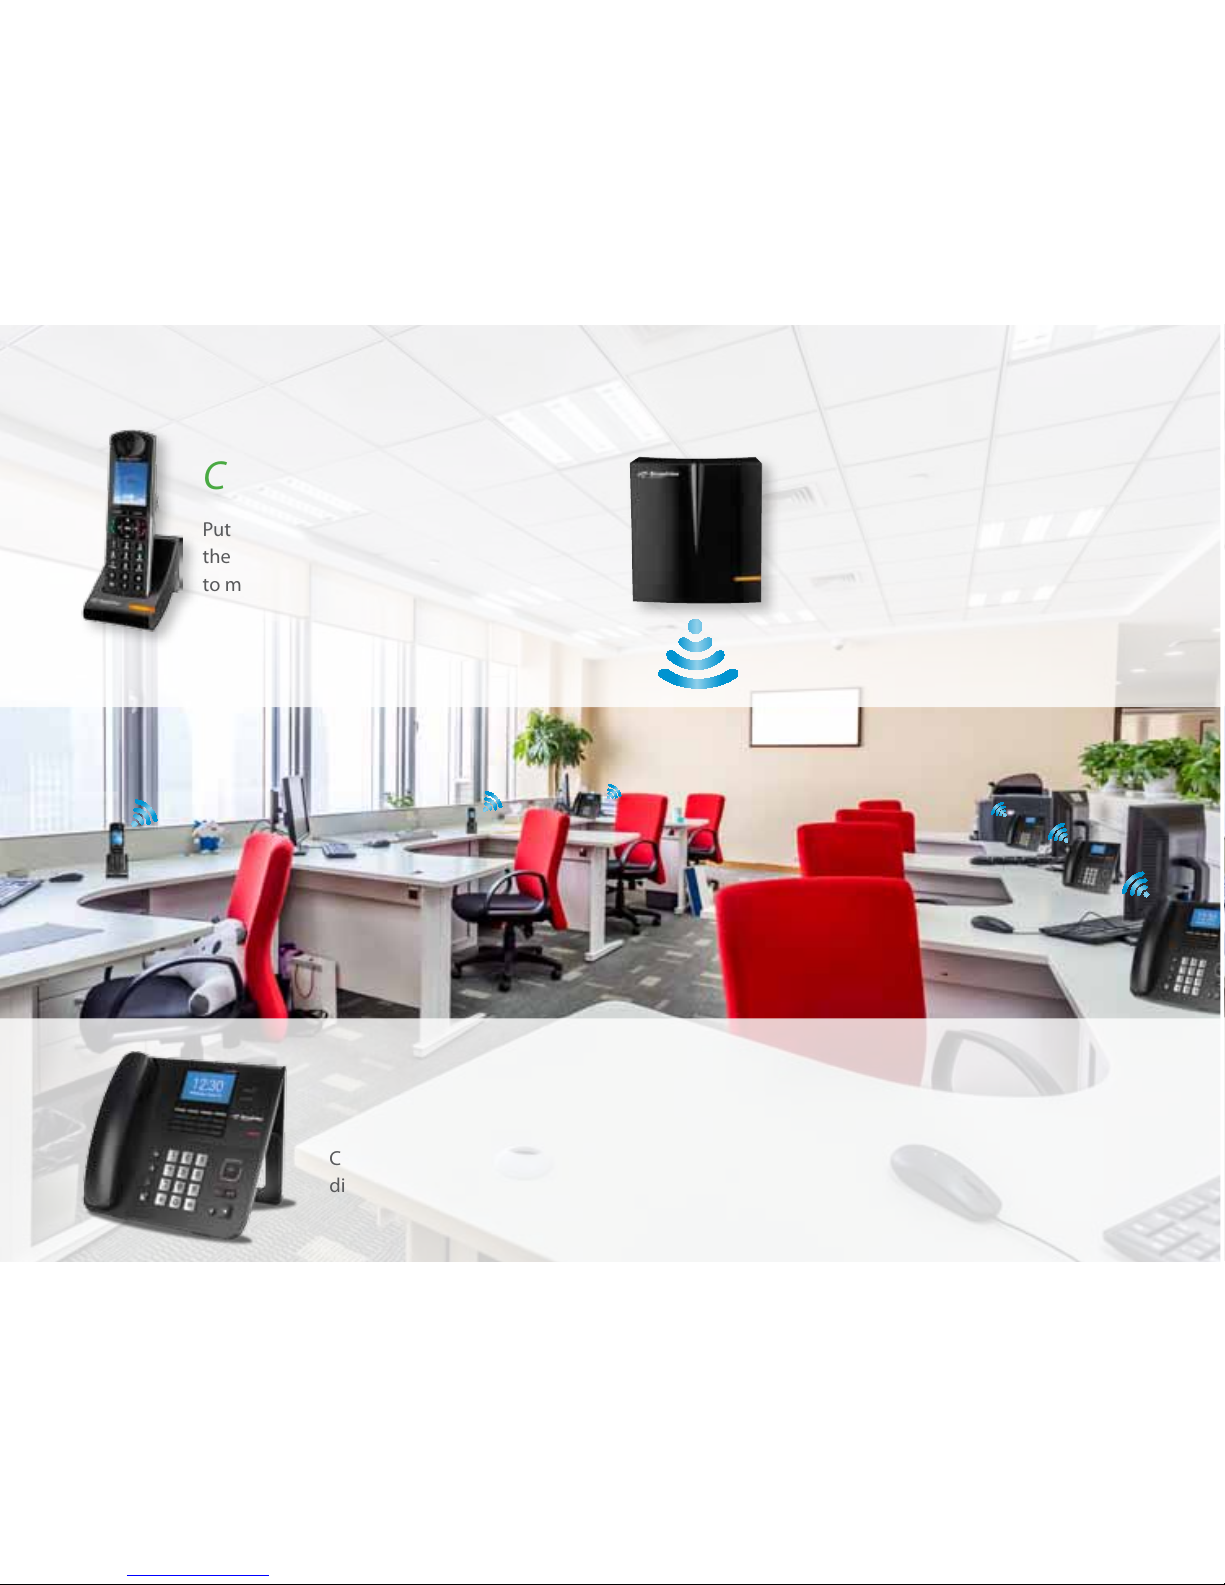
SETTING UP HOW CALLS COME INTO
YOUR SYSTEM
All incoming phone calls are sent to a specic phone
number in the system. Calls can be sent to individual
phones, to an auto attendant, or to a call group. The
rst step is to make sure that your phones and phone
numbers are set up the way you wish.
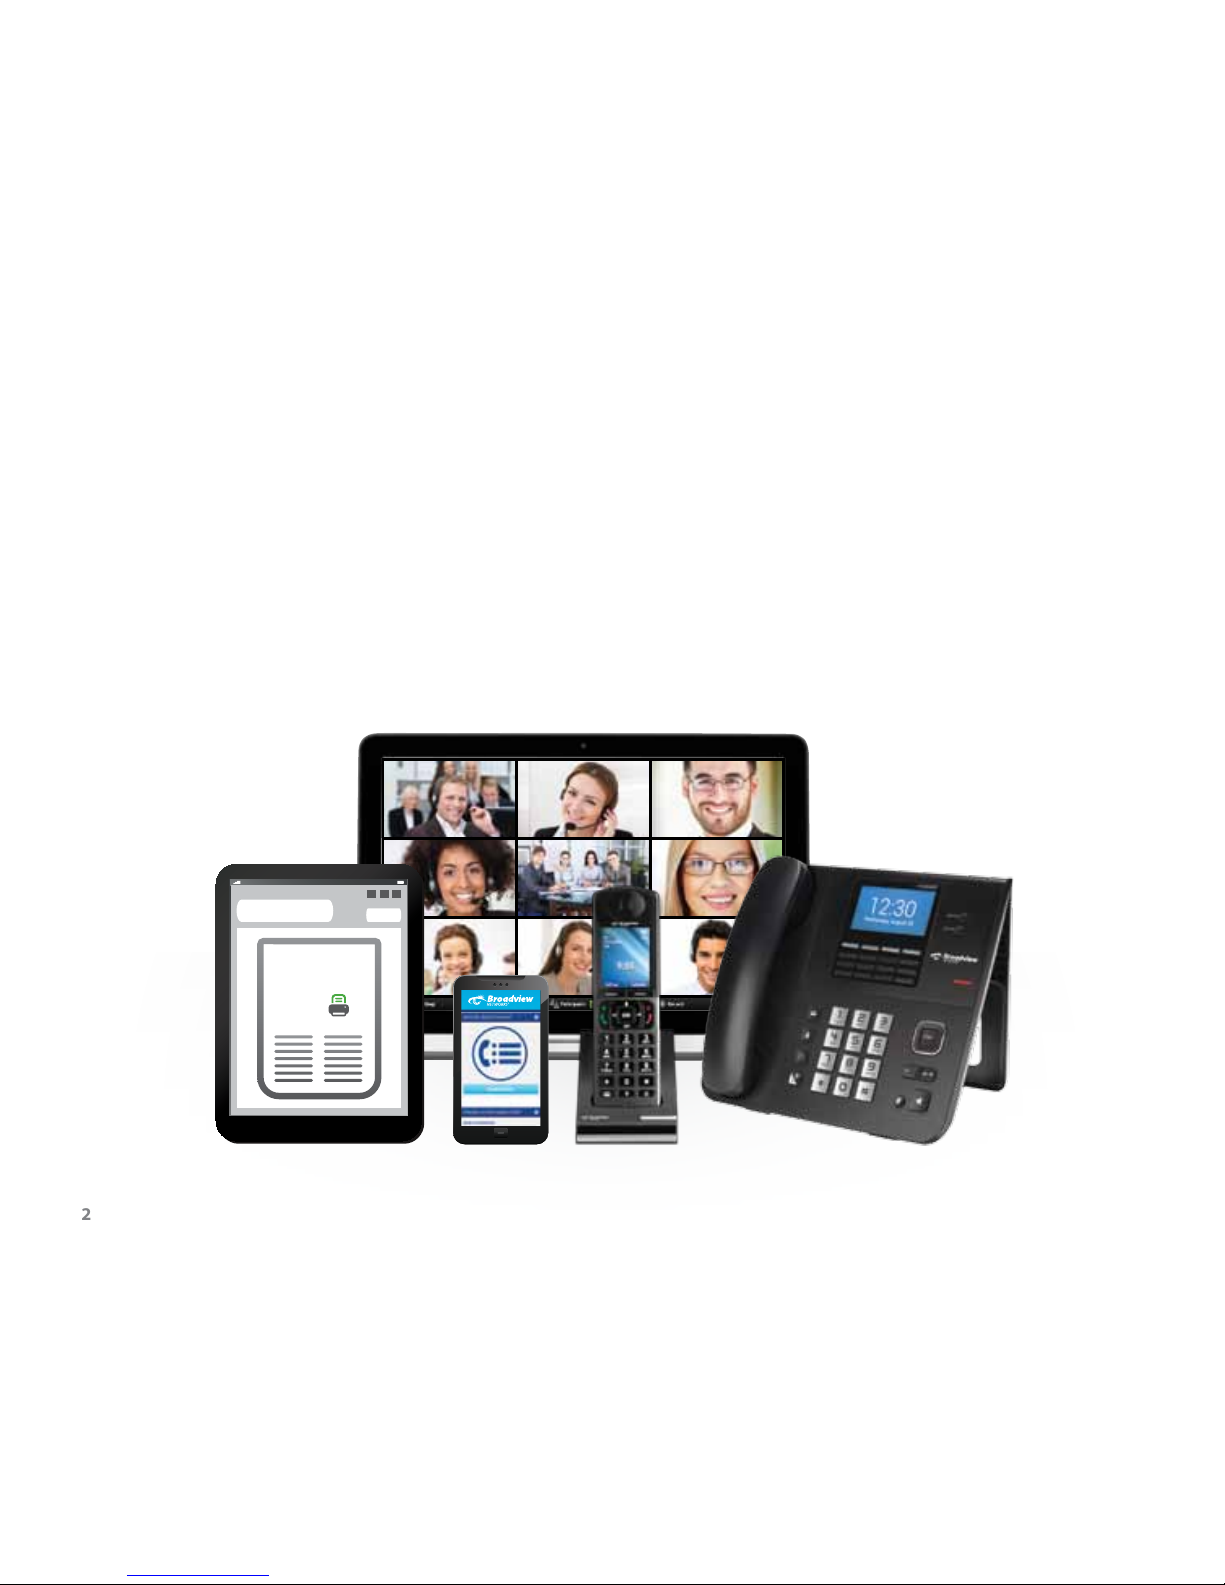
Using the MyOceSuite™ portal
Using the MyOceSuite™ Portal
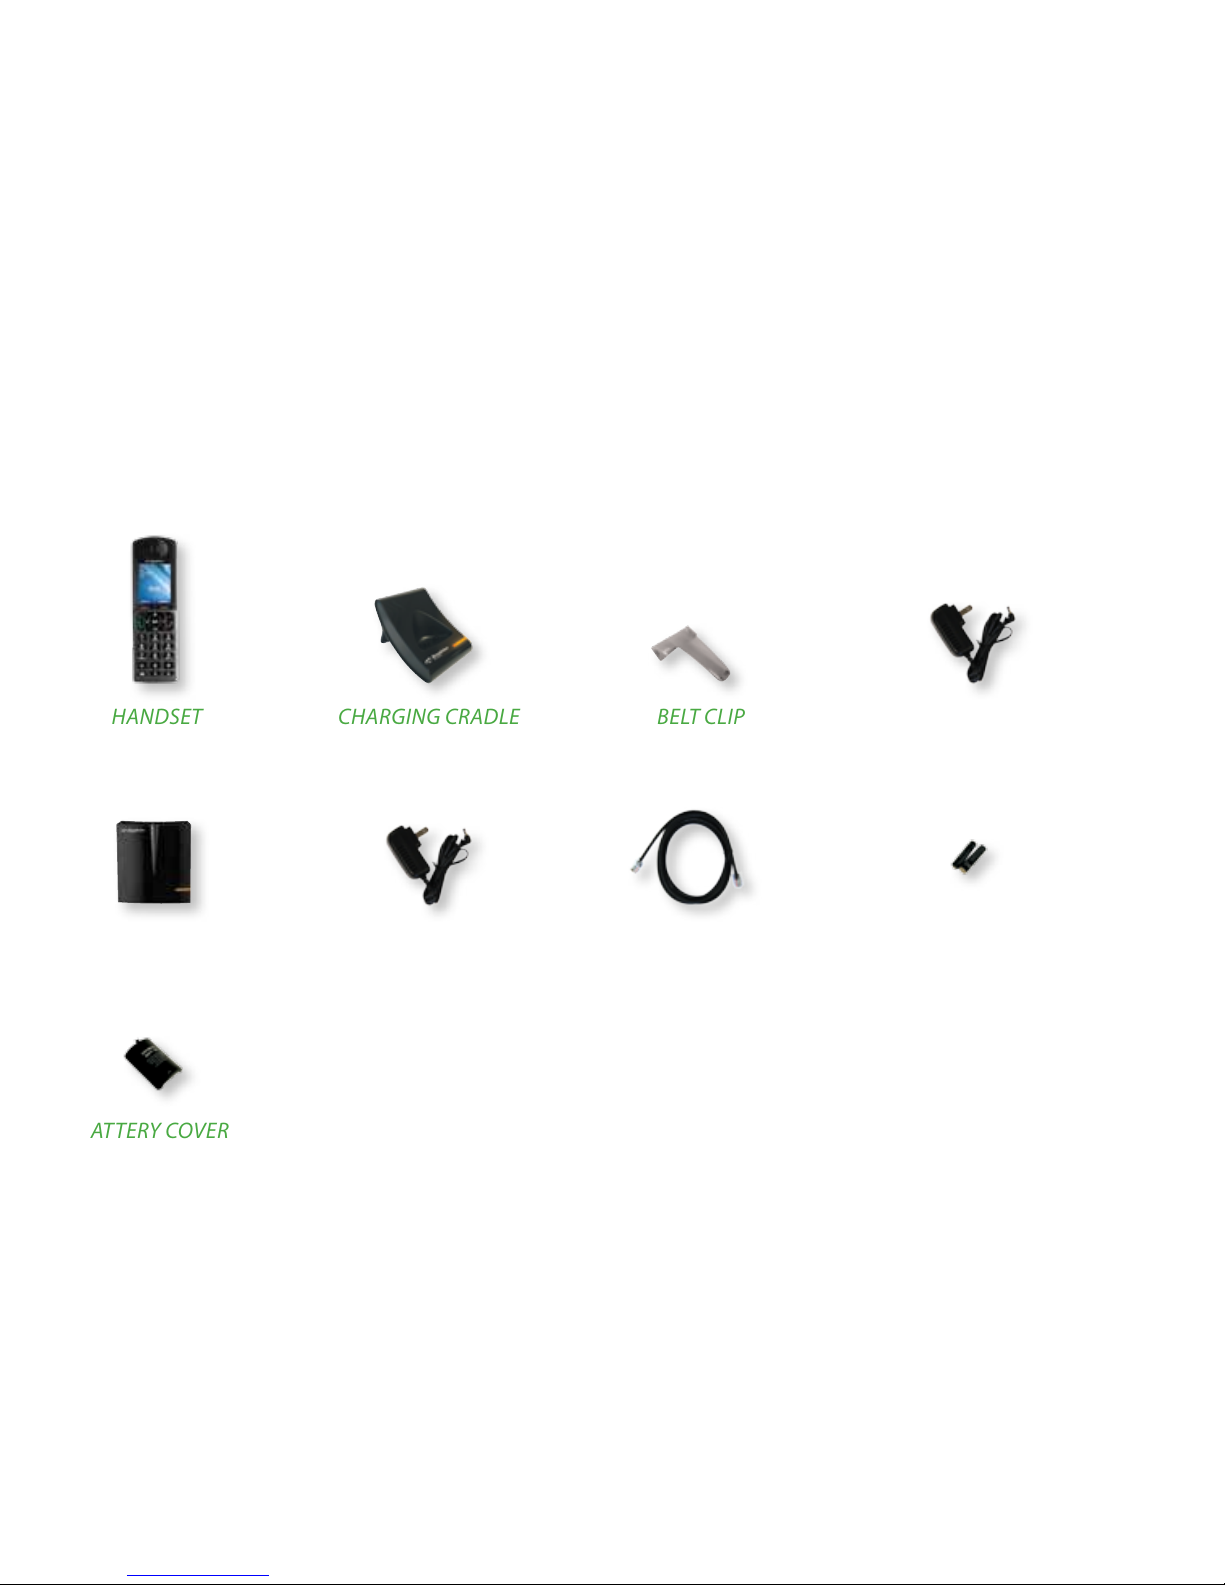
ASSIGNING PHONES TO YOUR EXTENSIONS
OceSuite® Phone is so exible that any phone can be
assigned to any extension. To assign or change phones
and extensions, go to the Cordless Phone widget within
the MyOceSuite™ portal and select a location from
the drop-down list at which you want to manage your
cordless phones. Then, press Change Conguration.
A single phone can be assigned an extension
(dedicated) or multiple phones can be assigned
to the same extension (shared). All phones with
the same extension will ring when the extension is