manuals.online logo
Brands
  1. Home
  2. •
  3. Brands
  4. •
  5. Brother
  6. •
  7. Printer
  8. •
  9. Brother MFC-T920DW User manual

Brother MFC-T920DW User manual

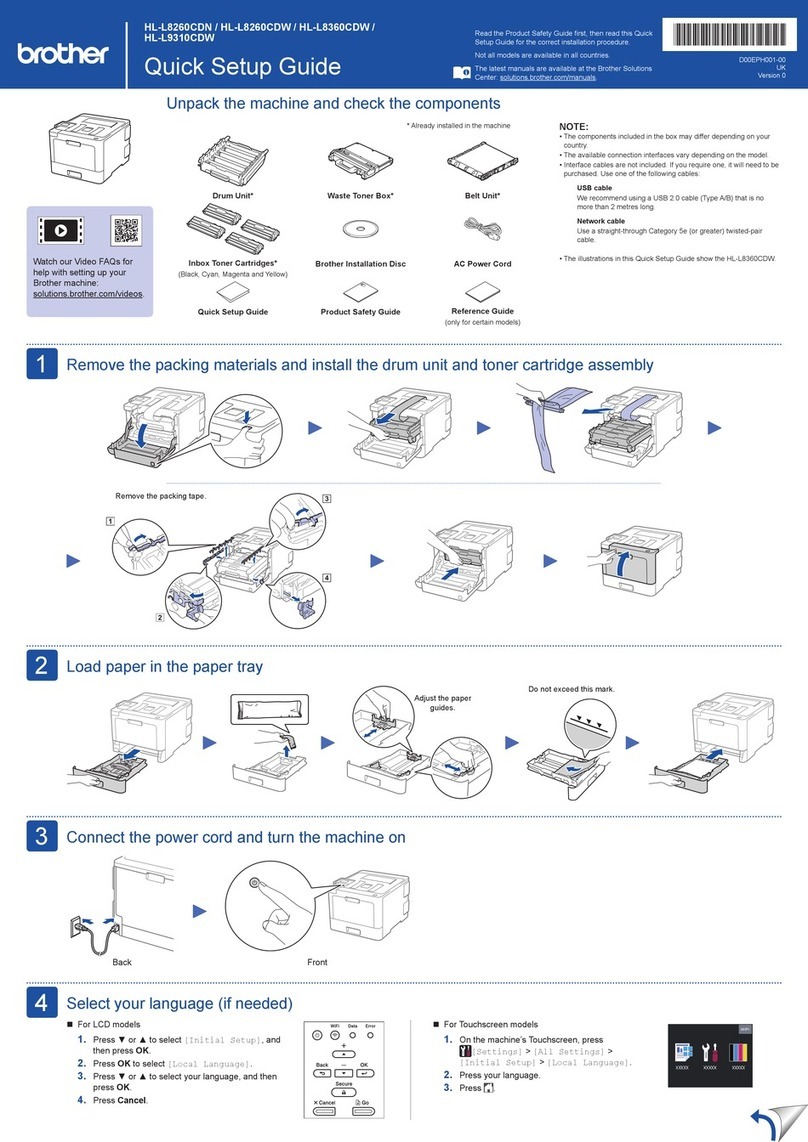
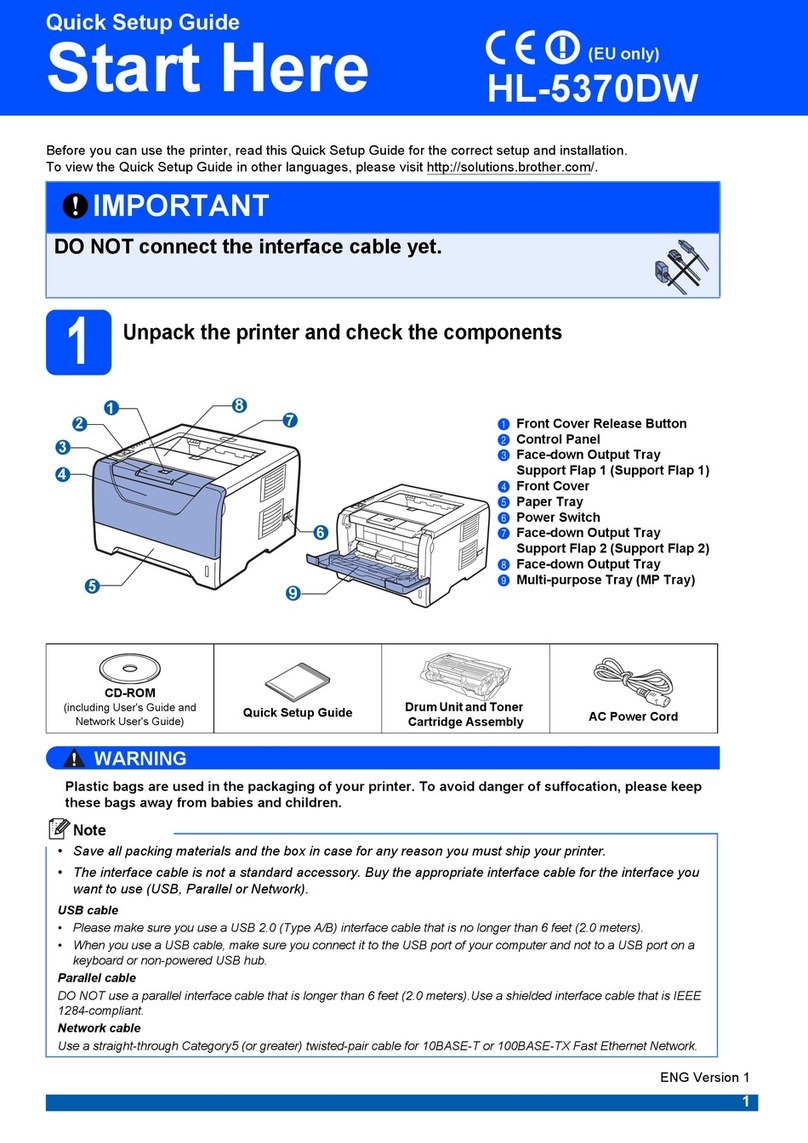
Quick Setup Guide
Ātrās uzstādīšanas rokasgrāmata
Greitosios parengties vadovas
Read the Product Safety Guide first, then read this guide for the correct installation procedure. Keep
this guide next to your machine for quick reference.
Vispirms izlasiet Produktu drošības rokasgrāmatu, tad lasiet šo, lai veiktu instalāciju pareizi.
Glabājiet šo ceļvedi uz sava aparāta katram gadījumam.
Pirmiausia perskaitykite gaminio saugos vadovą, tada perskaitykite šį vadovą, kad sužinotumėte
teisingą diegimo procedūrą. Laikykite šį vadovą šalia įrenginio, kad galėtumėte greitai juo pasinaudoti.
D01KRJ001-00
EN/LV/LT
Version/Versija/Versija 0
Remove the protective tape
and the film covering the
machine.
Noņemiet no aparāta
aizsarglenti un plēvi.
Nuimkite apsauginę juostą ir
prietaisą dengiančią plėvelę.
en lv lt
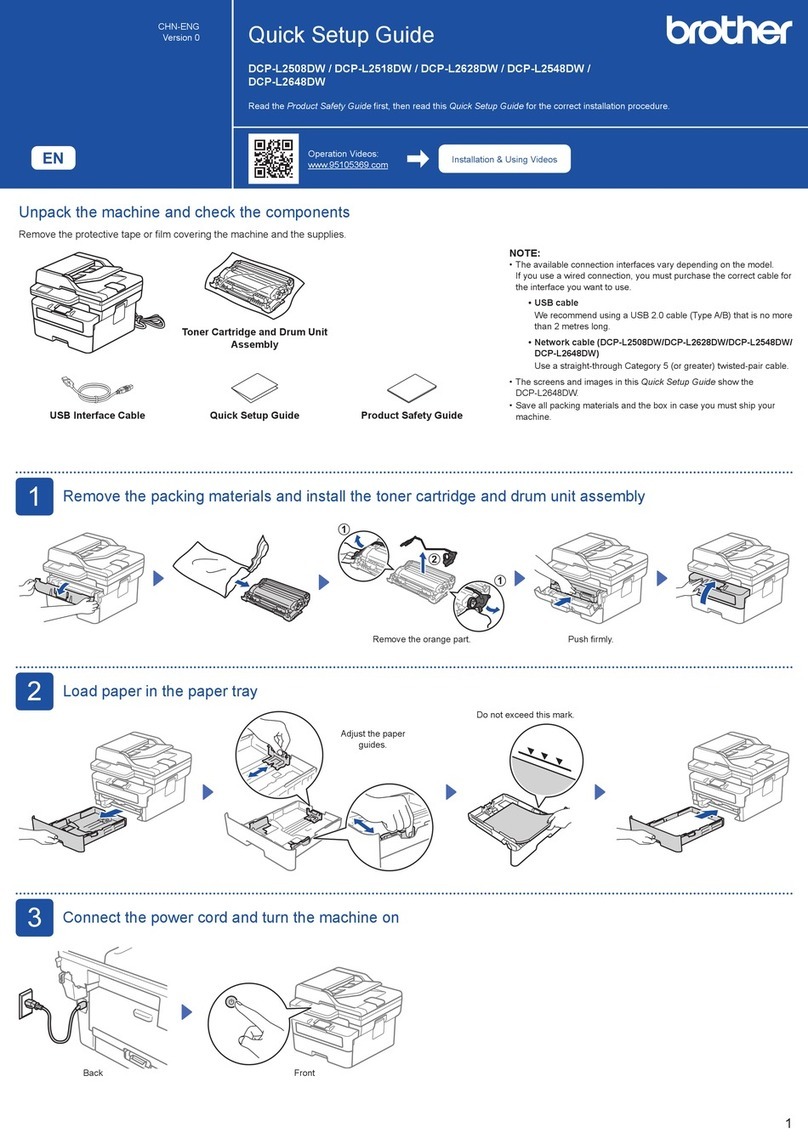
1Unpack the machine and check the components
Izsaiņojiet aparātu un pārbaudiet komponentus
Išpakuokite prietaisą ir patikrinkite komponentus
MFC-T920DW / MFC-T925DW
NOTE
•The components may differ depending on your country.
•Save all packing materials and the box in case you must ship your machine.
•We recommend using a USB 2.0 cable (Type A/B) that is no more than
2 metres long (included in some countries).
•Use a straight-through Category 5 (or greater) twisted-pair cable for 10BASE-T or
100BASE-TX Fast Ethernet Network (not included).
PIEZĪME
• Komponenti var atšķirties atkarībā no valsts
• Saglabājiet visus iepakojuma materiālus un kasti gadījumam, ja Jums ir nepieciešams
pārvest aparātu.
• Mēs iesakām izmantot USB 2.0 kabeli (A/B tipa), kas nav garāks par 2 metriem (dažās
valstīs tas ir iekļauts)
• Izmantojiet taisno 5. (vai augstākas) kategorijas vītā pāra kabeli 10BASE-T vai
100BASE-TX ātro Ethernet tīklu (nav iekļauts).
PASTABA
• Komponentai gali skirtis priklausomai nuo jūsų šalies.
• Išsaugokite visas pakavimo medžiagas ir dėžutę, kad vėliau galėtumėte prietaisą
transportuoti.
• Rekomenduojame naudoti ne ilgesnį kaip 2 metrų USB 2.0 kabelį (A/B tipas) (kai
kuriose šalyse yra komplektacijoje).
• Naudokite tiesioginį 5 kategorijos (ar aukštesnės) vytos poros kabelį, skirtą 10BASE-T
arba 100BASE-TX greitajam Ethernet tinklui (komplekte nėra)
5Fill the ink tanks with inbox ink
Piepildiet tvertnes ar tinti
Pripildykite rašalo talpyklas komplekte esančiu rašalu
IMPORTANT
Check the ink bottle model name on the label. Using the
incorrect ink may cause damage to the machine.
SVARĪGI
Pārbaudiet tintes pudelītes nosaukumu uz etiķetes.
Nepareizas tintes lietošana var izraisīt aparāta
bojājumus.
SVARBU
Patikrinkite rašalo buteliuko modelio pavadinimą
etiketėje. Naudodami netinkamą rašalą galite sugadinti
prietaisą.
1
2
3
Open the ink tank cover a,
remove the cap b, and place
it on the back of the cover c.
Atveriet tintes tvertnes
pārsegu a, noņemiet vāciņu
b un uzlieciet to pārsegam
otrā pusē c.
Atidarykite rašalo talpyklos
gaubtą a, nuimkite dangtelį
bir uždėkite jį ant gaubto c
galo.
Video setup instructions:
Video uzstādīšanas instrukcijas:
Nustatymo instrukcijos vaizdo įrašas:
support.brother.com/videos
2Load plain A4 paper in the paper tray
Ievietojiet A4 papīru papīra atvilktnē
Į popieriaus dėklą įdėkite paprasto A4 formato popieriaus
Fan the paper well.
Kārtīgi izvēdiniet papīru.
Gerai išvėdinkite popierių.
Connect the power cord. The machine powers on automatically.
Pieslēdziet strāvas vadu. Aparāts ieslēdzas automātiski.
Prijunkite maitinimo laidą. Prietaisas įsijungia automatiškai.
3Connect the power cord
Pieslēdziet strāvas vadu
Prijunkite maitinimo laidą
You may need to set your country or language (depending on your machine). Follow the
steps on the LCD.
Jums, iespējams, vajadzēs uzstādīt savu valsti vai valodu (atkarībā no aparāta).
Sekojiet soļiem LCD ekrānā.
Gali reikėti nustatyti šalį arba kalbą (atsižvelgiant į jūsų įrenginį). Vadovaukitės
informacija LCD ekrane.
4Select your country or language
Izvēlieties savu valsti vai valodu
Pasirinkite savo šalį arba kalbą
BTD60BK
BT5000CMY
BT5001CMY
BT5009CMY
BT6000BK
BT6001BK
BT6009BK
You must follow steps 1 to 10 to complete the setup.
Jums ir jāseko soļiem 1 – 5 , lai pabeigtu uzstādīšanu.
Norėdami užbaigti sąranką, turite atlikti 1 - 10 veiksmus.
5HPRYHWKHILOPDQGWLJKWHQWKHFDSILUPO\
1RƼHPLHWSOƝYLXQFLHãLSLHVNUnjYƝMLHW
YƗFLƼX
1XLPNLWHSOơYHOĊLUWYLUWDLXåYHUåNLWH
GDQJWHOƳ
7KHERWWOHLVVHOIVWDQGLQJDQG
WKHLQNILOOVDXWRPDWLFDOO\XQWLO
WKHERWWOHLVHPSW\7RILOOWKH
LQNWDQNIDVWHUVTXHH]HWKH
ERWWOHRQERWKVLGHV
7LQWHVSXGHOƯWHWXUDVSDWVWƗYƯJL
XQWLQWHLHSOnjVWDXWRPƗWLVNLOƯG]
SXGHOƯWHLUWXNãD/DLSLHSLOGƯWX
WLQWHVWYHUWQLVWUDXMƗN
VDVSLHGLHWSXGHOƯWLQRDEƗP
SXVƝP
%XWHOLXNDVSDWVODLNRVLR
UDãDODVSULVLSLOGRDXWRPDWLãNDL
NROEXWHOLXNDVLãWXãWơMD
1RUơGDPLJUHLþLDXXåSLOG\WL
UDãDORWDOSąVXVSDXVNLWH
EXWHOLXNąLãDELHMǐSXVLǐ
5HPRYHWKHQR]]OHFDSDQGLQVHUWWKHERWWOHQR]]OHILUPO\LQWRWKHLQNWDQNVR
WKDWWKHLQNGRHVQRWVSLOO
1RƼHPLHWX]JDƺDYƗFLƼXXQFLHãLLHYLHWRMLHWSXGHOHVX]JDOLWLQWHVWYHUWQƝODLWƗ
QHL]OƯWX
1XLPNLWHSXUNãWXNRGDQJWHOƳLUWYLUWDLƳNLãNLWHEXWHOLXNRDQWJDOƳƳUDãDORWDOSą
NDGUDãDODVQHLãVLOLHWǐ
)ROORZWKHVWHSVRQWKH/&'WRVHWWKHGDWHDQGWLPH
6HNRMLHWVRƺLHP/&'HNUƗQƗODLX]VWƗGƯWXGDWXPXXQ
ODLNX
1RUơGDPLQXVWDW\WLGDWąLUODLNąDWOLNLWH/&'HNUDQH
QXURG\WXVYHLNVPXV
6HWWKHGDWHDQGWLPH
8]VWƗGLHWGDWXPXXQODLNX
1XVWDW\NLWHGDWąLUODLNą
:KHQWKHPDFKLQHKDVILQLVKHGWKHLQLWLDOFOHDQLQJSURFHVVIROORZWKHVWHSVRQWKH/&'WRFRQILJXUH
WKHPDFKLQHVHWWLQJV
.DGDSDUƗWVLUEHLG]LVWƯUƯãDQDVSURFHVXVHNRMLHWVRƺLHP/&'HNUƗQƗODLNRQILJXUƝWXDSDUƗWD
LHVWDWƯMXPXV
.DLSULHWDLVDVEDLJVSUDGLQƳYDO\PRSURFHVąDWOLNLWH/&'HNUDQHQXURG\WXVYHLNVPXVNDG
VXNRQILJnjUXRWXPơWHƳUHQJLQLRQXVWDW\PXV
 6HW)LUPZDUH8SGDWH1RWLFH
&KHFNWKHSULQWTXDOLW\
 &RQILJXUHWKHSDSHUWUD\
VHWWLQJV
 ,HVWDWLHWSURJUDPPDSDUDWnjUDV
DWMDXQLQƗãDQDVSD]LƼRMXPX
 3ƗUEDXGLHWGUXNDVNYDOLWƗWL
 .RQILJXUƝMLHWSDSƯUDWHNQHV
LHVWDWƯMXPXV
1XVWDW\NLWHSURJUDPLQơV
ƳUDQJRVDWQDXMLQLPRSUDQHãLPą

3DWLNULQNLWHVSDXVGLQLPRNRN\EĊ
 Sukonfigūruokite popieriaus
dėklo nustatymus
0DFKLQHVHWWLQJV
$SDUƗWDLHVWDWƯMXPL
3ULHWDLVRQXVWDW\PDL
 3UHVV6HWWLQJV
 3UHVVaRUbWRVHOHFW[Initial Setup]!
[Local Language]!\RXUODQJXDJHDQG
WKHQSUHVV2.
 3UHVV6WRS([LW
6HOHFW\RXUODQJXDJHLIQHHGHGDQGRQO\IRUFHUWDLQPRGHOV
,]YƝOLHWLHVQHSLHFLHãDPRYDORGXMDQHSLHFLHãDPVXQWLNDLQRWHLNWLHPPRGHƺLHP
3DVLULQNLWHNDOEąMHLUHLNLDLUWLNWDPWLNULHPVPRGHOLDPV
 1RVSLHGLHW6HWWLQJV
 1RVSLHGLHWaYDLbODLL]YƝOƝWRV>,QLWLDO6HWXS@!
>/RFDO/DQJXDJH@!-njVXYDORGDWDG
QRVSLHGLHW2.
 1RVSLHGLHW6WRS([LW
 3DVSDXVNLWH6HWWLQJV

3
DVSDXVNLWHaDUED
b
NDGSDVLULQNWXPơWH

>,QLWLDO
6HWXS@!>/RFDO/DQJXDJH@!VDYRNDOEąWDGD
SDVSDXVNLWH2.

3DVSDXVNLWH6WRS([LW
:KHQILQLVKHGUHPRYHWKHERWWOHSRLQWLQJ
WKHQR]]OHXSZDUGVRWKHLQNGRHVQRW
VSLOO
.DGGDUEƯEDLUSDEHLJWDQRƼHPLHWSXGHOƯWL
YƝUãRWWƗVJDOXX]DXJãXODLWLQWHQHL]OƯWX
%DLJĊLãLPNLWHEXWHOLXNąQXNUHLSGDPL
DQWJDOƳƳYLUãǐNDGQHLãVLOLHWǐUDãDODV
5HSODFHWKHLQNWDQNFDS5HSHDWVWHS
 IRUWKHRWKHULQNWDQNVDQGWKHQ
FORVHWKHLQNWDQNFRYHU
1RPDLQLHWWLQWHVWYHUWQHVYƗNX
$WNƗUWRMLHWVROLFLWƗPWLQWHV
WYHUWQƝPWDGDL]YHULHWWYHUWQHVYƗNX
3DNHLVNLWHUDãDORWDOSRVGDQJWHOƳ
3DNDUWRNLWHYHLNVPąVXNLWRPLV
UDãDORWDOSRPLVWDGDXåGDU\NLWH
UDãDORWDOSRVJDXEWą
&RQQHFWWKHWHOHSKRQHOLQHFRUG
3LHVOƝG]LHWWHOHIRQOƯQLMDVNDEHOL
3ULMXQNLWHWHOHIRQROLQLMRVODLGą
,QVHUWWKHWHOHSKRQHOLQHFRUGLQWRWKHVRFNHWPDUNHG/,1(
,HYLHWRMLHWWHOHIRQOƯQLMDVNDEHOLUR]HWƝNDVDS]ƯPƝWDDU/,1(
ƲNLãNLWHWHOHIRQROLQLMRVODLGąƳOL]GąSDå\PơWą/,1(
,I\RXDUHQRWXVLQJ\RXUPDFKLQHDVDID[JRWR
)RUPRUHLQIRUPDWLRQRQXVLQJWKHID[IHDWXUHVHHWKH2QOLQH8VHU¶V*XLGH
-D-njVL]PDQWRMDWVDYXDSDUƗWXNƗIDNVXGRGLHWLHVX]
3DSLOGXLQIRUPƗFLMDLSDUIDNVDLHVSƝMDVL]PDQWRãDQXVNDWLHW7LHãVDLVWHV
OLHWRWƗMDURNDVJUƗPDWX
-HLƳUHQJLQLRQHQDXGRMDWHNDLSIDNVRDSDUDWRSHUHLNLWHSULHSXQNWR
'DXJLDXLQIRUPDFLMRVDSLHIDNVRIXQNFLMRVQDXGRMLPąUDVLWH,QWHUQHWLQLDPH
QDXGRWRMRYDGRYH
127(3,(=Ʈ0(3$67$%$
:HFDQVHQG\RXDJHQXLQH%URWKHUFRUGIUHHRIFKDUJHLI\RXQHHGRQH7R
FRQWDFWXVYLVLWZZZEURWKHUHX
-DQHSLHFLHãDPVPƝVYDUDPQRVnjWƯW-XPVRULƧLQƗOR%URWKHUNDEHOLEH]
PDNVDV/DLVD]LQƗWRVDUPXPVDSPHNOƝMLHWYLHWQLZZZEURWKHUHX
-HLMXPVUHLNLDJDOLPHQHPRNDPDLDWVLǐVWLRULJLQDOǐ%URWKHUODLGą1RUơGDPL
VXVLVLHNWLVXPXPLVDSVLODQN\NLWHZZZEURWKHUHX
Setup Complete / Uzstādīšana ir pabeigta / Sąranka baigta
Find the SSID (Network Name) and Network Key
(Password) on your wireless access point/router.
Atrdodiet SSID (Tīkla nosaukum) un tīkla
atslēgu (Paroli) uz sava bezvadu tīkla punkta/
rūtera.
Raskite SSID (tinklo pavadinimą) ir tinklo raktą
(slaptažodį) savo belaidžio tinklo prieigos taške /
maršrutizatoriuje.
1. Go to your machine and press .
2. Press OK to select [Find Wi-Fi
Network].
The [Enable WLAN?] message
appears on the LCD.
3. Press c to select Yes.
Select the SSID (Network Name) for your access point/
router and enter the Network Key (Password).
For more information, see Enter Text on Your Brother
Machine in the Online User’s Guide.
Izvēlieties SSID (Tīkla nosaukums) savam piekļuves
punktam/rūterim un ievadiet Tikla atslēgu (Paroli).
Papildu informācijai skatīt Tiešsaistes lietotāja
rokasgrāmatas nodaļu Teksta ievadīšana Jūsu Brother
aparātā.
Pasirinkite SSID (tinklo pavadinimą) savo prieigos taškui/
maršrutizatoriui ir įveskite tinklo raktą (slaptažodį).
Norėdami gauti daugiau informacijos, žr. Teksto įvedimas
savo Brother prietaise Internetiniame naudotojo vadove.
When the wireless setup is successful, the LCD displays
[Connected].
Ja bezvadu uzstādīšana būs veiksmīga, LCD ekrānā
parādīsies uzraksts [Connected].
Sėkmingai sukonfigūravus belaidį ryšį, LCD ekrane rodoma
[Connected].
1. Dodieties pie sava aparāta un
nospiediet .
2. Nospiediet OK , lai izvēlētos[Find
Wi-Fi Network].
Tad LCD ekrānā parādīsies ziņa
[Enable WLAN?].
3. Nospiediet c , lai izvēlētos Yes.
1.
2.
Eikite prie savo prietaiso ir
paspauskite .
Paspauskite
OK
ir pasirinkite
[Find
Wi-Fi Network.
Pranešimas [Enable WLAN?]
atsiranda ekrane.
3. Paspauskite c ir pasirinkite Yes.
Manual wireless setup (if needed)
Manuālā bezvadu uzstādīšana (ja nepieciešams)
Rankinis belaidžio ryšio nustatymas (jei reikia)
SSID: XXXXXXX
Network Key: XXXX
If you cannot find this information, ask your
network administrator or wireless access point/
router manufacturer.
Ja Jūs nevarat atrast šo informāciju, jautājiet to
savam tīkla administratoram vai bezvadu
piekļuves punkta/ rūtera ražotājam.
Jei negalite rasti šios informacijos, kreipkitės į
tinklo administratorių arba belaidžio tinklo
prieigos taško / maršrutizatoriaus gamintoją.
Connect your computer or mobile device
Pievienojiet datoru vai mobilo ierīci
Připojení počítače nebo mobilního zařízení
Connect your Brother machine and computer/mobile device to the
same network.
Pieslēdziet savu Brother aparātu un datoru/mobilo iekārtu tam
pašam tīklam.
Prijunkite Brother įrenginį ir kompiuterį / mobilųjį įrenginį prie to
paties tinklo.
Install Brother software to use your machine. Visit one of the following websites:
Uzstādiet Brother programmatūru, lai varētu lietot savu aparātu. Apmeklējiet
vienu no sekojošajām mājas lapām:
Įdiekite Brother programinę įrangą, kad galėtumėte naudoti įrenginį.
Apsilankykite vienoje iš šių svetainių:
For Computers:
Datoriem:
Kompiuteriams:
For Windows only, CD installation is also
available (for some countries).
Tikai Windows operētājsistēmai, ir
pieejama arī CD uzstādīšana (dažām
valstīm).
Tik Windows sistemoje taip pat galima įdiegti
su kompaktiniu disku (kai kuriose šalyse).
For Mobile Devices:
Mobilajām iekārtām:
Mobiliesiems įrenginiams:
Follow the on-screen instructions.
Postupujte podle pokynů uvedených na obrazovce.
Vadovaukitės instrukcijomis ekrane.
For Wired Network Connection and USB Connection:
Use the correct port (based on the cable you are using
inside the machine, as shown.
Vadu tīkla savienojums un USB pieslēgumam:
Izmantojiet pareizo pieslēgvietu (balstoties uz Jūsu
izmantotā kabeļa tipu) aparāta iekšpusē, kā parādīts.
Prisijungimui prie tinklo laidu* ir USB jungtims:
naudokite tinkamą prievadą (pagal naudojamą kabelį)
įrenginio viduje, kaip parodyta.
Install the Brother iPrint&Scan
application.
Uzstādiet Brother iPrint&Scan
lietotni.
Įdiekite Brother iPrint&Scan
programėlę.
D01KRJ001-00
setup.brother.com brother.com/apps
10
4. Telephone buttons
Telefona pogas
Telefono mygtukai
5. Dial Pad
Numuru sastādīšanas tastatūra
Numerio rinkimo skydelis
6. Stop/Exit button
Stop/Izejas poga
Stop/Exit mygtukas
7. Mono Start/Colour Start buttons
Monohromās drukāšanas/Krāsainās drukāšanas starta pogas
Nespalvoto/spalvoto spausdinimo mygtukai
8. Power On/Off
Jauda ieslēgta (On)/Izslēgta (Off)
Įjungimas / išjungimas
Turn on the machine: Press
Turn off the machine: Press and hold
Ieslēgt aparātu: Nospiediet
Izslēgt aparātu: Nospiediet un pieturiet
Norėdami įjungti: Spauskite
Norėdami išjungti: Paspauskite ir palaikykite
For FAQs, Troubleshooting, and to download software and manuals, visit support.brother.com.
Apmeklējiet vietni support.brother.com BUJ, traucējummeklēšanai un programmatūras, kā arī rokasgrāmatu lejupielādei.
Norėdami pasinaudoti DUK, trikčių šalinimo patarimais ir atsisiųsti programinę įrangą bei vadovus, apsilankykite:
support.brother.com.
© 2020 Brother Industries, Ltd. All rights reserved.
© 2020 Brother Industries, Ltd. Visas tiesības paturētas.
© Brother Industries, Ltd. Visos teisės saugomos.
Improve Print Quality / Uzlabojiet drukas kvalitāti / Spausdinimo kokybės pagerinimas
Clean the print head.
Notīriet drukas galviņu.
Nuvalykite spausdinimo galvutę.
1. Press .
2. Press a or b to select [Print Head
Cleaning] > [Black only], [Colour
only] or [All] > [Normal], [Strong] or
[Strongest], and then press OK.
3. Press c.
1. Nospiediet .
2. Nospiediet a vai b , lai izvēlētos [Print Head
Cleaning] > [Black only], [Colour
only] vai [All] > [Normal], [Strong]
vai [Strongest], tad nospiediet OK.
3. Nospiediet c.
1. Spauskite .
2.
Spauskite a arba b ir pasirinkite [Print Head
Cleaning] > [Black only], [Colour
only] arba [All] > [Normal], [Strong]
arba [Strongest], tada spauskite OK.
3.
Spauskite c .
Machine Settings / Aparāta uzstādījumi / Prietaiso nustatymai
The machine’s settings are set from the application (Brother iPrint&Scan or Brother Utilities) on your computer or mobile device.
Important Notice for Network Security: The default password to manage this machine’s settings is located on the back of the machine and marked “Pwd”. We
recommend immediately changing the default password to protect your machine from unauthorised access. See the Online User’s Guide.
Aparāta uzstādījumi tiek veikti no lietotnes (Brother iPrint&Scan vai Brother Utilities) Jūsu datorā vai mobilajā iekārtā.
Svarīgs paziņojums tīkla drošībai: Noklusējuma parole šī aparāta iestatījumu pārvaldīšanai atrodas aparāta aizmugurē, apzīmēti ar “Pwd”. Mēs iesakām nekavējoties
nomainīt noklusējuma paroli, lai pasargātu Jūsu aparātu no nepilnvarotas piekļuves. Skatiet Tiešsaistes lietotāja rokasgrāmatu!
Prietaiso nustatymai atliekami naudojant programą (Brother iPrint&Scan arba Brother Utilities) jūsų kompiuteryje arba mobiliajame įrenginyje.
Svarbus pranešimas dėl tinklo saugumo: numatytasis slaptažodis, skirtas valdyti šio įrenginio nustatymus, yra įrenginio gale ir pažymėtas „Pwd“. Mes
rekomenduojame nedelsiant pakeisti numatytąjį slaptažodį, kad apsaugotumėte įrenginį nuo neteisėtos prieigos. Žr. internetinį vartotojo vadovą.
Check Ink Volume / Pārbaudiet tintes daudzumu / Rašalo kiekio patikrinimas
DO NOT fill the ink tank past the maximum fill mark.
Pildot tintes tvertni, NEPĀRSNIEDZIET maksimālo tintes uzpildīšanas atzīmi.
NEPILDYKITE rašalo talpos virš maksimalaus užpildymo žymos.
When the ink level reaches the lower line, refill the ink tank as soon as possible.
Kad tintes līmenis sasniedz apakšējo līniju, pēc iespējas ātrāk uzpildiet tintes tvertni.
Kai rašalo lygis pasiekia apatinę liniją, kuo greičiau užpildykite rašalo talpą.
7
32
1548
6
Reference and Troubleshooting / Atsauce un traucējummeklēšana / Nuorodos ir trikčių šalinimas
For detailed machine operation, see the Online User’s Guide:
Detalizētai informācijai par aparāta darbību skatiet
Tiešsaistes lietotāja rokasgrāmatu.
Dėl detalaus prietaiso veikimo žr. Internetinį vartotojo vadovą: support.brother.com/manuals
Control Panel Overview / Vadības paneļa pārskats / Valdymo panelės apžvalga
1. 1.8” (44.9 mm) Liquid Crystal Display (LCD)
1.8” (44.9 mm) Šķidro kristālu displejs (LCD)
1.8” (44.9 mm) Skystųjų kristalų ekranas (LCD)
2. Mode buttons
Režīma pogas
Režimo mygtukai
3. Settings buttons
Uzstādījumu pogas
Nustatymų mygtukai
Access the ink menu.
Piekļuve tintes izvēlnei.
Patekimas į rašalo meniu.
Configure wireless settings.
Bezvadu uzstādījumu konfigurēšana.
Belaidžio ryšio nustatymų konfigūracija.

Other manuals for MFC-T920DW

5

This manual suits for next models

1

Other Brother Printer manuals

Brother MFC-7340 User manual

Brother

Brother MFC-7340 User manual

Brother HL-B2080DW Technical manual

Brother

Brother HL-B2080DW Technical manual

Brother HL-1660e Series User manual

Brother

Brother HL-1660e Series User manual

Brother MFC-J680DW User manual

Brother

Brother MFC-J680DW User manual

Brother MFC-J1215W Operating manual

Brother

Brother MFC-J1215W Operating manual

Brother HL-L2380DW User manual

Brother

Brother HL-L2380DW User manual

Brother HL-4000CN User manual

Brother

Brother HL-4000CN User manual

Brother MFC-J1300DW Technical manual

Brother

Brother MFC-J1300DW Technical manual

Brother MFC-J805DW User manual

Brother

Brother MFC-J805DW User manual

Brother HL-L8260CDW User manual

Brother

Brother HL-L8260CDW User manual

Brother HL-1110 User manual

Brother

Brother HL-1110 User manual

Brother HL-3170CDW Manual

Brother

Brother HL-3170CDW Manual

Brother MFC-J995DW Technical manual

Brother

Brother MFC-J995DW Technical manual

Brother DCP-L5518DN User manual

Brother

Brother DCP-L5518DN User manual

Brother DP-550CJ User manual

Brother

Brother DP-550CJ User manual

Brother HL-5440D Operating manual

Brother

Brother HL-5440D Operating manual

Brother HL-L5100DNT User manual

Brother

Brother HL-L5100DNT User manual

Brother DCP-7030 User manual

Brother

Brother DCP-7030 User manual

Brother Pocketjet PJ-622 User manual

Brother

Brother Pocketjet PJ-622 User manual

Brother HL-1050 Use and care manual

Brother

Brother HL-1050 Use and care manual

Brother Rugged Jet RJ-3150Ai User manual

Brother

Brother Rugged Jet RJ-3150Ai User manual

Brother HL 1270N - B/W Laser Printer User manual

Brother

Brother HL 1270N - B/W Laser Printer User manual

Brother PocketJet 6 User manual

Brother

Brother PocketJet 6 User manual

Brother DCP-T310 User manual

Brother

Brother DCP-T310 User manual

Popular Printer manuals by other brands

HPRT TP80K Programming manual

HPRT

HPRT TP80K Programming manual

Epson PP-7000II user manual

Epson

Epson PP-7000II user manual

Samsung 2 COLOR THERMAL PRINTER SRP-275 Operator's manual

Samsung

Samsung 2 COLOR THERMAL PRINTER SRP-275 Operator's manual

GRAVOGRAPH M20 BEAUTY CUBE Operating and maintenance manual

GRAVOGRAPH

GRAVOGRAPH M20 BEAUTY CUBE Operating and maintenance manual

Epson Stylus T22 Start here

Epson

Epson Stylus T22 Start here

Matrix UV Series manual

Matrix

Matrix UV Series manual

Phoenix Contact THERMOMARK PRIME user manual

Phoenix Contact

Phoenix Contact THERMOMARK PRIME user manual

Xerox Phaser 6360 user guide

Xerox

Xerox Phaser 6360 user guide

Brady PAM 3000 Service manual

Brady

Brady PAM 3000 Service manual

Lexmark C734dn printing guide

Lexmark

Lexmark C734dn printing guide

Lexmark T52x 4520 SERIES Service manual

Lexmark

Lexmark T52x 4520 SERIES Service manual

SPRT SP-TL51 manual

SPRT

SPRT SP-TL51 manual

Aopos T220III user manual

Aopos

Aopos T220III user manual

Canon TS8200 Series Getting started

Canon

Canon TS8200 Series Getting started

Xerox DocuPrint M205 b user guide

Xerox

Xerox DocuPrint M205 b user guide

Monarch 9855 Operator's handbook

Monarch

Monarch 9855 Operator's handbook

Ricon LASER AP1600 operating instructions

Ricon

Ricon LASER AP1600 operating instructions

EcLine EC-PM-80320 Service manual

EcLine

EcLine EC-PM-80320 Service manual

manuals.online logo
manuals.online logoBrands
  • About & Mission
  • Contact us
  • Privacy Policy
  • Terms and Conditions

Copyright 2025 Manuals.Online. All Rights Reserved.