manuals.online logo
Brands
  1. Home
  2. •
  3. Brands
  4. •
  5. Buffalo
  6. •
  7. Storage
  8. •
  9. Buffalo TeraStation Series Use and care manual

Buffalo TeraStation Series Use and care manual

Computer
Computer
Remote Desktop
If a drive in the TeraStation fails, the error LED will glow red. Open the front cover and check the status
LEDs. The malfunctioning drive's status LED will be glowing red. This drive may be hot-swapped. Replace
with a Buffalo OP-HD series drive of the same size.
・Only failed drives may be hot-swapped. If you need to remove a drive that has not failed and
whose status LED is not glowing red, either shut down the TeraStation, or dismount the drive in
Dashboard. Once the TeraStation is shut down, or the drive is dismounted, then it is safe to
replace the drive.
・If the TeraStation is off, drives may be replaced without dismounting them first.
・Installing or removing a hard drive while the system is still running is referred to as a hot-swap.
Enter the username and password,
then click OK.
The default settings are:
Username: Administrator
Password: password
Right-click the TeraStation icon (in
Mac OS, click while holding down
the Control key), then select Open
Remote Desktop.
Windows Storage Server will open in a Remote Desktop window.
2
3
5
・The TeraStation is fragile. Handle it with care. Do not drop or bump the TeraStation.
・Use caution when handling the unit in order to avoid personal injury.
・Never disassemble any parts while you are replacing a hard drive unless instructed to do so in this manual. Any malfunction or damage caused by
disassembling the TeraStation will void your warranty.
・To avoid damaging the TeraStation with static electricity, ground yourself by touching something made of metal before handling any sensitive
electronic parts.
・Replacement drives should be Bualo OP-HD drives of the same capacity as the originals. These drives are available from www.bualotech.com.
・Do not use any hard drive that has been used in another TeraStation or LinkStation, or another computer as a replacement drive. If you do, data on
the unit may be damaged or lost.
・Do not change the order of the hard drives in the TeraStation. For example, pulling out drive 1 and replacing it with drive 2 may cause data to be
corrupted or lost.
・In a RAID 1 conguration, the boot drive (C:) consists of the rst and second hard drives from the top. Do not replace both of these hard drives at
the same time.
・If a hard drive is replaced while saving a le, the le can be corrupted. Be sure that the saving operation is completed before replacing the hard
drive.
6
>> Turn over this sheet to continue
Open NAS Navigator2.
・ In Windows, double-click the Bualo NAS Navigator2 icon on the
Desktop.
・ In Mac OS, click NAS Navigator2 icon in the Dock.
1In Windows Storage Server, double-click the icon in the system
tray to launch Dashboard.
4
Drive Failures
Hard Drive Replacement Examples
When the message “Removal of the drive completed.” is displayed,
click OK.
If the TeraStation is on, begin from step 1. If the TeraStation is off, begin from step 7 on the back side.
Select Dismount Drive, then select
the hard drive to be removed and
click OK.
The failed drive will have a status
of “Error” and its status LED will
be glowing a steady red.
In this example, drive 2 has failed.
Status LED
1~2
Error LED
with cover opened
Hard Drive Replacement Procedure
English
35020114-01

Remote Desktop
Remote Desktop
Remote Desktop
Remote Desktop
①
②
③
Hard Drive Replacement Examples
Push the locking tab of the failed hard
drive to the left and swing the lock
around to the left.
The photo here shows an example of replacing
drive 2.
Open the front cover with the included key.
Insert the OP-HD series hard drive into the
empty slot from Step 9.
Slide the drive in with the locking
mechanism open.
7
8
10
13
12
Slide the drive into the TeraStation,
then swing the lock back down
until it clicks into place.
11
Pull out the hard drive cartridge and
remove it from the TeraStation.
9
You have now completed the hard drive replacement process.
>>Continued from front page
In Dashboard, the status of
the replacement drive will
be “Getting...”.
When the drive is detected on the TeraStation, the status will
change to “Normal”.
Note: If the status hasn’t changed to “Normal” after 5 minutes, click Rebuild
Drive to refresh the drive information.
Click Disk Management.
Right-click the initialized hard
drive and select Convert to
Dynamic Disk.
A RAID array cannot be built unless
the hard drive is converted to a
dynamic disk.
Follow the instructions on the
screen to convert to a
dynamic disk.
To create a new volume:
(1) Right-click the new dynamic disk and select New Volume.
(2) Follow the instructions on the screen to create a new volume.
To restore a mirrored volume (RAID resynchronization):
(1) Right-click the volume labeled “Failed Redundancy” in Disk Management
and click Remove Mirror.
(2) Select the drive to remove (it will be labeled“Missing”) and click Remove
Mirror.
Note: Perform steps (1) and (2) for each volume that requires RAID
resynchronization.
(3) Select a volume for mirroring in Disk Management and select Add Mirror.
(4) In the “Add Mirror” dialog, select the drive for mirroring and click Add
Mirror.
Right-click the new drive
and select Initialize Disk.
Follow the on-screen instructions
to initialize the drive.
14
In Windows Storage Server, navigate to Start - All Programs -
Administrative Tools - Computer Management.
15
16
17
18
19
Replace the front cover.
If the hard drive was replaced while the TeraStation power was turned off,
press the power button on the TeraStation to turn on the power and launch
Dashboard.
Tab
Tab
Choose one of the processes below.

Other Buffalo Storage manuals

Buffalo HD-CELU2 DRIVESTATION User manual

Buffalo

Buffalo HD-CELU2 DRIVESTATION User manual

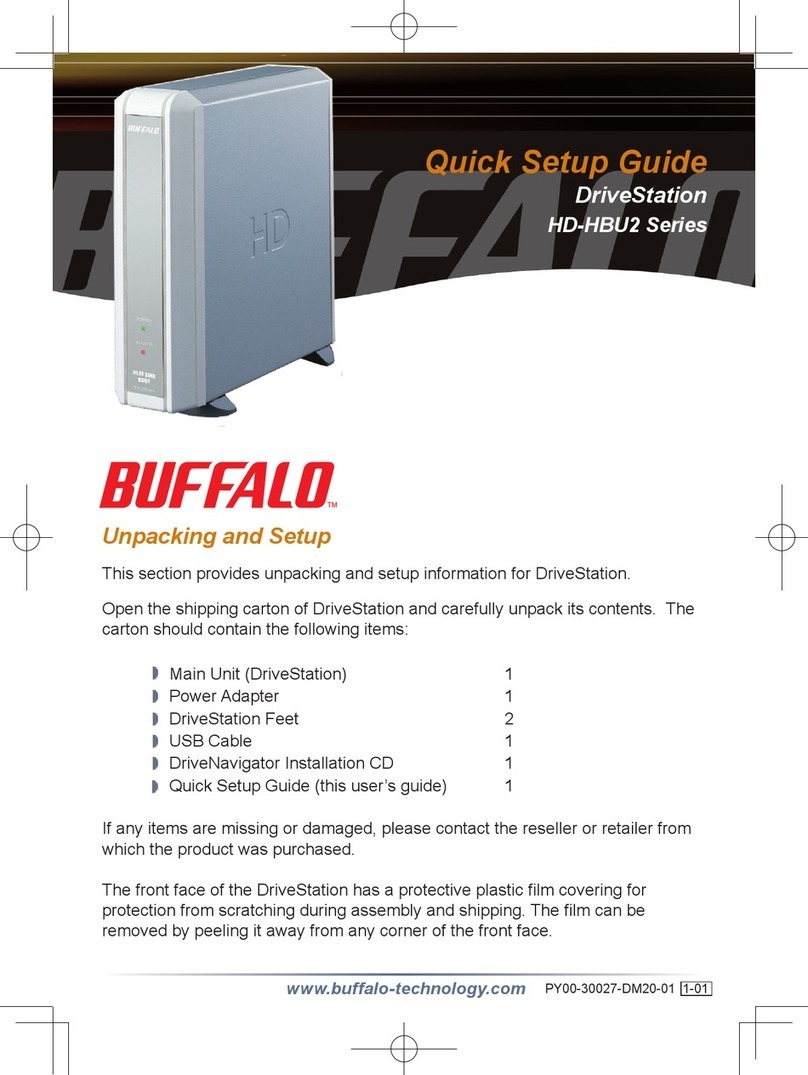
Buffalo DriveStation HD-HBU2 Series User manual

Buffalo

Buffalo DriveStation HD-HBU2 Series User manual

Buffalo HD-PV320U2 User manual

Buffalo

Buffalo HD-PV320U2 User manual

Buffalo DriveStation HD-HSU2-UC Series User manual

Buffalo

Buffalo DriveStation HD-HSU2-UC Series User manual

Buffalo LinkStation Pro User manual

Buffalo

Buffalo LinkStation Pro User manual

Buffalo HD-LBU3 User manual

Buffalo

Buffalo HD-LBU3 User manual

Buffalo DriveStation Quattro HD-QSSU2/R5 User manual

Buffalo

Buffalo DriveStation Quattro HD-QSSU2/R5 User manual

Buffalo DriveStation HD-HS1.0TQ User manual

Buffalo

Buffalo DriveStation HD-HS1.0TQ User manual

Buffalo HD-WLU3R1 User manual

Buffalo

Buffalo HD-WLU3R1 User manual

Buffalo DriveStation HD-HS1.0TQ User manual

Buffalo

Buffalo DriveStation HD-HS1.0TQ User manual

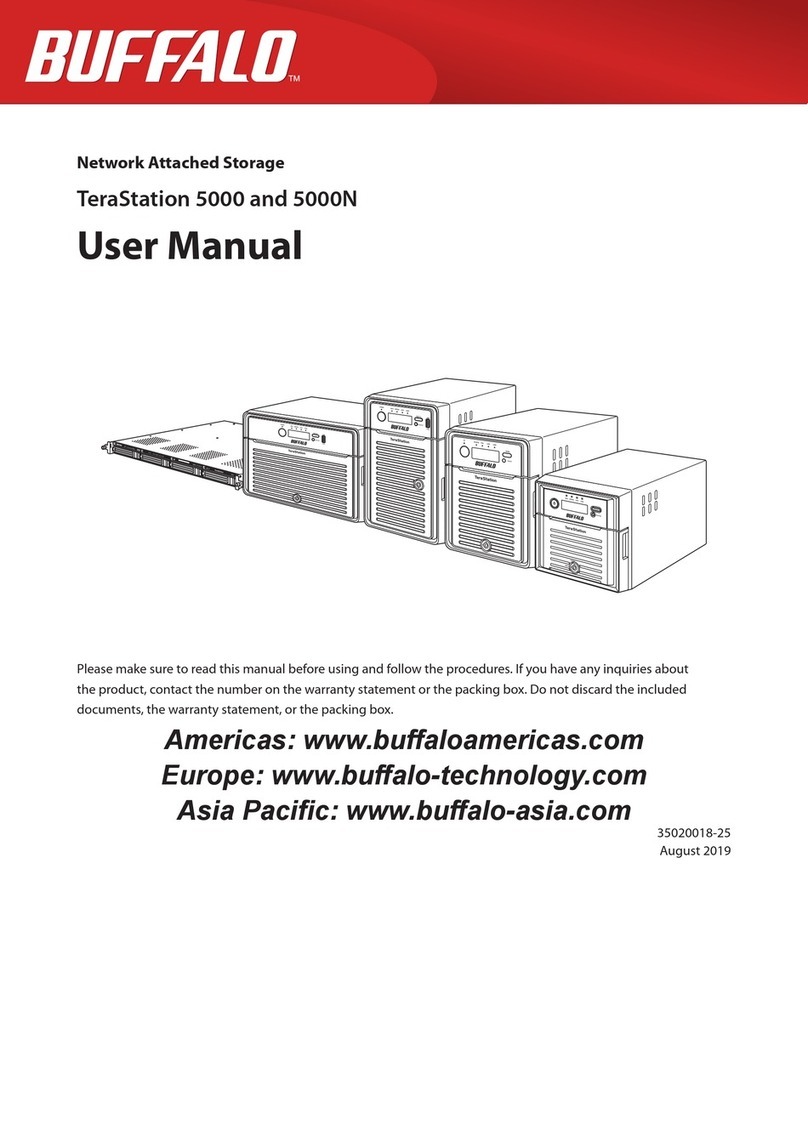
Buffalo TeraStation 3020 User manual

Buffalo

Buffalo TeraStation 3020 User manual

Buffalo MiniStation HD-PNTU3 User manual

Buffalo

Buffalo MiniStation HD-PNTU3 User manual

Buffalo HD-WHU3R1 User manual

Buffalo

Buffalo HD-WHU3R1 User manual

Buffalo MiniStation HD-PFU2 Series User manual

Buffalo

Buffalo MiniStation HD-PFU2 Series User manual

Buffalo SSD-WA256T User manual

Buffalo

Buffalo SSD-WA256T User manual

Buffalo HD-HCU2 DriveStation User manual

Buffalo

Buffalo HD-HCU2 DriveStation User manual

Buffalo HD-PGDU3 User manual

Buffalo

Buffalo HD-PGDU3 User manual

Buffalo TeraStation TS3400D User manual

Buffalo

Buffalo TeraStation TS3400D User manual

Buffalo HD-WLSU2R1 User manual

Buffalo

Buffalo HD-WLSU2R1 User manual

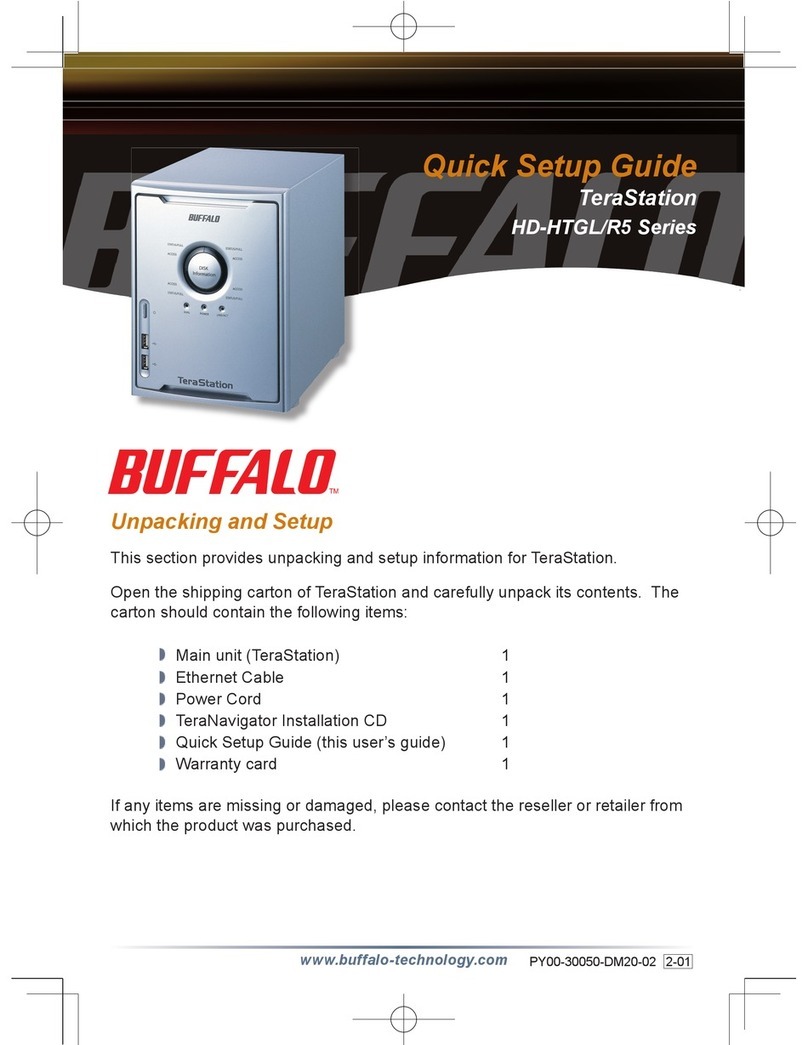
Buffalo TeraStation Live User manual

Buffalo

Buffalo TeraStation Live User manual

Buffalo TeraStation WSS 5000R2 User manual

Buffalo

Buffalo TeraStation WSS 5000R2 User manual

Buffalo TeraStation TS5420DN0 User manual

Buffalo

Buffalo TeraStation TS5420DN0 User manual

Buffalo DriveStation HD-CEU2 User manual

Buffalo

Buffalo DriveStation HD-CEU2 User manual

Buffalo MiniStation HD-PGF User manual

Buffalo

Buffalo MiniStation HD-PGF User manual

Popular Storage manuals by other brands

VERITAS Access 3340 Hardware Service Procedure

VERITAS

VERITAS Access 3340 Hardware Service Procedure

Compaq Storage Works ESL9198 Series Upgrade guide

Compaq

Compaq Storage Works ESL9198 Series Upgrade guide

WiebeTech MJ 1 user guide

WiebeTech

WiebeTech MJ 1 user guide

Philips Active Crystals FM02SW31 Specifications

Philips

Philips Active Crystals FM02SW31 Specifications

Panasonic RP-SDUT64GAK operating instructions

Panasonic

Panasonic RP-SDUT64GAK operating instructions

Linksys NSS4100 - Gigabit Storage System Product data

Linksys

Linksys NSS4100 - Gigabit Storage System Product data

Western Digital WD Caviar Green WD10EADS Specification sheet

Western Digital

Western Digital WD Caviar Green WD10EADS Specification sheet

Promise Smartstor NS4600 product manual

Promise

Promise Smartstor NS4600 product manual

Chieftec CEB-2355S user guide

Chieftec

Chieftec CEB-2355S user guide

Viper 60s Theory of operation and maintenance manual

Viper

Viper 60s Theory of operation and maintenance manual

Seagate ST3400071FC product manual

Seagate

Seagate ST3400071FC product manual

Sabrent USB-SND8 user manual

Sabrent

Sabrent USB-SND8 user manual

Hitachi T7K250 - Deskstar - Hard Drive Quick installation guide

Hitachi

Hitachi T7K250 - Deskstar - Hard Drive Quick installation guide

Seagate ST902503FGA2E1-RK Specifications

Seagate

Seagate ST902503FGA2E1-RK Specifications

HP StorageWorks XP1024 System configuration

HP

HP StorageWorks XP1024 System configuration

EXP Computer HD Traveler installation manual

EXP Computer

EXP Computer HD Traveler installation manual

Verbatim MediaStation Pro Wireless Network Multimedia Hard... user guide

Verbatim

Verbatim MediaStation Pro Wireless Network Multimedia Hard... user guide

IBM Flex System V7000 Introduction and implementation guide

IBM

IBM Flex System V7000 Introduction and implementation guide

manuals.online logo
manuals.online logoBrands
  • About & Mission
  • Contact us
  • Privacy Policy
  • Terms and Conditions

Copyright 2025 Manuals.Online. All Rights Reserved.