www.bullard.com
Spectrum Series® Continuous Flow
Airline
Respirator Instruction Manual
9
GENERAL INFORMATION
Bullard’s Spectrum-CF airline respirator, when properly used, provides a
continuous flow of air from a remote air source to the respirator wearer.
Spectrum-CF respirators offer protection from airborne contaminants that
are not immediately dangerous to life or health (IDLH), or that do not
exceed concentrations allowed by applicable OSHA, EPA, NIOSH or ACGIH
regulations and recommendations for continuous-flow or pressure-demand
class airline respirators.
Spectrum-CF airline respirators are approved by NIOSH Type C,
Continuous-Flow Class) to provide respiratory protection in general pur-
pose applications, including spray painting, tank cleaning, chemical and
pesticide handling, and other industrial or agricultural applications. The
Spectrum-CF is NOT to be used in confined spaces or in IDLH conditions.
Spectrum-CF respirators are compatible with breathing air sources such as
air compressors or Bullard Free-Air®Pumps. Bullard offers the appropriate
approved breathing tube assembly and air supply hose to connect the Spectrum-
CF respirator to these breathing air sources. This respirator is available in two
mask sizes. A probed mask kit is available for quantitative fit testing. Contact
Bullard or our local authorized distributor for more information about other
accessories for Spectrum-CF respirators.
COMPONENT CONCEPT
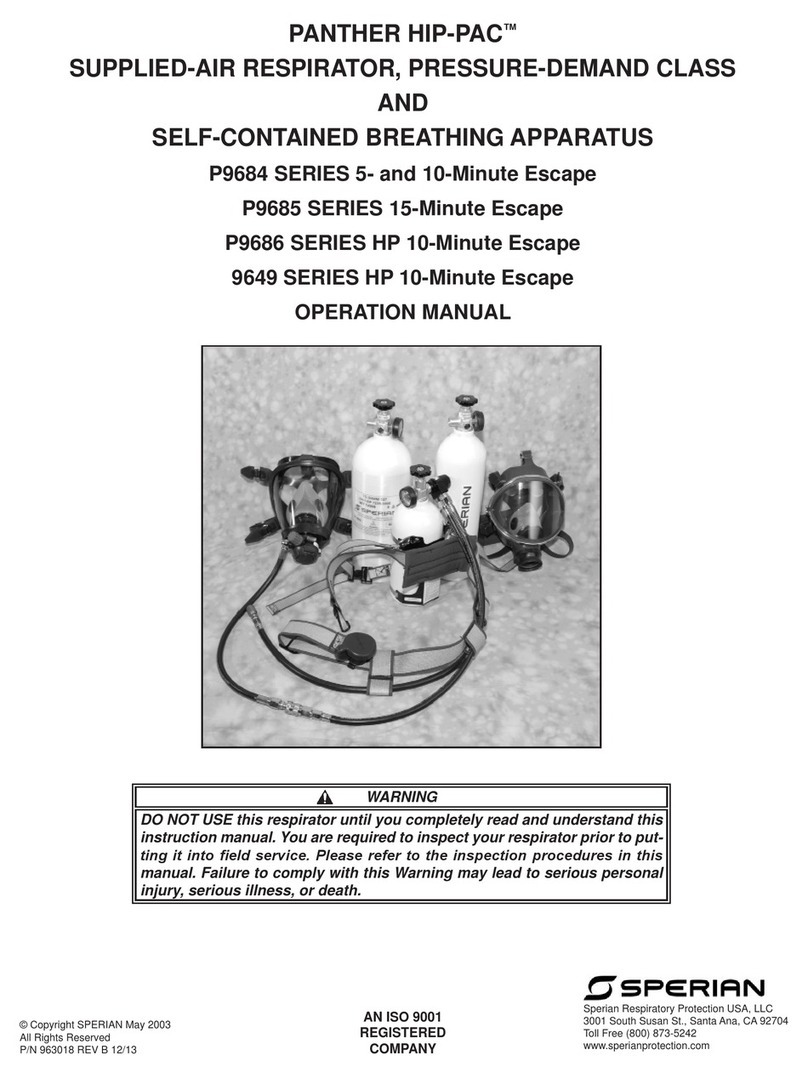
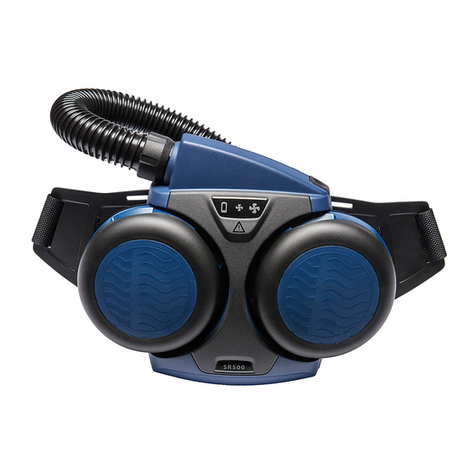
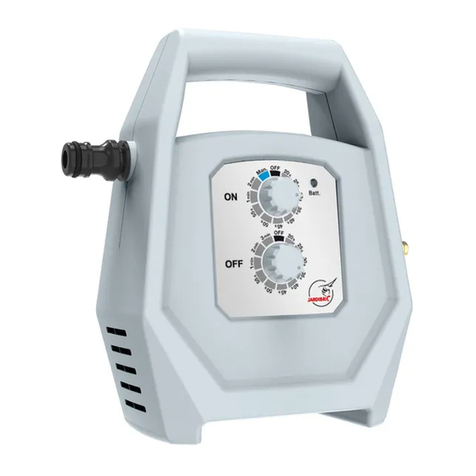
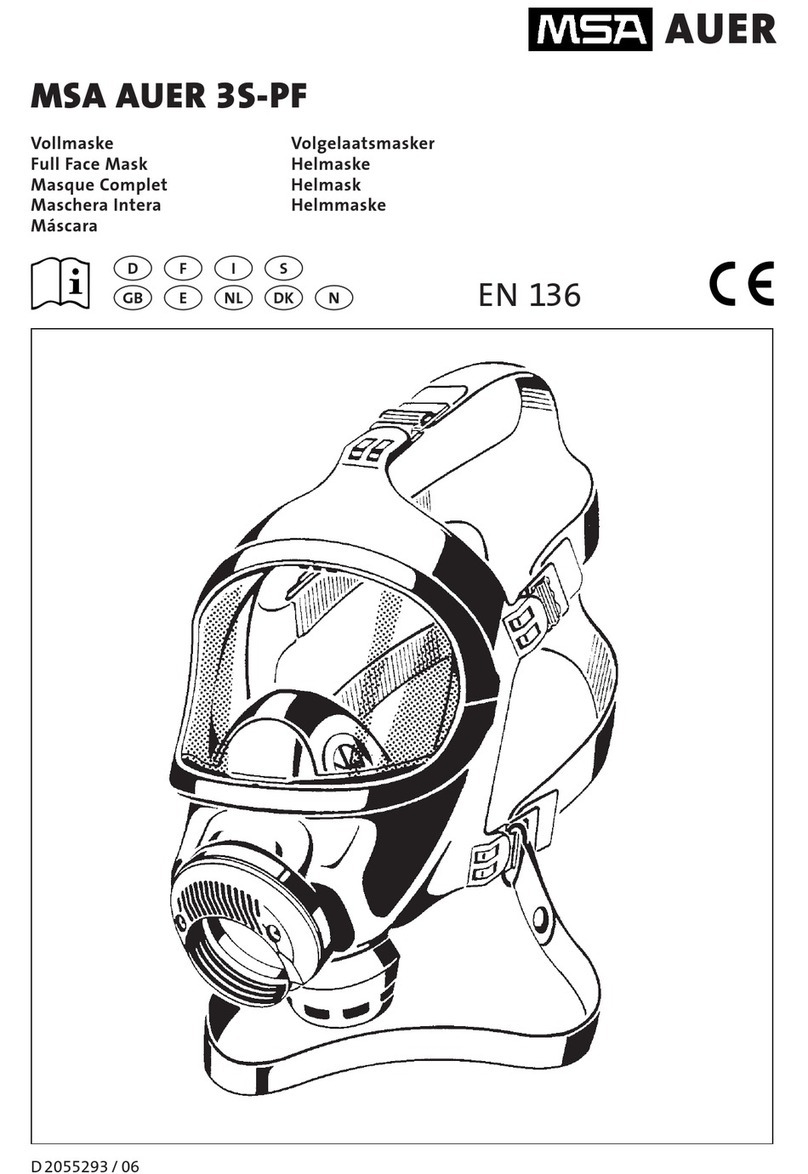
The Spectrum-CF airline respirator consists of four components: full-face mask, breathing tube, flow control devices, and air supply hose. All must be
present and properly assembled to constitute a complete NIOSH approved respirator.
1. Full-Face Mask with Headstrap.
2. Breathing Tube
3. Flow Control Device
4. Air Supply Hose
�WARNING
Failure to use complete NIOSH-approved Bullard components and replacement parts voids approval of entire assembly. Basic parts are
listed on the NIOSH Approval Label on Pages 1 and 2.
Clean Breathable
Air Source
Supplying Grade “D”
or Higher Air Quality
(See Breathing Air
Requirements on
page 12)
Figure 1
➊
➋
➍
➌
General Information / Component Concept
