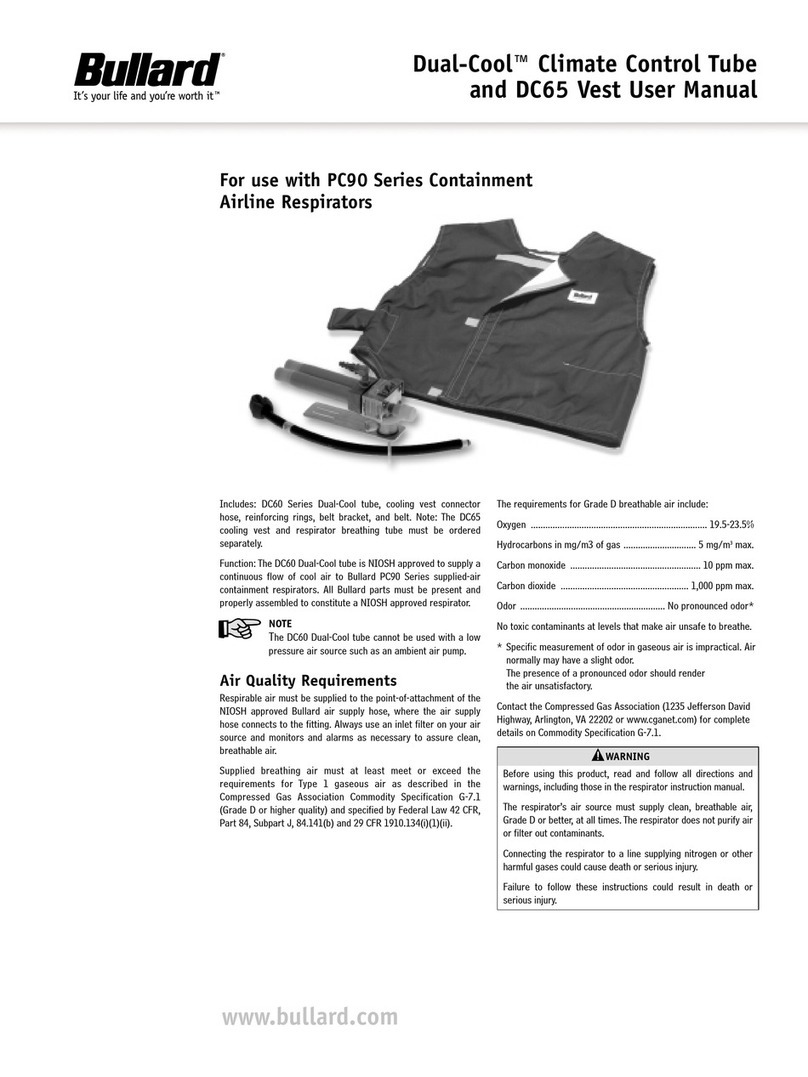
The requirements for Grade D breath-
able air include:
- Oxygen.......................19.5-23.5%
- Hydrocarbons (condensed) in
mg/m3of gas........5 mg/m3max.
- Carbon monoxide....10 ppm max.
- Carbon dioxide ...1,000 ppm max.
- Odor...............No detectable odor
- No toxic contaminants at levels
that make air unsafe to breathe.
Contact the Compressed Gas
Association (1725 Jefferson Davis
Highway, Arlington, VA 22202) for
complete details on Commodity
Specification G-7.1.
AIR SOURCE
Locate the source of supplied air
(whether it is a breathing air compres-
sor or an ambient air pump) in a clean
air environment. Locate the air source
far enough from your work site to
ensure the air remains contaminant-
free. Always use an inlet filter on your
air source.
Use suitable after-cooler/dryers, fil-
ters, carbon monoxide monitors and
alarms as necessary to assure clean,
breathable air at all times.
The air should be regularly sampled
to be sure that it meets Grade D
requirements.
Air pressure must be continually mon-
itored at the point-of-attachment while
operating this respirator. A reliable air
pressure gauge must be present to
permit you to continually monitor the
pressure during actual respirator
operation.
DANGER :
FAILURE TO SUP-
PLY THE MINIMUM REQUIRED
PRESSURE AT THE POINT-OF-
ATTACHMENT FOR YOUR HOSE
LENGTH AND TYPE MAY REDUCE
AIRFLOW AND MAY EXPOSE YOU
TO LIFE THREATENING CONDI-
TIONS, DISEASES OR DEATH.
The Breathing Air Pressure Table (see
page 9) defines the air pressure ranges
necessary for LANCER™respirators.
Make sure you understand the infor-
mation in the Breathing Air Pressure
Table before using this respirator.
1. Determine the type of air source
(column 1) and breathing tube
assembly (column 2) you are using.
2. Be sure your Bullard air supply
hose(s) (column 3) is (are) approved
for use with your breathing tube
assembly.
3. Determine that your Bullard air sup-
ply hose is within the approved
length (column 4).
4. Make sure you have not exceeded
the maximum number of hose sec-
tions (column 5).
5. Set the air pressure at the point-of-
attachment within the required
pressure range (column 6) for your
breathing tube assembly, and air
supply hose type and length.
Accurate pressure readings can
only be attained when air is flowing
into the respirator.
Breathing Air Pressure
8
