SECTION 1:
UPDATE YOUR WD:
DRIVING COACH
FUEL ECONOMY OPTIMIZER
• Display instant fuel economy
• Display trip economy info
• Display driving eciency
• Visual and audible feedback
• Export driving reports into Excel
• Record and analyze data
HEAVY DUTY WD
MENU OPTIONS
SLEEP MODE
INSTALL TUNING
SPECIAL FEATURES
- Speed Limiter, ect.
DRIVING COACH SETUP
- Display/Change Levels
- Driving Stats
- Clear/Reset Driving Stats
- Calibrate MPGs
- Driving Coach Sound
- Assign Truck Number
USER OPTIONS
- Adjust Backlight
- Set Background Theme
- US/ Metric Units
- Administrator Password
- Reset to System Defaults
- Copy Device Info to SD
VEHICLE SETTINGS
- Set Warnings
- Change Monitoring Type
- Enter ECM Password
VEHICLE DIAGNOSTICS
- Read and Erase Trouble Codes
SHOW SETTINGS
UNINSTALL FROM VEHICLE
UPDATE DEVICE SOFTWARE
CHANGE VEHICLE/ENGINE
- Cummins®
- Caterpillar®
- Detroit
- Paccar®
- Mercedes®
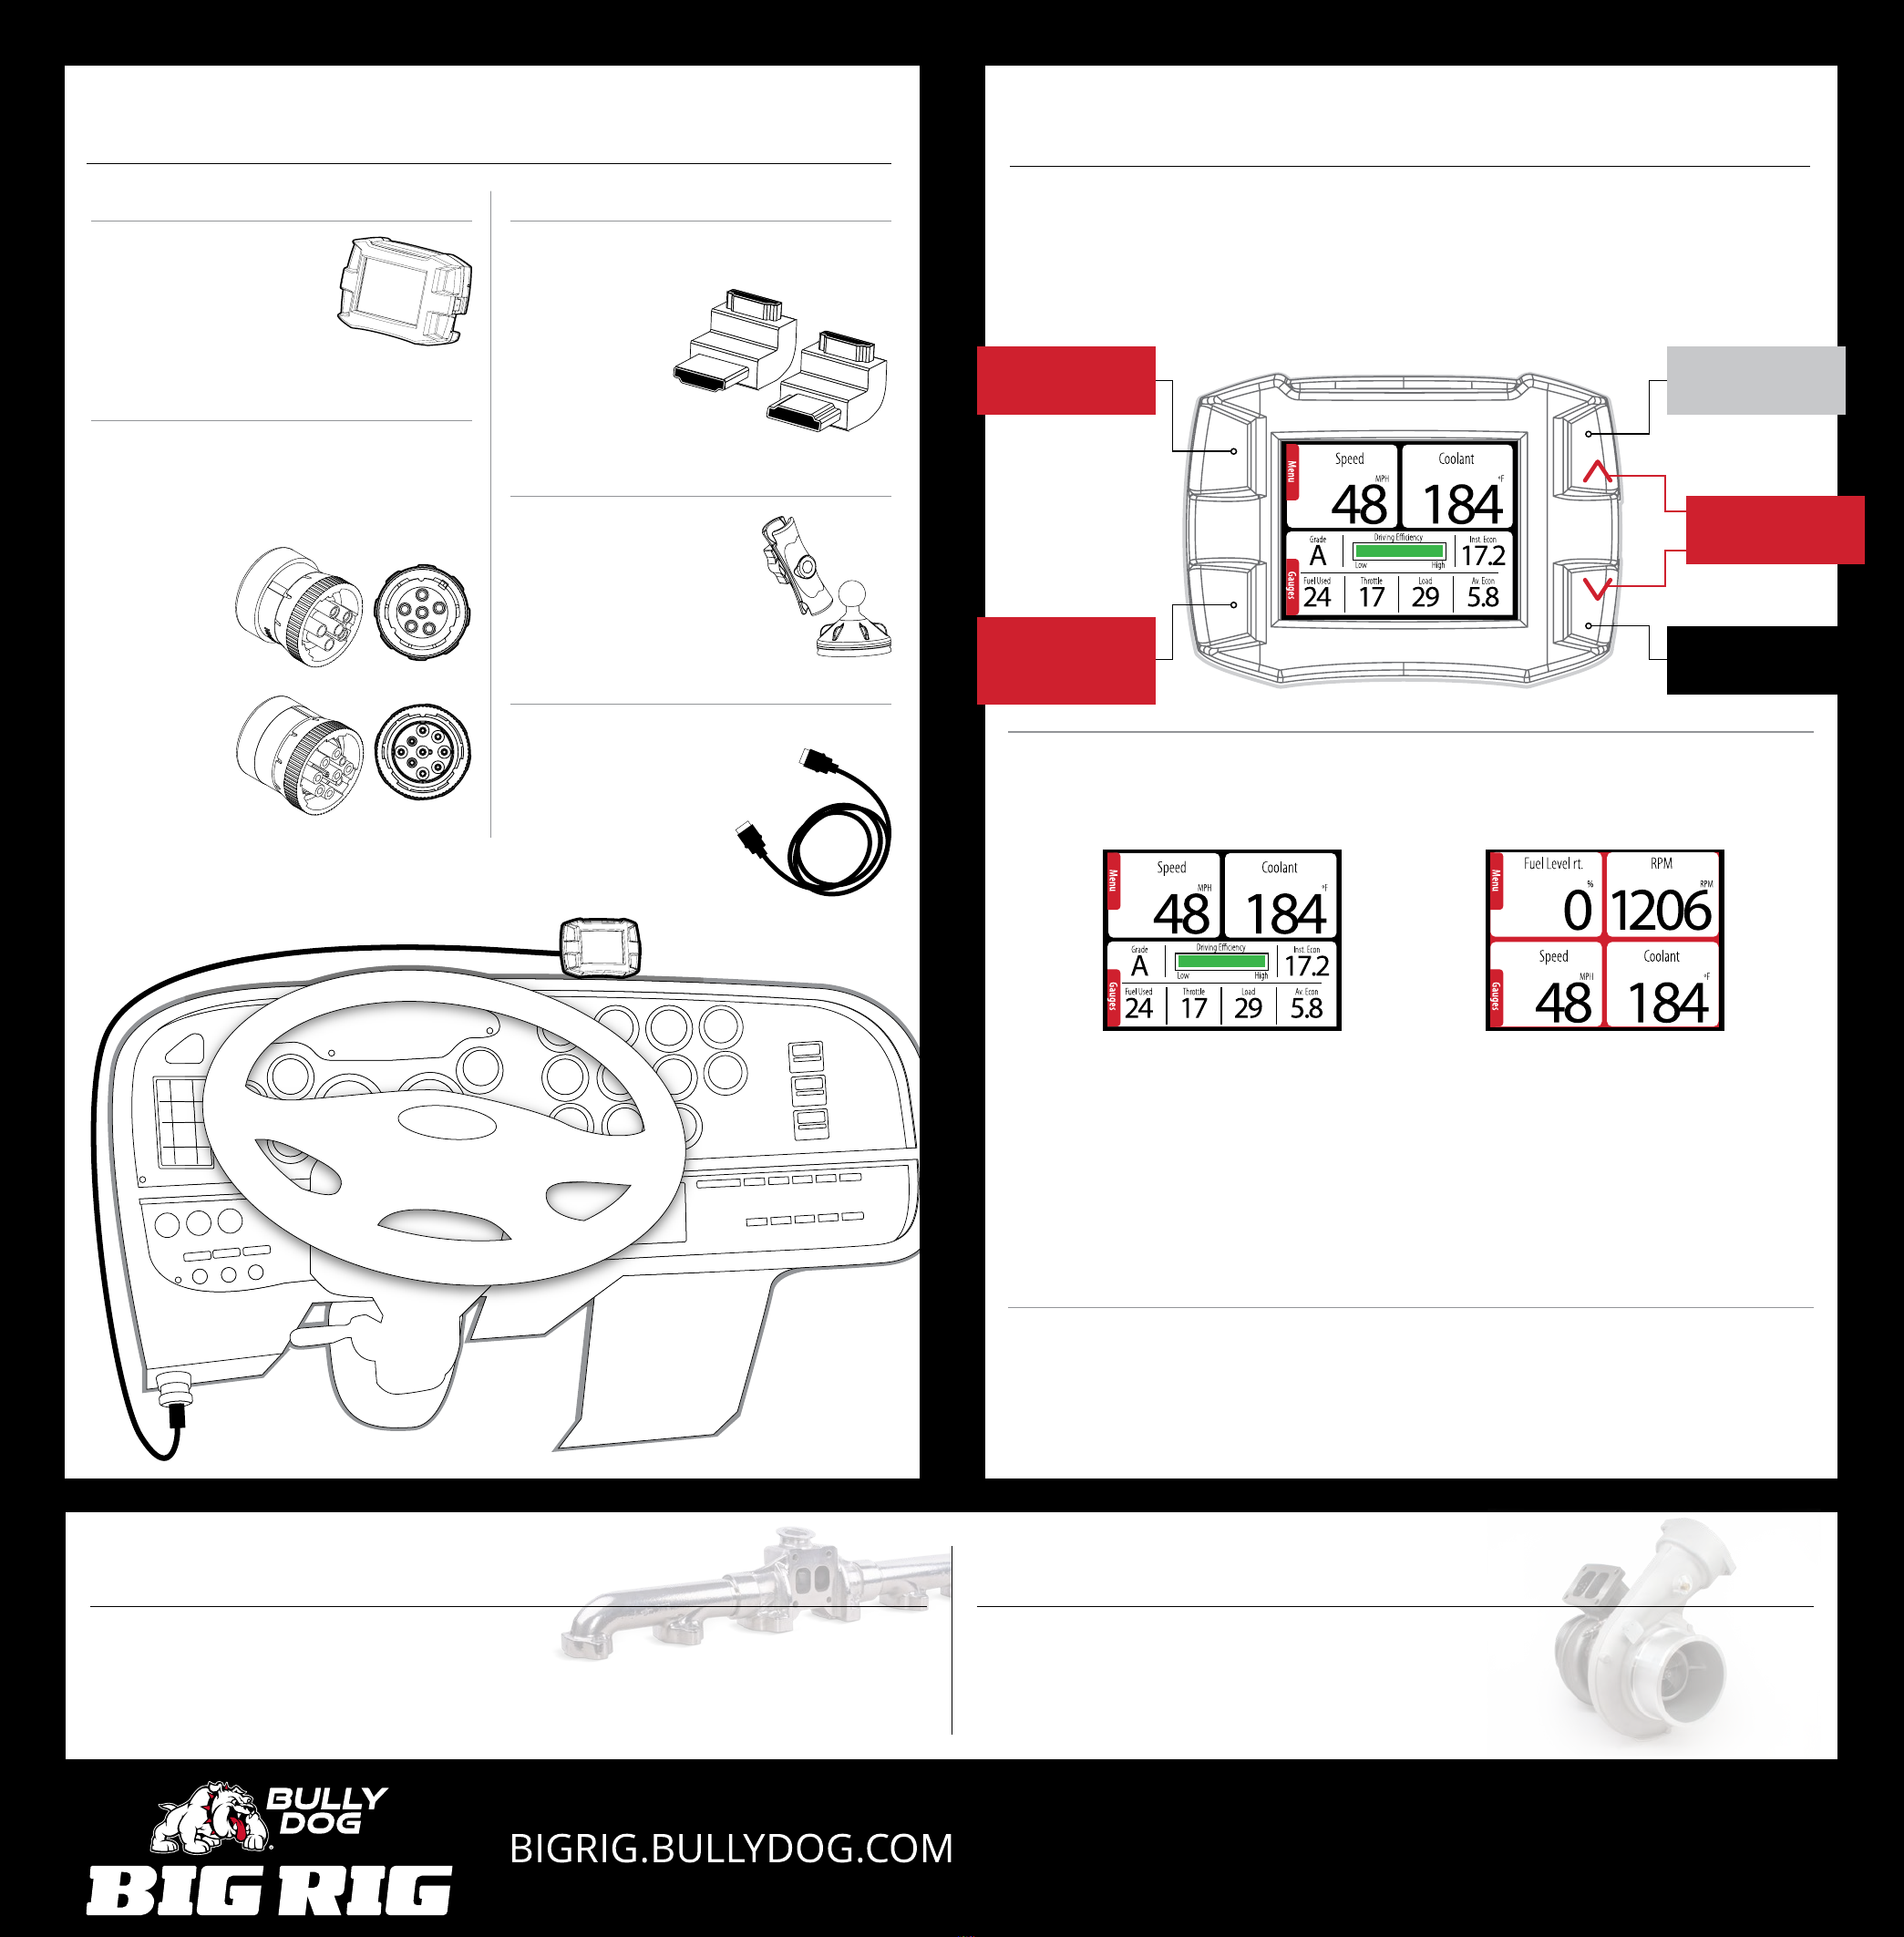
GAUGES & MONITOR
• Monitor four vehicle parameters
• Prevent unsafe vehicle temps/levels
• Set automated safety warnings
• Visual and audible feedback warnings
INSTALLATION FAST & EASY
• No tools necessary
• Physical install in 5 minutes
• Heavy Duty RAM Mount included
TROUBLE CODES
• Read trouble code description
• Erase code from computer
• On-road diagnostics
• DIY; no mechanic necessary
SPEED LIMITER ADJUSTMENT
• Adjust top speed limit
• Remain speed compliant anywhere
• Avoid costly change fees or nes
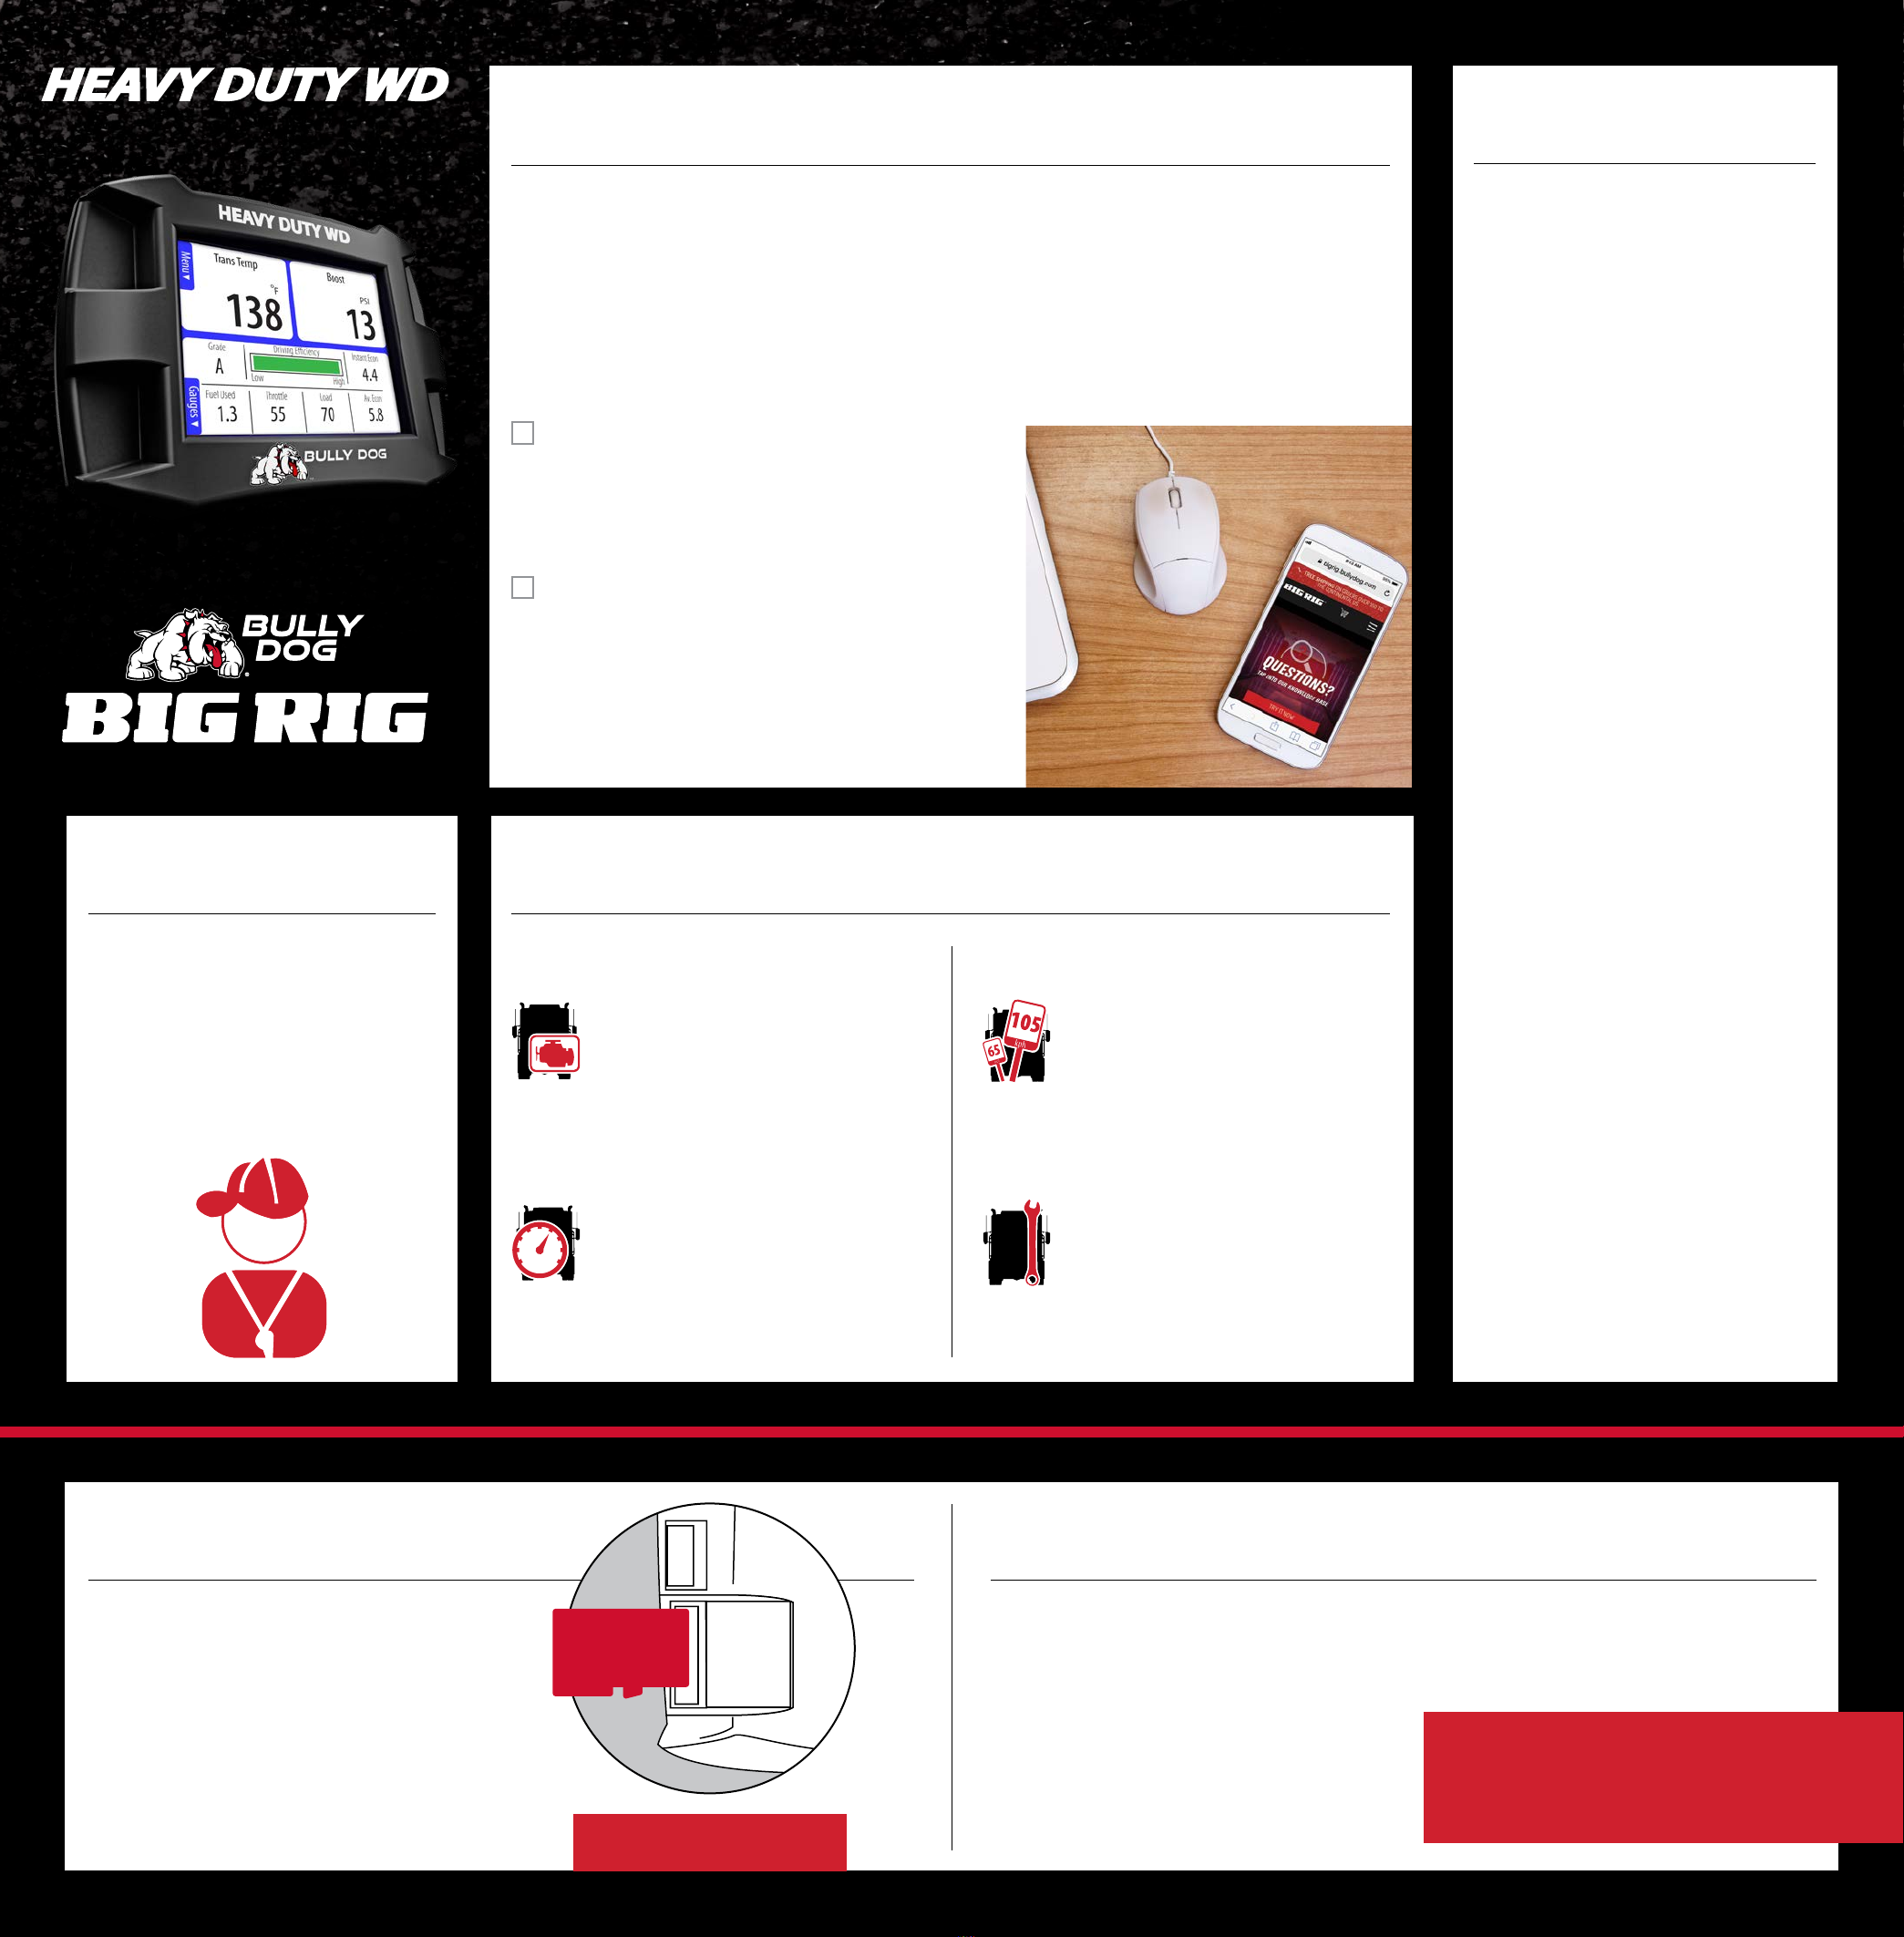
• You will need a Windows PC
• An Internet connection
• Included Mini USB cable
• Heavy Duty Update Agent Software
Download the Update Agent from bigrig.bullydog.
com/updateagent.php as well as any drivers you
are prompted to install, plug in your device using
the mini USB cable and update it if necessary.
SECTION 2:
REGISTER YOUR PRODUCT:
• Receive the latest product updates for your
product and vehicle
• Claim ownership in the event that your product
is stolen
• Access our extended warranty program
• Receive product specials and
promotions (optional)
HEAVY DUTY WD
JACK OF ALL TRADES
HEAVY DUTY WD
BEFORE YOU GET STARTED
THANK YOU FOR PURCHASING A HEAVY DUTY WD!
You are now the owner of the best multi-function performance gauge for your truck. With it, you can
save money and know everything you desire about how your rig is running. Using the WatchDog will
make you more knowledgeable, ecient and safe as a driver. Prepare yourself for an empowered
driving experience unlike any other.
Before you hit the road, your Heavy Duty WD needs to be installed! The Quick Install Guide on the
other side of this page will lead you through the basic steps needed to update, install and operate the
Heavy Duty WD on your rig.
INTERNET ACCESS
During the installation process, you will need to connect your
ECM Tuner to a PC with Internet access. This is also true during
troubleshooting or if Tech Support needs to remotely connect to
your device to resolve any problems.
ALLOW TIME FOR INITIAL SETUP
Make sure you have at least an hour to complete the initial setup,
update, and installation process.
NEED FURTHER SUPPORT?
For additional troubleshooting and support, see our knowledge
base on-line at bigrig.bullydog.com.
BIGRIG.BULLYDOG.COM
Insert the provided Micro SD
card into the Head Unit FIRST.
Product registration is a quick, easy and condential
process. Your registration helps you own your product
and stay up-to-date.
bigrig.bullydog.com/updateagent.php
QUICK START GUIDE