manuals.online logo
Brands
  1. Home
  2. •
  3. Brands
  4. •
  5. Bush
  6. •
  7. Speakers System
  8. •
  9. Bush BAS950BT User manual

Bush BAS950BT User manual

or on the remote
control to turn the BAS950BT on.
Thank you for buying this BUSH product, which is designed to give you many years of
trouble-free service.
You may already be familiar with using a similar unit, but please take time to read these
instructions. They are designed to familiarise you with the unit's many features and to
ensure you get the very best from your purchase.
Safety is important
Your safety and the safety of others is important.
Please therefore, ensure you read the "Safety Instructions" before you operate this unit.
Warranty
In the unlikely event that your product fails to work normally, please call the below free
phone number to discuss the problem with o
.
ne of our qualified service engineers
Bush Warranty: 1300 055 518
INTRODUCTION
12
11
1. Output Power : 80W + 40W x2
2. Speaker Size : - 6.5 inch
: Soundbar - 3 inch x 4
3. Frequency Response : - 20Hz~85Hz
Sound Bar - 85Hz~20KHz
4. S/N Ratio : ≥ 73 db
5. Input Sensitivity : - 350 mV +/- 20mV
Sound Bar - 550 mV+/- 50mV
6. Impedance : - 4
Soundbar - 8
7. THD : <0.5% (1KHz, 1W)
8. Power Supply : AC 230V~50Hz
Subwoofer
Subwoofer
Subwoofer
Subwoofer Ω
Ω
Note: Specifications are subject to change for improvements.
SPECIFICATIONS
Warranty
Please keep your receipt as proof of purchase. This product is warranted for any defect
in materials or workmanship for one year after the original date of purchase. This product
is for normal domestic and office use only. This warranty does not cover damage from
misuse or neglect, accidental damage, vermin infestation, excessive voltages such us
lightning or power surges or any alternation that affects the performance or reliability of
the product.
In the unlikely event that your product fails to work normally, please contact the
Bush Warranty on
This warranty is subject to the following provisions:
It is only valid within boundaries of the country of purchase
The product must be correctly assembled and operated in accordance with the
instructions contained in the manual
This product must be used solely for domestic purposes
The warranty does not cover accidental damage
The warranty will be rendered invalid if the product is resold or has been damaged by
inexpert repair
The manufacturer disclaims any liability for incidental or consequential damaged
This warranty is in addition to , and does not diminish, your statutory or legal rights .
PO BOX 6287
Silverwater NSW 1811
Bush Warranty:
www.bushaustralia.com.au
CAUTION !
!
RISK OF ELECTRIC SHOCK
DO NOT OPEN
SAFETY INFORMATION
THE LIGHTNING FLASH WITH ARROWHEAD SYMBOL,
WITHIN AN EQUILATERAL TRIANGLE, IS INTENDED
TO ALERT THE USER TO THE PRESENCE OF
UNINSULATED, "DANGEROUS VOLTAGE", WITH IN THE
PRODUCTS ENCLOSURE THAT MAY BE OF SUFFICIENT
MAGNITUDE TO CONSTITUTE A RISK OF ELECTRIC
SHOCK TO PERSONS.
THE EXCLAMATION POINT WITHIN AN EQUILATERAL
TRIANGLE IS INTENDED TO ALERT THE USER TO THE
PRESENCE OF IMPORTANT OPERATING AND MAINTE-
NANCE (SERVICING) INSTRUCTIONS IN THE LITERA-
TURE ACCOMPANYING THE APPLIANCE.
Safety Precautions
WARNING: TO PREVENT FIRE OR ELECTRIC SHOCK. DO NOT
EXPOSE THIS APPLIANCE TO RAIN OR MOISTURE.
110
TROUBLE SHOOTING GUIDE
If the subwoofer is not linking properly with the soundbar or there is no sound
coming from the subwoofer please follow the below steps:
1) Press the "STANDBY" button on soundbar or on the remote control, and
switch off the subwoofer.
2)
After 15 seconds the coding
should be completed and the subwoofer will be connected to the soundbar
wirelessly. (You can confirm this by the blue light on the front of the
subwoofer. If the soundbar and subwoofer are connected the blue light will
be solid but if it is flashing then the subwoofer and soundbar are not
connected.)
Press the "STANDBY" button on soundbar or on the remote control again,
the soundbar gets into play-mode.And then switch on the subwoofer within
15 seconds after you pressed "STANDBY".
3) Please repeat the above steps if the soundbar is not connecting to the
subwoofer wirelessly.
4) Once the above steps have been completed and the soundbar is
connected to the subwoofer the settings will automatically save and there
should be no need to follow the above steps again unless the product is
disconnected from the mains power.
9
SYSTEM CONNECTION INSTRUCTIONS
TV
Video In
Video Out
Rear-R
Center
Woofer Rear-L Front-L
Front-R
DVD Player
Optical
Audio Out
Rear-R
Center
Woofer Rear-L Front-L
Coaxial Front-R
Video Out
Scart out
Video S-Video U VY
Manufactured under license from Dolby Laboratories.
"Doldy","Dolby Digital", and the double-D symbol are
trademarks of Dolby Laboratories. Confidential
Unpublished Works.
@1992-1997 Dolby Laboratories, Inc.
All rights reserved.
Apparatus Claims of U.S. Patent Nos.
4,631,603;4,577,216;4,819,098 and 4,907,093
licensed for limited viewing uses only.
RISK OF ELECTRIC SHOCK
DO NOT OPE N
WARNING
!
AC 100V~240V
50/60Hz
Video
RCA Cable
To Stereo Output
Audio Out
Caution: Please read carefully all the following important safeguards to en-
sure safe operation.
1. Read Instructions - All the safety and operating instructions should be
read before the appliance is operated.
2. Retain Instructions - The safety and operating instructions should be
retained for future reference.
3. Follow Instructions - All operating instructions should be followed.
4. Heed Warnings - All warnings on the appliance and in the operating
instructions should be adhered to.
5. Power Source - The appliance should be connected to a power supply
only of the type specified in the operating instructions or as marked on
the appliance.
6. Power-cord Protection - Power-supply cords should be routed so that
they are not likely to be walked on or pinched by items placed upon or
against them, pay particular attention to cords at plugs, convenience
receptacles, and the point where they exit from the appliance.
7. Water and Moisture - The appliance should not be used near water
(for example, near a bathtub, washbowl, kitchen sink, laundry tub, in a
wet basement, or near a swimming pool, etc.)
8.Ventilation - The appliance should be situated so that its location or
position does not interfere with its proper ventilation. Do not use the
appliance on a bed, sofa, rug or similar surface that may block the
ventilation openings.
IMPORTANT SAFEGUARDS
2
registers, stoves, or other appliances (including amplifiers) that produce heat.
10. Nonuse Periods - The power cord of the appliance should be unplugged
from the outlet when left unused for a long period of time.
11. Damage requiring service - The appliance should be serviced by qualified
service personnel when:
a/ The power-supply cord or the plug has been damaged;
b/ Objects have fallen or liquid has been spilled into the appliance;
c/ The appliance has been exposed to rain;
d/ The appliance does not appear to operate normally or exhibits a marked
change in performance;
e/ The appliance has been dropped, or the enclosure damaged.
12. Servicing - The user should not attempt to service the appliance beyond
that specified in the operating instructions. All other servicing should be
referred to qualified service personnel.
13. Clean only with dry cloth.
14. Do not defeat the safety purpose of the polarized or grounding type
plug. A polarized plug has two blades with one wider than the other. A
grounding type plug has two blades and a third grounding prong. The wide
blade or the third prong are provided for your safety. If the provided plug
does not fit into your outlet, consult and electrician for replacement of the
obsolete outlet.
15. Unplug this apparatus during lightning storms or when unused for
long periods of time.
9. Heat - Keep the appliance away from heat sources such as radiators, heat
IMPORTANT SAFEGUARDS
3
REMOTE CONTROL
8
1.Replace the remote control battery when it no longer operates the
unit, or the range is reduced considerably.
2.Use only Cr2025 3V lithium batteries
3.Bear in mind that lighting & other room conditions, in addition to
battery age, can affect the operating range of an infrared remote control.
REMOTE CONTROL BATTERY REPLACEMENT
1. : Power Standby.STANDBY
6.VOL-: Volume Downward Adjustment Button.
9.INPUT: Input Button .
Selection
4.PREV: Play previous song.
5.NEXT: Play next song.
2.MUSIC: Music Mode .Selection
3.NORMAL: Normal Mode .Selection
7.BASS-: Bass Downward Adjustment Button.
8.TREBLE-: Treble Downward Adjustment Button.
14.PLAY and PAUSE: Play/Pause song .
13.STOP: Stop the song .
11.RESET: Reset sound settings to default.
12.MOVIE: M ovie Mode .Selection
15.VOL+: Volume Upward Adjustment Button.
16.BASS+ : Bass Upward Adjustment Button.
17.TREBLE+: Treble Upward Adjustment Button.
10.MUTE: Mute Function Button .
/Bluetooth Esc.
REMOTE CONTROL
7
FRONT PANEL - CONTROLS AND FUNCTIONS
4
2345
2. : Power Standby STANDBY Button.
3.INPUT:Input Selection Button.
4.VOL-: Volume Downward Adjustment Button.
5.VOL+: Volume Upward Adjustment Button.
6
6. STANDBY:Subwoofer Standby Input Indicator.
11
12
13
2
3
4
5
6
7
8
9
10
1
14
15
16
17
1
1.USB Jack.
REAR PANEL - CONTROLS AND FUNCTIONS
65
1. AUX Stereo Audio Input.Right
2. AUX Stereo Audio Input.Left
REAR PANEL - CONTROLS AND FUNCTIONS
2
3
4
1
4. TV Stereo Left Audio Input.
3. TV Stereo Right Audio Input.
5. AC Power Cord.( )SOUND BAR
6. Power On/Off Switch.(SUBWOOFER)
7. AC Power Cord.(SUBWOOFER)
5
67
Made In Chi na
BAS9 50 BT
2.4 GHz DIGI TAL WIREL ESS SOU NDBAR S YSTEM
Max Tota l Power C onsum ption :160W
Out put Pow er: Sou nd bar: 40W x 2
Subw oof er :80 W x 1
Pow er Supp ly: AC 230 V~50H z
Speaker Unit : Soun d bar : 3
Subw oof er : 6.5 x 1
Imp edanc e : Sound b ar : 8( )
Subw oof er : 4( )
x 4
Ω
Ω
BUSH WA RRAN TY 1300 05 5 518

Other Bush Speakers System manuals

Bush CBAR1000BF User manual

Bush

Bush CBAR1000BF User manual

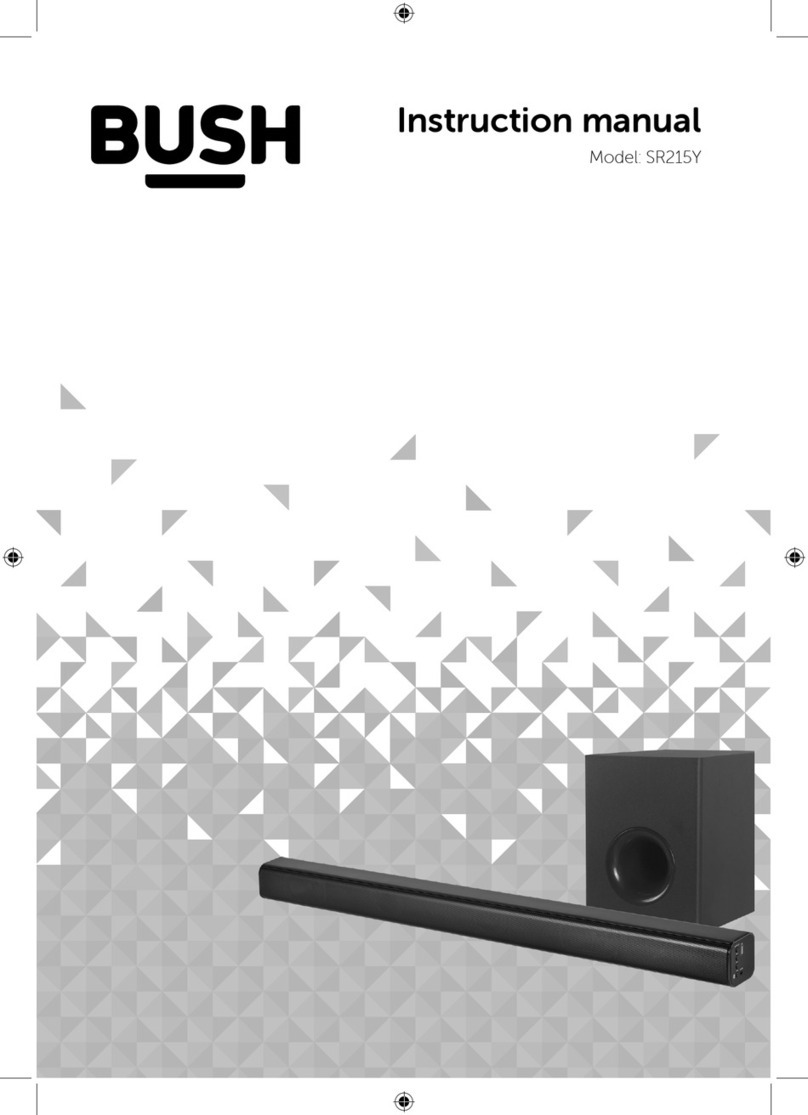
Bush SR215Y User manual

Bush

Bush SR215Y User manual

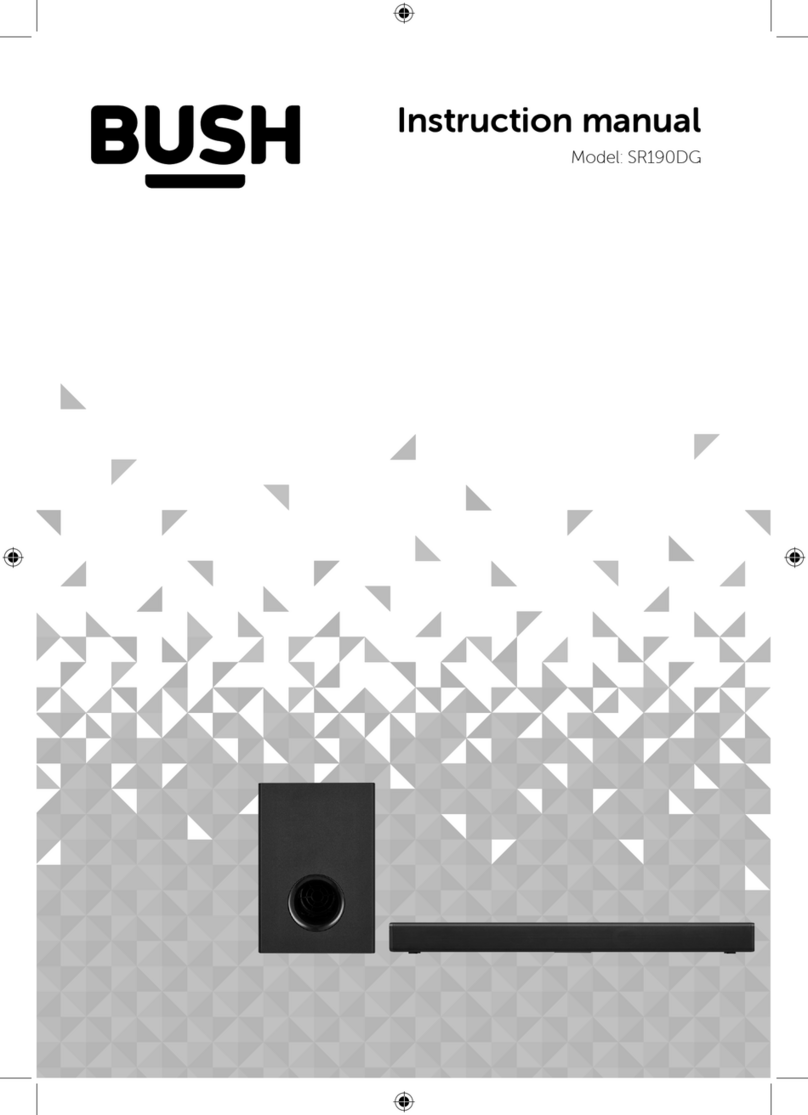
Bush SR190DG User manual

Bush

Bush SR190DG User manual

Bush B-3363A User manual

Bush

Bush B-3363A User manual

Bush CBAR7W Assembly Instructions

Bush

Bush CBAR7W Assembly Instructions

Bush BAS520BT User manual

Bush

Bush BAS520BT User manual

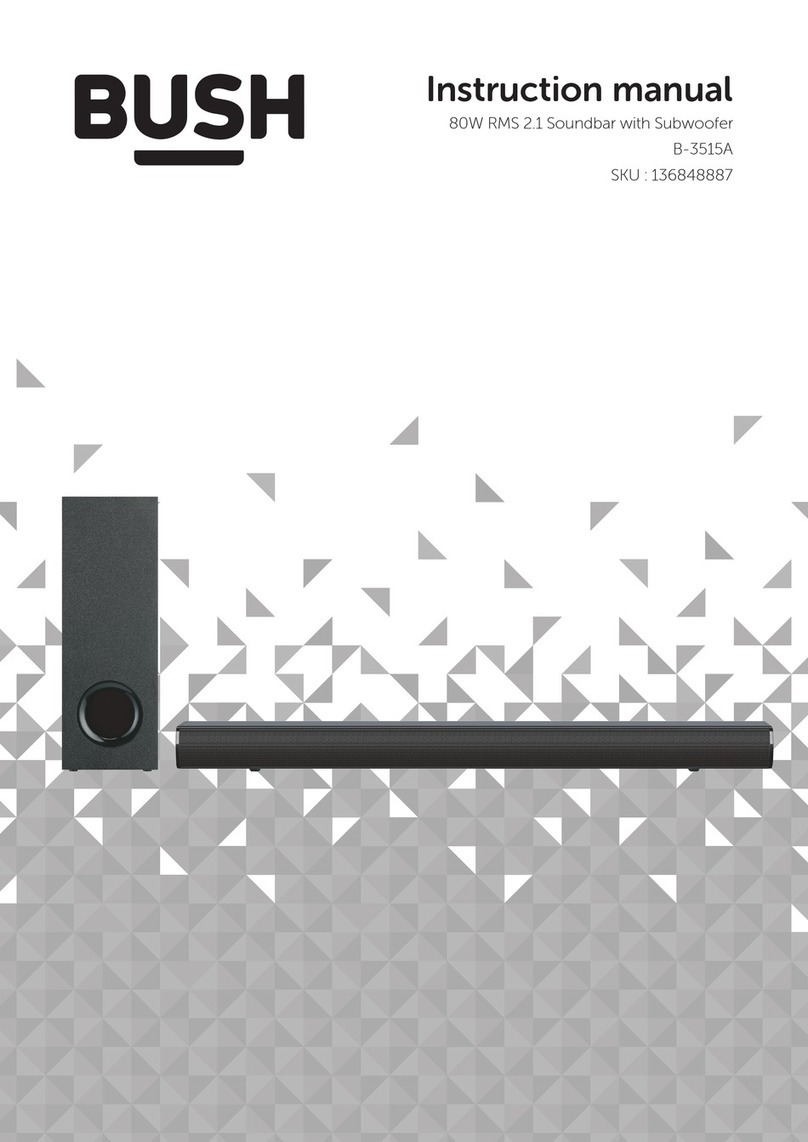
Bush B-3515A User manual

Bush

Bush B-3515A User manual

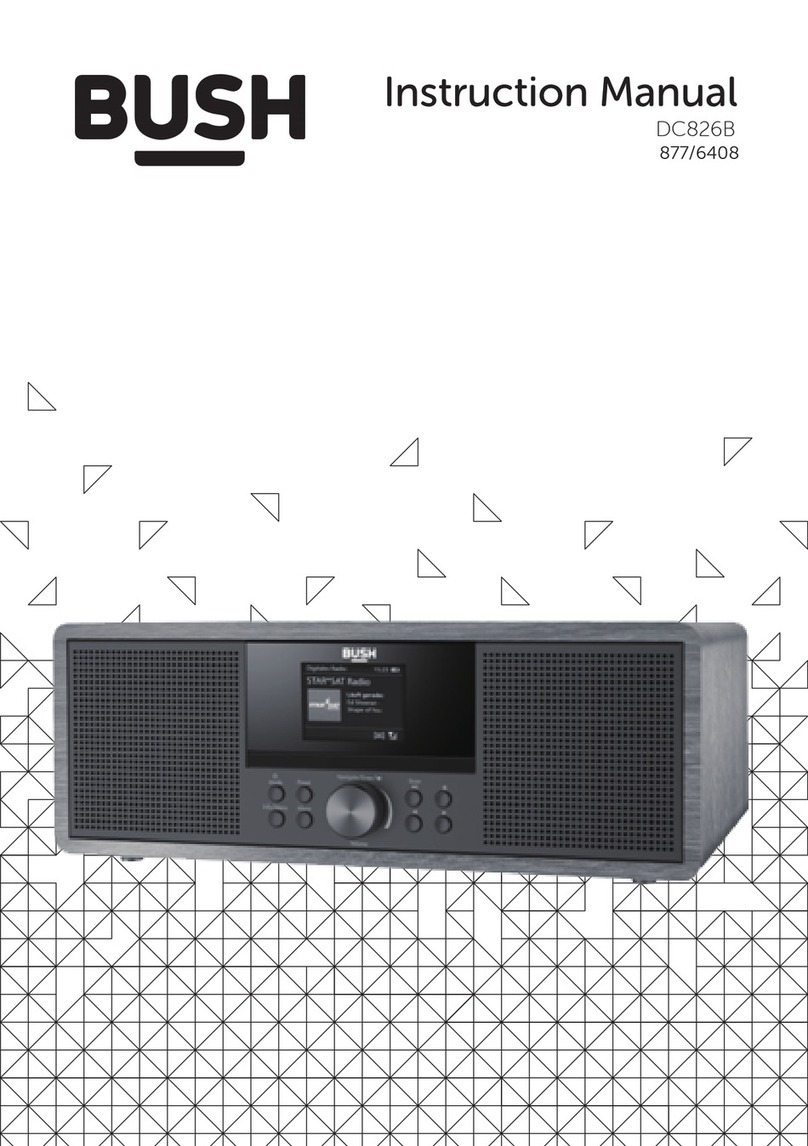
Bush DC826B User manual

Bush

Bush DC826B User manual

Bush CAB-91667 User manual

Bush

Bush CAB-91667 User manual

Bush CBAR4 Assembly Instructions

Bush

Bush CBAR4 Assembly Instructions

Popular Speakers System manuals by other brands

Samsung HW-J6500R user manual

Samsung

Samsung HW-J6500R user manual

Martin Audio Three-way Passive System Screen 4P Specifications

Martin Audio

Martin Audio Three-way Passive System Screen 4P Specifications

Monoprice SB-600 instruction manual

Monoprice

Monoprice SB-600 instruction manual

Philips htl1193b quick start guide

Philips

Philips htl1193b quick start guide

JVC TH-WL701B instruction manual

JVC

JVC TH-WL701B instruction manual

JVC CA-MXJ950RB instructions

JVC

JVC CA-MXJ950RB instructions

Samsung MX-FS9000 User manaul

Samsung

Samsung MX-FS9000 User manaul

Vizio 1362121 Quick Setup Steps

Vizio

Vizio 1362121 Quick Setup Steps

Hisense HS218 user manual

Hisense

Hisense HS218 user manual

Avermedia AS510 quick guide

Avermedia

Avermedia AS510 quick guide

LD STINGER LDEB82 G2 user manual

LD

LD STINGER LDEB82 G2 user manual

Philips ARG300/77 Service manual

Philips

Philips ARG300/77 Service manual

Monacor EUL-2/SW manual

Monacor

Monacor EUL-2/SW manual

Cyber Acoustics CA-3080 owner's guide

Cyber Acoustics

Cyber Acoustics CA-3080 owner's guide

Orbitsound M9 airSOUND manual

Orbitsound

Orbitsound M9 airSOUND manual

Dcm TripleTime Owner's instructions

Dcm

Dcm TripleTime Owner's instructions

Pyle PSBV210WIFI user manual

Pyle

Pyle PSBV210WIFI user manual

Fender Speaker System user manual

Fender

Fender Speaker System user manual

manuals.online logo
manuals.online logoBrands
  • About & Mission
  • Contact us
  • Privacy Policy
  • Terms and Conditions

Copyright 2025 Manuals.Online. All Rights Reserved.