BUTURE JR600 User manual

USER MANUAL
BUTURE JR600 Stick Vacuum Cleaner
[Read this user manual carefully before rst use. Keep this manual for further guidance in case]

1EN
1. WARNING
Personal Safety
Electrical Safety
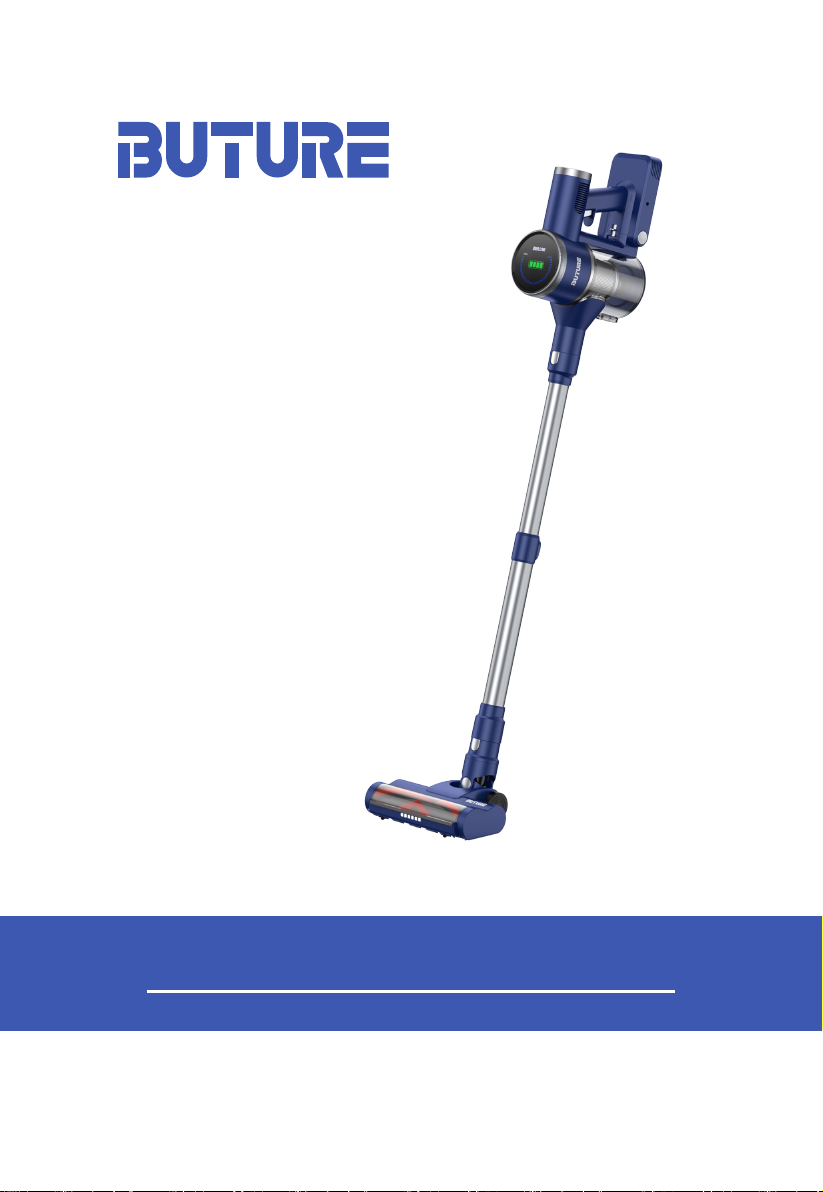
Thank you for purchasing the BUTURE JR600 stick vacuum cleaner.
Please read the user manual carefully before using the product and take safety protection
measures to avoid malfunctions caused by accidental operation. If the product is given to
another person, please make sure to also include this user manual.
The product provides a free 2-year warranty by default. To extend the warranty to 3 year,
01. Store it indoors in a dry place and out of the reach of children.
02. This product is suitable for children 10 years old and above. Users with reduced
physical functions, sensory or intellectual abilities, or lack of experience and knowledge
are advised to use the product safely supervision or guidance and to be aware of the
hazards involved.
03. Please pay attention to safety when children or pets near the vacuum cleaner.
04. Children should not clean or use the product without supervision.
05. Use only manufacturer’s recommended attachments as described in this manual;
misuse or use of any accessory or attachment other than those recommended may
present a risk of personal injury.
06. Take extra care when cleaning stairs.
07. Keep the appliance and accessories away from the hot surface.
08. Do not block the appliances' openings or hinder airflow, keep openings free of any
objects including dust, lint, clothing, ngers (and all parts of the body).
01. Only use batteries and chargers supplied by the manufacturer.
02. Never modify the charger in any way.
03. Do not pull the cord to disconnect it from a socket, grasp the plug and pull to
disconnect it.
04. Keep the charger cord away from hot surfaces and sharp edges.
05. The supply cord cannot be replaced. If the cord is damaged the charger should be
discarded and replaced.
06. Do not handle the charger or the appliance with wet hands.
07. Do not store, or charge the appliance outdoors.
08. The charger must be removed from the socket before removing the battery, cleaning,
or maintaining the appliance.

2EN
Battery Safety
01. This appliance includes Li-ion batteries, do not incinerate batteries or expose them to
high temperatures, as they may explode.
02. Liquid ejected from the battery may cause irritation or burns.
03. In an emergency contact professional help immediately.
04. Leaks from the battery cells can occur under extreme conditions. Do not touch any
liquid that leaks from the battery. If the liquid gets on the skin, wash immediately with
soap and water. If the liquid gets into the eyes, flush them immediately with clean
water for a minimum of 10 minutes and seek medical attention. Wear gloves to handle
the battery and dispose of it immediately in accordance with local regulations.
05. When the battery pack is not in use, keep it away from paper clips, coins, keys, nails,
screws, or other small metal objects that could make a connection from one terminal
to another.
06. When you dispose of the appliance remove the battery and dispose of the battery
safely in accordance with local regulations.
2. CONTENT OF PACKAGE
Please check and conrm the accessories and parts according to the following sheet before
service in time.
Main Body
Motor Air Filter
Battery Pack (not installed
on the main unit)
Stainless steel Filter +
Sponge + HEPA Filter
Dust Cup

3EN
Main Body*1 Adapter*1
Wall Mount*1 (with
screw*3, expansion
tube*3)
Battery Pack*1 2 in 1 Brush*1 Electric Floor Brush*1
Crevice Brush*1 Telescopic Tube*1 Extra HEPA*1
Extra Sponge Filter*1 Cleaning Brush*1 User Manual*1
Accessories List

4EN
3. KNOW YOUR PRODUCT
Floor Brush Release Button
Electric Floor Brush
Anti-winding Roller
Battery Pack
Charging Port
Dust Cup Release Button
Battery Release button
ON/OFF Button
Digital Display
Suction Adjustment Knob
Telescopic Tube
Tube Release Button
Length Adjustment Button
AUTO Mode
Gear Indicator Battery Indicator
Tip: The" " " "
icon will only be
displayed when
the vacuum is
blocked.
MAX Grade
Dust Full Indicator Floor Brush Tangle
Indicator
Dust Cup
Dust Cup Cover Release Button
3.1 Product Details
3.2 Digital LED Screen

5EN
3.3 Accessory Usage
1. Crevice Brush
Suitable for cleaning small gaps such as
doors and windows, corner of stairs, etc.
2. 2 in 1 Brush
Suitable for cleaning sofas, seats, etc.
4. Cleaning Brush
Remove hair, rubbish, and micro dust from
the accessories or lters.
3. Floor Brush
Suitable for cleaning floor tiles, floors, as
well as short and medium hair carpets.
5. Install the Wall Mount
Snap the main unit into the wall mount from the middle position, and snap the at suction
and sofa suction into the hanger slot from the bottom.

6EN
4.1 Install the Battery
4.2 Install the Dust Cup
4.3 Install the Machine
• Slide forward in the direction of the arrow, and the lock is fastened on the rack.
• Align the protruding part of the main unit with the recessed part of the dust box, push it
forward.
• 1: Connect the main body to the telescopic tube rst, then install the brush.
• 2: Connect the main body to the brush directly.
4. ASSEMBLING
Ka da
Ka da
Ka da Ka da
Ka da

7EN
5. CHARGING
Note: Due to long-distance transportation, the power of the battery pack is
consumed, please fully charge it before using it for the rst time.
* When charging, the battery indicator on the display ashes green.
When the battery is fully charged, the battery indicator is always on green.
* When charging, the lights on the battery pack ash blue.
When the battery is fully charged, the lights are always on blue.
1. The battery is installed on the vacuum cleaner. Plug the adapter to charge.
2. The battery could be charged separately without installing it in the vacuum cleaner. Plug
the adapter to charge.
3. Battery Power Indicator
25%
50%
75%
100%
5.1 Two Charging Ways

8EN
5.3 Charging with Wrong Adapter
1. During the running process, the battery indicator ashes in red, reminding that the
battery power is low and the vacuum will be shut down later. Please charge in time.
2. After turning off the vacuum, the battery indicator flashes in orange, then flashes
slowly for 5s and goes out, indicating that the power is less than 25%, please charge it in
time.
If a wrong adapter is being used, the battery indicator ashes red and goes out after 60s.
The input voltage/current does not match, which will cause damage to the battery pack.
Please replace the original adapter in time.
5.2 Low Battery Reminder

9EN
Press the ON/OFF button to turn on the vacuum, AUTO will
display blue light. The vaccum works in AUTO mode, it can
automatically adjust the power according to the amount of
dust.
Turn the knob clockwise, and AUTO will display white light.
The vacuum enters the manual mode.(10 gears to choose in
manual mode)
When turn clockwise to the MAX mode, MAX will displays red
light.
When the vacuum is on MAX mode turn the knob
counterclockwise, the suction power reduces. When the
suction power back to lowest, it will be back into AUTO mode.
AUTO displays blue light.
6. USING
6.1 Start the Vacuum Cleaner
6.2 Change Suction Grade
In the OFF state, press the ON/OFF button to start the vacuum cleaner.
Rotate Clockwise after Power On or in AUTO Mode

10EN
6.3 Adjust the Length of the Tube according to Different Needs
Press the button behind the tube and pull out the tube at the same time to extend the
tube.
Press the button and pull the tube back to shorten the tube.
Press the ON/OFF button to turn on the vacuum, AUTO will
display blue light. The vaccum works in AUTO mode, it can
automatically adjust the power according to the amount of
dust.
Adjust the knob counterclockwise, the vacuum enters the MAX
mode, and MAX will display red light.
In the MAX mode, continue to adjust counterclockwise, the
suction power reduces will in turn (10 gear can be adjusted).
When the vacuum is on MAX mode, turn the knob clockwise,
the suction power back to lowest, it will be back into AUTO
mode. AUTO displays blue light.
Rotate Counterclockwise after Power On or in AUTO Mode

11 EN
7.1 Clean the Motor
7.2 Clean the Dust Cup and Filter
7. MAINTENANCE
Wipe the motor with a soft dry cloth.
*It is recommended to clean once a week and replace it once every 2 months.
1. When the dust reaches the "MAX" mark
of the dust cup, please clean it up as soon
as possible, or it will affect the vacuuming
effect.
3. Pull back the button to remove the dust
cup.
5. Scrape the HEPA filter with a cleaning
brush.
7. Clean the dust cup, sponge and stainless
steel lter with water.
6. Rotate the metal filter clockwise to
remove it from the lter holder.
8. Leave it to completely dry before
installing to the vacuum.
4. Grab the HEPA filter handle to remove
the HEPA lter, sponge and stainless steel
lters.
2. Press the dust cup cover release button
to open the cover and dump the garbage
into the trash can.
1min 1min
MAX

12EN
9. Rotate the HEPA lter, sponge and metal
lter counterclockwise into the dust cup.
10. Align the convex part of the main unit
with the concave part of the dust box, push
it forward, and hear a click "kada", finish
installation.
7.3 Clean the Air Filter
7.4 Clean the Floor Brush
*It is recommended to clean once every six months and replace it once a year.
*Before removing the roller, please make sure that the oor brush has been separated from
the main unit, so as to avoid personal injury caused by accidentally starting the machine.
1.Rotate the air lter
counterclockwise to
remove it from the main
unit.
2.Scrape the HEPA lter
with a cleaning brush. 3.Rotate the air lter
clockwise to install it back
to the main unit.
1.Push the switch up to the "unlocked" side,
rotate the plug, and remove the roller brush. 2.Use the small cleaning tool to sweep
away and remove hairs and debris from the
rollers.
3.Put the left side of roller brush into the
oor brush rst, then press the right side in.
4.After inserting the roller, press down the
latch, hear a click "kada", nish installation.

13 EN
8.1 Air Channel/Dust Sensor Blocked
8.2 Brush Roller Tangled
8. TROUBLESHOOTING
If there is any problem during use, please check the following troubleshooting table.
When the aluminum tube or dust cup is blocked, the vacuum stops working, cannot be
turned on within 10s, and the " "shows red.
Solution: Clean the aluminum tube and the lters in the dust cup.
If the oor brush inhales large foreign objects or entangles too much hair, it may cause the
drum to stop rotating, the LED lights on it ashe 3 times, and the " " on screen shows
red.
Solution: Remove the floor brush and clean up the foreign matter wrapped around the
roller. Please ensure that the brush head has been detached from the main unit to prevent
accidental starting of the machine and cause personal injury.
*When the vacuum cleaner does not work properly, the icon on the screen will light up in
red.
Warning:
Turn off the vacuum cleaner before maintenance. Otherwise it may
cause electric shock or other personal injury.

14EN
8.3 Common Trouble
Common Trouble Possible Causes Solutions
Vacuum can not work
1.Low battery power
2.Automatic protection
triggered by excessive
temperature due to blockage
3.Battery damaged
1.Charge before use
2.Clean the oor brushes,
dust suction ports or air
inlet lters, and restart after
cooling down
3.Replace a battery
Suction reduced
1.The dust cup is full of dust
2.The lters are full of dust
3.The telescopic tube or
brush inlet blocked
4.Low battery power
1.Empty the dust cup
2.Clean or change the lter
3.Remove blockage in tube
and brush inlet
4.Charge before use
Insufcient use time after
charging
1.Insufcient charging time
2.Battery aging
3.The dust cup is full of dust
4.The lters are full of dust
5.The telescopic tube or
brush inlet blocked
6.Always use the highest
speed to clean the whole
house
1. Recharge the battery
2.Change a battery
3.Empty the dust cup
4.Clean or change the lter
5.Remove blockage in tube
and brush inlet
6.For simple cleaning, it
is recommended to use
the lowest speed or the
medium speed. Only larger
garbage needs the highest
speed, which can effectively
prolong the battery life.
If the house is larger,
contact customer service
to get additional spare
batteries.
Battery indicator does not
light up when charging
1.Battery damaged
2.Screen damaged
3.Adaptor incorrectly
connected or damaged
1.Change a battery
2.Change the motor unit
3.Change the adaptor or
fully insert the charging
terminal into the battery
charging terminal
Not charging
1.Battery temperature is too
high or too low
2.The charger power light is
not on.
1.Please wait for the battery
temperature to return to
normal before charging
2.Charger not plugged in
Other manuals for JR600
1
Table of contents
Other BUTURE Vacuum Cleaner manuals