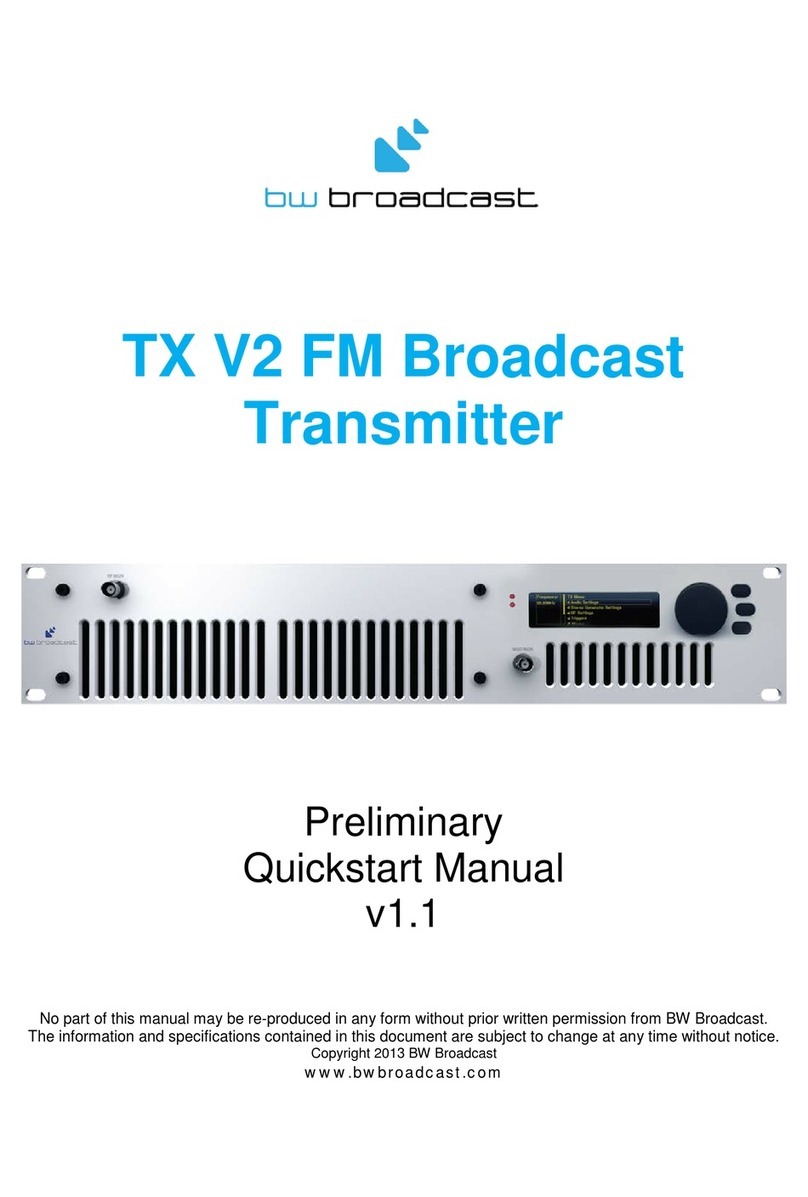
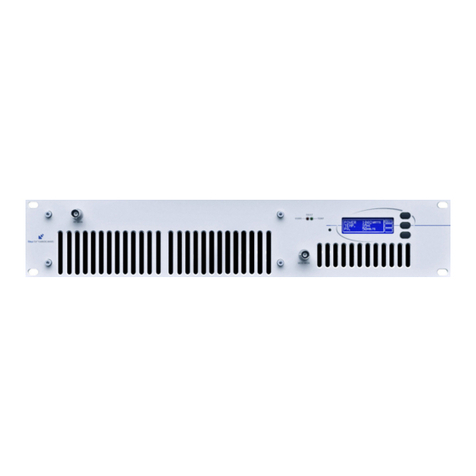
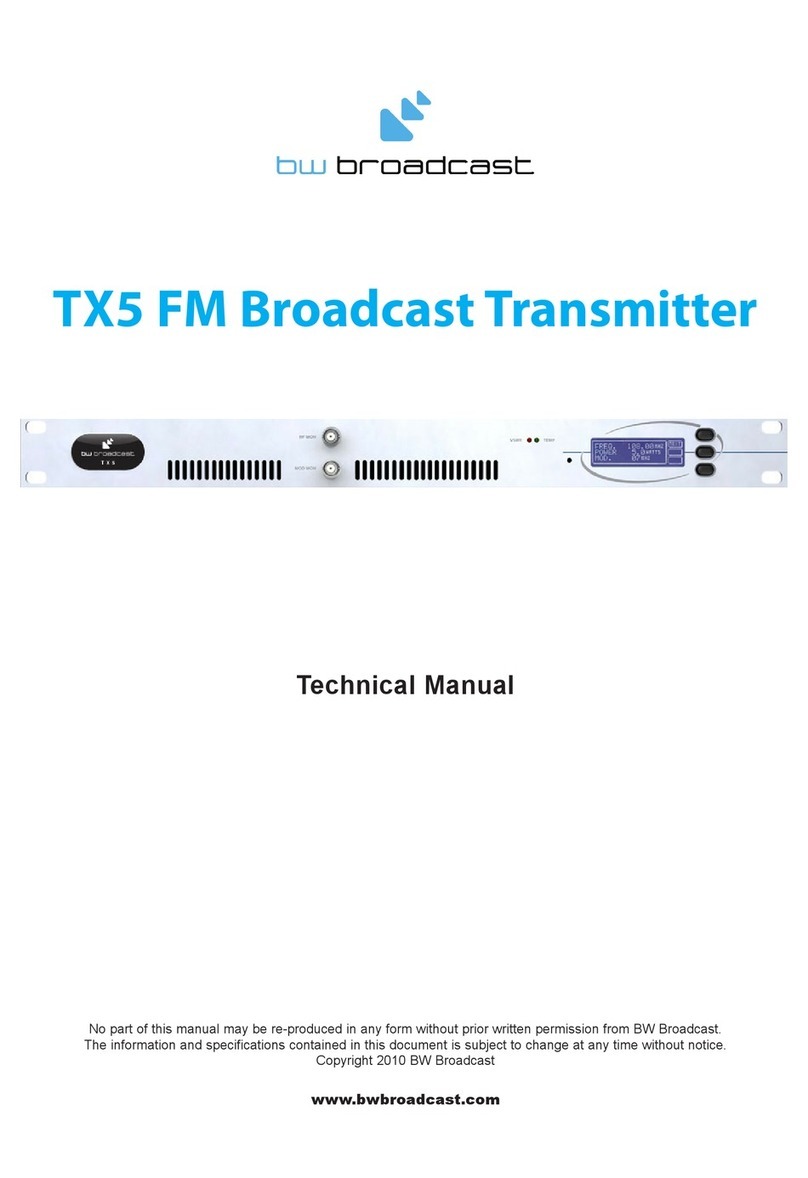
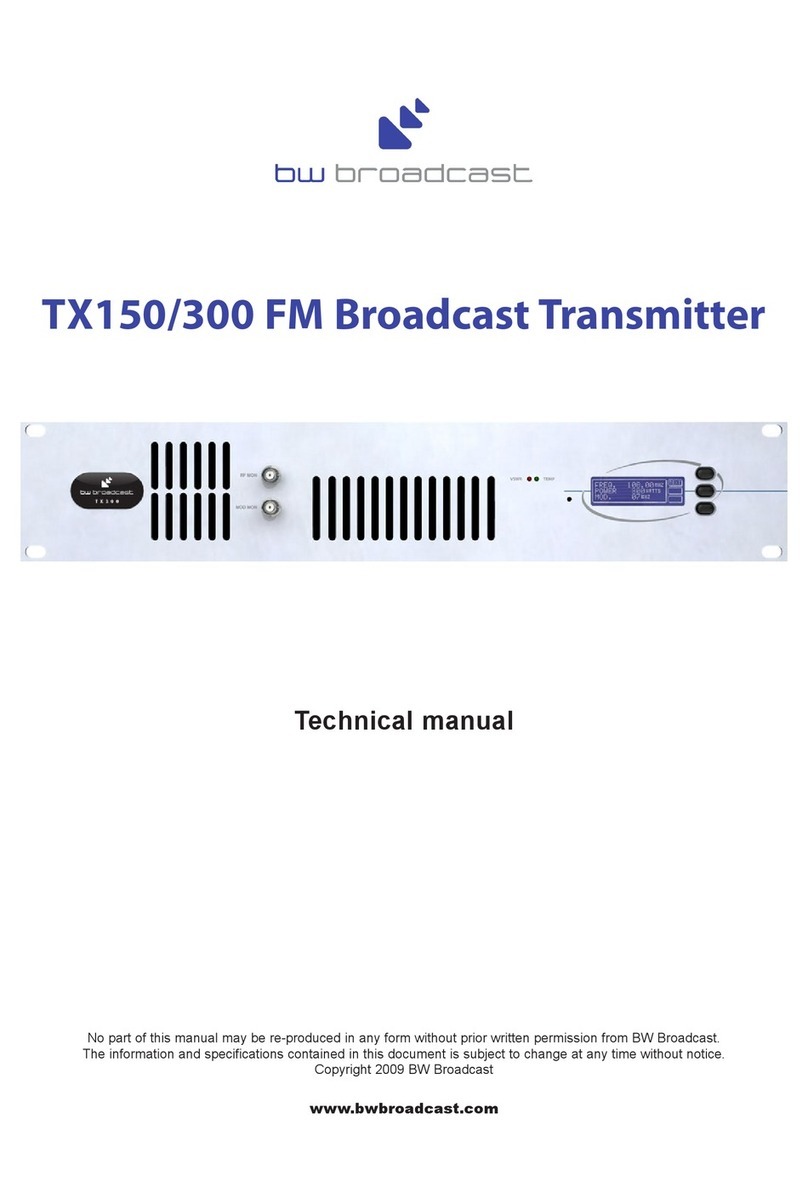
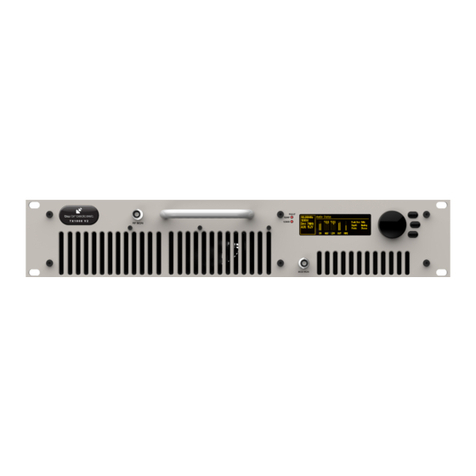
BW Broadcast TX300 User manual


1 The TX V3 series ............................................................... 4
2 Warranty ......................................................................... 6
3 Safety ............................................................................ 7
4 Front and rear panels ................................................ 10
4.1 Front panel: .....................................................................................10
4.2 Rear panel:......................................................................................11
5 User Interface .................................................................. 12
5.1 The input interface.........................................................................12
5.1.1 Navigating the menu ...............................................................................13
5.1.2 Editing a parameter..................................................................................13
5.1.3 Text fields.....................................................................................................13
5.2 Display..............................................................................................14
5.2.1 Status box ...................................................................................................14
5.2.2 Menu Box ....................................................................................................15
5.2.3 Meters..........................................................................................................15
6 Installation ..................................................................... 16
6.1 Quick Start.......................................................................................16
6.2 Examples of use..............................................................................18
6.2.1 Transmitter with external RDS coder and internal audio processing18
6.2.2 Transmitter with external audio processor............................................19
6.2.3 Transmitter with an external audio processor and RDS (inline
connection).........................................................................................................20
6.2.4 Transmitter with an external audio processor and RDS (sidechain
connection).........................................................................................................21
7 Operation ...................................................................... 23
7.1 RF Setup........................................................................................23
7.1.1 Basic setup ................................................................................................23
7.1.2 Power Scheduler.......................................................................................23
7.2 Input/Output ...............................................................................24
7.3 MPX generator............................................................................26
7.3.1 MPX generator settings............................................................................26
7.4 RDS encoder ...............................................................................27
7.4.1 RDS settings ...............................................................................................27
7.5 Tuner module (optional) ...........................................................28
7.5.1 Tuner module menu.................................................................................28
7.6 Triggers..........................................................................................29
7.6.1 To set up a trigger: ....................................................................................30

7.7 Alarms ..............................................................................................31
7.7.1 To set up an alarm pin as alarm: ...........................................................31
7.7.2 To set up an alarm as an analog output: ............................................31
7.8 System...........................................................................................32
7.8.1 Real Time Clock .......................................................................................32
7.8.2 Unit Information .......................................................................................32
7.8.3 Screen Saver.............................................................................................32
7.8.4 Users...........................................................................................................32
7.8.5 Ethernet.....................................................................................................32
7.8.6 E-Mail.........................................................................................................33
7.8.7 HTTP ...........................................................................................................34
7.8.8 Telnet.........................................................................................................34
7.8.9 RS232 .........................................................................................................35
7.8.10 Log ...........................................................................................................35
7.8.11 Diagnostics ..............................................................................................36
7.8.12 About .......................................................................................................37
7.8.13 Reboot .....................................................................................................37
7.8.14 Factory Reset ..........................................................................................37
7.9 Web Remote ...............................................................................37
7.9.1 Authentication..........................................................................................37
7.9.2 Web Remote Interface ...........................................................................37
7.10 Text Based Access (Telnet or RS232)....................................39
7.10.1 Commands .............................................................................................39
8 Menu Tree ...................................................................... 41
9 Block Diagram ........................................................ 44
10 Technical Specification................................................... 46

1 - 1
Congratulations on your purchase of the new BW Broadcast V3 transmitter!
The V3 solid-state transmitter family provides today’s broadcaster with a no-compromise,
cost-effective transmission platform with features previously only found in top of the line
products.
Incorporating field-proven technology, BW V3 transmitters deliver world-class
performance, reliability and quality.
This transmitter boasts the following features:
Built-in Graphical User Interface
Multiple program inputs including Digital Composite over AES192
VSWR protection
Digital Direct Synthesis exciter

1 - 2
GPS and 10MHz synch inputs for SFN use
Powerful 4-band audio processor
Dynamic RDS
LDMOS-FET based power amplifier
Monitoring, logging and control systems with web, email, SNMP and RS232
connectivity
Translator-ready with optional DSP-based rebroadcast receiver
Please be sure to read this manual thoroughly before installation and use.

2 - 1
Please ensure the Warranty Registration process is completed upon receipt of this product. To do so, go
to www.bwbroadcast.com/warranty with your product’s serial number to hand. BW Broadcast warrants
the mechanical and electronic components of this product to be free of defects in material and
workmanship for a period of two years* from the original date of purchase, in accordance with the
warranty regulations described below. If the product shows any defects within the specified warranty
period that are not due to normal wear and tear and/or improper handling by the user, BW Broadcast
shall, at its sole discretion, either repair or replace the product. If the warranty claim proves to be justified,
the product will be returned to the user freight prepaid. Warranty claims other than those indicated
above are expressly excluded.
Return authorisation number: To obtain warranty service, the buyer (or his authorized dealer) must
contact BW Broadcast during normal business hours BEFORE returning the product. All inquiries must be
accompanied by a description of the problem. BW Broadcast will then issue a return authorization
number. Subsequently, the product must be returned in its original shipping carton, together with the
return authorization number to the address indicated by BW Broadcast. Shipments without freight
prepaid will not be accepted.
Warranty regulations: Any product deemed eligible for repair or replacement by BW Broadcast under
the terms of this warranty will be repaired or replaced within 30 days of receipt of the product at BW
Broadcast. If the product needs to be modified or adapted in order to comply with applicable technical
or safety standards on a national or local level, in any country which is not the country for which the
product was originally developed and manufactured, this modification/- adaptation shall not be
considered a defect in materials or workmanship. The warranty does not cover any such
modification/adaptation, irrespective of whether it was carried out properly or not. Under the terms of
this warranty, BW Broadcast shall not be held responsible for any cost resulting from such a
modification/adaptation. Free inspections and maintenance/repair work are expressly excluded from
this warranty, in particular, if caused by improper handling of the product by the user. This also applies to
defects caused by normal wear and tear, in particular, of faders, potentiometers, keys/buttons and
similar parts. Damages/defects caused by the following conditions are not covered by this warranty:
Misuse, neglect or failure to operate the unit in compliance with the instructions given in BW Broadcast
user or service manuals. Connection or operation of the unit in any way that does not comply with the
technical or safety regulations applicable in the country where the product is used. Damages/defects
caused by force majeure or any other condition that is beyond the control of BW Broadcast. Any repair
or opening of the unit carried out by unauthorized personnel (user included) will void the warranty. If an
inspection of the product by BW Broadcast shows that the defect in question is not covered by the
warranty, the inspection costs are payable by the customer. Products that do not meet the terms of this
warranty will be repaired exclusively at the buyer’s expense. BW Broadcast will inform the buyer of any
such circumstance.
Warranty transferability: This warranty is extended exclusively to the original buyer (customer of retail
dealer) and is not transferable to anyone who may subsequently purchase this product. No other person
(retail dealer, etc.) shall be entitled to give any warranty promise on behalf of BW Broadcast.
Claims for damages: Failure of BW Broadcast to provide proper warranty service shall not entitle the
buyer to claim (consequential) damages. In no event shall the liability of BW Broadcast exceed the
invoiced value of the product.
Other warranty rights and national law: This warranty does not exclude or limit the buyer’s statutory rights
provided by national law, in particular, any such rights against the seller that arise from a legally effective
purchase contract. The warranty regulations mentioned herein are applicable unless they constitute an
infringement of national warranty law.
*Warranty period can be extended for an additional cost at point of purchase.

3 - 1
MAINS VOLTAGE: the BW Broadcast products operate from an AC power source
between 110 and 240 V.
These power supplies use an IEC plug. The wiring format is:
Ground –GREEN or GREEN/YELLOW
Neutral –WHITE or BLUE
Live - BLACK or BROWN
SWITCHED MODE POWER SUPPLY HAZARD Please note that the power supply unit in this
equipment is of the switched mode variety and has lethal voltages present internally.
The switched mode supplies are universal input fully approved type. They are non-
serviceable modules and should be replaced if they fail.
FUSES Only use fuses with the specified voltage and current ratings as stated on the
back panel. Failure to do so may increase the risk of equipment failure, shock and fire
hazard.
TOXIC HAZARD This equipment may include R.F. components that may contain
Beryllium oxide which is a highly toxic substance that could be hazardous to health if
inhaled or ingested. Care should be taken when replacing or discarding such devices.
Seek expert advice from the manufacturer should you physically damage a device
that contains Berillyium Oxide.
OTHER SAFETY CONSIDERATIONS Do not operate this equipment in the presence of
flammable gases, fumes or liquids Do not expose this equipment to rain or water.
CE CONFORMANCE This device complies with the requirements
of the 1995/5/EC Radio and Telecommunications Terminal
Equipment (R&TTE). The equipment will meet or exceed the
following standards: EN 60215:1996 (Safety Requirements for
Radio Transmitting Equipment), EN301489-11 (ERM/EMC for Radio Equipment, Part 11
Specific Conditions for FM Transmitters), EN 302 018-2 ERM (Transmitting Equipment for
FM Radio Broadcasting service)
WEEE COMPLIANCE BW Broadcast Ltd is registered with Northern
Compliance PCS number WEE/P3438PR/ SCH and has been issued
with WEE/FA0268RX as its unique producer ID by the appropriate
environment agency. BW Broadcast fully comply with its explicit
responsibilities, subject to WEEE Collections Policy outlined in their
General Terms and Conditions of Sale, when it sells Electrical and
Electronic Equipment (EEE) to B2B customers in the UK and EU.

3 - 2
This appliance has been designed and manufactured with high
quality materials and components that can be recycled and reused.
Electronic appliances are liable to contain parts that are necessary in order for the
system to work properly but which can become a health and environmental hazard
if they are not handled and disposed of in the proper way. Consequently, please do
not throw your inoperative appliance with the household waste. Having purchased
this appliance it is your responsibility to dispose of this equipment appropriately.
CAUTION: To reduce the risk of electrical shock, do not remove the cover. No user
service- able parts inside. Refer servicing to qualified personnel.
WARNING: To reduce the risk of fire or electrical shock, do not expose this appliance
to rain or moisture.
DETAILED SAFETY INSTRUCTIONS:
All the safety and operation instructions should be read before the appliance is
operated.
Retain Instructions: The safety and operating instructions should be retained for future
reference.
Heed Warnings: All warnings on the appliance and in the operating instructions should
be adhered to.
Follow instructions: All operation and user instructions should be followed.
Water and Moisture: The appliance should not be used near water (e.g. near a
bathtub, washbowl, kitchen sink, laundry tub, in a wet basement, or near a swimming
pool etc.). The appliance should not be exposed to dripping or splashing and objects
filled with liquids should not be placed on the appliance.
Ventilation: The appliance should be situated so that its location or position does not
interfere with its proper ventilation. For example, the appliance should not be situated
on a bed, sofa rug, or similar surface that may block the ventilation openings, or
placed in a built-in installation, such as a bookcase or cabinet that may impede the
flow of air through the ventilation openings.
Heat: The appliance should be situated away from heat sources such as radiators,
heat registers, stoves, or other appliance (including amplifiers) that produce heat.
Power Source: The appliance should be connected to a power supply only of the type
de- scribed in the operating instructions or as marked on the appliance.
Grounding or Polarisation: Precautions should be taken so that the grounding or
polarisation means of an appliance is not defeated.
Power-Cord Protection: Power supply cords should be routed so that they are not likely
to be walked on or pinched by items placed upon or against them, paying particular
attention to cords and plugs, convenience receptacles and the point where they exit
from the appliance.

3 - 3
Cleaning: The appliance should be cleaned only as recommended by the
manufacturer.
Non-use Periods: The power cord of the appliance should be unplugged from the
outlet when left unused for a long period of time.
Object and Liquid Entry: Care should be taken so that objects do not fall and liquids
are not spilled into the enclosure through openings.
Damage Requiring Service: The appliance should be serviced by qualified service
personnel when:
The power supply cord or the plug has been damaged;
Objects have fallen, or liquid has been spilled into the appliance;
The appliance has been exposed to rain;
The appliance does not appear to operate normally or exhibits a marked
change in performance;
The appliance has been dropped, or the enclosure damaged.
Servicing: The user should not attempt to service the appliance beyond that is
described in the Operating Instructions. All other servicing should be referred to
qualified service personnel.

4 - 1
4.1 Front panel:
4.2 Rear panel:
1. OLED display –shows status and used for programming.
2. Menu navigation knob –turn to highlight and press to select options.
3. Push-buttons for menu navigation/selection, and RF and telemetry on/off.
Left buttons are illuminated to show status.
4. RF sample port –for connection to test equipment.
5. LED indicators to show status.
6. Removable front panel –provides access to washable air filter and hot-
swappable power supplies.
XLR Audio
connectors
1. Ground
2. Hot (+)
3. Cold (-)
I/O Parallel Connector
1. Ground
2. RF mute
3. Alarm C
4. Trigger 2
5. Trigger 4
6. Alarm A
7. Alarm B
8. Trigger 1
9. Trigger 3
7. RF output connector
8. External reference inputs –10MHz
and 1pps.
9. RS-232 serial interface
10. GPIO / parallel remote control
connector
11. Ethernet port
12. Analog Program audio inputs
13. Digital (AES-EBU) or digital mpx input
and output
14. Composite baseband (mpx) inputs
and outputs
15. AC power connector
16. Rx antenna connector (optional)

5.1 The input interface
The V3 series has an intuitive interface based around a pushable scroll knob and six
buttons:
The buttons on the right of the scroll knob interact with the menu system, usually button 1
is ‘exit’, button 2 is ‘help’ and button 3 is ‘meters’. In some menus however their functions
change. The indicators on the left show RF on, and VSWR and TEMPerature warnings.
5.1.1 Navigating the menu
The menu is navigated by rotating the scroll wheel, and pushing it to open a submenu.
When in a submenu, pressing the ‘exit’ button will return to its parent menu.
5.1.2 Editing a parameter
To edit a parameter, navigate to it in the menu using the knob - square brackets [ … ]
will surround the currently highlighted parameter. Press the knob to select the
parameter, then rotate the knob to change it. When the desired value is attained, press
the knob to accept, then press exit to return to navigation mode.
Some parameters require a bit more space to edit –like text fields. For these parameters,
a dialog box will pop up allowing more space.
5.1.3 Text fields
When editing a text field, a ‘qwerty’ keyboard graphic will appear allowing entry or
modification of the full text. Turn the knob to select the letter, press it to set the letter. In
this menu, button 2 will toggle the ‘keyboard’ between upper case and lower case, and
button 3 acts as backspace/delete.
Scrolling through the text –the selected character will have a yellow rectangle around
it;
Modifying the current character –the character will be highlighted (it’ll be black on a
yellow background).

5.2 Display
5.2.1 Status box
This selection of the display gives real-time information on the status of the transmitter.
A Frequency The programmed frequency of operation. When the
transmitter is out of lock, such as at start-up, this will flash
between half and full brightness. When the exciter is locked, it
will show full brightness.
B Power The actual output power of the transmitter. After the exciter
has locked on frequency, the power will ramp up to the set
level. During this time the power display will flash between half
and full brightness. When the programmed power is reached,
the display will show full brightness.
If the RF has been muted either manually or automatically, this section will
show ‘RF MUTE’. If the reverse power is greater than 10% of the forward
power, this section will alternate between ‘FWD’ and ‘REV’ to display both
readings.
C Deviation Shows the current peak FM deviation of the transmitter. If the
deviation falls below 30kHz for 30 seconds, the deviation display will
flash to indicate abnormal modulation.
D Alarms Indicates which of the three alarms are set or triggered. The
presence of the letters A to C indicate when an alarm is
enabled, and when it is triggered.
If greyed out, the alarm is enabled but not triggered; If flashing, the alarm
is triggered.
For example:
Not shown = no alarms set.
ALM A=only alarm A is enabled.
ALM A B C =all alarms are enabled.
ALM A BC = all alarms enabled, A and C triggered.
An indication that an alarm has been triggered will also be shown on
the screensaver.

E PA Temperature / power supply voltages / reverse power.
This section displays the power amplifier temperature, the voltages of
the power amplifier power supply and the reverse power.
If FSK is enabled, this section will read FSK ACTIVE while the transmitter
is keying. This will only display for around 15 seconds every hour.
5.2.2 Menu Box
This is the main section of the user interface. Navigate by rotating the control knob and
select a menu option by pushing.
Button 1 is the ‘back’ button in this menu, and will move the menu selection up one
level.
Button 2 is ‘help’ in this menu, and will show a brief description of the function of each
item.
The arrow > in the menu indicates that there is a submenu available. A map of the entire
menu structure is shown later in this manual.
5.2.3 Meters
The V3 transmitter offers extensive metering with just a few clicks of button 3. Press this to
cycle through each of the three meter screens: RF Status, Audio Status and Config.
Press button 1 ‘exit’ to leave the meters screen.
Meter screens:

6.1 Quick Start
Important: Never power on an FM transmitter without a suitable antenna or dummy load
connected. The V3 series transmitter’s protection circuitry will prevent any internal
damage, but it is not advisable to run an FM transmitter without a load connected.
The transmitter should be installed in a properly grounded rack or enclosure, the front
and rear ventilation slots should not be blocked in any way. Please note that the airflow
is front to back.
Note that the transmitter is shipped with the removable power supply modules not fitted.
Prior to use, these should be installed, as follows:
1. Unscrew the locking nut securing the removable ventilation grille.
2. Carefully slide the power supplies into the slots on the left.
3. IMPORTANT: Be sure to insert the correct way up –the locking tab at the bottom
with its arrow pointing up, as shown below.
4. Ensure that the power supply slides all the way in, and that the locking tab
engages.
5. Replace the grille, hand-tighten the locking nut.
Setting up a V3 series transmitter couldn’t be any easier. First connect either analogue
audio to the left and right back panel connectors (12), digital audio AES/EBU into the
RJ45 connector (if necessary use the supplied adaptor) (13) or feed the MPX input (14)
from an audio processor. Connect the RF output (7) to a 50ohm antenna of the correct
power handling capability. Connect the required remote control / monitoring ports
(Ethernet, RS232, Alarms/Triggers Port).

The transmitter’s frequency and power are both set from the RF Settings menu:
Input selection, pre-emphasis, processing and the stereo parameters are set in the Audio
Settings menu:
Input source Selects analog or digital input to the transmitter’s built -in stereo
encoder/audio processor. For analog, connect to left and right
XLR inputs. For digital, connect an AES/EBU connection to the
‘digital’ RJ45 connector, if necessary using the supplied XLR-RJ45
adaptor (which adheres to the StudioHub wiring convention).
Also selects whether the unit is fed from an external mpx generator
or digital mpx over AES signal.
MPX1/2 Input Allows selection of usage of the MPX1 and 2 input connectors.
MPX1/2 Output Allows selection of what signal is available at the
MPX1 and 2 2 output connectors.
MPX Generator Sub-menu: Settings for the internal MPX, multiplex or
‘composite’ generator.
SFN Sub-menu: Settings for use in a Single-Frequency Network
Processing Sub-menu: Settings for the internal 4-band audio
processor.
Please see Section 7 of this manual for a more detailed explanation of the menu items.

6.2 Examples of use
6.2.1 Transmitter with external RDS coder and internal audio processing
1. Place the transmitter in a well ventilated space.
2. Connect the antenna to the RF output connector on the back of the
transmitter.
3. Connect the left and right program audio signals to the XLR input
connectors on the back of the transmitter. If using AES/EBU digital, connect this
to ‘AES’ RJ45 connector.
4. Connect the MPX1 output on the back of the transmitter to the MPX input of the
RDS encoder.
5. Connect the MPX output of the RDS encoder to the MPX1 input on the back of
the transmitter.
6. Plug the power cord into the power supply module on the rear panel of the
transmitter.
7. Connect the required remote control / monitoring ports (Ethernet, RS232,
Alarms/Triggers Port).
8. In the Audio Settings menu, select the input source (analog/digital).
9. In the RF Settings menu, set MPX Source to MPX Input 1.
10. Once the transmitter is operating, set the correct carrier frequency and RF
power from the RF settings menu. Check reflected power is OK.
Check the documentation that came with your RDS encoder on how to set/check the
proper RDS injection level.
Note: If using the transmitter’s internal RDS coder, in RF Settings set MPX Source to
Internal.

6.2.2 Transmitter with external audio processor
1. Place the transmitter in a well ventilated space.
2. Connect the antenna to the RF output connector on the back of the transmitter.
3. Connect the MPX output of your audio processor (or stereo generator) to the
MPX1 input on the back of the transmitter, and in RF Settings, set MPX Source to
MPX Input 1.
4. Plug the power cord into the power supply module on the rear panel of the
transmitter.
5. Connect the required remote control / monitoring ports (Ethernet, RS232,
Alarms/Triggers Port).
6. Once the transmitter is operating, set the correct carrier frequency and RF power
from the RF settings menu. Check reflected power is OK.
7. Check the modulation level - if the modulation level is low, adjust the MPX output
level on your audio processor (or stereo generator). The maximum modulation
should not exceed 75kHz.
8. Check the documentation that came with your audio processor on how to
set/check the proper pilot injection level.
In this setup, the stereo multiplex is generated by an external stereo generator and is fed
directly into the transmitter exciter of the transmitter stage. Note that the transmitter’s
onboard processing will have no effect on the signal in this configuration.

6.2.3 Transmitter with an external audio processor and RDS (inline connection)
1. Place the transmitter in a well ventilated space.
2. Connect the antenna to the RF output connector on the back of the transmitter.
3. Connect the MPX output of your audio processor (or stereo generator) to the
MPX input of your RDS encoder.
4. Connect the MPX output of your RDS encoder to the MPX 1 input on the back of
the transmitter.
5. Plug the power cord into the power supply module on the rear panel of the
transmitter.
6. Connect the required remote control / monitoring ports (Ethernet, RS232,
Alarms/Triggers Port).
7. In the RF Settings menu, set MPX Source to MPX Input 1.
8. Once the transmitter is operating, set the correct carrier frequency and power
from the RF settings menu. Check reflected power is OK.
9. Check the modulation level - if the modulation level is low, adjust the MPX output
level on your audio processor (or stereo generator), RDS encoder. The maximum
modulation should not exceed 75kHz.
10. Check the documentation that came with your audio processor on how to
set/check the proper pilot injection level.
11. Check the documentation that came with your RDS encoder on how to
set/check the proper RDS injection level.
In this setup, the stereo multiplex is generated in the audio processor, it is then fed
through the RDS encoder where the RDS subcarrier is added. It is then fed directly into
the transmitter’s exciter. Note that the transmitter’s onboard processing will have no
effect on the signal in this configuration.
Also note that the V3 transmitter includes an on-board RDS encoder –so unless you have
requirements particular to your existing RDS coder, you do not have to use an external
unit to achieve RDS/RBDS.

6.2.4 Transmitter with an external audio processor and RDS (sidechain connection)
1. Place the transmitter in a well ventilated space.
2. Connect the antenna to the RF output connector on the back of the transmitter.
3. Connect the MPX output of your audio processor (or stereo generator) to the
MPX input on the back of the transmitter.
4. Connect the Pilot output of your audio processor (or stereo generator) to the
pilot/reference input on your RDS encoder.
5. Connect the MPX output of your RDS encoder to the SCA input on your audio
processor.
6. Plug the power cord into the power supply module on the rear panel of the
transmitter.
7. Connect the required remote control / monitoring ports (Ethernet, RS232,
Alarms/Triggers port).
8. Once the transmitter is operating, set the correct carrier frequency and power
from the RF settings menu. Check reflected power is OK.
9. In the RF Settings menu, set MPX Source to MPX Input 1.
10. Check the modulation level - if the modulation level is low, adjust the MPX output
level on your audio processor (or stereo generator). The maximum modulation
should not exceed 75kHz.
11. Check the documentation that came with your audio processor on how to
set/check the proper pilot injection level.
12. Check the documentation that came with your RDS encoder on how to
set/check the proper RDS injection level.
In this setup, the audio stereo multiplex is generated in the audio processor. The RDS
data is fed into the audio processor where it is combined with the audio multiplex. This
combined signal is fed directly into the transmitter exciter. Note that the transmitter’s
onboard processing will have no effect on the signal in this configuration.
This is the best connection in terms of pilot and RDS subcarrier phase synchronization and
MPX spectrum cleanliness, if you’re not using the V3’s internal RDS and stereo
generators.

7.1 RF Setup
Note: Never power on an FM transmitter without a suitable antenna or dummy load
connected. The V3 transmitter’s protection circuitry will prevent any internal damage,
but it is not advisable to run a transmitter without a load connected.
7.1.1 Basic setup
1. Set the desired Frequency. Note that the frequency displayed in the status
box will flash for a few seconds, indicating that the system is out of lock and has
not yet reached that frequency. Once locked, the display will become steady.
2. Set the required Power. The system will take time to ramp the power to the
selected value. During this time, the value displayed in the status box will
flash.
3. Set the 100% modulation level: This will usually be 75kHz deviation –and should
only be adjusted under special circumstances and then with caution.
4. Select whether you require the unit to send the FSK ID every hour. If enabled,
enter the FSK ID (applies only to translator application in the USA).
5. RF Mute must be switched to off once the unit is set up, to allow it to transmit.
7.1.2 Power Scheduler
This feature will switch the output power of the unit to an alternate value set in Power
Scheduler | Power during the selected time interval. This is to allow you to lower the
power of the transmitter, for example at night, to reduce power consumption.
To set up this feature, enter the Power Scheduler sub-menu:
1. In Power set the power that the unit will switch to during the scheduled
interval;
2. Set the start time at which the unit will switch to this power level;
3. Set the finish time, when the unit will switch back to its normal power level;
4. Current time is the system time. This is displayed here as a reference for use
when setting the start and finish times. It can be adjusted if required.
5. Set Enable to On. The power scheduler is now running.
This manual suits for next models
3
Table of contents
Other BW Broadcast Transmitter manuals