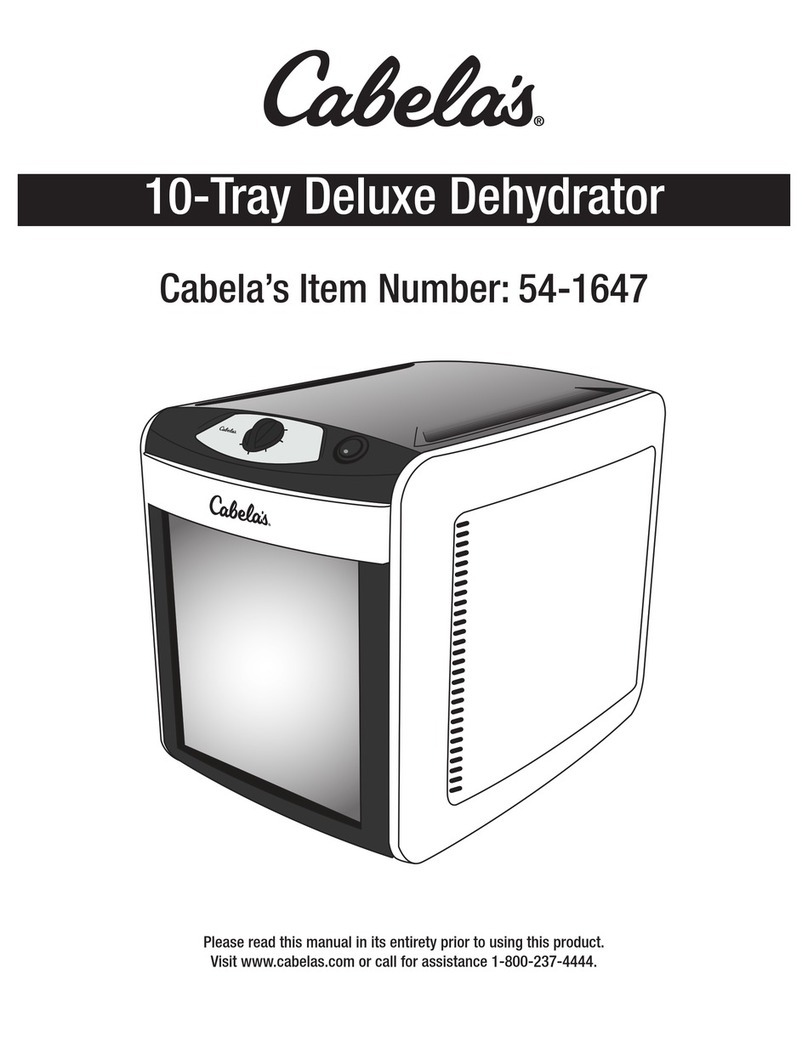
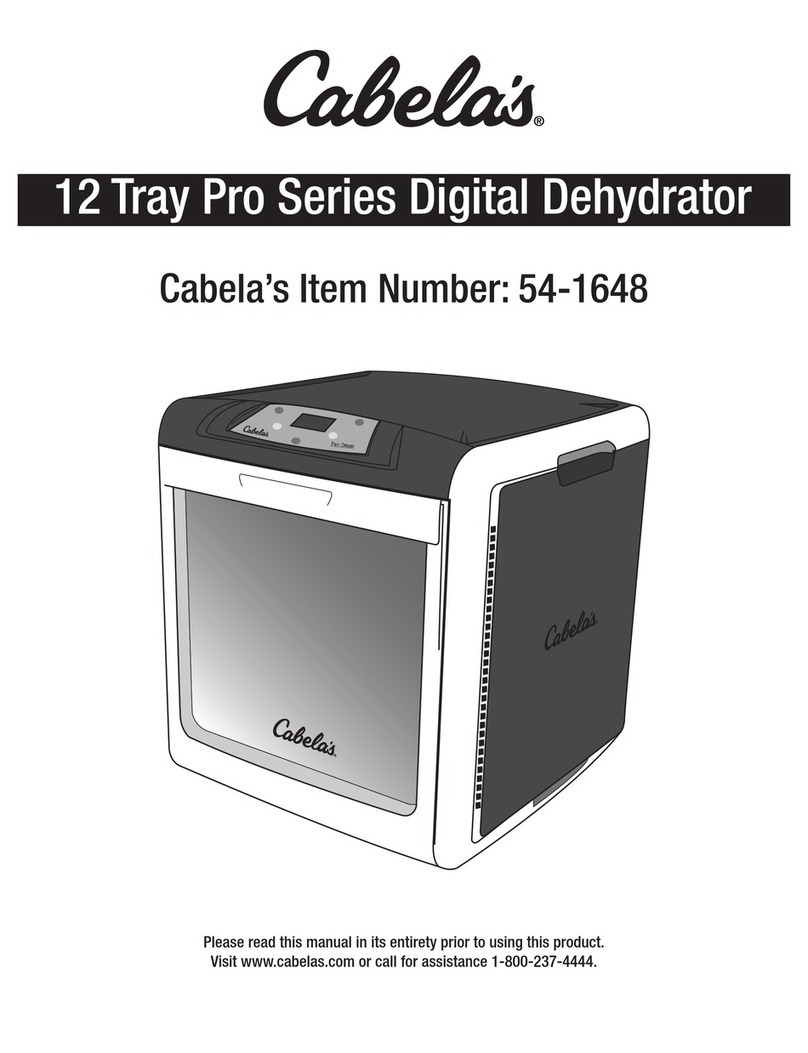
Cabela's Pro Series 28-1001-C User manual

REV071211
ATTENTION
If any components of this unit are broken, do not operate properly,
or for product returns, please contact Cabela’s Customer Service.
Retail Store Purchases: 1-800-905-2731 (U.S & Canada)
Catalog & Internet Purchases: 1-800-237-8888
All International: 1-308-234-5555
DO NOT RETURN THE UNIT TO THE STORE WHERE IT WAS PURCHASED! Pro Series 10 Tray
Digital Dehydrator
MODEL NO. 28-1001-C

-2- -15-
1
1
2
3
4
5
PROBLEM SOLVING
PROBLEM: Moisture in the storage container.
CAUSE: Incomplete Drying.
Food is cut unevenly, causing incomplete or uneven drying.
Drying foods left at room temperature too long after cooling,
allows moisture to re-enter the foods.
PREVENTION:Test several pieces of food for dryness before removing it from
the Dehydrator.
Cut foods evenly.
Cool quickly and package immediately in an air-tight container.
__________________________________________________________________
PROBLEM: Mold is on the dehydrated food.
CAUSE: Incomplete Drying.
The food was not checked for moisture content within a week.
The storage container is not air-tight.
The storage temperature is too warm.
Case hardening may have occurred, meaning the food was dried
at too high of a temperature and the food was only dry on the
outside, not the inside.
PREVENTION:Test several pieces of food for dryness before removing it from
the Dehydrator.
__________________________________________________________________
PROBLEM: Brown spots on vegetables.
CAUSE: Too high of a drying temperature was used. Food is over-dry.
PREVENTION:Dry foods at appropriate temperatures. Use the “Drying
Guide” on the Control Panel as reference. Check foods often
for dryness.
__________________________________________________________________
PROBLEM: Food sticking to Trays.
CAUSE: Food is not being turned over during the dehydration process.
PREVENTION:After one hour of dehydrating, use a spatula and ip the food.
Flip the food often until it is no longer sticky.
Drying Guide
Cabinet

-3-
-14-
COMPONENT LIST
Before beginning the assembly, check the package contents for all of the parts.
If you are missing any parts, or if any parts are damaged, contact Cabela’s Customer Service.
Retail Store Purchases: 1-800-905-2731 (U.S & Canada)
Catalog & Internet Purchases: 1-800-237-8888
All International: 1-308-234-5555
DIAGRAM PART PART
NUMBER DESCRIPTION NUMBER
1 ControlPanel N/A
2 Tray 28-1003
3 DripTray 28-1005
4 Foot(4) 28-1004
5 PowerCord N/A
WARNING!! Before cleaning or servicing the Dehydrator, make sure it is unplugged
from the power source. It is important to read & fully understand all of the instructions
& safeguard prior to use of the Dehydrator.
!
APPLE&CREAMFRUITLEATHER
6 apples, peeled &cored 1/2 tsp cinnamon 1/4 tsp cloves
1 cup plain non-fat yogurt 2 1/2 tsp nutmeg
.Puree the ingredients in a food processor or blender until smooth
.Line the Trays with plastic wrap or silicone fruit leather sheets (sold separately)
.Spread the puree over the lined Trays until it is about 1/4” (0.6 cm) thick (the edges will dry
quicker than the center; pour the puree thinner at the center of the Tray)
.Set the Dehydrator to about 135-145oF (57-63oC) for 4-5 hours (a longer drying time may be necessary)
.Dehydrate until leathery and pliable but not sticky
.Allow to cool slightly, then serve/store
NOT-SOSUNDRIEDTOMATOES
7 lb rm, ripe Roma tomatoes, stemmed & quartered 1 tsp dried basil
1 tsp dried oregano 1 tsp dried thyme 2 tsp salt
.Scrape out all the seed of the tomatoes without removing the pulp
.Mix the basil, oregano, thyme and salt together
.Place the tomatoes skin side down onto the Trays
.Sprinkle the seasoning mixture over the top of the tomatoes
.Set the Dehydrator to about 140oF (60oC) for 6-9 hours (a longer drying time may be necessary)
.A few hours through the dehydrating process, gently turn the tomatoes over and press at
with a spatula, repeat this step every few hours until the tomatoes are dried
.Allow to cool slightly, then serve/store
CHEESYCORNCHIPS
1 cup creamed corn 1 Tbsp chopped onion
1 cup grated sharp cheddar cheese 1/2 cup diced res & green bell peppers
1/8 tsp cayenne pepper 1/8 tsp chili powder salt to taste
.Puree the ingredients in a food processor or blender until smooth
.Line the Trays with plastic wrap or silicone fruit leather sheets (sold separately)
.Spread the puree over the lined Trays in a ring until it is about 1/4” (0.6 cm) thick (the edges
will dry quicker than the center; pour the puree thinner at the center of the Tray)
.Set the Dehydrator to about 130oF (55oC) for 10 hours (a longer drying time may be necessary) or until
dry on one side
.Lift the entire corn ring off of the Trays, turn over and dry for 2 more hours or until crisp
.Break into pieces when done
.Salt to taste
ORANGESMOOTHIEROLLS
1 1/2 cup applesauce 1 apple, peeled, cored & chopped
2 tsp dried orange ground 1 1/2 tsp vanilla
.Puree the ingredients in a food processor or blender until smooth
.Line the Trays with plastic wrap or silicone fruit leather sheets (sold separately)
.Spread the puree over the lined Trays until it is about 1/4” (0.6 cm) thick (the edges will dry
quicker than the center; pour the puree thinner at the center of the Tray)
.Set the Dehydrator to about 135-145oF (57-63oC) for 4-8 hours (a longer drying time may be necessary)
.Dehydrate until leathery and pliable but not sticky
.Allow to cool slightly, then serve/store

-4- -13-
RECIPES
HAWAIIANJERKYMARINADE
1 tsp salt 1 tsp ground ginger 1/4 cup pineapple juice
1 Tbsp brown sugar 1/4 tsp pepper 1/8 tsp cayenne pepper
1 crushed garlic clove 1/4 cup soy sauce
1 lb lean meat, sliced into 1/8-1/4” (0.3-0.6 cm) thin strips
.Follow Marinading Instructions below
CAJUNMARINADE
1 cup tomato juice 1/2 tsp garlic powder 1/2 tsp ground black pepper
1 1/2 tsp dried thyme 1 1/2 tsp dried basil 1 1/2 tsp onion powder
1 tsp white pepper 2 tsp cayenne pepper
1 lb lean meat, sliced into 1/8-1/4” (0.3-0.6 cm) thin strips
.Follow Marinading Instructions below
HOTJERKYMARINADE
1-3 cup teriyaki 2 tsp brown sugar 2 tsp ground black pepper
1 tsp ground horseradish 1 tsp salt 1/2 tsp paprika
1/2 tsp chili powder 1 Tbsp olive oil 1 Tbsp minced garlic
1/4 tsp Tabasco Sauce 2 Tbsp seeded & nely chopped Jalapeño peppers
1 lb lean meat, sliced into 1/8-1/4” (0.3-0.6 cm) thin strips
.Follow Marinading Instructions below
BURGUNDYMARINADE
2 cups burgundy wine 1/2 cup soy sauce 3 cloves chopped garlic
3 Tbsp molasses syrup 1 Tbsp ground black pepper
1 lb lean meat, sliced into 1/8-1/4” (0.3-0.6 cm) thin strips
.Follow Marinading Instructions below
MARINADINGINSTRUCTIONS
.Combine all ingredients, except for the meat in a glass bowl, mix well
.Place a layer of meat into a glass baking dish
.Spoon the sauce mixture over the layer of meat
.Continue to layer the meat and sauce until the meat is about 3-4 layers deep
.Cover lightly and place the dish in the refrigerator overnight
.Stir occasionally to keep the meat coated with marinade
.Remove the meat from the marinade, removing excess marinade
.Lay the meat evenly onto the Trays, leaving 1/4” (0.6 cm) space between each strip
.Follow the “MAKING JERKY” instructions in this manual
IMPORTANT SAFEGUARDS
WARNING!
SAVETHESEINSTRUCTIONS!
Refer to them often and use them to instruct others.
READ AND FULLY UNDERSTAND ALL INSTRUCTIONS
AND WARNINGS PRIOR TO USING THIS UNIT. YOUR
SAFETY IS MOST IMPORTANT! FAILURE TO COMPLY
WITH PROCEDURES AND SAFE GUARDS MAY
RESULT IN SERIOUS INJURY OR PROPERTY DAMAGE.
REMEMBER:YOURPERSONALSAFETYISYOUR
RESPONSIBILITY!
12.DO NOToperatetheDehydrator onammable
surfacessuchascarpeting.
13. To prevent electric shock, DO NOT IMMERSE
CORD, PLUG OR BODY IN WATER OR LIQUID.
Serious injury and electric shock could result.
DO NOT use this machine with wet hands or bare
feet. DO NOT operate near running water.
14.NEVER open or remove the back panel of the
Dehydrator.
15.Disconnect from power source before cleaning
the components of this machine. READ ALL
DIRECTIONS on how to clean this Dehydrator
beforeattemptingtocleanit.Allowtheapplianceto
coolbeforehandling.
16.After cleaning, make sure Dehydrator is
completely dry before reconnecting to the power
source–ifnot;ELECTRICSHOCKmayresult.
17.DO NOToperatetheDehydrator onahotstove-
top,gasburnersorinsideanoven.DO NOT allow
thePower CordtodrapeovertheDehydrator,hot
surfacesorovertheedgeoftheworksurface.
18.BEWARE! Some surfaces may become very
hot during use! Serious injury may result! DO
NOT move the Dehydrator while in use. DO
NOT move the Dehydrator while hot. Allow the
appliancetocoolbeforehandling.
UseHandles.Extremecautionmustbeusedwhen
movinganappliancecontaininghotoilorotherhot
liquids.
19. The use of accessory attachments not
recommended by the appliance manufacturer may
causeinjuryandvoidwarranty.
20.DO NOT use the appliance for other than the
intendeduse.
21.DO NOTusewhileunderinuenceofdrugsor
alcohol.
22.Householduseonly.
1. CHECK FOR DAMAGED PARTS.Beforeusing
the Dehydrator, check that all parts are operating
properlyandperformtheintendedfunctions.Check
foralignmentofmovingparts,bindingofmovingparts,
mountingandanyotherconditionsthatmayaffectthe
operation.DO NOTuseifpowercordisdamagedor
frayed. DO NOTusethisapplianceaftermalfunctions
or if the appliance is dropped or damaged in any
manner.
2. Reduceriskofunintentionalstarting. Makesure
the Power Switch is in the “OFF” position before
connectingtheDehydratortothepowersource.
3. Avoidcontactwithmovingparts.
4. ALWAYS DISCONNECTtheDehydrator fromthe
powersourcebeforeservicing,changingaccessories
orcleaningtheunit.UnplugtheDehydratorwhennot
inuse.
5. KEEP CHILDREN AWAY. NEVER LEAVE THE
APPLIANCE UNATTENDED. This appliance is
NOTatoy.Closesupervisionisnecessarywhenany
applianceisusedbyornearchildren.
6. TheManufacturerdeclinesanyresponsibilityinthe
caseofimproperuseoftheDehydrator.Improperuse
oftheDehydrator voidsthewarranty.
7. Electrical repair must be done by an authorized
dealer.Useonlyfactoryoriginalpartsandaccessories
toavoidinjuryandretainthewarranty.Modicationof
theDehydrator voidsthewarranty.
8. DO NOTpullthePower Cordtounplug.Usecare
whenusingextensioncords.
9. Be sure the Dehydrator is stable during use.
All four feet should be secure on a level surface.
TheDehydrator shouldnotmoveduringoperation.
10.DO NOToperatetheDehydrator outdoorsornear
anyammableorcombustiblematerials.
11. DO NOT block the air vents at the rear of the
Dehydrator.KeeptheDehydratoratleast6”(15cm)
awayfromanywalltoallowforproperaircirculation.
-5-
-12-
GROUNDING
This appliance must be grounded while in use to protect
the operator from electrical shock. The appliance
is equipped with a 3-conductor cord and a 3-prong
grounding type plug to t the proper grounding-type
receptacle. The appliance has a plug that looks like
Figure A. An adaptor, Figure B, should be used for
connecting Figure A plugs to two-prong receptacles.
The grounding tab which extends from the adaptor
must be connected to a permanent ground such as
a properly grounded outlet box as shown in Figure C
using a metal screw.
Figure A
Figure B
Figure C
Circuit
Grounding
Conductor
Grounding
Prong
Metal
Grounding
Screw
Cover of
Grounded
Outlet Box
Grounding
Means
AA2220
GROUNDING INSTRUCTIONS
CLEANING INSTRUCTIONS
1. Clean the Trays and inside the Cabinet before using the Dehydrator for the rst
time and after each use.
2. Push the Power ON/OFF Button to turn off the Dehydrator. Disconnect the
Power Cord from the electrical outlet.
3. Allow the Dehydrator to completely cool before cleaning.
4. Remove the Trays from the Cabinet.
5. Wipe the Cabinet clean, inside and out, with damp sponge or soft cloth. Be
careful not to splash water onto the heating element (located behind the screening
and fan in the back of the Cabinet) while cleaning the inside of the Cabinet. Water
could damage the heating element and the increases the risk of electric shock. DO
NOT immerse the Dehydrator in water.
6. Clean the Trays with warm, soapy water. Rinse with clear water and dry
immediately.
WARNING!! Before cleaning or servicing the Dehydrator, make sure it is unplugged
from the power source. It is important to read & fully understand all of the instructions
& safeguard prior to use of the Dehydrator.
!
TIPS
. Use the best quality foods. Fruits and vegetables in peak season have more
nutrients and more avor. Do not use food with bruises or blemishes. Bad fruits and
vegetables may spoil the entire batch.
. Use the best quality meats. Meats, sh and poultry should be lean and fresh.
Remove as much fat as possible before dehydrating.
. Do not overlap foods. Lay foods at on the Trays.
. Check dryness after a few hours, then check every two hours until dehydrated.
Open or cut down the middle if a few samples to check internal dryness. If the food
is still moist, dehydrate longer.
. Use the Drying Guide on the Control Panel as reference for proper temperature
settings. If the heat is set too high, the food may case harden, meaning the food is
dried at too high of a temperature and the food was only dry on the outside, not the
inside. If the temperature is too low, the drying time will increase.
. Remember, foods will shrink approximately 1/4 to 1/2 their original size and
weight during the dehydration process, so pieces should not be kept too small. One
pound of raw meat will yield approximately 1/3 lb. (0.2 kg) of jerky.
. Do not place items to be dried on the Drip Tray, there will be no circulation of air
on this Tray. Clean the Drip Tray periodically during dehydration for easier clean-
up.
refrigerated so they cool rapidly. Make sure to cover foods after they are cool.
NOTE:Special considerations must be made when using venison or other wild game,
since it can become heavily contaminated during eld dressing. Venison is often held
at temperatures that could potentially allow bacteria to grow, such as when it is being
transported. Refer to the USDA Meat and Poultry Department for further questions or
information on meat and food safety.
This manual suits for next models
1
Table of contents
Other Cabela's Kitchen Appliance manuals

Cabela's
Cabela's 541365 User manual

Cabela's
Cabela's 54-1647 User manual

Cabela's
Cabela's PRO SERIES 541416 User manual

Cabela's
Cabela's 541417 User manual

Cabela's
Cabela's 07-3601-A User manual

Cabela's
Cabela's 12 Tray Pro Series User manual

Cabela's
Cabela's PRO 150 51-7403 User manual

Cabela's
Cabela's 75-0201 User manual