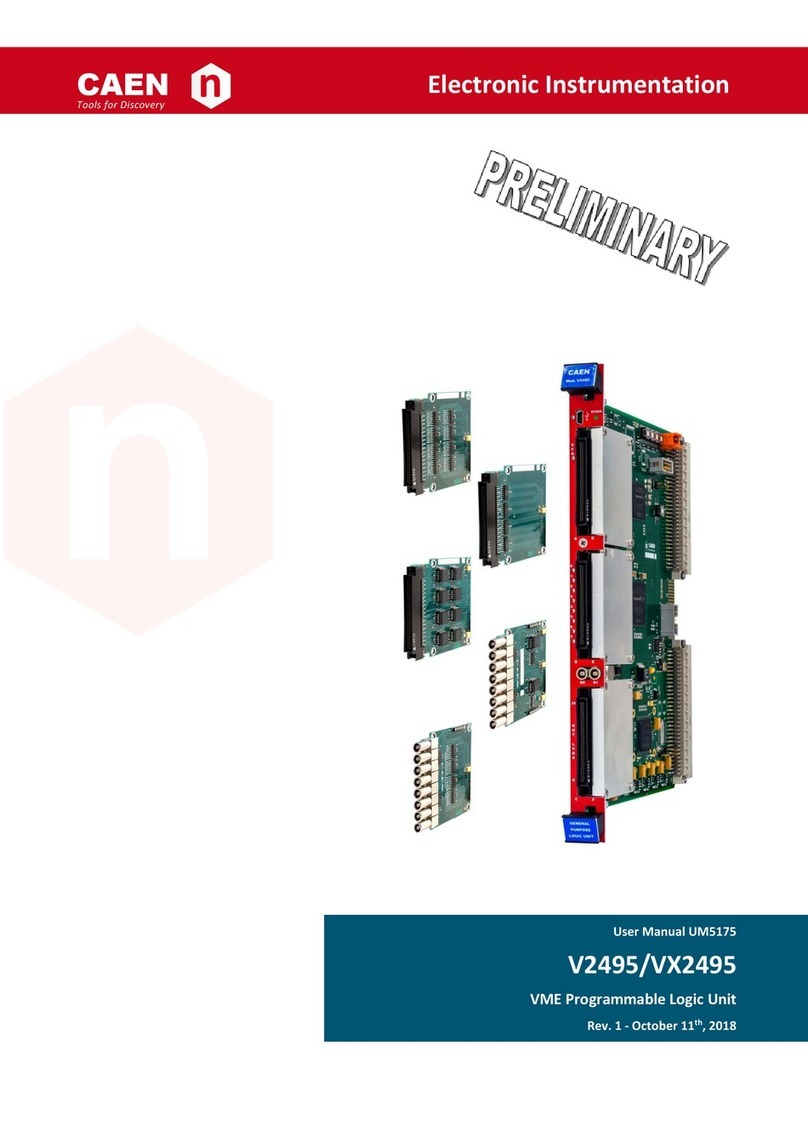
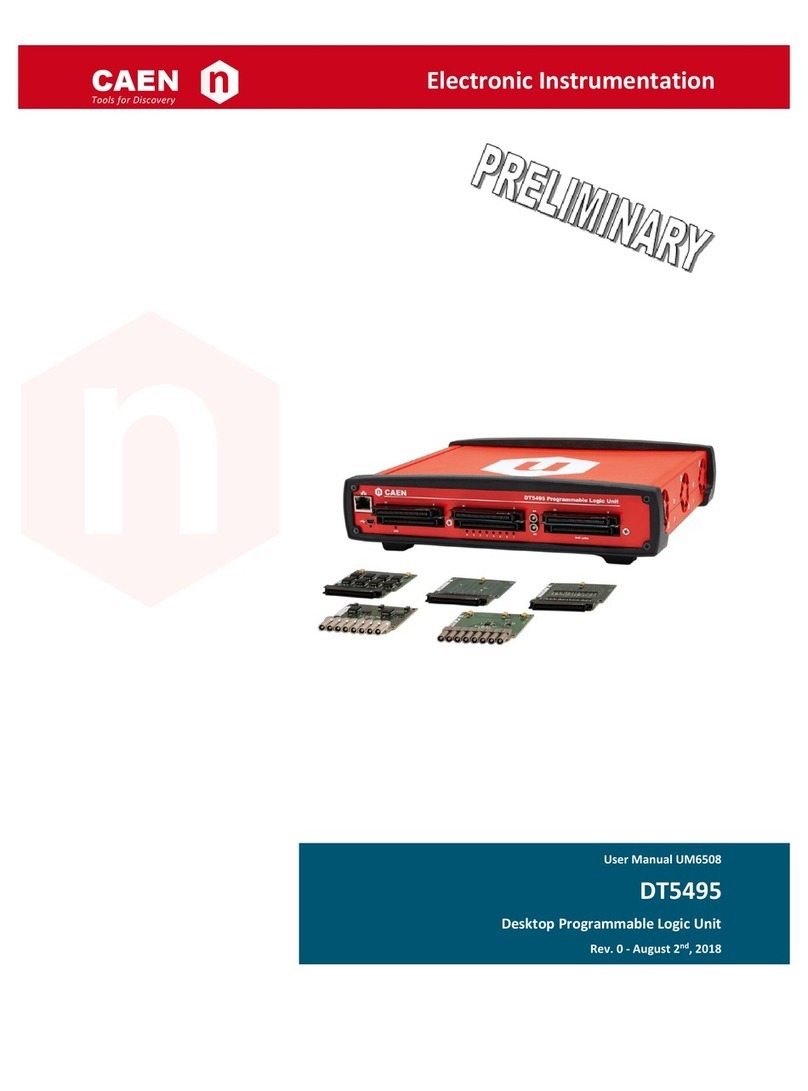
Caen V793 Technical document

Technical
Information
Manual
MOD. V 793
16 January 2001
Revision n. 0
ICARUS
SLOW CONTROL
MODULE
NPO:
00100/98:V793x.MUTx/00

Document type: Title: Revision date: Revision:
User's Manual (MUT) Mod. V793, ICARUS Slow Control Module 16/01/01 0
NPO: Filename: Number of
pages: Page:
00100/98:V793x.MUTx/00 V793_REV0.DOC 19 2
TABLE OF CONTENTS
1. GENERAL DESCRIPTION............................................................................................................................................4
1.1. OVERVIEW.................................................................................................................................................................4
1.2. BLOCK DIAGRAM.....................................................................................................................................................5
1.3. FUNCTIONAL DESCRIPTION...................................................................................................................................6
1.3.1. Baseline generation.......................................................................................................................................6
1.3.2. EN_BRD signals generation........................................................................................................................6
1.3.3. Clock signal generation...............................................................................................................................6
1.3.4. Detector and crate power supply voltages measurement.......................................................................6
1.3.5. Test pulses distribution.................................................................................................................................7
2. TECHNICAL SPECIFICATIONS .................................................................................................................................8
2.1. PACKAGING...............................................................................................................................................................8
2.2. POWER REQUIREMENTS.........................................................................................................................................8
2.3. FRONT PANEL..........................................................................................................................................................9
2.4. EXTERNAL CONNECTIONS...................................................................................................................................10
2.4.1. Backplane connectors................................................................................................................................10
2.4.2. Front panel connectors..............................................................................................................................12
2.5. DISPLAYS AND SWITCHES....................................................................................................................................12
2.6. JUMPERS..................................................................................................................................................................13
3. RS232 INTERFACE.....................................................................................................................................................15
4. CAENET INTERFACE..................................................................................................................................................17
4.1. THE V793 CAENET CONTROLLER......................................................................................................................17

Document type: Title: Revision date: Revision:
User's Manual (MUT) Mod. V793, ICARUS Slow Control Module 16/01/01 0
NPO: Filename: Number of
pages: Page:
00100/98:V793x.MUTx/00 V793_REV0.DOC 19 3
LIST OF FIGURES
FIG. 1.1 - BLOCK DIAGRAM OF THE MODEL V793...............................................................................................................5
FIG. 2.1 - MODEL V793 FRONT PANEL..................................................................................................................................9
FIG. 2.2 - PIN CONFIGURATION OF MODEL V793 BACKPLANE CONNECTORS..............................................................11
FIG. 2.3 - JUMPERS LOCATION...............................................................................................................................................13
FIG. 2.4 – RS232 PORT CONFIGURATION.............................................................................................................................14
FIG. 3.1 – DACS VALUES AND LINES STATUS WITH RS232..............................................................................................15
FIG. 3.2 – V793 SETTING MENU WITH RS232....................................................................................................................16
FIG. 4.1 – V793 CAENET CONTROLLER USER INTERFACE ..............................................................................................18
LIST OF TABLES
TABLE 2.1 - POWER REQUIREMENTS.....................................................................................................................................8
TABLE 3.1 – RS232 PORT SETTINGS....................................................................................................................................15

Document type: Title: Revision date: Revision:
User's Manual (MUT) Mod. V793, ICARUS Slow Control Module 16/01/01 0
NPO: Filename: Number of
pages: Page:
00100/98:V793x.MUTx/00 V793_REV0.DOC 19 4
1. General description
1.1. Overview
The CAEN Model V793 board has been designed for the slow control, via either RS232 or
CAENET communication path, of the analog crates into the ICARUS experiment
acquisition chain. Each ICARUS analog crate can be equipped with a Mod. V793 and up to
19 Mod. V791 boards. The Mod. V793 main functions are:
•Generate the EN_BRD logic signals to enable/disable the Mod. V791 boards
•Set the acquisition baseline for the V791 boards
•Generate a clock signal to synchronise all the Mod. V791 boards in a crate
•Measure detector and crate power supply voltages
•Forward test pulses to the V791 boards, to the decoupling boards (Mod. A764) or to the
detector during functional tests
Fig. 1.1shows a detailed block diagram of the V793 module.
The Mod. V793 is housed in a 1-unit wide, 6 unit high Eurocard mechanics; please note
that, although the module fits in a VME-like crate, the rear connectors are not VME
standard connectors.

Document type: Title: Revision date: Revision:
User's Manual (MUT) Mod. V793, ICARUS Slow Control Module 16/01/01 0
NPO: Filename: Number of
pages: Page:
00100/98:V793x.MUTx/00 V793_REV0.DOC 19 5
1.2. Block diagram
to V791
to A764
ADC MUX
CON_HV[1..4]
4
GND
+5V D
+5V A
-5V A
DAC 1
DAC 2 DAC2
EN_BRD[1..19]
19
OUT
REG
TEST_PULSE-
TEST_PULSE+
T_PULSE-
T_PULSE+
CAENET
CONTROLLER
CAENET Line
DRV_1
CLOCK+
CLOCK-
RS232
DRV_2
DRV_3
DRV_4
CLOCK
LVDS
CLK
I/O
MICROPROCESSOR
to A764
to V791
PULSE IN
+
-
+
-
CALIB_ODD
CALIB_EVEN
ENABLE_ODD
ENABLE_EVEN
TEST_C
DAC1
Fig. 1.1- Block diagram of the Model V793

Document type: Title: Revision date: Revision:
User's Manual (MUT) Mod. V793, ICARUS Slow Control Module 16/01/01 0
NPO: Filename: Number of
pages: Page:
00100/98:V793x.MUTx/00 V793_REV0.DOC 19 6
1.3. Functional description
1.3.1. Baseline generation
The Mod. V793 generates two DC voltage levels (DAC1 and DAC2) which allows to set the
baseline acquisition for the V791 boards; the DC levels can be remotely programmed with
12 bit resolution on the 0÷+2.5 V range either via RS232 or CAENET interface. For each
V791 board, it is possible to select the baseline (DAC1 or DAC2) according to the type of
signal to be converted by acting on a backplane jumper.
1.3.2. EN_BRD signals generation
The Mod. V793 is able to generate the EN_BOARD[1…19] TTL signals which allow to
enable/disable each of the V791 boards within an analog crate. If the EN_BOARD[n] signal
is active, the n-th V791 board is forced into reset state and signal digitisation is stopped.
The EN_BOARD signals can be remotely programmed either via RS232 or CAENET
interface.
1.3.3. Clock signal generation
The Mod. V793 houses a 40 MHz quartz oscillator producing an LVDS differential clock
signal CLOCK+/CLOCK-; this signal is employed to synchronise data acquisition on all the
V791 modules in a crate. The clock signal can be also externally supplied via the front
panel CLK I/O connector. The internal/external clock selection is performed through the
JP8 jumpers (see § 2.6 for further details)
1.3.4. Detector and crate power supply voltages measurement
The Mod. V793 houses eight 8-bit ADCs dedicated to detector and crate power supply
voltages measurement on the relevant backplane lines (see table below). The ADCs can be
read out either via RS232 or CAENET interface.
Line Range Line Range
CON_HV1 ±2.5 V GND ±0.5 V
CON_HV2 ±2.5 V +5 V 5±1 V
CON_HV3 ±2.5 V +5 V ANALOG 5±1 V
CON_HV4 ±2.5 V -5 V ANALOG -5±1 V

Document type: Title: Revision date: Revision:
User's Manual (MUT) Mod. V793, ICARUS Slow Control Module 16/01/01 0
NPO: Filename: Number of
pages: Page:
00100/98:V793x.MUTx/00 V793_REV0.DOC 19 7
1.3.5. Test pulses distribution
During functional tests, a differential test pulse (±2.5 V range) can be injected into the V793
through the front panel PULSE IN connector (see block diagram at page 5); the pulse is
splitted and then forwarded to the V791 modules or to the decoupling boards depending on
the status of the CALIB_EVEN, CALIB_ODD, ENABLE_EVEN, ENABLE_ODD lines (TTL
levels) as explained in the table below. The lines status is remotely programmable by
RS232 or CAENET interface; four front panel LED (CE, CO, EE and EO) display the lines
status. At module power-on test pulsing is disabled on all channels.
SIGNAL ENABLE
CALIB_EVEN =1 Test-pulse through T_PULSE lines (to V791 even channels)
CALIB_ODD =1 Test-pulse through T_PULSE lines (to V791 odd channels)
ENABLE_EVEN =1 Test-pulse through TEST_PULSE lines (on A764 even
channels)
ENABLE_ODD =1 Test-pulse through TEST_PULSE lines (on A764 odd
channels)
Besides this, four remotely programmable lines (DRV_1…DRV_4]) are available to send
test pulses directly to the detector. The status of these lines is indicated by four front panel
LEDs (DRV1…4).

Document type: Title: Revision date: Revision:
User's Manual (MUT) Mod. V793, ICARUS Slow Control Module 16/01/01 0
NPO: Filename: Number of
pages: Page:
00100/98:V793x.MUTx/00 V793_REV0.DOC 19 8
2. Technical Specifications
2.1. Packaging
The board is housed in a 1-unit wide, 6-unit high Eurocard standard mechanics.
The front panel of the Model V791 is shown in Fig. 2.1.
2.2. Power Requirements
The power requirements of the board are:
Table 2.1- Power requirements
Power Supply Absorption (max)
+5 V digital 300 mA
+5 V analog 150 mA
-5 V analog 150 mA
The crate must have a low-noise linear power supply with separate analog and digital
supply sections. It is suggested the use of a π-filter regulator for the analog section.

Document type: Title: Revision date: Revision:
User's Manual (MUT) Mod. V793, ICARUS Slow Control Module 16/01/01 0
NPO: Filename: Number of
pages: Page:
00100/98:V793x.MUTx/00 V793_REV0.DOC 19 9
2.3. Front panel
SERIAL
IN/OUT
STATION
NUMBER
CLK I/0
RS 232
PULSE
IN
1
2
3
4
CE
CO
EE
EO
DRV
Mod. V793
ICARUS
SLOW
CONTROL
MODULE
0
0
Fig. 2.1- Model V793 front panel

Document type: Title: Revision date: Revision:
User's Manual (MUT) Mod. V793, ICARUS Slow Control Module 16/01/01 0
NPO: Filename: Number of
pages: Page:
00100/98:V793x.MUTx/00 V793_REV0.DOC 19 10
2.4. External connections
2.4.1. Backplane connectors
The backplane connection pin configurations of the V793 module are shown in Fig. 2.2,
while their function and electro-mechanical specifications are listed in the following
sections.
BACKPLANE CONNECTOR P3
Mechanical specifications:
96-pin, C-type, A/B/C lines, DIN41612 standard connector;
Electrical specifications:
•EN_BRD1... EN_BRD19: enable signals for the V791 boards, TTL level;
•ENABLE_EVEN,
ENABLE_ODD test pulse enable signals for even (odd) A764
channels,
TTL level;
•CALIB_EVEN,
CALIB_ODD test pulse enable signals for even (odd) V791
channels, TTL level;
•CLOCK+, CLOCK-differential clock signal, LVDS level;
•TEST_PULSE+,
TEST_PULSE-differential test pulse to A764
•T_PULSE+,
T_PULSE-differential test pulse to V791
•AGND analog ground;
•DGND digital ground;
•+5V D +5V for the digital section;
•+5V A +5V for the analog section;
•-5V A -5V for the analog section;
•CON_HV1…CON_HV4 monitor lines for detector HV power supply,
±2.5 V range;
•TEST_C TEST_C signal, TTL level
•DAC1, DAC2 programmable baseline for the V791 boards
BACKPLANE CONNECTOR P1
Mechanical specifications:
32×2-pin, C-type, A/C lines, DIN41612 standard connector;
Electrical specifications:
•AGND: analog ground;;
•DRV_1…DRV_4: detector test pulses;

Document type: Title: Revision date: Revision:
User's Manual (MUT) Mod. V793, ICARUS Slow Control Module 16/01/01 0
NPO: Filename: Number of
pages: Page:
00100/98:V793x.MUTx/00 V793_REV0.DOC 19 11
EN_B6
AGND
EN_B4
EN_B8
EN_B12
EN_B16
EN_B18
1C 1A1B
CK+
CK-
DGND
AGND
CAL_O
CAL_E
AGND
TST_P+
TST_P-
EN_B1
EN_B3
EN_B5
EN_B7
EN_B9
EN_B11
EN_B13
EN_B15
EN_B17
EN_B19
C_TEST
HV1
HV3
+5V
DGND
AGND
-5VA
-5VA
+5VA
+5VA
ENA_E
ENA_O
AGND
T_PLS+
+5V
+5V
DC1
DC2
T_PLS+
AGND
HV4
HV2
EN_B14
EN_B10
EN_B2
1C 1A
DRV_03
DRV_04
DRV_02
DRV_01
AGND
AGND
AGND
AGND
Fig. 2.2- Pin configuration of Model V793 backplane connectors

Document type: Title: Revision date: Revision:
User's Manual (MUT) Mod. V793, ICARUS Slow Control Module 16/01/01 0
NPO: Filename: Number of
pages: Page:
00100/98:V793x.MUTx/00 V793_REV0.DOC 19 12
2.4.2. Front panel connectors
SERIAL IN/OUT
Mechanical specifications:
two bridged LEMO 00 type connectors for daisy chaining;
Electrical specifications:
CAENET signals (see § 4for further details)
CLK I/O
Mechanical specifications:
RJ45 type connector;
Electrical specifications:
LVDS 40 MHz clock signal
RS232
Mechanical specifications:
9 pin D-type connector;
Electrical specifications:
RS232 signals (see § 3for further details)
PULSE IN
Mechanical specifications:
LEMO EPG 0B type connector;
Electrical specifications:
differential test pulse, ±2.5 V range
2.5. Displays and switches
STATION NUMBER: 2 digit thumble switch
Function: it allows to select the CAENET station number.
CE: red LED.
Function: it lights up if the CALIB_EVEN line is active.
CO: red LED.
Function: it lights up if the CALIB_ODD line is active.
EE: red LED.
Function: it lights up if the ENABLE_EVEN line is active.
EO: red LED.
Function: it lights up if the ENABLE_ODD line is active.
DRV1…4 four red LEDs
Function: they light up if the relevant DRV line is active.

Document type: Title: Revision date: Revision:
User's Manual (MUT) Mod. V793, ICARUS Slow Control Module 16/01/01 0
NPO: Filename: Number of
pages: Page:
00100/98:V793x.MUTx/00 V793_REV0.DOC 19 13
2.6. Jumpers
Please refer to Fig. 2.3for jumpers location.
J8: CLK input termination
•Jumper between pin 2 and 3 ⇒termination ON
•Jumper between pin 1 and 2 ⇒termination OFF
JP3: clock configuration
•Jumper between pin 3 and 4 ⇒the internal oscillator drives the CK+/CK- backplane
lines
•Jumper between pin 5 and 6 ⇒the external clock signal is sent to the CK+/CK-
backplane lines
These two settings are mutually exclusive.
•Jumper between pin 1 and 2 ⇒the internal oscillator drives the front panel CLK output
•Jumper between pin 2 and 4 ⇒the clock signal on the CK+/CK- backplane lines is
sent to the front panel CLK output.
These two settings are mutually exclusive.
JP1: RS232 port configuration
Two jumpers allow to exchange the TX and RX pins (see Fig. 2.4) according to the cable to
be used.
JP3
5
3
1
6
4
2
JP1
3
1
4
2
J8
3
2
1
Fig. 2.3- Jumpers location

Document type: Title: Revision date: Revision:
User's Manual (MUT) Mod. V793, ICARUS Slow Control Module 16/01/01 0
NPO: Filename: Number of
pages: Page:
00100/98:V793x.MUTx/00 V793_REV0.DOC 19 14
5
1
6
9
2
7
3
8
4
DGND
TRANSMIT
RECEIVE
JP1
1
3
2
4
Fig. 2.4– RS232 port configuration

Document type: Title: Revision date: Revision:
User's Manual (MUT) Mod. V793, ICARUS Slow Control Module 16/01/01 0
NPO: Filename: Number of
pages: Page:
00100/98:V793x.MUTx/00 V793_REV0.DOC 19 15
3. RS232 Interface
The Mod. V793 can be remotely controlled by a standard PC running a terminal emulator
program via the RS232 port. The default settings of the RS232 interface are as listed in
Table 3.1, while the RS232 pin assignment is given in Fig 2.2.
Table 3.1– RS232 Port Settings
Baud rate 9600
Parity None
Character length 8 bits
Number of stop bits 1 bit
Flow control Xon/Xoff
Connect the V793 to the PC RS232 serial port (please refer to § 2.6 for TX/RX pin
assignments) and then run the terminal emulator program. By sending a <CR> from the
terminal, the V793 DACs values, the voltage measured by the ADCs on the CON_HV1…4,
DGND, +5VA, +5VD and –5VA lines, the CAENET station number and the Enable, Test
and DRV lines status will be displayed on the screen as illustrated in the figure below.
Fig. 3.1– DACs values and lines status with RS232

Document type: Title: Revision date: Revision:
User's Manual (MUT) Mod. V793, ICARUS Slow Control Module 16/01/01 0
NPO: Filename: Number of
pages: Page:
00100/98:V793x.MUTx/00 V793_REV0.DOC 19 16
To modify any parameter, press the <S> key; the following Setting Menu will be displayed.
Fig. 3.2– V793 Setting Menu with RS232
•Press <1> to set the EN_BOARD lines status; write the pattern of inhibit (0…7FFFF
hexadecimal) then press <CR>; the LSB corresponds to the EN_BRD1 line status.
•Press <2> to set the V791 test lines status; write the pattern of inhibit (0…3
hexadecimal) then press <CR>; the LSB corresponds to the CALIB_EVEN line status.
•Press <3> to set the A764 test lines status; write the pattern of inhibit (0…3
hexadecimal) then press <CR>; the LSB corresponds to the ENABLE_EVEN line
status.
•Press <4> to set the detector test lines status; write the pattern of inhibit (0…F
hexadecimal) then press <CR>; the LSB corresponds to the DRV_1 line status.
•Press <5> to set DAC1; write the DAC value (0…FFF hexadecimal) then press <CR>;
FFF corresponds to +2.5 V.
•Press <6> to set DAC2; write the DAC value (0…FFF hexadecimal) then press <CR>;
FFF corresponds to +2.5 V.
•Press <7> to enable/disable the TEST_C line ; write 1/0 then press <CR>
•Press <T> to test all the enable lines (front panel LEDs will light up sequentially); press
<CR> to exit from the test.
•Pres <D> to test DACs operation; the DACs will generate a saw tooth output between
0 and 2.5 V; press <CR> to exit from the test.
The DACs values and EN_BRD lines status set by the User are stored in memory after
module power OFF.

Document type: Title: Revision date: Revision:
User's Manual (MUT) Mod. V793, ICARUS Slow Control Module 16/01/01 0
NPO: Filename: Number of
pages: Page:
00100/98:V793x.MUTx/00 V793_REV0.DOC 19 17
4. CAENET Interface
Besides the RS232 interface, the V793 can be remotely controlled by a standard PC (with
an A303A board installed) via CAENET interface. For details on the A303 board installation
and operation, please refer to the Mod. A303A High Speed CAENET PC Controller User’s
Manual.
4.1. The V793 CAENET Controller
An example program (v793caenet.exe) is available from CAEN FTP site
ftp://ftp.caen.it/pub/DocCaen/icarus to control the V793 via CAENET on Win platform. The
v793caenet.exe program requires the A303A to be installed at I/O space address hex
H280. The full v793caenet.exe source code is available from
ftp://ftp.caen.it/pub/DocCaen/icarus/v793caenet.zip. For details on the CAENET commands
format please refer to APPENDIX A.
Connect the V793 to the A303A on the PC via a 50 Ohm coaxial cable (the CAENET line
needs to be terminated on the last board) and then run v793caenet.exe. Insert the CAENET
station number according to the thumble switches setting on the module’s front panel and
then press OK; the V793 DACs values, the voltage measured by the ADCs on the
CON_HV1…4, DGND, +5VA, +5VD and –5VA lines, the CAENET station number and the
Enable, Test and DRV lines status will be displayed on the screen as illustrated in Fig. 4.1.
To set any EN_BRD line status, simply click on the relevant box and then press the Set
button; to set the DACs value, click on the relevant box and insert the desired value (hex)
then press the Set button (FFF corresponds to +2.5 V). The DACs values and the EN_BRD
lines status set by the User are stored in memory after module power OFF. The voltage
measured by the ADCs on the CON_HV1…4, DGND, +5VA, +5VD and –5VA are
displayed on the screen.

Document type: Title: Revision date: Revision:
User's Manual (MUT) Mod. V793, ICARUS Slow Control Module 16/01/01 0
NPO: Filename: Number of
pages: Page:
00100/98:V793x.MUTx/00 V793_REV0.DOC 19 18
Fig. 4.1– V793 CAENET Controller User Interface

Document type: Title: Revision date: Revision:
User's Manual (MUT) Mod. V793, ICARUS Slow Control Module 16/01/01 0
NPO: Filename: Number of
pages: Page:
00100/98:V793x.MUTx/00 V793_REV0.DOC 19 19
APPENDIX A
Here follows a short description of the V793 status array bits and of the CAENET communication data
packet exchanged with the Controller.
/***************************************************************/
/* */
/* Meaning of the V793 STATUS array bits: */
/* */
/*MSB st.[0] st.[1] st.[2] st.[3] st.[4] st.[5] st.[6] st.[7] */
/* EN_B8 EN_B16 ENA_O DRV_1 DAC1_11 DAC1_7 DAC2_11 DAC2_7*/
/* EN_B7 EN_B15 ENA_E DRV_2 DAC1_10 DAC1_6 DAC2_10 DAC2_6*/
/* EN_B6 EN_B14 CAL_O DRV_3 DAC1_9 DAC1_5 DAC2_9 DAC2_5*/
/* EN_B5 EN_B13 CAL_E DRV_4 DAC1_8 DAC1_4 DAC2_8 DAC2_4*/
/* EN_B4 EN_B12 C_TEST - CNT_1 DAC1_3 CNT_1 DAC2_3*/
/* EN_B3 EN_B11 EN_B19 - CNT_0 DAC1_2 CNT_0 DAC2_2*/
/* EN_B2 EN_B10 EN_B18 - - DAC1_1 - DAC2_1*/
/*LSB EN_B1 EN_B9 EN_B17 - - DAC1_0 - DAC2_0*/
/* */
/* EN_BRD bits are active low */
/* */
/***************************************************************/
/********************************************************************/
/*The message sent from the CAENET Controller has the format: */
/* */
/* MASTER IDENT. 1 */
/* CRATE NUMBER XX */
/* OPERATION CODE: */
/* byte high byte low */
/* 0 0 -> module identification */
/* 0 1 -> set V793 status */
/* 0 2 -> get V793 status */
/* */
/* Code 0 1 is followed by these bytes: */
/* */
/* ADC[0] status[0] -> en_brd 8..1 */
/* ADC[1] status[1] -> en_brd 16..9 */
/* ADC[2] status[2] -> A764_O-E V791_O-E C en_brd 19..17 */
/* ADC[3] status[3] -> DRV_1..4 X X X X */
/* ADC[4] status[4] -> DAC1_11..8 CNT1 CNT0 X X */
/* ADC[5] status[5] -> DAC1_7..0 */
/* ADC[6] status[6] -> DAC2_11..8 CNT1 CNT0 X X */
/* ADC[7] status[7] -> DAC2_7..0 */
/* */
/* ANSWER CODE: 0 -> OK */
/* FF00 -> module busy */
/* FF01 -> wrong code or incorrect message */
/* */
/* */
/* Code 0 2 gives back the bytes sequence indicated above */
/* preceded by the answer code */
/* CNT1 enables test pulsing on the V791 */

Document type: Title: Revision date: Revision:
User's Manual (MUT) Mod. V793, ICARUS Slow Control Module 16/01/01 0
NPO: Filename: Number of
pages: Page:
00100/98:V793x.MUTx/00 V793_REV0.DOC 19 20
/* CNT0 enables test pulsing on the A764 */
/********************************************************************/
Table of contents
Other Caen Controllers manuals
Popular Controllers manuals by other brands

Black Stone
Black Stone BL 981411-0 instruction manual

Danfoss
Danfoss ECL Comfort A315 installation guide

Veris Industries
Veris Industries G Series installation guide

Tech Controllers
Tech Controllers EU-294v1 user manual

Hitachi
Hitachi PC-ARFG-E instruction manual

MICRO-AIR
MICRO-AIR EasyStart 364 installation instructions