CAMANGI Home-Pod IEF00 User manual

Home-Pod Quick Start Guide

1. Important Instrucon
.Before Operaon, please note below instrucon
.Using environment: - Operang: 0 ~ 40°C, - Storage: -20 ~ 65°C
.This device and AC adaptor are not water resisted, to avoid fire or electric shock, please keep
the device and adaptor from water exposure or humidity environment.
.In order to avoid electric shock, please do not open the device case or fix anything parts by
yourself.
.Please avoid device from microwave or heater.
.This device is high precision equipment; please don’t beat the case or cover of device.
.Please do not put any paper, tablecloth, curtain, blanket or any clothes on the device to avoid
heang the device. This may cause short circuit of device and lead to fire.
.Product model: IEF00
AC Adaptor model: WA-30A19U
Input: 100 ~ 240V~0.8A, 50-60Hz
Output: +19V/1.58A
1

2. Included Parts
A. Home-Pod Device B. Gyro Controller
C. AC Adaptor
D. WiFi Dongle
2

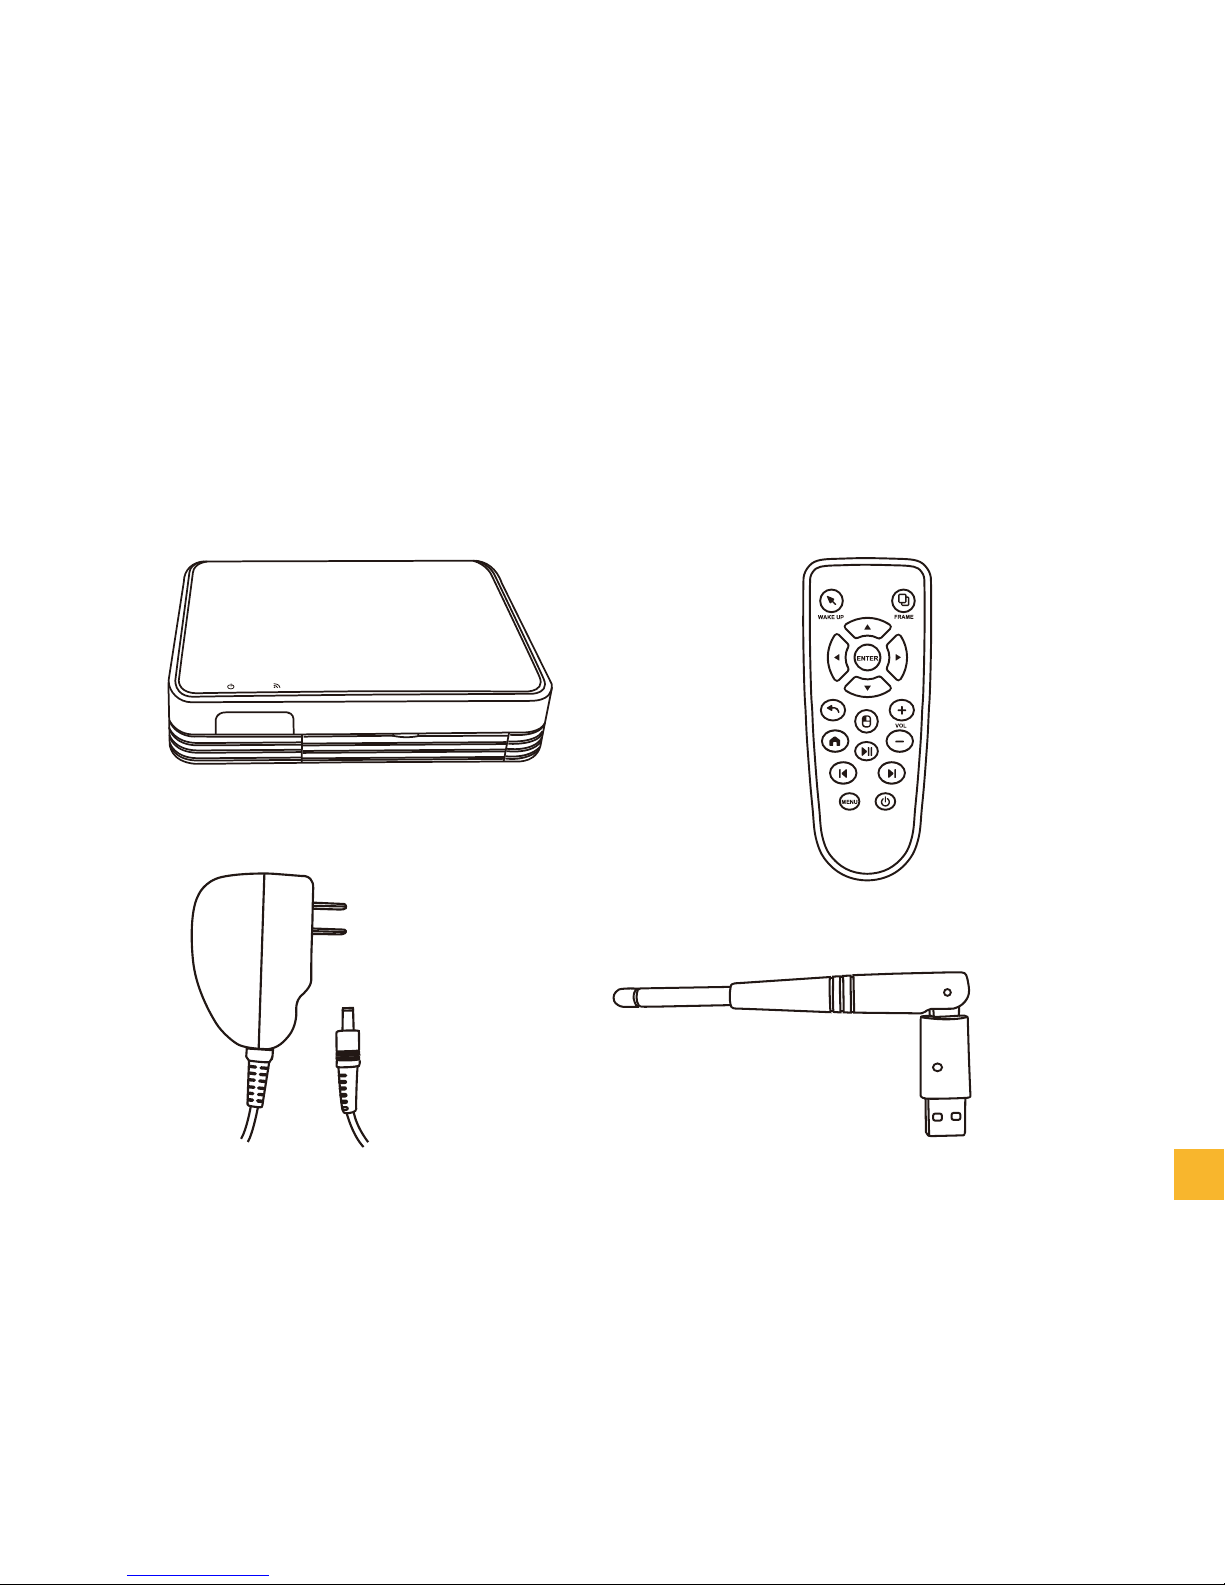
3. Get to know the device
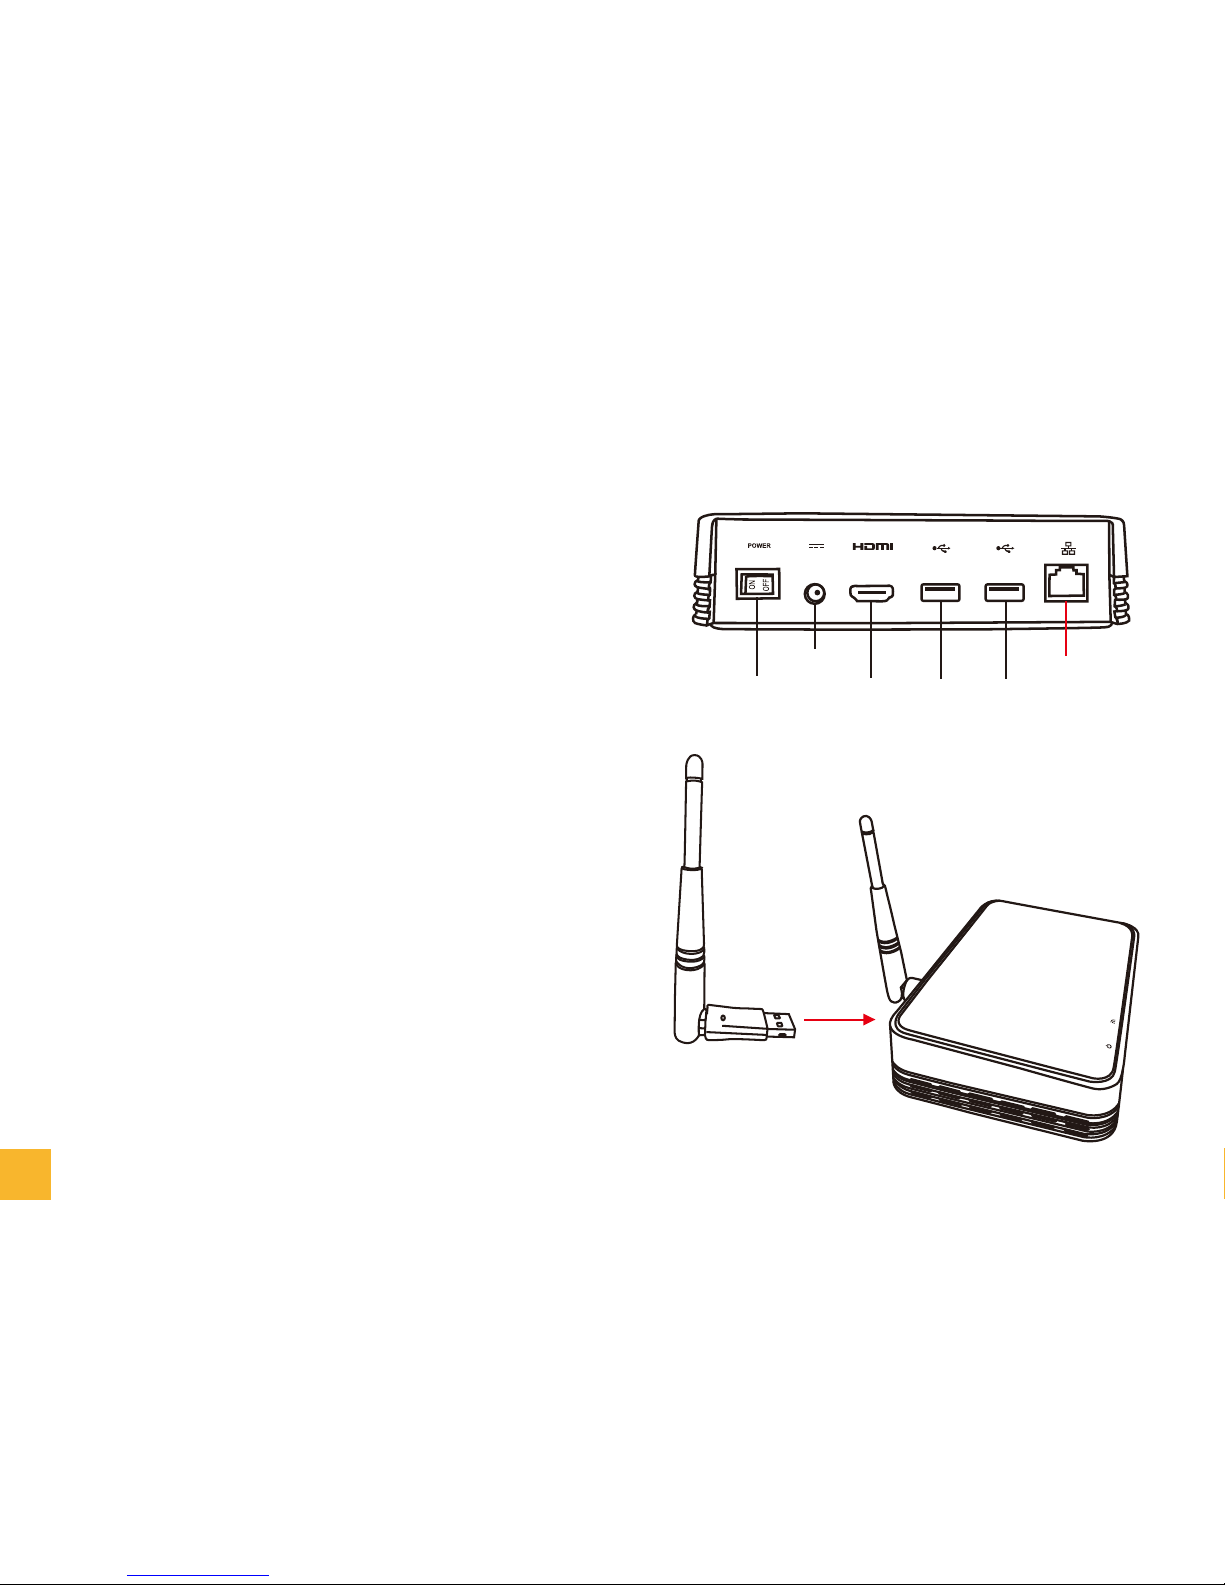
In the back and the front device, it has below output:
.Ethernet port: connect to RJ45 Ethernet cable to go to the internet.
.USB 2.0 port: Home-Pod support 4 USB ports, which can be used for 1)2.4G receiver 2)USB drive 3)USB
mouse 4)USB keyboard 5)USB microphone* 6)USB IP Camera*
.HDMI 1.3 port: It can support connect to TV or LCD monitor which have HDMI input.
.DC_IN: Using Home-Pod adaptor to charge the device, please note, device will not work without DC_IN.
.Power Switch: Power switch provide on/ off funcon, when device is working, push power switch to “off”
will cause the device shut down automacally. On the other hand, when DC in, unless the power switch
turn to “On”, or it can not be booted.
.SD Card: SD card slot support 1~32G SD card or MSD card with SD adaptor to use.
.Reset: Using paperclip to stamp the reset hole will reboot the device automacally.
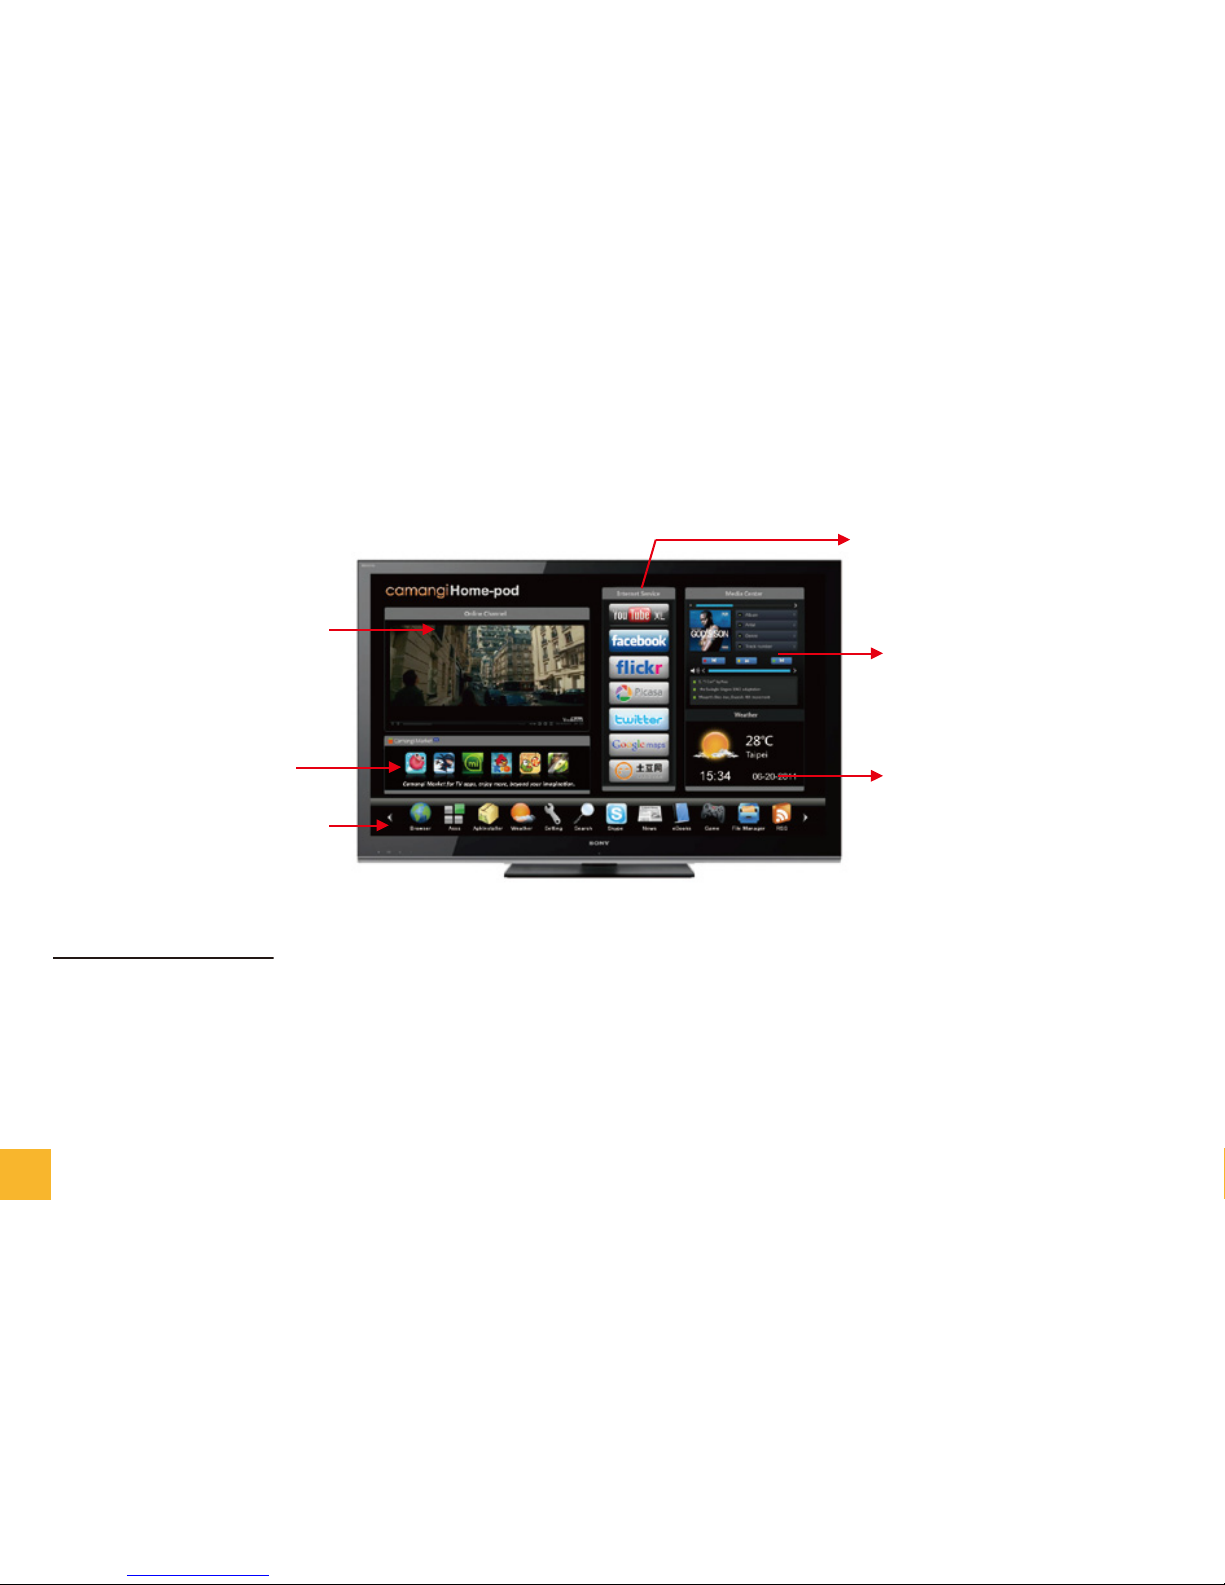
.LED Indicator: Home-pod will show 2 LED indicator, one is when power on, it will shoe red light on the le;
when WiFi on, it will show red light on the right side.
* Home-Pod may only can support some types of USB microphone and USB IP Camera.
LED Indicator
Reset
USB USB SD_Card
Power Switch
DC_IN
HDMI USB USB
Ethernet
3

4. How to connect to TV/ LCD Monitor
Step 1: Using HDMI cable and connect Home-Pod and your TV/ LCD monitor.
Step 2: Power on your Home-Pod, make sure your device power switch in on “On” side.
Step 3: Choose the input source from your TV to HDMI output.*
* When you choose input from your TV, please make sure you had chosen the correct HDMI output.
Some TV type may have 2 or 3 HDMI port.
HDMI
4

5. How to connect to Internet
Camangi Home-Pod provides 2 ways to go to internet:
a. Using Ethernet to connect to Internet.
Step 1: Prepare one RJ45 cable
Step 2: Connect RJ45 cable to Home-Pod Ethernet port.*
Step 3: In home dashboard of Home-Pod, go to
“Seng”--->”Wireless & networks” ---> “Ethernet” --->
Click “Turn on Ethernet”.
b. Using WiFi dongle to go to the Internet.
Step 1: Prepare WiFi dongle.*
Step 2: Insert WiFi Dongle to the Home-Pod USB port.
Step 3: In home dashboard of Home-Pod, go to
“Seng”--->”Wireless & networks” ---> “WiFi”
--->Click “Turn on Wi-Fi” ---> Go to “Wi-Fi sengs”
---> Choose “Wi-Fi networks” and set up password
and then choose “Connect”.
Power Switch
DC_IN
HDMI USB USB
Ethernet
* For Ethernet seng, please connect to your ISP vendor for more informaon.
5

6. Remote controller
Air mouse star key Frame key
4 ways+Enter
Volume up/down
Rewind Play/Pause Forward
Power key
Back key
Air mouse click key(le key)
Home key
Menu key
6
Camangi Home-Pod provide remote controller to control home-Pod.

7.1 Dashboard Home:
User can press Home Key to jump into the home menu screen page.
There are 6 regions:
.Online Channel .Media Center
.Camangi Market for TV .Weather
.Internet Service .App Bar
7. Dashboard
When open Home-Pod, you will see Home screen like below:
Frame A. Online Channel
Online Broadcasng/ local
player.
Frame C. Instant Streaming
Popular URL banner and
service is just a touch away.
Frame E.Widgets
Check latest weather
informaon.
Frame D. Media Console
Home Smart Share
--DLNA Media Link and
Media Center for music and
video play.
Frame B. Camangi Market
Enjoy all kinds of apps
for Home Box.
Frame F. Apps launch Bar
7

IR Remote Control:
.You can press Frame key to change the focus on each region.
.Once you stay on any region which includes sub items, you can 4 way keys to select item one by one.
.Press Enter key will run this link funcon.
Moon Remote Control:
.You can press Click to enable cursor and move remoter to select items on all regions.
.Once you stay on any item, you can press Enter to run this link funcon.
7.2 Frame A: Online Channel
Online Channel includes Youtube channels and local file play.
IR Remote Control:
.You can press Frame key to focus on Online Channel region.
.You can press Le/Right key to switch Youtube channels and local file play mode.
Moon Remote Control:
.Move cursor and click to select Online Channel region.
7.3 Frame B: Camangi Market
IR Remote Control:
.You can press Frame key to focus on App Store region.
Moon Remote Control:
.You can move remote into APP store region
8
Camangi Market provide applicaon especially for Home-Pod.

7.4 Frame C: Internet Service
Home-Pod can provide 18 hot key banners to connect to popular internet service. These services will be
updated by Camangi server.
IR Remote Control:
.You can press Frame key to focus on Internet Service region.
.Press le/right keys to switch different Internet Service pages, the dot icon
below Internet Service will show the posion of the page.
.Press up/down keys to select channel, then press Enter key to open the channel.
Moon Remote Control:
.You can move remoter into Internet Service region and press Click key on dot buons below Internet
Service to select Internet Service pages.
.Press Click key on Internet Service buon, dashboard will open the channel.
7.5 Frame D: Media Center
Media center is a quick widget to play the music by DLNA
control, for main sengs, need to go to Frame F-->
“Media Share” and seng.
IR Remote Control:
.You must run [Media Share] on applicaon bar to select audios.
.Press Frame key to focus on Media Center region.
.Press play/pause key to play or pause audio.
.Press prev or next for jumping previous or next audio.
.Press VOL UP/VOL DOWN to adjust audio volume.
Play/Pause
Prevoius
Next---下
Volume up
Volume down
Enter---useless
9

Moon Remote Control:
.You must run Media Center on applicaon bar to select audios.
.Move remoter into Media Center region.
.Press Click key on play/pause buon to play or pause audio.
.Press Click key on prev or next buons for jumping previous or next audio.
.Press Click key on VOL UP/VOL DOWN buons to adjust audio volume.
7.6 Frame E: Weather
IR Remote Control:
.You can press Frame key to focus on Weather region.
.Press enter key to enter Weather main page.
Moon Remote Control:
.You can move remoter into Weather region.
.Press Click key on Weather buon, dashboard will open the Weather main page.
Weather Icon
Time
Temperature Display
(℃or ℉ can be set.)
City
Date
10

7.7 Frame F: Applicaon Bar
Home-Pod provide preinstall applicaon for use and users can also install applicaon by “ApkInstaller” by
local side.
IR Remote Control:
.You can press Frame key to focus on Applicaon Bar region.
.Press le or right keys to scroll the applicaon bar, the applicaon you selected will locate on center of
applicaon bar.
.Press Enter key to run the applicaon.
Moon Remote Control:
.You can move remoter into Applicaon Bar region.
.Press Click key on le or right arrow buons to scroll the applicaon bar.
.Press Click key on the applicaon buon you want to execute. Dashboard will execute the applicaon.
11

7.7.1 Web Browser
a. General
When select Browser icon in Dashboard, show current all bookmarks:
12

b. Bookmark
When select Browser icon in Dashboard, show
current all bookmarks:
.Press 4 way keys, can move to any bookmark
item.
.Press Enter key, can select this bookmark and
jump into this Website.
.During Website page, pressing [4 way] keys can
drag this page content area.
c. Edit bookmark
.In Browser Top Page, press Menu key, can edit
current bookmark item.
.Select [Delete BookMarks] item, can delete
current bookmark.
.Select [Edit] item, can edit current bookmark
name:
13

d. Menu bar
.During Website page, press [menu] key will
show menu bar in boom side:
.Select [Close Tab] item, will close current website
windows
.Select [History] item, will show visited website
history. Can use up/down
keys to browse selected website.
.Select [Add Tab] item, will open a new website
windows (default Homepage)
14

e. Display Mode
.During Website page, press top 4 [color] keys
will show different layout of
opened websites: (Use mouse click to select)
15

7.7.2 Search
During Dashboard, press Search icon, will show input bar for user key in URL address:
Press keyboard chars in input bar to key in
URL address.
16

Table of contents