B. Basic Copying Operation
1) Set the power switch to ON (I).
(1) If the temperature of the fixing roller
is too low for copying, the indicator
of the COPY START key will glow red.
(2) When the temperature of the fixing
roller becomes high enough for copy-
ing, the indicator will glow green.
(3) The normal waiting time at room
temperature (20°C) is about 70
seconds.
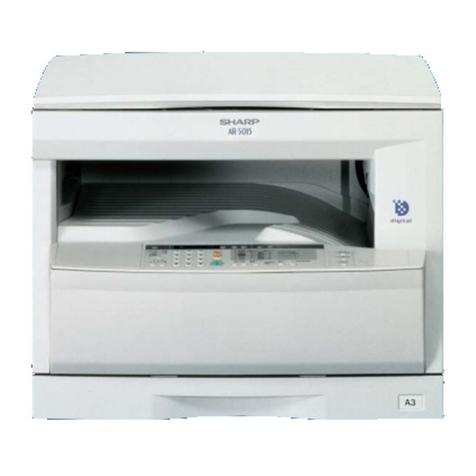
2) Raise the copyboard cover, place an
original on the copyboard with the side
to be copied facing downward, and
align it with the size indication.
3) To adjust the copy density manually,
the A key indicator should be OFF; press
the key once if it is ON. Set the COPY
DENSITY cursor to suit the original.
4) Check the size of paper in the cassette.
(1) If the cassette does not have the
desired size of paper, remove it and
install a cassette with the desired
size.
5) Set the required number of copies (1 to
99) using the number keys and confirm
that the correct number appears on the
COPY NUMBER indicator.
(1) If an error was made in inputting the
number of copies, press the
CLEAR/STOP key and reset the num-
ber of copies.
6) Press the COPY START kev.
iI)
(2)
To stop a continuous copying opera-
tion, press the CLEAR/STOP key. The
copier will complete the copy in prog-
ress, then stop.
The COPY NUMBER indicator will
display the initially set copy quantity.
It is possible to switch from auto-
matic exposure control to manual
density adjustment at any time from
the start of copying to the completion
of the final copy. However, it is not
possible to switch in the other direc-
tion from manual density adjustment
to automatic.
Example:
If the copy is too dark or too faint using AE,
cancel AE and vary the copy density with
the COPY DENSITY cursor.
(3) If the PAPER OUT indicator goes ON
I (4)
(5)
during copying, the copier will stop.
Refill the cassette and press the
COPY START key. The remaining
number of copies will be made
automatically.
If the copier has a DF, place a docu-
ment (original) on the document tray.
The document will be fed automati-
cally and copying will start.
If no other operation is performed,
the copier will return to the STAN-
DARD mode approximately 2 min-
utes after it completes a copy or after
the last key operation.
l-8 COPYRIGHT 0 ISSO CANON INC.
C. MANUAL FEED PICK-UP OPERATION
1) Place an original on the copyboard.
2) Select manual or AE density control.
3) Feed one sheet of copy paper into the
copier along the guides of the manual
feed tray.
(1) When the copier senses the paper,
copying will start automatically.
(2) When performing continuous man-
ual feed copying, keep the sheets at
least 50 mm separate from each
other.
Note:
Manual feed copying is possible when the
PAPER OUT indicator is ON and the COPY
START key is glowing red.
D. TWO-SIDED COPYING
Copy one side of a 2-sided original.
Invert the original so that the same edge
faces the front. Invert the copy in the same
way (front edge facing front ward) and feed
it into the copier.
(1) Use dry, uncurled paper.
(2) Use paper in the weight range 60
128g/m’.
(3) When making two-sided copies, only
oneimagecanbemadeoneachsideof
the copy paper.
(4) Overlay and two-sided copies cannot be
made on the same sheet of copy paper.
E. OVERLAY COPY OPERATION
By changing the developing unit, a 2-
color copy can be made on the same side
of the copy paper.
y;;oT;y,er in the ,range of 60 to
(1)
(2)
(3)
When making an overlay copy a maxi-
mum of two images can be made on one
side of the copy paper.
Overlay and two-sided copies cannot be
made on the same sheet of copy paper.
Figure 1-5
CANON NP.1015/1215S AN.0 OCT. 1988 PAINTEA IN JAWI IlMPillMf AU JAPON)


