manuals.online logo
Brands
  1. Home
  2. •
  3. Brands
  4. •
  5. Canon
  6. •
  7. Copier
  8. •
  9. Canon NP1550 User manual

Canon NP1550 User manual

Other manuals for NP1550

1

Other Canon Copier manuals

Canon SmartBase MPC200 User manual

Canon

Canon SmartBase MPC200 User manual

Canon Z5000 User manual

Canon

Canon Z5000 User manual

Canon iR5570 Series Reference manual

Canon

Canon iR5570 Series Reference manual

Canon NP6016 User manual

Canon

Canon NP6016 User manual

Canon imageRUNNER 2545i User manual

Canon

Canon imageRUNNER 2545i User manual

Canon C400D User manual

Canon

Canon C400D User manual

Canon FY8-13G3-000 User manual

Canon

Canon FY8-13G3-000 User manual

Canon PC400 How to use

Canon

Canon PC400 How to use

Canon PC6 User manual

Canon

Canon PC6 User manual

Canon ColorPASS-Z20e User manual

Canon

Canon ColorPASS-Z20e User manual

Canon imageRUNNER 1600 User manual

Canon

Canon imageRUNNER 1600 User manual

Canon imageRUNNER 5055 User manual

Canon

Canon imageRUNNER 5055 User manual

Canon iR5570 Series Reference manual

Canon

Canon iR5570 Series Reference manual

Canon NP-2120 User manual

Canon

Canon NP-2120 User manual

Canon NP6251 Reference manual

Canon

Canon NP6251 Reference manual

Canon NP6330 User manual

Canon

Canon NP6330 User manual

Canon CLC 1120 User manual

Canon

Canon CLC 1120 User manual

Canon imageRUNNERC1022 User manual

Canon

Canon imageRUNNERC1022 User manual

Canon iR1210 Operating and maintenance manual

Canon

Canon iR1210 Operating and maintenance manual

Canon imageRunner Advance 6275 Assembly instructions

Canon

Canon imageRunner Advance 6275 Assembly instructions

Canon iR5570 Series Reference manual

Canon

Canon iR5570 Series Reference manual

Canon iR3245 User manual

Canon

Canon iR3245 User manual

Canon NP-1215 User manual

Canon

Canon NP-1215 User manual

Canon imageRUNNER C3480 User manual

Canon

Canon imageRUNNER C3480 User manual

Popular Copier manuals by other brands

Xerox Document Centre 50 installation guide

Xerox

Xerox Document Centre 50 installation guide

Sharp AR-5015 N Service manual

Sharp

Sharp AR-5015 N Service manual

Minolta CF910 manual 

Minolta

Minolta CF910 manual 

Ricoh FW740 manual

Ricoh

Ricoh FW740 manual

Ricoh B003 Service manual

Ricoh

Ricoh B003 Service manual

Oce 9800 user manual

Oce

Oce 9800 user manual

Olivetti d-Copia 1800 Service manual

Olivetti

Olivetti d-Copia 1800 Service manual

Minolta Di181 manual 

Minolta

Minolta Di181 manual 

Ricoh Di-C1 manual

Ricoh

Ricoh Di-C1 manual

Xerox WorkCentre Pro 40 user manual

Xerox

Xerox WorkCentre Pro 40 user manual

Minolta EP4000 Operator's manual

Minolta

Minolta EP4000 Operator's manual

Triumph Adler DCC 2526 Instruction handbook

Triumph Adler

Triumph Adler DCC 2526 Instruction handbook

Kyocera Mita KM-2030 Instruction handbook

Kyocera Mita

Kyocera Mita KM-2030 Instruction handbook

Triumph Adler DC 2222 Instruction handbook

Triumph Adler

Triumph Adler DC 2222 Instruction handbook

Triumph Adler DC 2075 Instruction handbook

Triumph Adler

Triumph Adler DC 2075 Instruction handbook

Triumph Adler DC 2115 Instruction handbook

Triumph Adler

Triumph Adler DC 2115 Instruction handbook

Triumph Adler DC 2215 Instruction handbook

Triumph Adler

Triumph Adler DC 2215 Instruction handbook

Utax CDC 1526 Instruction handbook

Utax

Utax CDC 1526 Instruction handbook

manuals.online logo
manuals.online logoBrands
  • About & Mission
  • Contact us
  • Privacy Policy
  • Terms and Conditions

Copyright 2025 Manuals.Online. All Rights Reserved.

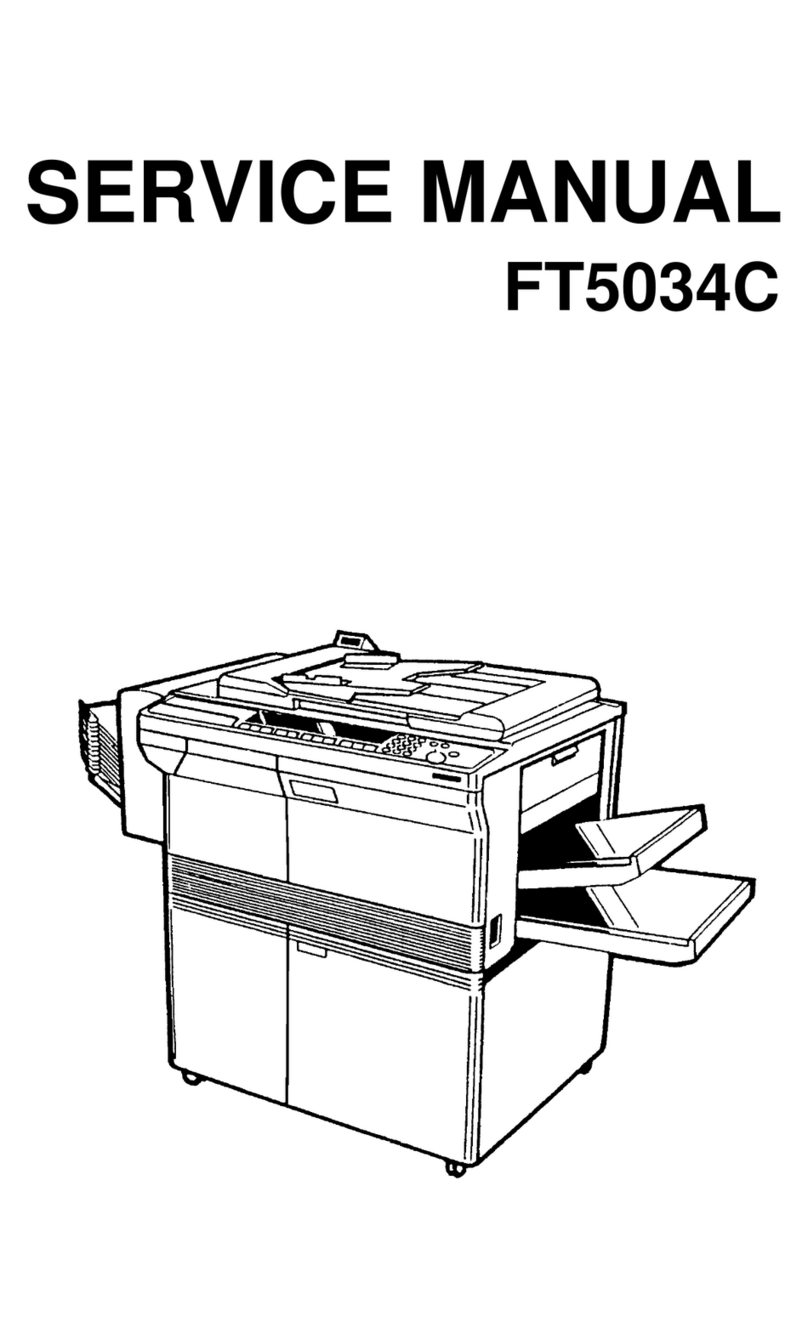
NP1550
SERVICE
MANUAL
COPYRIGHT CANON INC.
PRINTED IN IAPAN
Canon
FY8-13BN-010
IGENERAL DESCRIPTION I
I. FEATURES
1
.
Copies as large as A3 in size (DIRECT) may be made, and the copyboard is of afixed type.
•Although compact in design the copier enables making copies as large as A3 in size in the
DIRECT mode.
•The copyboard is of afixed type so that pages of abook may be copied with much ease.
2. Zooming between 50% and 200%.
•Copies may be made in reproduction rations of between 50% and 200%, selectable in 1%
increments.
3. Front loading for faster supply of paper.
•Paper is loaded from the front of the copier so that the cassette may be replenished with
paper without wasting time. The design also saves space.
4. Single component fine particle toner for high resolution.
•Copies are developed using the single component toner projection method. Further, the
copier uses toner of extremely fine particles for enhanced image quality.
5. Multifeeder (stack bypass) pick-up.
•As many as 50 copies (80 g/rri) may be made continuously using the multifeeding
mechanism.
COPYRIGHT© 1992 CANON INC. CANON NP-1550 REM JAN. 1992 PRINTED IN JAPAN (IMPRIMEAUJAPON) 1-1
IGENERAL DESCRIPTION I
II. SPECIFICATIONS
A. Type
Body Desktop
Copyboard Fixed
Light sourse Halogen lamp (300W)
Lens Zoom lens :
Photosensitive medium OPC
B. System
Reproduction Indirect electrostatic method
Charging Corona
Exposure Slit (moving light source)
Copy density adjustment Auto or Manual
Development Dry
Pick-up Automatic Exclusive cassette
Manual Multifeed
Transfer Corona
Separation Curvature and Static eliminator
Drum cleaning Blade
Fixing Heat roller (900W)
C. Performance
Type of document Sheet,Book,3-D object(2 kg)
Document size A3 max.
Wait time 75sec(approx.;at20°C)
First copy 9.4 sec (A4, AE ON/OFF, 1:1)
Continuous copying 99 copies
Copy size A3(max.),A6(min,;148x105 mm)
Type of
copy
paper
Cassette Plain paper(64 to 80 g/m2),Tracing paper,
Colored paper
Multifeed tray Plain paper(64 to 128 g/m2), Tracing paper*, Colored
paper, OHP film*, Postcard, Label sheet
*Use of tracing paper may cause double feeding. If thin paper or OHP film, feed one sheet at atime.
1-2 COPYRIGHT© 1992 CANON INC. CANON NP-1550 REV.O JAN.1992 PRINTED IN JAPAN (IMPRIME AU JAPON)
IGENERAL DESCRIPTION I
Two-sided
copying Multifeed tray Plain paper(64 to 128 g/m 2), Colored paper, Postcard
Overlay
copying Multifeed tray Plain paper(64 to 128 g/m 2
), Colored paper, Postcard
Cassette
Claw Provided.
Standard 27 mm deep(about 250 sheets of 80 g/m 2paper)
Universal None.
Copy tray 100 sheets(approx.; A4, 80 g/m2
)
Non-image
width
(1st side)
Leading edge 2.0 ±1.5 mm or less
Left/Right 2.5 ±1 .5 mm or less
Auto clear Provided. (2 min, standard)
Auto shutoff None.
Option ADF-A1 ,CT unit, MS-A1 ,Stapler Sorter-B1 ,CC-V
D. Others
Power
supply
_^_— "Serial Numbers
220V 50Hz UBN XXXXX
240V 50Hz QBN XXXXX
Power
con-
sumption
Maximum 1.5kW or less
Standby 0.1 48 kWh (Reference value)
Continuous copying 0.64 kWh (Reference value)
Noise Copying 55dB or less (sound power level
as prescribed by ISO)
Standby 40dB or less
Ozone 0.05ppm or less (UL standards.)
Di-
mensions
Width 697mm
Depth 617mm
Height 391mm
Weight 50.6kg
Operating
environ-
ment
Temperature 15.0°Cto30.0°C
Humidity 5% to 80%
Atmospheric pressure 0.6 to 1
Others Keep copy paper wrapped to protect against moisture.
COPYRIGHT© 1992 CANON INC. CANON NP-1550 REV.0 JAN. 1992 PRINTED IN JAPAN (IMPRIME AU JAPON) 1-3
IGENERAL DESCRIPTION I
Reproduction mode Paper size Cassette Copies/min
DIRECT
A3 (297x420mm) A3 9
A4 (210x297mm) A4 15
B4 (257x365mm) B4 10
B5 (182x257mm) B5 17
A5R (210x149mm) A5R 16
REDUCE I50% ^^^
II A3^A4 A4R 10
ENLARGE IA4-A3 A3 9
II 200% ^^^^^
1-4 COPYRIGHT© 1992 CANON INC. CANON NP-1550 REV.0 JAN. 1992 PRINTED IN JAPAN (IMPRIIIE All JAPON)
IGENERAL DESCRIPTION I
III. NAMES OF PARTS
A. External View
(D -© ®©Copy tray
©Copyboard cover
@Control panel
@Power switch
©Cassette
©Delivery cover
Figure 1-1
©Copyboard glass
©Multifeeder cover
©Multifeeder tray
©Developing assembly
release lever
©Feeder assembly release
lever
©Drum unit
©Fixing assembly knob
COPYRIGHT© 1992 CANON INC. CANON NP-15S0 REM JAN.1992 PRINTED IN JAPAN (IMPRIME AU JAPON) 1-5
IGENERAL DESCRIPTION I
B. Cross Section
©©® © .©
©No. 3mirror
©No. 2 mirror
(3) No. 1mirror
®Scanning lamp
©Copyboard glass
©Copyboard cover
©Lens
®Pre-exposure lamp
©Primary corona assembly
)No. 6 mirror
)No. 5mirror
)No. 4mirror
)Multifeeder tray
)Developing assembly
)Feeder roller 1
)Registration roller
)Pick-up roller
)Feeder roller 2
Figure 1-3
&Transfer corona assembly
(Photosensitive drum
)Cassette
)Feeder assembly
)Exhaust fan
)Fixing assembly
)Delivery roller
1-6 COPYRIGHT© 1992 CANON INC. CANON NP-1550 REV.1 SEPT. 1992 PRINTED IN JAPAN (IMPRIME AU JAPON)
IGENERAL DESCRIPTION I
IV. OPERATION
A. Control Panel
©©
(D ©
Figure 1-4
©SORT/GROUP key
Press it to select the sort, group, or non-
sort mode. The indicator remains unit
when the non-sort mode is selected.
^- sorting
2- grouping
©PAGE SEPARATION key
Press it to select the page separation
mode.
(D JAM indicator
®CONTROL CARD indicator
©ADD PAPER indicator
©ADD TONER indicator
©COPY COUNT/RATIO indicator
It indicates the reproduction ratio when
the %key is pressed.
®COPY START key
•glows orange when the copier is not
ready for copying.
•glows green when the copier is ready
for copying.
®RESET key
Press it to reset the copier to its default
settings.
Default Settings
•copy count 1
•DIRECT
•AE (may be turned OFF using 'C15' of
service mode)
•non-sort
»CLEAR/STOP key
)STANDBY key
)NUMERIC keypad
»%key
Press it to check the reproduction ratio
using the copy count indicator.
The display changes to the copy count 2
sec after the key is released.
)ZOOM key "
Press it to select desired reproduction
ratios between 50% and 200% in 1%
increments.
DAUTO RATIO key
Press it to select or deselect the auto
reproduction ratio mode.;
The key is effective when the ADF is attached.
iPAPER SELECT key
Press it to select the cassette or multifeeder
as the source of paper.
)PAPER SELECT/JAM indicator
ALED goes ON to indicate the location of
the paper or flashes to indicate the location
of the jam, if any.
DENLARGE key
IDIRECT key
JREDUCE key
DAE (automatic exposure (density) adjust-
ment) key
DCOPY DENSITY lever
COPYRIGHT© 1992 CANONINC. CANON NP-1550 REV.1 SEPT. 199! PRINTED IN JAPAN (IMPRIME All JAPON) 1-7
IGENERAL DESCRIPTION I
B. Basic Copying Operation
1
)
Set the power switch to ON (I).
a) If the temperature of the fixing roller is
too low for copying, the indicator of
the COPY START key will blink green.
b) When the temperature of the fixing
roller becomes high enough for
copying, the indicator will glow green.
c) The normal waiting time at room
temperature (20*C) is about ,75
seconds.
2) Raise the copyboard cover, place an
original on the copyboard with the side to
be copied facing downward, and align it
with the size indication.
3) To adjust the copy density manually, the
AE key indicator should be OFF; press
the key once if it is ON. Set the COPY
DENSITY lever to suit the original.
4) Check the size of paper in the cassette,
a) If the cassette does not have the
desired size of paper, remove it and
install acassette with the desired
size.
5) Set the required number of copies (1 to
99) using the NUMERIC keypad and
confirm that the correct number appears
on the COPY COUNT/RATIO indicator,
a) If an error was made in inputting the
number of copies, press the
CLEAR/STOP key and reset the
number of copies.
6) Press the COPY START key
a) To stop acontinuous copying operation,
press the CLEAR/STOP key or RESET
key. The copier will complete the copy in
progress, then stop.
The COPY COUNT/RATIO indicator
will display the initially set copy
quantity.
b) It is possible to switch from automatic
exposure control to manual density
adjustment at any time from the start of
copying to the completion of the final
copy. However, it is not possible to
switch from manual density adjustment
to automatic.
Example:
If the copy is too dark or too faint using AE,
cancel AE and vary the copy density with the
COPY DENSITY lever.
c) If the ADD PAPER indicator goes ON
during copying, the copier will stop.
Refill the cassette and press the COPY
START key. The remaining number of
copies will be made automatically.
d) If the copier has aADF, place adocument
(original) on the document tray. The
document will be fed automatically and
copying will start.
e) If ^no other operation is performed, the
copier will return to the STANDARD
mode approximately 2minutes after it
completes acopy or after the last key
operation.
C. PiCk-Up from Multifeeder
1
)
Set documents on the copyboard.
2) Press the PAPER SELECT key to select
the multifeeder.
3) Open the multifeeder tray.
4) Open the multifeeder cover.
5) Set the slide guide to the size of the copy
paper.
6) Set copy paper.
•As may as 50 sheets (80 g/m) may be
set:
Close the multifeeder cover.
Set the desired reproduction ratio using
the DIRECT, REDUCE, ENLARGE, or
ZOOM key.
Cancel the AE mode, and set the COPY
DENSITY lever if manual adjustment of
the density is desired.
10) Enter the number of copies using the
NUMERIC keypad.
11) Press the COPY START key.
7)
8)
9)
1-8 COPYRIGHT© 1992 CANON INC. CANON NP-1550 REV.1 SEPT. 1992 PRINTED IN JAPAN (IMPRIME AU JAPON)
IGENERAL DESCRIPTION I
D. Two-Sided Copying
Copy one side of a2-sided original.
Invert the original so that the same edge
faces the front. >Invert the copy in the same
way (front edge facing the front) and feed it
into the copier.
a) Use dry, uncurled paper.
b) Use paper in the weight range 60 to
128g/rri
c) When making two-sided copies, only
one image can be made on each
side of the copy paper.
d) Both overlay and two-sided copies
cannot be made on the same sheet
of copy paper.
Back edge
Front edge 01=1
Back edge
Front edge
Figure 1-5
E. Overlay Copy Operation
By changing the developing assembly, a
2-color copy can be made on the same side
of the copy paper.
a) Use paper in the range of 60 to 128 g/m
b) When making an overlay copy a
maximum of two images can be
made on one side of the copy paper.
c) Overlay and two-sided copies cannot
be made on the same sheet of copy
paper.
F. Autostart
The auto start mechanism may be made
use of while the copier is in the wait mode
(COPY START key blinking green); i.e., after
it is switched ON or after the standby mode
is cancelled.
Set adocument while the copier is in the
wait mode, and select the copy mode; then,
press the COPY START key.
The COPY START key changes from
blinking green to orange to indicate that the
auto start mechanism has been activated.
The copier starts making copies as soon
as it enters the standby mode using the
selected copy modes.
The auto start mechanism may be can-
celled by pressing the CLEAR/STOP or
RESET key. ;
G. Replacing the CT Unit
1
)
Open the front door.
2) Swing the developing assembly release
lever counterclockwise.
3) Pull the developing assembly forward.
4) Grasp the handle of the developing
assembly, and gently raise it.
Figure 1-6
5) Place the CT unit gently on the develop-
ing assembly guide rails and push it in
the copier.
6) Shift the developing assembly release
lever clockwise until it is horizontal.
7) Close the front door.
i. Do not tilt or handle the developing
assembly or the CT unit roughly,
ii. Do not place the developing assembly
'i •-•^p^W^'^W^W*^* box or in
the pedestal of the copier.
COPYRIGHT© (992 CANON INC. CANON NP-1550 REV.1 SEPT. 1992 PRINTED IN JAPAN (IUPRHIE AU JAPON) 1-9