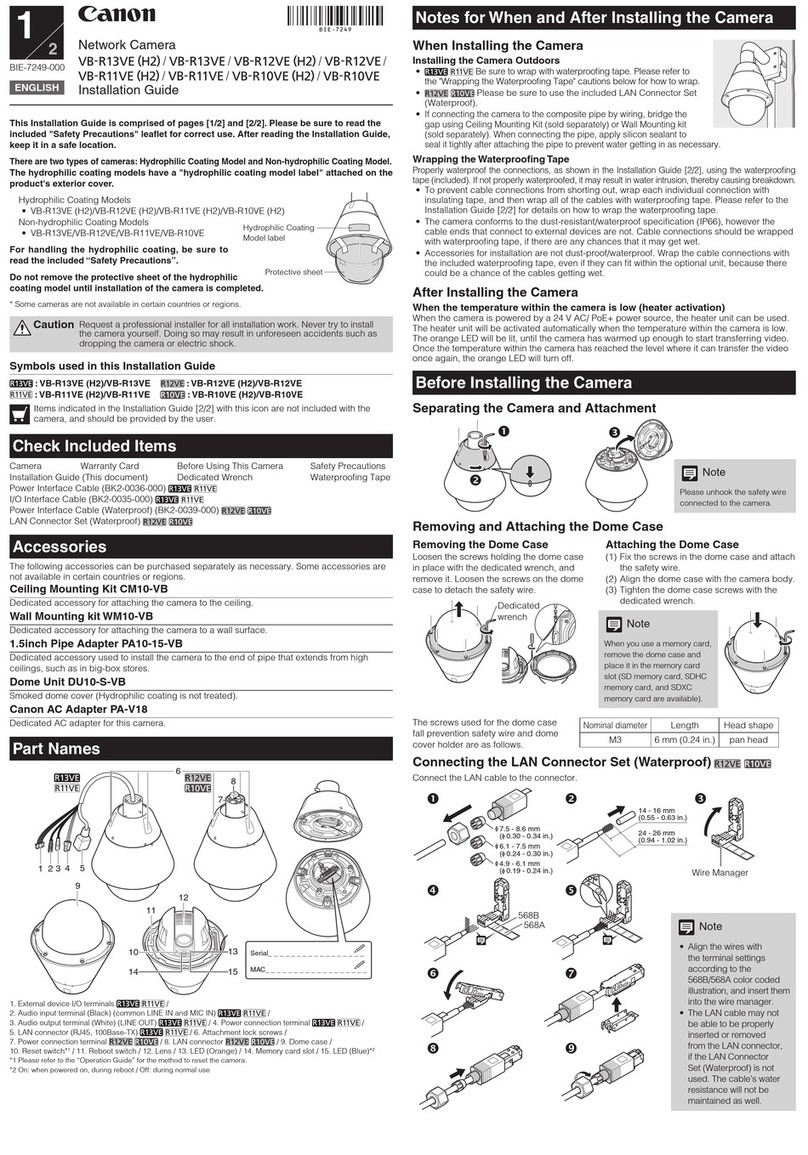
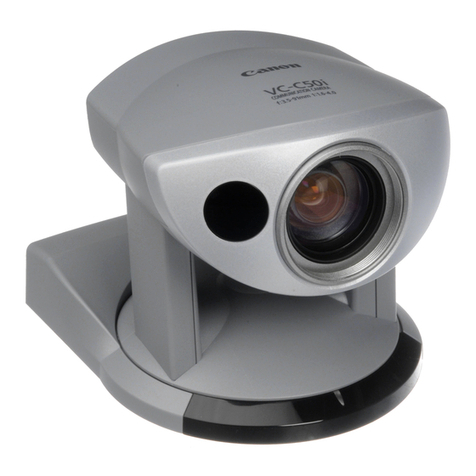
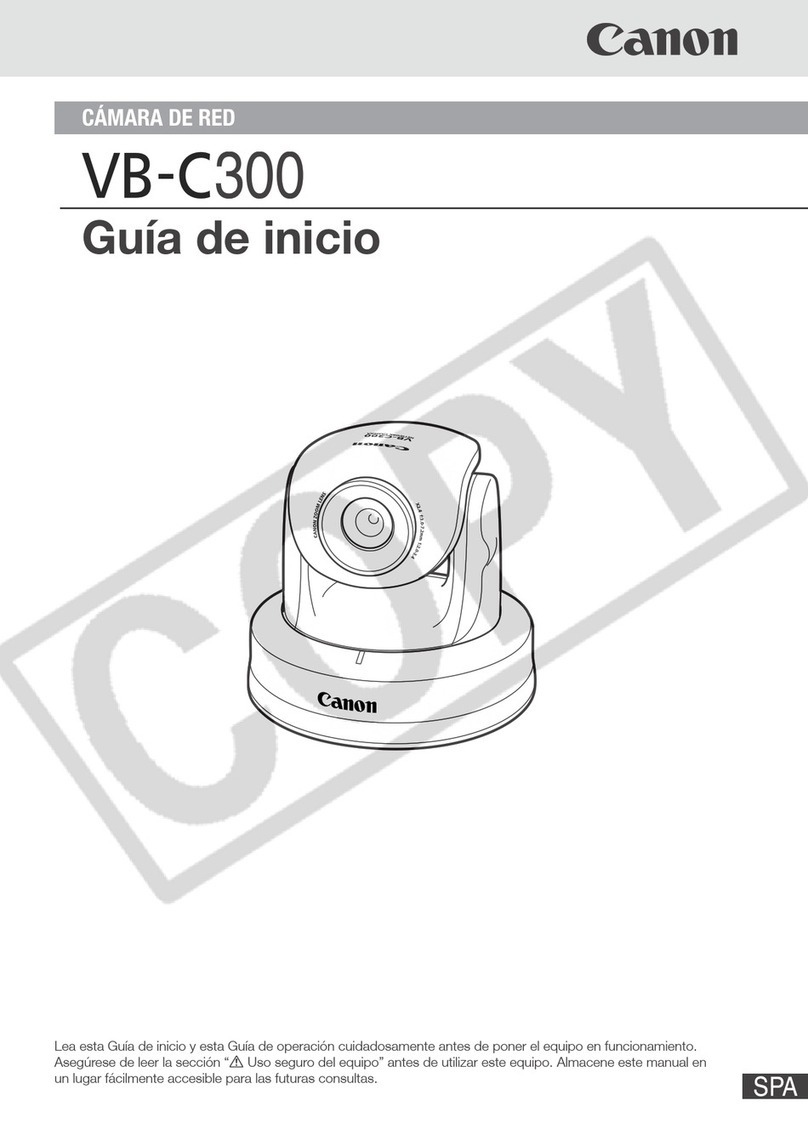
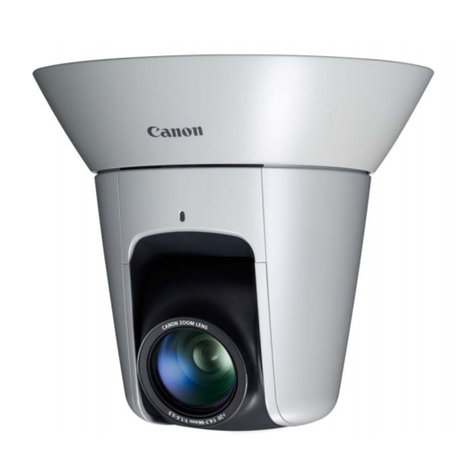
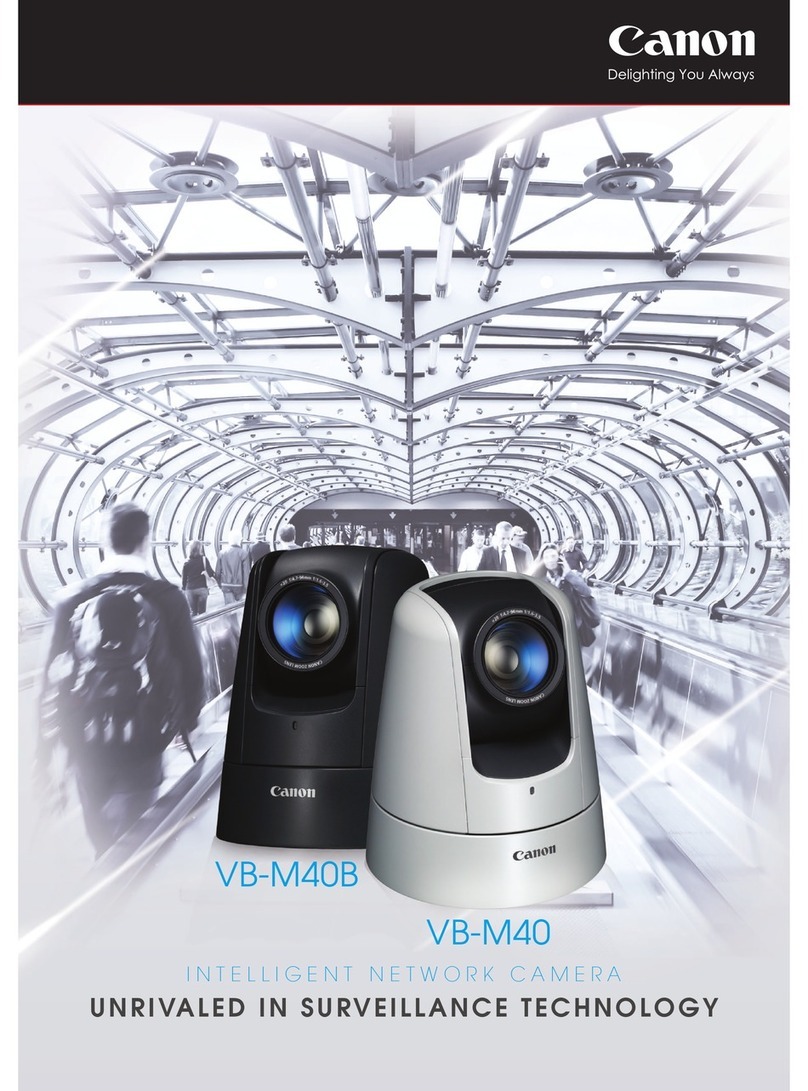
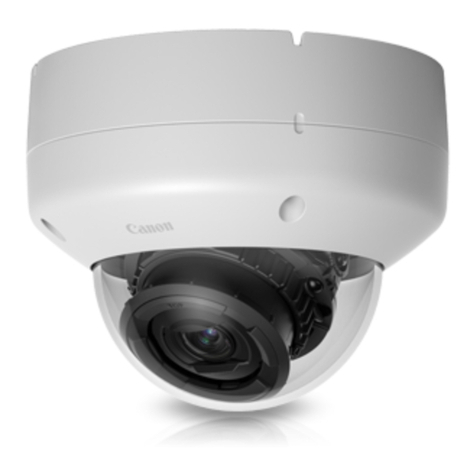
Canon VB-C300 User manual

Backup Tool & Restore Tool
User’s Manual
Note
1. All rights reserved.
2. The contents of this manual are subject to change without notice.
3. Notwithstanding above 2 items, Canon accepts no responsibility for any effects
resulting from use of this manual
ENG
Network Camera
VB-C300/VB-C300B

Contents
Contents
1. Overview ......................................................................................................................................3
1.1. Intoroduction .........................................................................................................................3
1.2. Operating Environment .........................................................................................................3
2. Backup Tool Operating Procedure................................................................................................5
2.1. Backup Process Flow............................................................................................................5
2.2. Boot-Up.................................................................................................................................5
2.3. Selection of Camera to be Backed Up ..................................................................................5
2.4. Enter Camera Information One by One in [Camera Information Entry Dialog]......................6
2.5. Read Camera Information from Camera Specification File ...................................................9
2.6. Deletion of Camera Information ..........................................................................................13
2.7. Log List and Log File Saving...............................................................................................14
2.8. Backup File .........................................................................................................................16
2.9. Version Information of Backup Tool.....................................................................................16
3. Restore Tool Operating Procedure.............................................................................................17
3.1. Restore Process Flow.........................................................................................................17
3.2. Boot-Up...............................................................................................................................17
3.3. Restore Process..................................................................................................................18
3.4. Log List and Log File Saving...............................................................................................21
3.5. Version Information of Restore Tool ....................................................................................22
4. List of Messages ........................................................................................................................23
4.1. List of Messages .................................................................................................................23
4.2. Information Level.................................................................................................................23
4.3. Error Level...........................................................................................................................23

3
Overvie
w
1. Overview
1.1. Intoroduction
This user’s manual describes the operating procedure for “Backup Tool”, which is to backup
setting values of Network Camera VB-C300/VB-C300B (hereafter referred to as ‘VB-C300’),
and “Restore Tool”, which is to restore the setting values to VB-C300.
Backup Tool retrieves the setting values of VB-C300 and creates files in an original file format
(hereafter referred to as ‘Backup File’). Setting values of up to 30 cameras can be backed up at
one time. Together with Restore Tool and backup files, you can restore VB-C300 setting values
from the backup file, and you can copy one camera’s setting values to the other VB-C300
cameras.
Trademark Notice
● Canon and Canon logo are registered trademarks of Canon Inc.
● Microsoft and Windows are registered trademarks of Microsoft Corporation in the United States
and other countries.
● Windows is legally recognized as Microsoft Windows Operating System.
● Other brand or product names in this Manual may be trademarks or registered trademarks of
their respective companies.
1.2. Operating Environment
The operating environment for Backup Tool and Restore Tool is described below.
OS/Browser
Windows 2000 Professional (SP4) / Internet Explorer 6.0 (SP1)
Windows XP (SP1a) / Internet Explorer 6.0 (SP1)
Windows XP (SP2) / Internet Explorer 6.0 (SP2), 7.0
Windows Server 2003 Standard Edition / Internet Explorer 6.0
Windows Server 2003 Standard Edition (SP1) / Internet Explorer 6.0 (SP1), 7.0
Windows Server 2003 Standard Edition (SP2) / Internet Explorer 6.0 (SP2), 7.0
Windows Server 2003 R2 Standard Edition / Internet Explorer 6.0 (SP1), 7.0
Windows Server 2003 R2 Standard Edition (SP2) / Internet Explorer 6.0 (SP2), 7.0
Windows Vista (Home Basic, Home Premium, Business, Enterprise, Ultimate) /
Internet Explorer 7.0
Hardware PC recommended for use with the above operating systems
Supported
Camera Network Camera VB-C300/VB-C300B

4
Overvie
w
Note
<Backup Tool / Restore Tool>
● Don’t unplug or turn off the camera during the backup/restore process, or it might
cause damage to the camera.
● Don’t run Backup Tool or Restore Tool at the same time on multiple PCs, which are
connected to the same network. It might cause damage to the cameras.
● When you use VB-C300 with Windows Vista, don’t store exe files for Backup Tool
[VBC300BK.exe] and Restore Tool [VBC300RS.exe] onto [C:¥windows] or [C:¥Program
Files]. The log file might not be saved appropriately. Also, don’t save backup files onto
[C:¥windows] or [C:¥Program Files].
● Quit all other applications before using Backup Tool and Restore Tool, and make sure the
network camera is disconnected from other software, such as NC Viewers and
VK-64/VK-16 Viewers.
● Use the tool in a stable network environment, such as an intranet.
● Both tools don’t support backup/restore operation via a proxy server.
<Backup Tool>
● If a backup file is saved as the same name as the log file, the log information will be
added to the backup file. So, don’t use the same name for backup files as the log file.
The log file name is originally set to [VBC300BK.log].
<Restore Tool>
● With Restore Tool, it is possible to restore the administrator password, authorized user
passwords and the user list. (see page 19)
● Whether restoring the administrator password, authorized user passwords and the user
list is optional, and can be chosen using the check box.
● When the administrator password, authorized user passwords and user lists are
restored, those setting values return to the one that were taken when the backup
file was created. Before starting the restore process, please be sure to check the
administrator password, authorized user passwords and the user list which were
taken when the backup file was created.
● Changed Backup Files, such as edited or processed, cannot be used to restore.
● Restore Tool doesn’t restore setting values of network (Address Setting Method, IP
address, Subnet Mask and Default Gateway) and time settings (Date, Time and Time
Zone), so the information remains the same as the camera’s current settings
5
Backup Tool Operating Procedure
2. Backup Tool Operating Procedure
2.1. Backup Process Flow
●Following is the backup process flow.
2.2. Boot-Up
●Double Click on exe file [VBC300BK.exe] to boot Backup Tool.
[Camera Information Entry Dialog]
2.3. Selection of Camera to be Backed Up
●There are 2 ways of selecting cameras to be backed up.
① Enter necessary information for each camera one by one in [Camera Information Entry
Dialog]. (see page 6)
② Read Camera Information from Camera Specification File. (see page 9)
It is recommended to read multiple camera information from a camera specification file for backup of
multiple cameras at one time. (see page 9)
Booting Backup
Tool
Selecting Camera
to be backed up
Executing Backup
Process
Log to be
created
※there are 2 ways of selecting cameras.

6
Backup Tool Operating Procedure
2.4. Enter Camera Information One by One in [Camera Information Entry Dialog]
●Enter camera information in [Camera Information Entry Dialog].
①Host Name
Enter camera’s host name or IP address.
②HTTP Port (Default:80)
Enter camera’s HTTP Port number.
③Administrator Account
Enter camera’s administrator account [root].
④Administrator Password
Enter camera’s administrator password.
⑤Backup File Name
Enter a backup file name (absolute path).
Click the [Browse] button to select and add a file from the file save dialog.
⑥Overwrite Check
Checked: The backup file will be overwritten if the file already exists.
Not checked: The backup file won’t be overwritten if the file already exists. Amessage
“The specified file already exists.” will be displayed in the log list.
●Backup files are created in a unique format, but can be open using Notepad or other text editors
to check the creation information. (see page 16)
●If executing the backup process without specifing backup file’s location, but with specifing the file
name only, the backup file will be saved in a folder, where Backup Tool exe file [VBC300BK.exe]
is located.
①
②
④
③
⑤
⑥
⑦
⑧
Enter camera information

7
Backup Tool Operating Procedure
⑦Add Camera Information
Click [Add from a Camera Specification File] to register entered information in the process
①~⑥to the camera information list.
Up to 30 camera information can be registered. The number of added camera information is
displayed on the right side in the center of the dialog box.
Ex) 5 / 30 --- 5 camera information is already registered. (max. 30)
⑧Execution
Click [Start] to execute the backup process.
●Repeat the process from ①to ⑦to backup multiple cameras.
●For backup of a large number of cameras, it is recommended to read multiple camera
information from a camera specification file, which can save time.
●The backup process using a camera specification file is described in the next section.
No. of Camera
Information
Camera Information List

8
Backup Tool Operating Procedure
Upon completion of the backup process, the results are displayed in the log list dialog box.
For more information about the logs, please refer to section 2.7 (page 14).
Note
If a backup file is saved as the same name as the log file, the log information will be added to
the backup file. So, don’t use the same name for backup files as the log file. The log file
name is originally set to [VBC300BK.log].

9
Backup Tool Operating Procedure
2.5. Read Camera Information from Camera Specification File
●For backup of multiple cameras, it is reccomended to read camera information from a
camera specification file.
●Add camera information using [Add from Camera Specification File].
①Add camera information using a camera specification file
A camera specification file is a CSV-format file including a list of camera information, of
which you want to backup the setting values. Camera specification files need to be
created in advance. (see page 10)
Click the [Add from a Camera Specification File] button to select a CSV file you created,
and the camera information will be read and added to the camera information list.
A sample of camera specification file is being stored in Backup Tool, for your reference.
The file name is [CSV_BK_Sample.csv].
①
②

10
Backup Tool Operating Procedure
●A camera specification file should be created in CSV format, including the following
information in the following order.
Item Description Remarks
①Host Name Camera’s host name or IP address Must
②Administrator Account Camera’s Administrator Account Default: root
③Password Camera’s Administrator Password Default: VB-C300
④Backup File Name Backup file name (absolute path)Must
⑤HTTP Port Camera’s HTTP Port Number Default: 80
⑥Overwrite File
Overwrite save flag for a backup file
0: Not Overwrite
1: Overwrite
Default: Not Overwrite
[Contents of a camera specification file]
<Examples of a camera specification file>
■Information for one camera should be listed in one line.
<Example of entry in Excel file>
■Up to 30 camera information can be added to the list.
If the total of added camera information in the list and information to be read from a camera
specification file exceeds 30, the camera specification file won’t be read.
<Example of entry in Excel file>
・・・
If the total of camera information in the list exceeds 30,
the file won’t be read.
⑥Overwrite File②Administrator Account
①Host name ③Administrator Password
④Backup File Name
⑤HTTP Port

11
Backup Tool Operating Procedure
■Omission of camera information
Camera information can be omitted, except “Host Name” and “Backup File Name”. Each
default value is as mentioned in the above list [Contents of a camera specification file]. “Host
Name” and “Backup File Name” are must, so if the information are omitted, the camera
specification file won’t be read.
<Example of entry in Excel file>
Note
Camera specification files require the administrator password. Please be careful in dealing with
data. However, if the administrator password has not been changed from the factory default
value (VB-C300), the password can be omitted in the camera specification file.
●If there are any unnecessary blank lines inserted somewhere in a file, the file won’t be read.
●When you create a camera specification file using Microsoft Excel, save the file in a CSV format
(Comma delimited) (*.csv).
●When you create a camera specification file using a text editor, like Notepad, enclose a whole
character string of each item within double quotes (“) and separate the items with commas (,).
Specify the csv file extension to save the file.
Without required information, the file cannot be read.
[Required Items]
- Host Name
- Backu
p
File Name

12
Backup Tool Operating Procedure
②Execution
Click [Start] to execute the backup process.
Upon completion of the backup process, the results are displayed in the log list dialog box.
For more information about the logs, please refer to section 2.7 (page 14).

13
Backup Tool Operating Procedure
2.6. Deletion of Camera Information
●Click the [Delete Camera Information] button to delete added camera information from a
camera information list.
Select camera information from the list and click the [Delete Camera Information] button.
The [Delete Camera Information] button becomes active only when camera information is selected.

14
Backup Tool Operating Procedure
2.7. Log List and Log File Saving
●After executing the backup process, the results are displayed in the log list and the log file is
automatically saved.
●The log file is automatically saved in a folder, where Backup Tool exe file [VBC300BK.exe] is
located.
●The log file is automatically saved as [VBC300BK.log].
●If the log file fails to be saved, the [Save] button will appear in the log list dialog, which
enables you to save the file manually.Also a failure notification message will be displayed.
[The log file has been successfully saved.]
[The log file has failed to be saved.]
[Failed to save the log file]
The [Save] button
appears when the log
list fails to be saved
automaticall
y
.

15
Backup Tool Operating Procedure
●The following message is displayed when you operate as mentioned below with the log file
unsaved, after the log file fails to be saved. If you need to save the log file, press [No] in the
message dialog then press [Save] in the log list to save the file manually.
[The Close button was pressed to close the log list dialog.]
[The Start button was pressed to restart the backup process before closing the log list dialog.]
[The close button was pressed to close Backup Tool.]
●If the log file already exists, new logs will be added to the file. If you specify the existing log file to
save a log file manually after the log file failes to be saved, the file will be overwritten.
●If the log file fails to be saved automatically, you need to close Backup Tool before retrying the
backup. Otherwise, the [Save] button will keep being displayed in the log list dialog, even if the
log file is successfully saved after retrying backup process.
●The date format is YYYY/MM/DD.

16
Backup Tool Operating Procedure
2.8. Backup File
●Backup file creation information can be checked using editor, like Notepad.
Note
Setting values cannot be restored if the backup file was changed or edited. The above feature
is only for checking the contents of a backup file, so be sure not to edit or change the contents
when opening a backup file using editor.
The date format is YYYY/MM/DD.
2.9. Version Information of Backup Tool
●Click the icon on the upper left corner of the Backup Tool dialog to display the menu. Choose
[About VB-C300 Backup Tool Version] from the menu, and the information dialog box
appears, which shows the version of Backup Tool
①
②
③
④
[Information can be checked using editor]
①Model No. and whole version ③Backup File Creation Date & Time
②Camera’s Firmware Version ④Host Name or IP Address

17
Restore Tool Operating Procedure
3. Restore Tool Operating Procedure
3.1. Restore Process Flow
●Following is the restore process flow.
3.2. Boot-Up
●Double Click on exe file [VBC300RS.exe] to boot Restore Tool.
[Camera Information Entry Dialog]
Booting Restore
Tool
Selecting camera to be
restored and backup file
Executing
Restoration
Log to be
generated

18
Restore Tool Operating Procedure
3.3. Restore Process
●Enter information of camera to be restored and specify a backup file name in the Restore
Tool dialog.
①Host Name
Enter camera’s host name and IP address.
②HTTP Port (Default: 80)
Enter camera’s HTTP port number.
③Administrator Account
Enter camera’s administrator account [root]
④Administrator Password
Enter camera’s administrator password.
⑤Backup File Name
Enter the name of a backup file to be restored in the absolute path.
Click the [Browse] button to select and add a backup file from the dialog
Note
●Setting values cannot be restored to multiple cameras at one time.
●Only backup files, which have been created by VB-C300 Backup Tool, can be restored.
●Changed backup files, such as edited or processed, cannot be restored.
●Restore Tool doesn’t restore setting values of network (Address Setting Method, IP address,
Subnet Mask and Default Gateway) and time settings (Date, Time and Time Zone), so the
information remains the same as the camera’s current settings.
③
②
①
④
⑤
⑦
⑧
⑥

19
Restore Tool Operating Procedure
⑥Restoration of Administrator Account and User List
Checked: The administrator password, authorized user list and the passwords are to be
returned to the one which were taken when the backup file was created.
Unchecked: The administrator password, authorized user list and the passwords are not to
be restored.
The following message is displayed when clicking [Start] after checking the box.
Note
When the administrator password, authorized user passwords, and the user list are restored,
those setting values return to the one which were taken when the backup file was created.
Before starting the restore process, be sure to check the administrator password, authorized
user passwords and the user list which were taken when the backup file was created.
Check box for
restoring the
administrator
password and
t
h
e
use
r li
st

20
Restore Tool Operating Procedure
⑦Execution
Click the [Start] button to execute the restore process.
The camera will be rebooted automatically if the restore process completed successfully.
Other manuals for VB-C300
10
This manual suits for next models
1
Table of contents
Other Canon Security Camera manuals

Canon
Canon VB-R13VE User manual

Canon
Canon VB-C500VD Guide

Canon
Canon VB-M740E User manual

Canon
Canon VB-M700F User manual

Canon
Canon VB-H43 User manual

Canon
Canon CR-N300 User manual

Canon
Canon VB-M40 User manual

Canon
Canon VC-C50i User manual

Canon
Canon ME20F-SHN User manual

Canon
Canon VB-C500VD User manual

Canon
Canon BU-51H User manual

Canon
Canon Vb-C60 - Ptz Network Camera User manual

Canon
Canon VK-16 Manual

Canon
Canon VB-S910F User manual

Canon
Canon VB-R13VE User manual

Canon
Canon VB-S32D User manual

Canon
Canon VB-C500VD User manual

Canon
Canon VB-S30D MKII User manual

Canon
Canon VB-R13 User manual

Canon
Canon VB-H710F User manual