capello Ci100 User manual

Ci100 user guide
Share & Go
Portable Speaker
with Lightning connector

FCC WARNING: This equipment may generate or use radio frequency energy. Changes or modications to this equipment
may cause harmful interference unless the modications are expressly approved in the instruction manual. The user could
lose the authority to operate this equipment if an unauthorized change or modication is made.
CAUTION: TO REDUCE THE RISK OF ELECTRIC SHOCK, DO NOT REMOVE COVER (OR BACK).
NO USER-SERVICEABLE PARTS INSIDE. REFER SERVICING TO QUALIFIED SERVICE PERSONNEL.
The Caution Marking is located at the back enclosure of the unit and the Rating Label is located at
the bottom enclosure of the unit.
CAUTION
RISK OF ELECTRIC SHOCK
DO NOT OPEN
DANGEROUS VOLTAGE: The lightning ash with arrowhead symbol, within an equilateral triangle
is intended to alert the user to the presence of uninsulated dangerous voltage within the product’s
enclosure that may be of sufcient magnitude to constitute a risk of electric shock to persons.
ATTENTION: The exclamation point within an equilateral triangle is intended to alert the user to
the presence of important operating and maintenance (servicing) instructions in the literature
accompanying the appliance.
iPod/iPhone is a trademark of Apple Computer, Inc., registered in the U.S. and other countries.
ATTENTION: POUR ÉVITER LES CHOC ÉLECTRIQUES, INTRODUIRE LA LAME LA PLUS LARGE DE LAFICHEDANS LA BORNE
CORRESPONDANTE DE LA PRISES ET POUSSER JUSQU’AU FOND.
This Class B digital apparatus complies with Canadian ICES-003. Cet appareil numérique de la classe B est conforme à la
norme NMB-003 du Canada.

INFORMATION: This equipment complies with Class B digital device regulations. This equipment generates, uses and
can radiate radio frequency energy and, if not installed and used in accordance with the instructions, may cause harmful
interference to radio communications. However, there is no guarantee that interference will not occur in a particular installation.
If this equipment does cause harmful interference to radio or television reception, which can be determined by turning the
equipment off and on, the user is encouraged to try to correct the interference by one or more of the following measures:
• Reorient or relocate the receiving antenna.
• Increase the separation between the equipment and receiver.
• Connect the equipment into an outlet on a circuit different from that to which the receiver is connected.
• Consult the dealer or an experienced radio/TV technician for help.
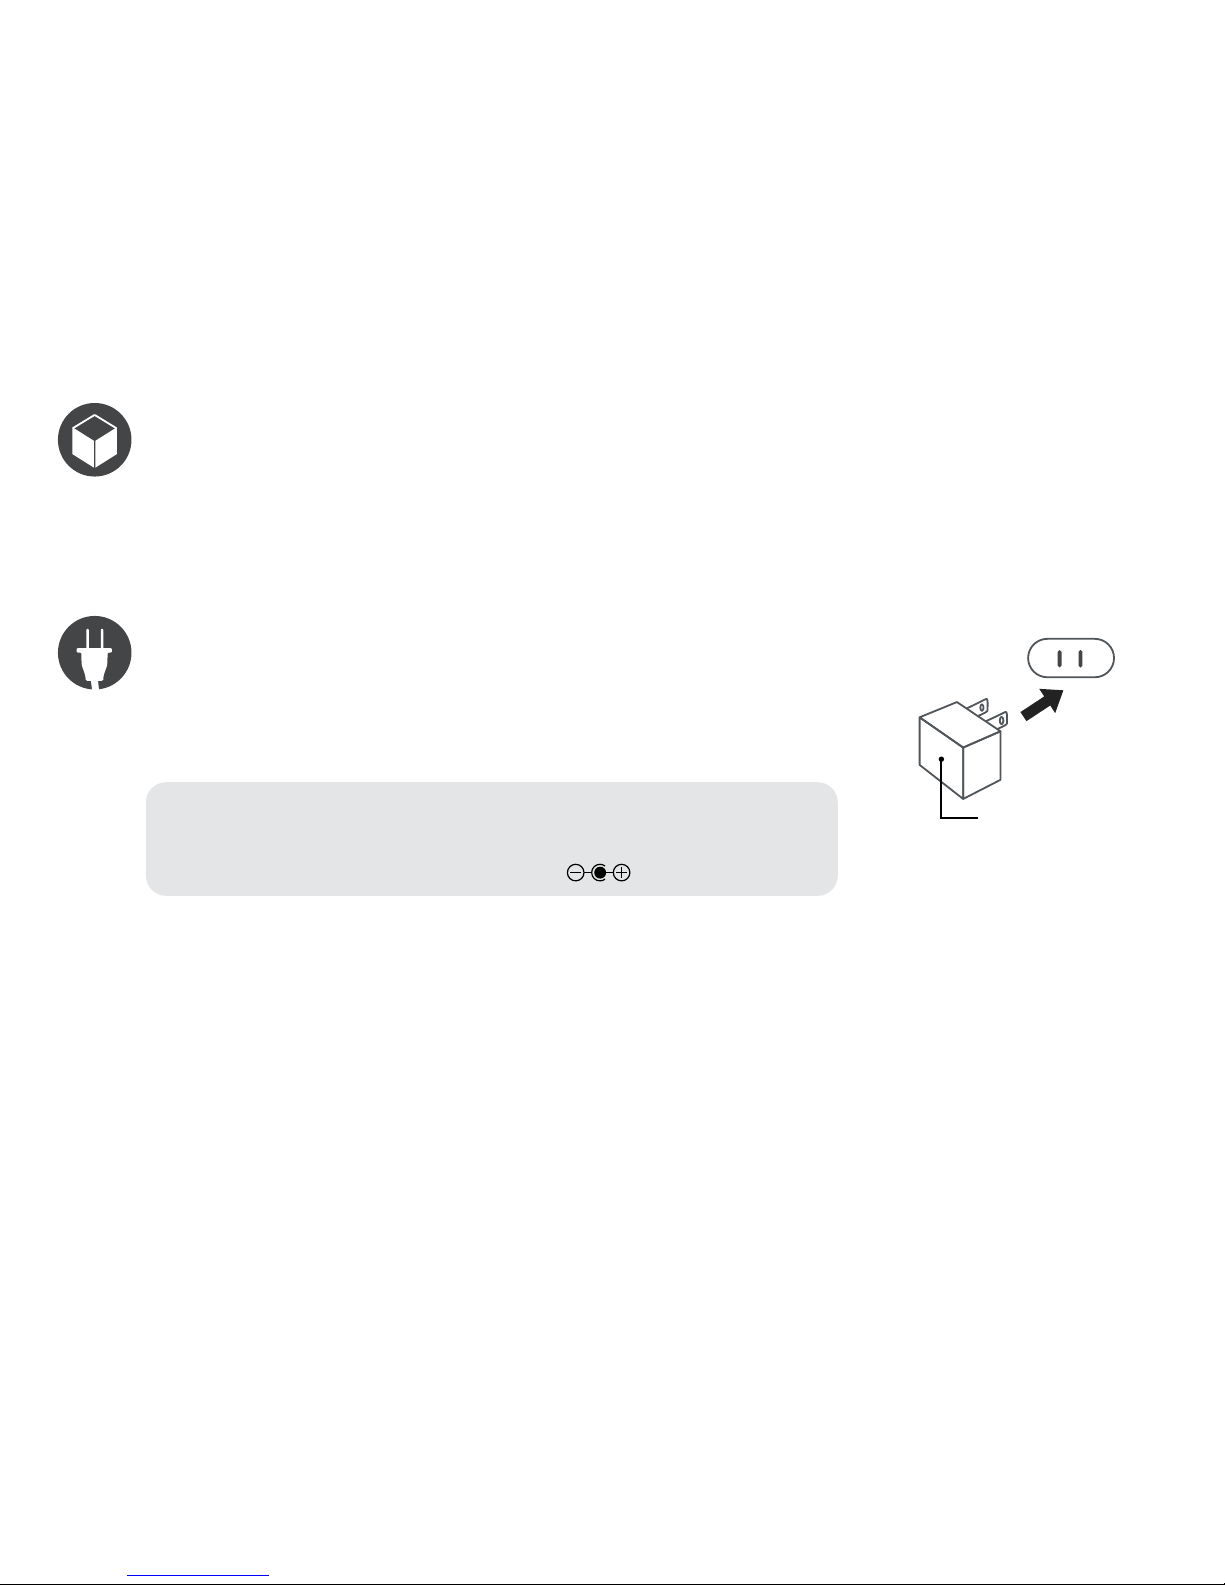
• The apparatus and AC/DC adapter shall not be exposed to dripping or splashing and that no objects lled with liquids,
such as vases, shall be placed on apparatus and AC/DC adapter.
• The AC/DC adapter should not be obstructed OR should be easily accessed during intended use. To completely disconnect
the power input, the AC/DC adapter should be disconnected from the main power source, as well as disconnecting the
device from the AC/DC adapter.
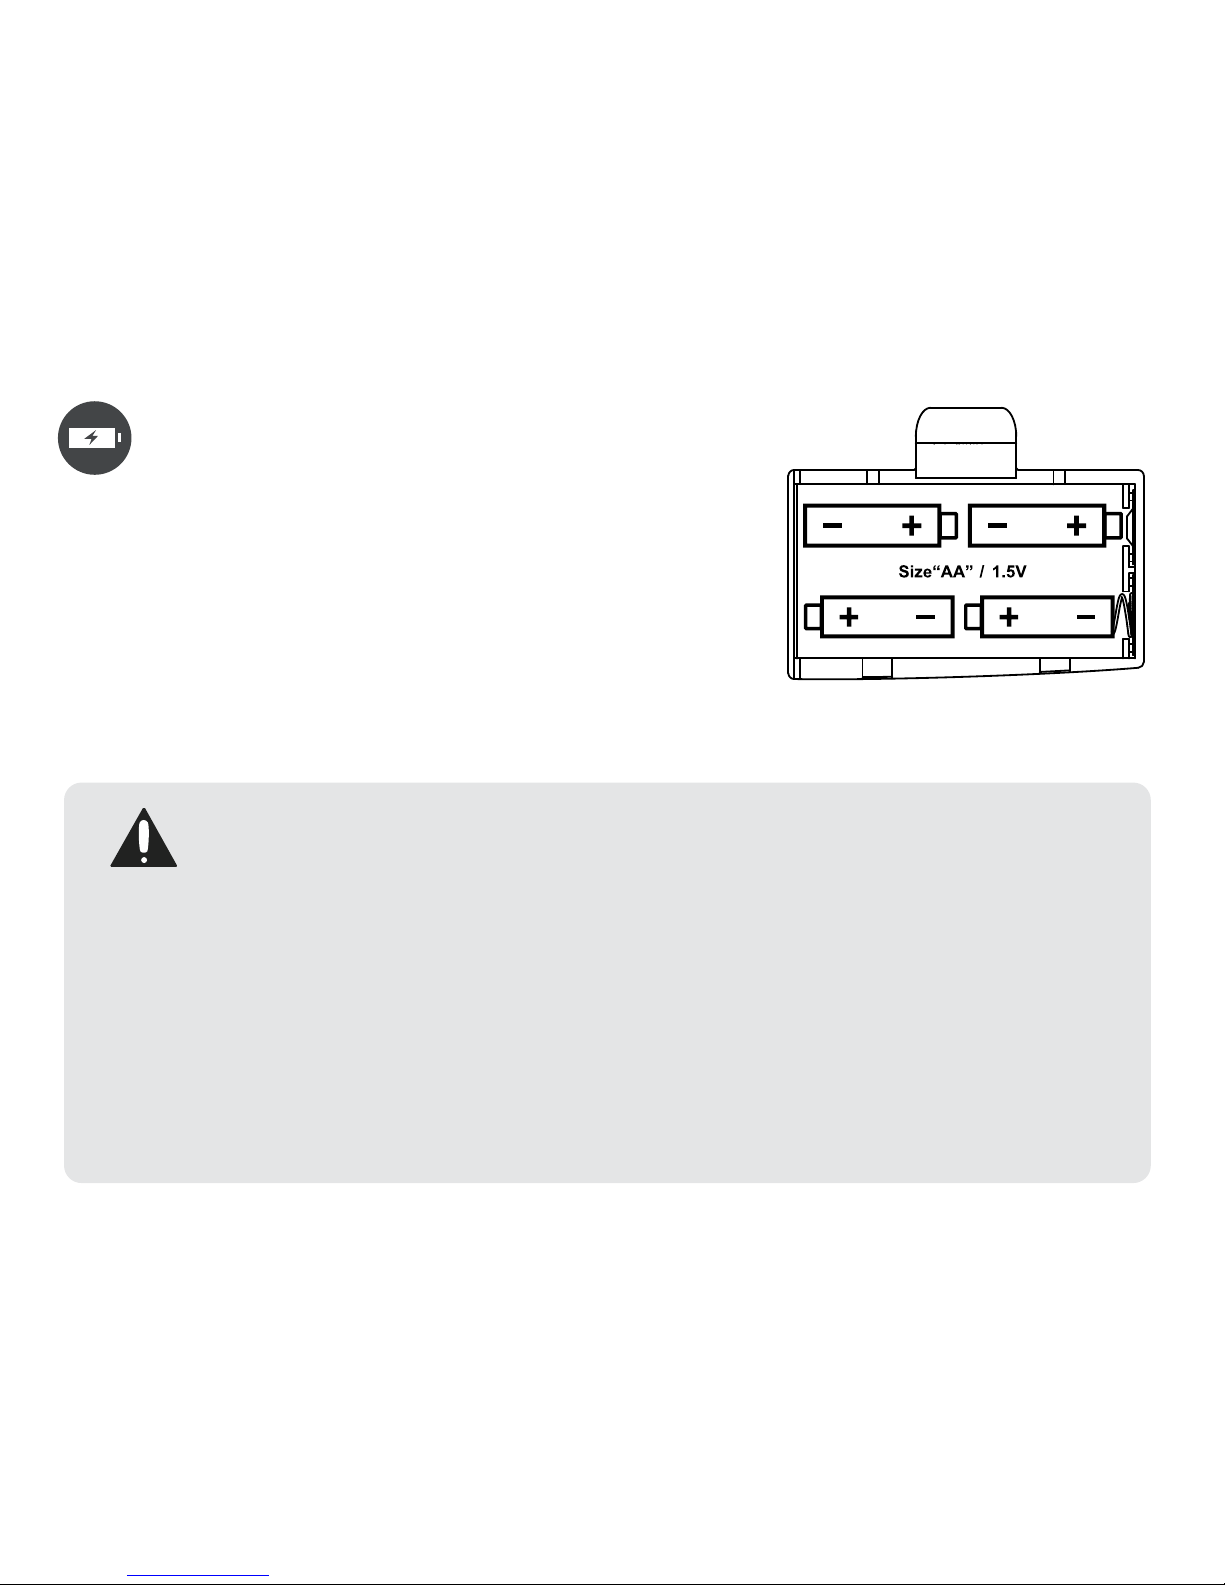
• Battery should not be exposed to excessive heat such as sunshine, re or the like. Attention should be drawn to the
environmental aspects of battery disposal.
• Maintain minimum distances of 4 inches around the apparatus for sufcient ventilation. Avoid covering the ventilation
openings with items such as newspaper, table-cloths, curtains etc.
• No naked ame sources such as lighted candles should be placed on or near the apparatus.
• Use device in moderate climates.
SURGE PROTECTORS: It is recommended to use a surge protector for AC connection. Lightning and power surges
ARE NOT covered under warranty for this product.
IMPORTANT SAFETY PRECAUTIONS
WARNING: TO PREVENT FIRE OR SHOCK HAZARD, DO NOT EXPOSE THIS UNIT TO RAIN OR MOISTURE.

AC/DC adapter connection
Insert the small end of the AC adapter into the DC IN Jack
(located on the rear of the unit). Connect the other end to a
wall outlet providing 100-240V AC, 50/60 Hz.
notes: Disconnect both the DC IN plug and the AC plug when not in use.
Use only the supplied AC adapter with the following specs:
100-240V AC, 50/60 Hz In; 2.0A, 5V DC Out
inside the box
Ci100 portable speaker, AC/DC power adapter and user guide.
AC outlet
AC adapter plug

battery precautions:
Follow these precautions when using batteries in this device:
Warning - Danger of explosion if batteries are incorrectly replaced. Replace only with the same or equivalent type.
Use only the size and type of batteries specied.
Be sure to follow the correct polarity when installing the batteries as indicated in the battery compartment.
note: A reversed battery may cause damage to the device.
Do not mix different types of batteries together (e.g. Alkaline, Rechargeable and Carbon-zinc) or old batteries with fresh ones.
If the device is not to be used for a long period of time, remove the batteries to prevent damage or injury from possible
battery leakage.
Do not try to recharge a battery not intended to be recharged - it can overheat and rupture. (Follow battery manufacturer’s directions.)
inserting the batteries
Four (4) ‘AA’ size batteries can also be used
to power the unit. Install as listed below:
Open the battery door by pushing in on the tab,
then removing the door.
Insert four (4) ‘AA’ batteries as shown. Alkaline batteries
are recommended for the longest playing time.
Replace the battery door back on the compartment.

location of controls
VOLUME –Button
VOLUME +Button
Power LED indicator
SKIP / SEARCH BACKWARDS Button
PLAY / PAUSE Button
SKIP / SEARCH FORWARDS Button
AUX IN Jack
DC IN Jack
Power ON/OFF Switch
2 3 41
8 97
5 6

adjusting the volume
Press the VOL +or VOL – button once to increase or decrease the volume level.
Press and hold the VOL +or VOL – button to increase or decrease the volume continuously
at a rate of 4 levels per second.
When press the VOL +or VOL – button once to increase or decrease the volume level,
the Power LED indicator will ash accordingly.
When the volume is at the minimum or maximum level, the Power LED indicator will stop ashing
and turn solid.
notes: There are a total of 33 levels (0-32).
turning the unit on
When the unit is off, slide the Power ON/OFF Switch to the ‘ON’ position. The Power LED indicator
will illuminate white when power is on.
Be sure the AC adapter is plugged in or the batteries have been installed correctly
(see ‘inserting the batteries’ section).

iPod and iPhone playback
Slide the iPod / iPhone onto the dock. Gently push down so the connector on the iPod / iPhone
slides onto the lightning connector of the unit.
Press PLAY / PAUSE button once to start playback.
To PAUSE playback press the PLAY / PAUSE button again
note: The iPod or iPhone will charge as long as this unit is plugged in to the AC adapter.
using skip / search forward and backward
Press SKIP /SEARCH FORWARD or SKIP /SEARCH BACKWARD button once will skip to the next
track forward or previous track backward.
Press and hold SKIP /SEARCH FORWARD or SKIP /SEARCH BACKWARD button will search the
next track forward or previous track backward.
note: When the button is released, normal playback will resume.

aux-in connection
Insert one end of a 3.5mm audio cable (sold separately) into the AUX IN jack on the rear of this unit
and the other end into the headphone jack of an external audio device (e.g. iPad, iPod shufe, smart
phones, MP3 players, digital media players, etc.
To listen to the external audio unit, turn this unit on using the Power ON/OFF Switch, then turn on the
external audio unit and begin playback. The external audio unit’s output sound will be heard through
this unit’s speakers.
note: If you wish to listen to the docked iPod / iPhone, disconnect the audio cable from this unit.

specifications
Power Source (AC Adapter) ....................................... 100-240V AC, 50-60Hz In / 2.0A, 5V DC Out
Power Source (Backup). ...................................................................... 4 x 1.5V “AA” size batteries
Speaker. .................................................................................................................... 2 x 4 ohms
Output Power ................................................................................................. 2 x 2W (THD 10%)
Dimensions ....................................................................................... 6.5''(W) x 5.0''(D) x 1.6''(H)
Dimensions are approximate. Specications are subject to change without notice.
“Made for iPod” and “Made for iPhone” mean that an electronic accessory has been designed to connect specically to iPod and iPhone respectively,
and has been certied by the developer to meet Apple performance standards. Apple is not responsible for the operation of this device or its
compliance with safety and regulatory standards. Please note that the use of this accessory with iPod and iPhone may affect wireless performance.
iPhone, iPod classic, iPod nano, iPod touch and Lightning are trademarks of Apple Inc., registered in the U.S. and other countries.

symptom cause solution
Volume is set to minimum Increase the volume
No sound from speaker
Incorrectly connected Ensure proper connection
AUX IN cable connected Unplug AUX IN cable
iPod / iPhone not charging AC adapter not plugged in Plug in the AC adapter
iPod / iPhone does not Incorrect device Ensure you are using only Apple
connect to unit iPod or iPhone
Power LED is not on Batteries not installed properly Reinstall batteries correctly
AC adapter not plugged in Plug in the AC adapter
troubleshooting
If you experience a problem with this unit, please check the chart below before calling for service.
?

For further assistance, please visit our website: hellocapello.com
or contact customer service at support@capelloproducts.com or 1-855-896-1795
Life Lab International Ltd.
Table of contents