8
DE
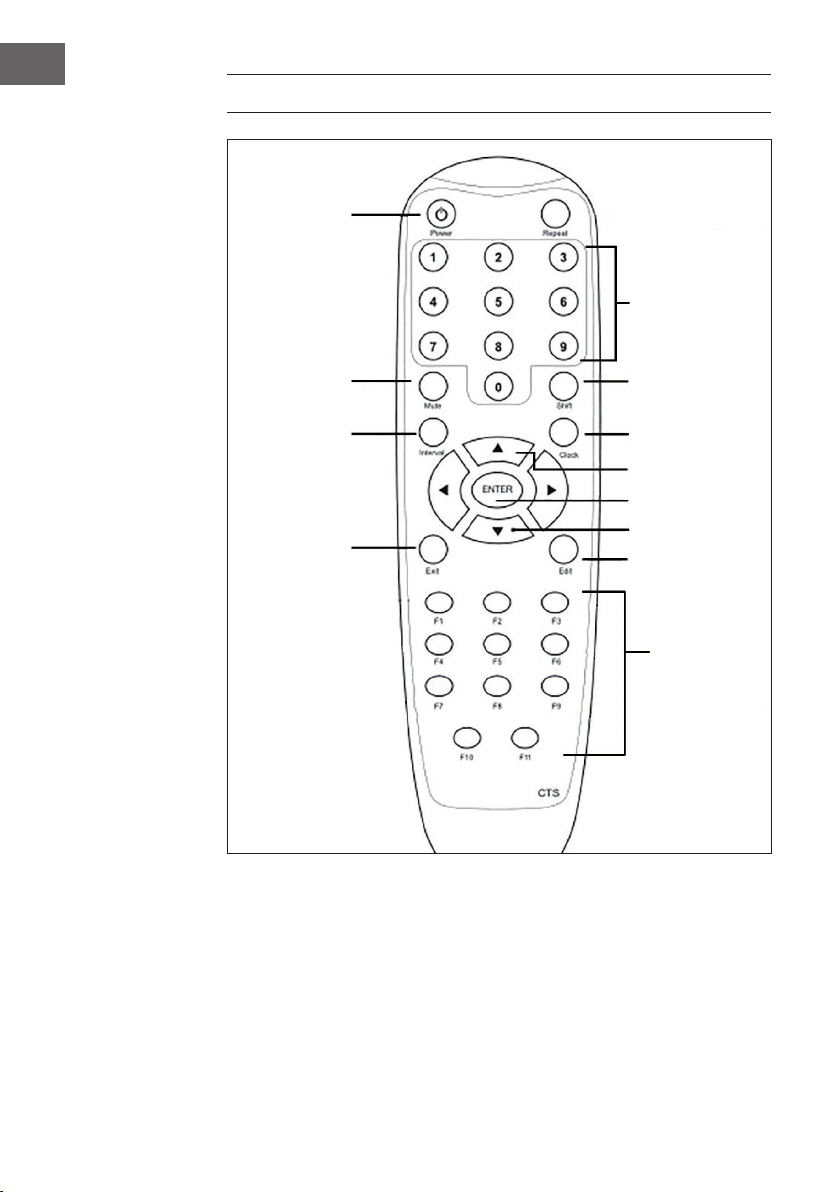
• Speichern Sie mit EDIT, um die Rundenzahl zu speichern. Sie haben als
nächstes die Möglichkeit, den Timer für die erste Periode (Workout-
Periode) zu stellen. Der Timer zeigt kurz „P1“ an, um dies zu signalisieren.
Nutzen Sie dann wieder die Ziffern- oder die Pfeiltasten, um die Länge der
ersten Periode einzustellen.
• Drücken Sie wiederum EDIT, um den Timer für P1 (Workoutperiode)
abzuspeichern und fahren Sie mit P2 (Ruhe- phase) und der
entsprechenden Timereinstellung fort. Das Verfahren gleicht jeweils dem
für P1 erläuterten.
• Wiederholen Sie die beiden Schritte entsprechend für die Anzahl der
Runden, die Sie in Schritt 1 eingestellt haben.
• Nach der letzten Timereinstellung speichern sie erneut mit Edit. Speichern
Sie abschließend Ihre Intervalleinstellungen unter einer (noch unbelegten)
Schnellzugriffstaste (0-9 sowie F7-F11). Piep-Töne signalisieren jeweils
den erfolgreichen Speichervorgang.
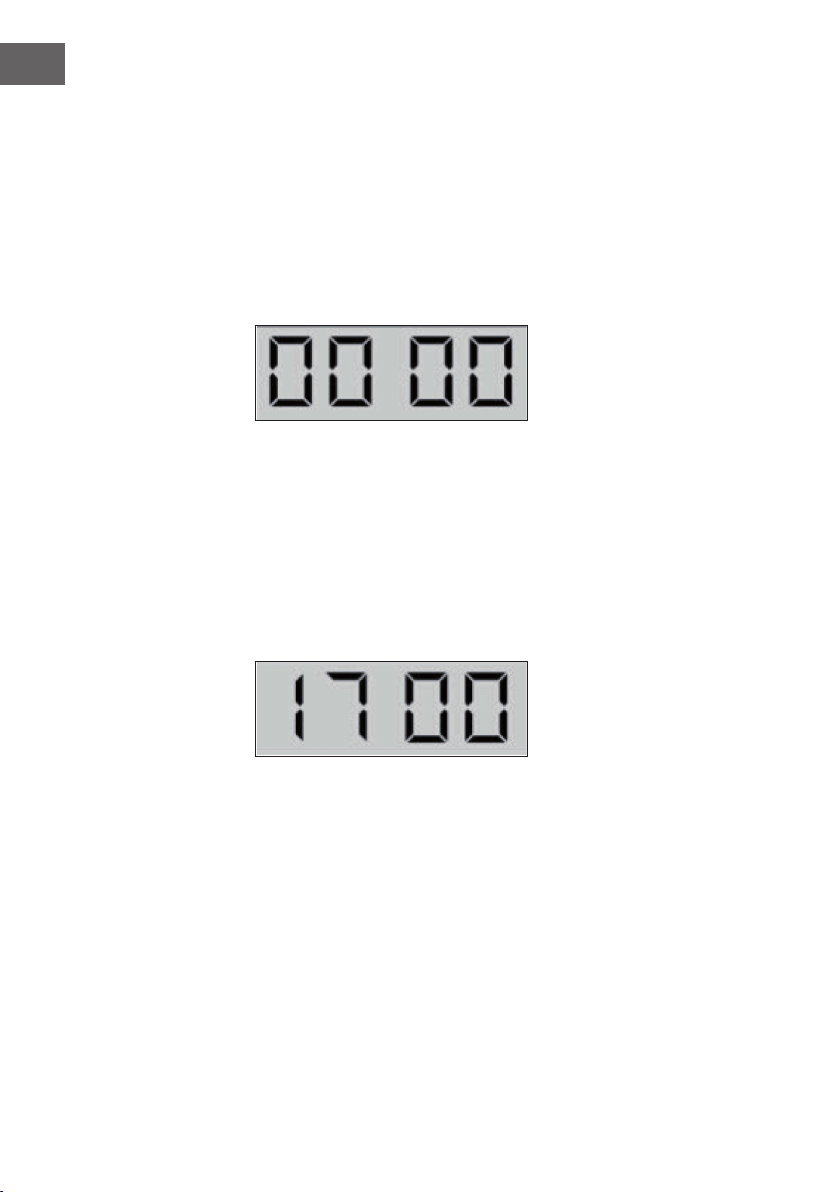
• Mit ENTER lösen Sie einen 10-Sekunden-Countdown aus (so dieser
aktiviert ist), der von 00:00 bis 10:00 Sekunden hoch zählt. Danach wird
der eingestellte Timer abgerufen. Ein einzelner Piep-Ton signalisiert
jeweils P1 (Workout-Phase), ein doppelter Piep-Ton jeweils P2
(Ruhephase).
• Rufen Sie Ihr Trainingsprogramm per Druck auf die Schnellzugriffstaste
ab, auf der Sie es gespeichert haben.
• Schalten Sie mit F6 um zwischen Countdown (herunter zählen von) und
Count-Up (hinauf zählen zu).
GENERELLE FUNKTIONEN
Ein-/Ausschalten Rote Taste links oben auf der Fernbedienung.
Stummschalten Drücken Sie MUTE für die Stummschaltung der
Pieptöne.
10-Sekunden-
Countdown
Den obligatorischen Countdown vor jeder
Übungsfunktion können Sie mit F4 aktivieren bzw.
deaktivieren.
Helligkeit Stellen Sie per F5 die Display-Helligkeit in 5 Stufen ein.