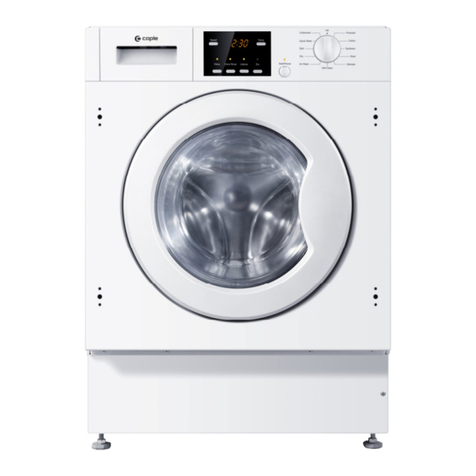
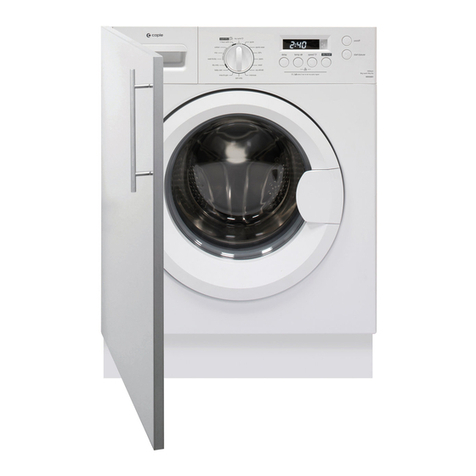
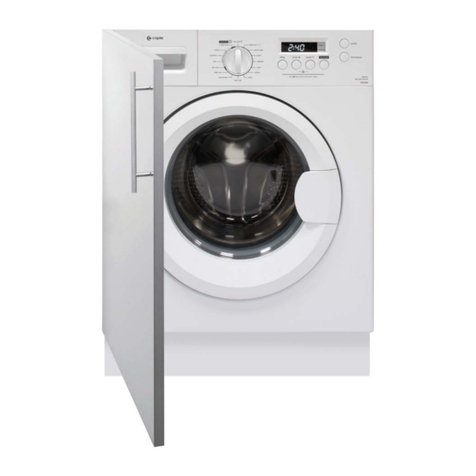
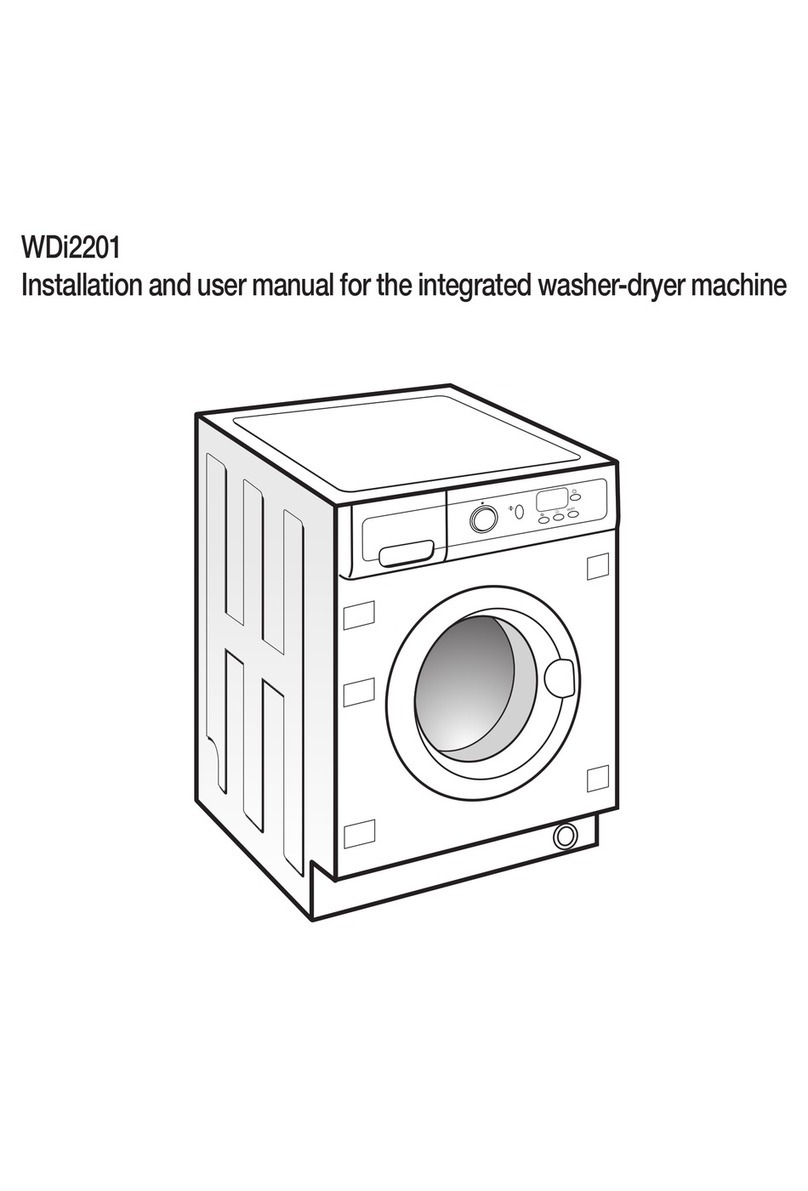
Caple WDi2203 User manual

(MRSQTBSHN
(MRSQTBSHN(MRSQTBSHN
(MRSQTBSHNMÄL@MT@KÄENQÄ
MÄL@MT@KÄENQÄMÄL@MT@KÄENQÄ
MÄL@MT@KÄENQÄATHKS
ATHKSATHKS
ATHKS
HMÄ
HMÄHMÄ
HMÄV@RG
V@RGV@RG
V@RGDQÄCQ
DQÄCQDQÄCQ
DQÄCQXDQ
XDQXDQ
XDQÄ
ÄÄ
Ä
,NCDKÄBNCDÄ6#HÄ
"NMS@BSÄ"@OKDÄNMÄÄÄÄNQÄENQÄRO@QDÄO@QSRÄVVVB@OKDBNTJ
All manuals and user guides at all-guides.com
all-guides.com

&217(176
All manuals and user guides at all-guides.com

3
1x Bottom Cover
2 × Door hinges 2 × Door hinges assembly
7KDQN\RXIRUSXUFKDVLQJD&DSOHDSSOLDQFH
All manuals and user guides at all-guides.com

4
SAFETY INSTRUCTIONS
DO ...
This appliance can be used by children aged from 8 years and above and persons with reduced physical,sensory or mental capabilities or
lack of experience and knowledge if they have been given supervision orinstruction concerning use of the appliance in a safe way and
understand the hazards involved. Children PXVW not play with the appliance. Cleaning and user maintenance shall not be made by
children without supervision.
... Make sure that the plug is accessible.
... Hold the plug and not the electric cable when
unplugging the power supply.
... Make sure that the fuses in the power circuit are rated
for 15A.
... Keep away from heat sources and direct sun light to
prevent plastic and rubber components from aging.
... Make sure that the power cord is not caught under or
in the appliance and avoid damage to the power cable.
... Check that hose joints and connections are fi rm and no
water can leak. If joints are loose or there is leakage, turn off the
water supply and refix. Do not use the washing machine until the
hoses are properly fi xed.
DO ...
... Pull up zips and fi x loose threads to prevent the items
from being entangled. If necessary, put small items into a net bag
or pillow.
... Turn off the machine after each wash program and
switch it off at the mains to save electricity and for safety. Wipe
clean the lower part of the porthole.
... Keep the door slightly open when the washing machine
is not in use to prevent formation of odours.
... Let the power cord be replaced by the manufacturer, his
service agent or other accordingly qualified persons, in case it is
damaged.
... Ensure that the appliance is not used by persons
with reduced physical, sensory or mental capabilities, lack of
experience and knowledge without supervision or instruction by a
person responsible for their safety.
... Supervise children to ensure that they do not play with
the appliance.
DO NOT ...
... Touch or use the appliance when barefoot or with wet or
damp hands or feet.
... Use fl ammable detergent or dry cleaning agent.
... Use any fl ammable sprays in close vicinity to the
appliance.
... Remove or insert the plug in the presence of fl ammable
gas.
... Allow children or infirm persons to play with the appliance
or packing materials.
... Install the appliance outdoors in a damp place, or in an
area which may be prone to water leaks such as under or near a
sink unit. In the event of a water leak allow the machine to dry
naturally.
... Place the washing machine directly on a carpet, or close
to a wall or furniture.
DO NOT ...
... Touch the washer door during the washing process - it
gets hot!
...Place heavy objects or sources of heat or damp on top
of the appliance.
... Hot wash foam rubber or sponge-like materials.
... Open the detergent distribution drawer during the wash
cycle.
... Force the washer door open. The door is fi tted with a
self-lock device and will open shortly after the washing procedure
is ended.
... Open the washer door if the water level is visibly over
the porthole.
... Cover the washing machine with plastic cover so that
inside dampness cannot be kept in.
BEFORE SWITCHING THE APPLIANCE ON FOR THE FIRST TIME
DURING DAILY USE OF THE APPLIANCE
All manuals and user guides at all-guides.com

5
7RSSDQHO
7777
All manuals and user guides at all-guides.com

6
,167$//7+(12,6(5('8&7,21%2$5'
By installing this board, the noise of the washing machine can be reduced.
1. Remove the adhesive from the back side of the felt and paste the felt onto the back
side of the protection board in a symmetrical position to the board’s corners.
Lean (push) the machine backwards and unscrew the four feet.
Remark: not lean or push the machine towards it’s front !
2. Adjust the board in the way to align the four holes with the four screw fixing holes,
felt VKRXOGEH
at back side of the board.
3. Install the four feet and fix the board to the cabinet, then fix the machine in WKH
desired
position
fig.1
FITTING THE FURNITURE DOOR
CAUTION
Please refer to the building in template for instructions on how to fit your integrated appliance
and connect the furniture door to the product.
Mount the furniture door to the cabinet of the washer dryer,using the hinges supplied.
Fix the magnet assembly to the front of the washer dryer and the furniture door.
,167$//$7,21
5(029(7+(75$163257$7,21%2/76
All manuals and user guides at all-guides.com
all-guides.com

7
13A
352'8&7$1'$3(5785(',0(16,216
Appliance dimensions Aperture dimensions
Height: 825 mm 886 mm
Width: 595 mm 600 mm
Depth: 535 mm 580 mm
PP
PP
PP
&RQQHFWWKHQXWRQWKHLQOHWKRVHWRWKHFRQQHFWRURQWKH
ZDWHUYDOYH
$WWDFKWKHKRVHWRWKHFROGZDWHUWDS
All manuals and user guides at all-guides.com

8
VWDUWSDXVH
XQGHUZHDU
RII
VHOIFOHDQ
TXLFNZDVK
VSLQ
UHIUHVK
SUHZDVK
V\QWKHWLF
ZRRO
GHOLFDWH
FRWWRQ
:',
VSHHG WHPS
GHOD\ H[WUDULQVH LQWHQVH GU\
&21752/3$1(/
127(7KHUHFRPPHQGDWLRQRQWKHW\SHRIGHWHUJHQWVLVVXLWDEOHIRUYDULRXVZDVK
WHPSHUDWXUHVSOHDVHUHIHUWRWKHGHWHUJHQWPDQXIDFWXUHULQVWUXFWLRQVIRUIXUWKHU
LQIRUPDWLRQ
127(7KHGHOD\WLPHPXVWEHORQJHUWKDQWKHSURJUDPGXUDWLRQWLPHRWKHUZLVHWKH
PDFKLQHZLOOVWDUWLPPHGLDWHO\
127(WKLVIXQFWLRQLVQRWDYDLODEOHLQDOOSURJUDPV
B3UHVVWKLVEXWWRQWRVHOHFWWKHLQGLFDWRUOLJKWZLOOLOOXPLQDWH<RXFDQLQFUHDVHZDVKWLPHVDQG
VWKH
All manuals and user guides at all-guides.com

9
1RWH RII IXQFWLRQLVRQO\XVHGWRWXUQRIIWKHZDVKHUGU\HU
LED IRUH[DPSOH
NOTE
To select the drying time, press the dry button. Each press will increase the time by 30
minutes, for example 30mins (for 0.5kg of wet washing), 60mins (for 0.75kg of wet washing),
90mins (for 1.2kg of wet washing). If you select 120mins this will allow the machine to use
the sensor dry programme and adjust the timing to run as long as required until the contents
is sufficiently dry. Please note: The indicated 120min for the sensor programme is a guide,
the actual dry time will adjust throughout the cycle depending on the contents of the load.
All manuals and user guides at all-guides.com

10
r
1RWHRIILVRQO\XVHGWRWXUQWKHZDVKHUGU\HURII
Refresh
All manuals and user guides at all-guides.com

11
Dr
Drying programs 1
0.48
0.48
65
0:15
ENERGY
CONSUMPTION WATER
CONSUMPTION
WDI2203
46L
0.98kwh
Energy Label Program Settings: 1.Washing “Cotton
+60°C+Intense+Max speed” 2.Dring: “Dry”
Quic
Cotton
k
Refresh
All manuals and user guides at all-guides.com
all-guides.com

12
any leaks
:$6+,1*0(7+2'6
All manuals and user guides at all-guides.com

13
VWDUWSDXVH
XQGHUZHDU
RII
VHOIFOHDQ
TXLFNZDVK
VSLQ
UHIUHVK
SUHZDVK
V\QWKHWLF
ZRRO
GHOLFDWH
FRWWRQ
VSHHG WHPS
GHOD\ H[WUDULQVH LQWHQVH GU\
All manuals and user guides at all-guides.com

14
7KHPD[VSLQVSHHGLVGLIIHUHQWDFFRUGLQJWRHDFKSURJUDP
6SHHG
'HOD\ ([WUD5LQVH
7HPS
,QWHQVH 'U\
6SHHG
7HPS
'HOD\ ([WUD5LQVH ,QWHQVH 'U\
6SHHG
'HOD\ ([WUD5LQVH
7HPS
,QWHQVH 'U\
TXLFNZDVK
6HOHFWWKHFRUUHFWZDVKWHPSHUDWXUHPDQ\PRGHUQGHWHUJHQWVFDQZDVKZLWKJUHDWUHVXOWVLQORZ
WHPSHUDWXUHVHWWLQJV2QO\XVHKLJKHUWHPSHUWXUHVIRUKHDYLO\VRLOHGFORWKHV
All manuals and user guides at all-guides.com

15
All manuals and user guides at all-guides.com

16
ILOWHU
FRQWDLQHU
ZDWHUWXEHFRYHU
ZDWHUWXEH
&$5($1'&/($1,1*
RU
All manuals and user guides at all-guides.com
all-guides.com

17
plastic
All manuals and user guides at all-guides.com

18
¬ The PCB and the motor can’t communicate. _Please contact the maintenance personnel .
EuAr
All manuals and user guides at all-guides.com

19
All manuals and user guides at all-guides.com

20
PCB Printed Circuit Board
NTC Temperature Sensor
All manuals and user guides at all-guides.com
Other manuals for WDi2203
1
Table of contents
Other Caple Washer Dryer manuals

Caple
Caple WDI3300 User manual

Caple
Caple WDI3301 User manual

Caple
Caple WDi2201 User manual

Caple
Caple WDI1212 User manual

Caple
Caple WDi2203 User manual

Caple
Caple WDI2206 User manual

Caple
Caple WDI3301 User manual

Caple
Caple WDI1210 User manual

Caple
Caple WDI3300 User manual

Caple
Caple WMI1011 User manual