manuals.online logo
Brands
  1. Home
  2. •
  3. Brands
  4. •
  5. Carrier
  6. •
  7. Thermostat
  8. •
  9. Carrier A07049 User manual

Carrier A07049 User manual

Other manuals for A07049

1

This manual suits for next models

1

Other Carrier Thermostat manuals

Carrier ComfortVu TB-24 Operating instructions

Carrier

Carrier ComfortVu TB-24 Operating instructions

Carrier A94134 Instructions and recipes

Carrier

Carrier A94134 Instructions and recipes

Carrier 33CS Instructions and recipes

Carrier

Carrier 33CS Instructions and recipes
Carrier Thermostat Assembly instructions

Carrier

Carrier Thermostat Assembly instructions

Carrier Aquazone 50QE900 User manual

Carrier

Carrier Aquazone 50QE900 User manual

Carrier P474-1100RF User manual

Carrier

Carrier P474-1100RF User manual

Carrier 33CS420-01 User manual

Carrier

Carrier 33CS420-01 User manual
Carrier 33CSSP3-FC User manual

Carrier

Carrier 33CSSP3-FC User manual
Carrier Totaline P374-2800 User manual

Carrier

Carrier Totaline P374-2800 User manual

Carrier TP-WEM01 User manual

Carrier

Carrier TP-WEM01 User manual

Carrier TB-PAC User manual

Carrier

Carrier TB-PAC User manual

Carrier Infinity Control Home User manual

Carrier

Carrier Infinity Control Home User manual

Carrier Performance Non-Programmable ADGE User manual

Carrier

Carrier Performance Non-Programmable ADGE User manual

Carrier 53DFS250-SL User manual

Carrier

Carrier 53DFS250-SL User manual

Carrier SUI User manual

Carrier

Carrier SUI User manual

Carrier Connect 33CONNECTSTAT43FX User manual

Carrier

Carrier Connect 33CONNECTSTAT43FX User manual

Carrier TOTALINE Gold P274-0200-C Instructions and recipes

Carrier

Carrier TOTALINE Gold P274-0200-C Instructions and recipes

Carrier SUI User manual

Carrier

Carrier SUI User manual

Carrier GAS FURNACE 58MVP Instructions and recipes

Carrier

Carrier GAS FURNACE 58MVP Instructions and recipes

Carrier Aquazone 50QE900 User manual

Carrier

Carrier Aquazone 50QE900 User manual

Carrier TP-WEM01 User manual

Carrier

Carrier TP-WEM01 User manual

Carrier NSA-A/CP-I-2.5-4X Owner's manual

Carrier

Carrier NSA-A/CP-I-2.5-4X Owner's manual

Carrier 33AW-CS1 User manual

Carrier

Carrier 33AW-CS1 User manual

Carrier CRC2 - NTC User manual

Carrier

Carrier CRC2 - NTC User manual

Popular Thermostat manuals by other brands

Full Gauge TIC-17C product manual

Full Gauge

Full Gauge TIC-17C product manual

Imit Chronomix S manual

Imit

Imit Chronomix S manual

ChiliTec ST-35 ana instruction manual

ChiliTec

ChiliTec ST-35 ana instruction manual

Salus VS05 Installer's/user's manual

Salus

Salus VS05 Installer's/user's manual

Azel D-500 user guide

Azel

Azel D-500 user guide

Honeywell Chronotherm III owner's manual

Honeywell

Honeywell Chronotherm III owner's manual

Charmeg MP-R user manual

Charmeg

Charmeg MP-R user manual

dixell WING XW40LS Installing and operating instructions

dixell

dixell WING XW40LS Installing and operating instructions

Network Thermostat NetX X7C-WIFI Installation and programming manual

Network Thermostat

Network Thermostat NetX X7C-WIFI Installation and programming manual

Radio Thermostat CT80 Operation guide

Radio Thermostat

Radio Thermostat CT80 Operation guide

HAI Omnistat RC-120 installation manual

HAI

HAI Omnistat RC-120 installation manual

Lennox iComfort E30 Installation and setup guide

Lennox

Lennox iComfort E30 Installation and setup guide

Lux Products PSD011Ba Installation and operating instructions

Lux Products

Lux Products PSD011Ba Installation and operating instructions

Computherm Q20 operating instructions

Computherm

Computherm Q20 operating instructions

Heatmiser neoStat user manual

Heatmiser

Heatmiser neoStat user manual

Mars HEAT CONTROLLER IR Wireless Thermostat user manual

Mars

Mars HEAT CONTROLLER IR Wireless Thermostat user manual

LUX LP0511D user manual

LUX

LUX LP0511D user manual

Saswell SAS920XWHB-7-S-RF User manual and warranty card

Saswell

Saswell SAS920XWHB-7-S-RF User manual and warranty card

manuals.online logo
manuals.online logoBrands
  • About & Mission
  • Contact us
  • Privacy Policy
  • Terms and Conditions

Copyright 2025 Manuals.Online. All Rights Reserved.

Turn to the Expert_
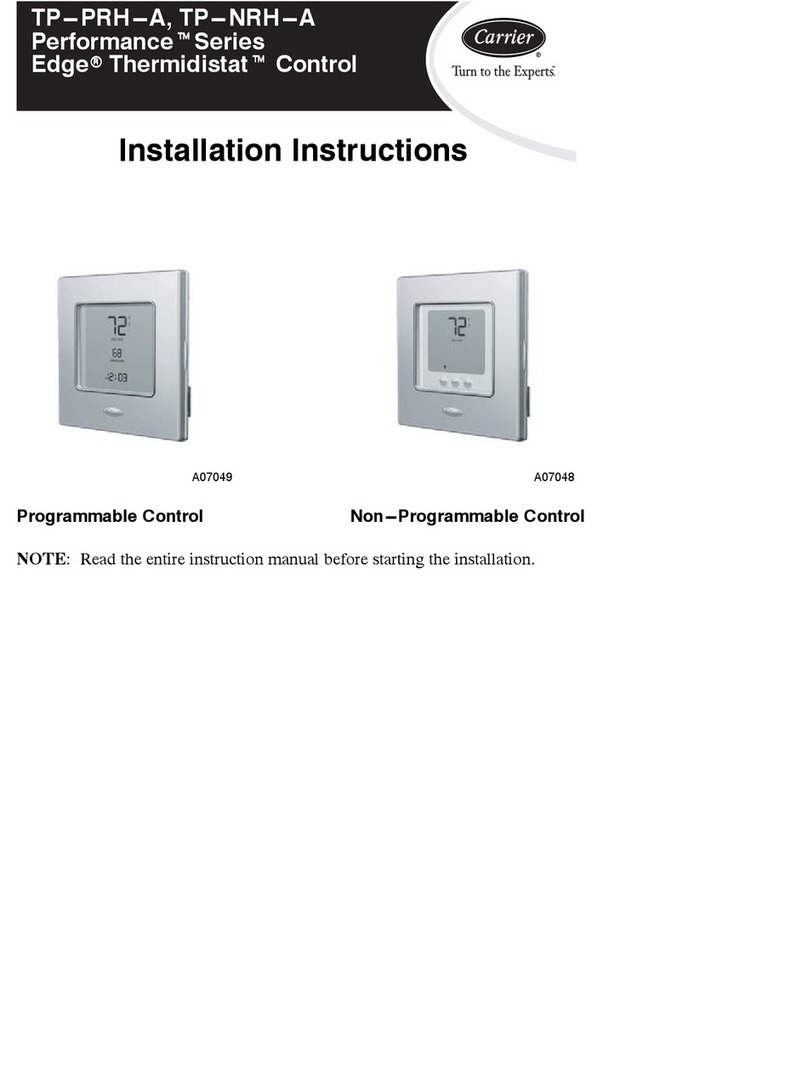
Installation Instructions
ii_i_i!i! i_i_i_;;;;,,i_i_/i
i_i:iiiiii _i!_i!_iJ!_!ili:!i:ii:ii:ii:ii:ii:iii!:iii_ iiiii_ii:ii{iiiii:¸¸¸_¸¸¸;¸_¸¸¸¸¸;¸;;¸¸<¸¸¸';;>:_¸¸¸>i_;;¸¸¸;¸¸¸¸_........... !!i_!
A07049
Programmable Control
(€
A07048
Non-Programmable Control
Designed and Assembled in the U.S.A.
NOTE: Read the entire instruction manual before starting the installation.
US patents: US7287709 B2, US20080147242 A 1, USD582800 S[, US20060165149 A 1, US6956463 B2.
TABLE OF CONTENTS
PAGE
SAFETY CONSIDERATIONS .................................... 1
INTRODUCTION .............................................. 2
INSTALLATION CONSIDERATIONS .............................. 3
INSTALLATION ............................................... 6
SYSTEM START-UP AND CHECKOUT .......................... 38
OPERATIONAL INFORMATION ................................ 41
TROUBLESHOOTING ......................................... 45
WIRING DIAGRAMS .......................................... 49
THERMOSTAT CONFIGURATION RECORD ...................... 58
SAFETY CONSIDERATIONS
Read and follow manufacturer instructions careflflly. Follow all local electrical
codes during installation. All wiring must conform to local and national electrical
codes. Improper wiring or installation may damage AC/HP Control.
Recognize safety information. This is the safety-alert symbol /_ . When you see
this symbol on the equipment and in the instruction manual, be alert to the
potential for personal injury.
Understand the signal words DANGER, WARNING, and CAUTION. These
words are used with the safety-alert symbol. DANGER identifies the most
serious hazards which will result in severe personal injury or death. WARNING
signifies a hazard which could result in personal injury or death. CAUTION is
used to identify unsafe practices which may result in minor personal injury or
product and property damage. NOTE is used to highlight suggestions which will
result in enhanced installation, reliability, or operation.
INTRODUCTION
Carrier's 7-day, 5/2-day, l-day programmable and non-programmable
Performance Series Thermostat Control is a wall-mounted, low-voltage
temperature control in either a single unit or a two-piece unit. In two-piece
configuration, the relays are located near the equipment and a two-wire
connection is used between the Display Module and the Equipment Control
Module. Single-piece installation requires more wiring and results in a higher
profile. The Edge 'M Thermostat has no need for batteries to store
user-configured settings in memory. During power loss its internal memory
saves settings for unlimited time, and the clock continues to run for at least 24
hours. An extension of Carrier's proven line of thermostats; it provides separate
setpoints for heating and cooling.
In the Edge Thermostat Control programmable configuration, different heating
and cooling setpoints and times are programmable for 4 periods per day or 2
periods per day. Programming can be done for 7 days per week, 5/2 days per
week, or 1 day. The programmable Thermostat Control can also be user
configured as a non-programmable Thermostat Control.
The non-programmable Thermostat Control features Touch 'N' Go 'Msettings
for quick and easy temperature change without complicated programming
schedules. And, its Touch 'N' Go technology enables the user to switch between
three different user-configurable settings through intuitive buttons located just
below the display.
INSTALLATION CONSIDERATIONS
Power
This control is powered by 24VAC only. It requires 24VAC (Rh and/or Rc and C
terminals) of the low-voltage transformer to be connected to it for proper
operation. It will not operate without these 2 connections. Rh and Rc are
connected via PCB breakout jumper. See Fig. 1. For applications using two
24VAC transformers, one in the indoor unit and one in the outdoor unit, connect
the common from each to the C terminal. Connect R from the indoor unit to the
Rh terminal. Connect R from the outdoor unit to the Rc terminal. Then, break
jumper on the circuit board. The W signal is taken from the Rh power and the G
signal is taken from the Rc power. If the thermostat has been installed in a
two-transformer application that is later changed to a single-transformer
installation, installer must install a field supplied jumper between Rc and Rh.
Depending on the installation, up to 14 wires may be required. Installation as
two-piece unit is recommended. Only 2 wires are required for connection
between Display Module and Equipment Control Module. These two wires (V+
and Vg) do not provide ordinary 24VAC. They carry a combination of power
and communications data that is unique to these products.
Fig. 1 - PCB Breakout Jumper
A07052
Models
There are programmable and non-programmable models for all applications.
They can be configured for AC or HP installations, allowing it to be used in
place of all Carrier thermostats. Programmable thermostats may be configured as
non-programmable if user desires.
Outdoor Temperature Sensor
The outdoor air temperature sensor is not included with the AC/HP Control. It is
available as an accessory, part number TSTATCCSEN01-B. Optimum
performance is obtained when an outdoor temperature sensor is used with the
AC/HP Control. Plan installation so that 2 wires can be run from Equipment
Control Module to an outdoor location, preferably on the north side of the house
or refer to Installation Instructions included with the outdoor temperature sensor
for simplified connection. Sensor can be mounted to outdoor unit and existing
dedicatedsensorwiresmaybeusedforitsconnection.Detailsareprovidedin
sensorinstructions.
RemoteIndoorTemperatureSensor
Aremotetemperaturesensormaybeusedwiththeprogrammableheatpump
andprogrammableairconditionerthermostatswhereitisdesirabletoinstallthe
thermostatinalimitedaccesslocationwhilemeasuringthetemperatureinthe
livingspace.Theremoteroomsensormaybeusedasastandaloneoraverage
withlocalsensor.
Two-PieceThermostatConfiguration
The Performance Series AC/HP Control can be installed in one of two
configurations. The control may be installed as a single-piece thermostat or it
may be split into two pieces and mounted in separate locations. As a single-piece
unit, all required wiring must be brought to the Equipment Control Module for
connection to the terminal strip. In two-piece configuration, the Display Module
can be mounted in the living space while the Equipment Control Module may be
mounted near the indoor furnace or fan coil. Connection from the display to the
Equipment Control Module requires only two wires. All other control wires are
connected to the Equipment Control Module from the HVAC equipment. This
configuration results in a slimmer display and locates the Equipment Control
Module containing the switching relays away from the main living space where
relay clicking will not be heard.
The model numbers on the Display Module and the Equipment Control Module
(ECM) must match or unpredictable results may occur.
Two-wire pigtail replacement part number is TX-2WR-05.
Wiring
Wirelengthshouldbenomorethan250ft(76m).Use22AWGfornormal
wiringapplications.Continuouswirelengthsover100ft(30.5m)shoulduse20
AWGorlarger. INSTALLATION
Cartoncontainsthefollowingcomponents.SeeFig.2forprogrammablemodels
orFig.3fornon-programmablemodels.
A07754
Fig. 2- TP-PAC /TP-PHP Carton Contents
1. Display Module
2. Stand-off for Equipment Control Module
3. Screws and pig tail
4. Equipment Control Module
A07755
Fig. 3-TP-NAC /TP-NHP Carton Contents
1. Display Module
2. Stand-off for Equipment Control Module
3. Screws and pig tail
4. Equipment Control Module
AC/HP Control Location
AC/HP Control should be mounted:
• Approximately 5 ft (1.5m) from floor.
• Close to or in a frequently used room, preferably on an inside parti-
tioning wall.
• On a section of wall without pipes or duct work.
AC/HPControlshouldNOTbemounted:
• Closetoawindow,onanoutsidewall,ornexttoadoorleadingtothe
outside.
• Exposedtodirectlightorheatfromalamp,sun,fireplace,orother
temperature-radiatingobjectswhichcouldcauseafalsereading.
• Closetoorindirectairflowfromsupplyregistersandreturn-airregis-
ters.
• Inareaswithpooraircirculation,suchasbehindadoororinanal-
cove.
Installershoulddeterminewhethercontrolwillbeinstalledassingle-pieceor
two-piece.Insingle-piececonfiguration,asmanyas14wiresmayneedtorun
to wallmountinglocationforconnectionto thecontrol.In two-piece
configuration,theDisplayModuleandEquipmentControlModuleare
connectedbytwowires.
Install AC/HP Control
ELECTRICAL OPERATION HAZARD
Failure to follow this warning could result in personal injury or
death.
Before installing AC/HP Control, turn off all power to
equipment. There may be more than 1 power disconnect.
UNITDAMAGE HAZARD
Failure to follow this caution may result in equipment damage
or improper operation.
Improper wiring or installation may damage AC/HP Control.
Check to make sure wiring is correct before proceeding with
installation or turning on power.
1. Turn off all power to equipment.
2. If an existing thermostat is being replaced
a. Remove existing thermostat from wall.
b. Disconnect wires from existing thermostat, 1 at a time.
c. As each wire is disconnected, record wire color and terminal marking.
d. Discard or recycle old thermostat.
ENVIRONMENTAL HAZARD
Failure to follow this caution may result in environmental
damage.
Mercury is a hazardous waste. Federal regulations require that
Mercury be disposed of properly.