Casio YP-100 - 1 User manual

E-1
English
English
Multifunctional
Presentation Kit YP-100
Getting Started with the Multifunctional Presentation Kit
• Be sure to read the “Safety Precautions” on page E-3 and “Operating Precautions” on page
E-6 before trying to use this product.
• This manual provides a general overview and covers basic operations of the YP-100. For more
information about operations, see the User’s Guide on the bundled CD-ROM.
Contents
Safety Precautions .....................................E-3
Operating Precautions...............................E-6
Unpacking ...................................................E-6
Introduction.................................................E-7
What you can do with the YP-100 ............E-7
About this manual...................................E-10
General Guide ........................................E-11
Getting Ready ...........................................E-12
Preparing the Remote Controller............E-12
Replacing the
Remote Controller Battery ......................E-12
Connecting a Projector ...........................E-13
Turning On Power...................................E-14
Installing YP-100 Software .....................E-15
Using the Hold Key.................................E-15
Basic YP-100 Operations.........................E-16
Using a USB Memory Device
with the YP-100 ......................................E-16
Using the YP-100
with a YC-400 Document Camera ..........E-19
Specifications ...........................................E-22
YP100_Guide_E.book 1 ページ 2006年8月8日 火曜日 午後3時16分

E-2
• Microsoft, Windows, Windows NT, Windows XP, the Windows logo, and PowerPoint are
registered trademarks or trademarks of Microsoft Corporation in the United States and other
countries.
• Other company and product names may be registered product names or trademarks of their
respective owners.
• The contents of this manual are subject to change without notice.
• Copying of this manual, either in part or its entirety is forbidden. You are allowed to use this
manual for your own personal use. Any other use is forbidden without the permission of CASIO
COMPUTER CO., LTD.
• CASIO COMPUTER CO., LTD. shall not be held liable for any lost profits or claims from third
parties arising out of the use of this product or this manual.
• CASIO COMPUTER CO., LTD. shall not be held liable for any loss or lost profits due to loss of
data due to malfunction or maintenance of this product, or any other reason.
• The sample screens shown in this manual are for illustrative purposes only, and may differ
somewhat from the screens actually produced by the product.
YP100_Guide_E.book 2 ページ 2006年8月8日 火曜日 午後3時16分

E-3
Safety Precautions
English
Safety Precautions
Be sure to read these “Safety Precautions” before trying to use this product.
About safety symbols
Various symbols are used in this manual and on the product itself to ensure safe use, and to
protect you and others against the risk of injury and against material damage. The meaning of
each of the symbols is explained below.
Icon Examples
Precautions During Use
●Smoke, odor, heat, noise, and
other abnormalities
Should you ever notice smoke, strange
odor, or heat being emitted by the
product, or any other abnormality,
immediately stop using the product.
Continued use creates the risk of fire
and electric shock. Immediately
perform the following steps.
1. Unplug the AC Adaptor.
2. Contact your original dealer or authorized
CASIO service center.
●Malfunction
Never try to use the product while it
is malfunctioning. Continued use
creates the risk of fire and electric
shock. Immediately perform the
following steps.
1. Turn off power.
2. Unplug the AC Adaptor.
3. Contact your original dealer or authorized
CASIO service center.
●AC adaptor
Misuse of the AC adaptor creates the
risk of fire and electric shock. Make
sure that you always observe the
following precautions.
• Use only the AC adaptor that is
specified for the product.
• Never try to use the supplied AC
adaptor to power any other type of
device.
• Make sure that you use a power
source with the same voltage as that
specified for the AC adaptor.
• Do not overload a power outlet.
Misuse of the power cord creates the
risk of personal injury, fire and electric
shock. Make sure that you always
observe the following precautions.
• Never place heavy objects on top of
the power cord, and do not expose
it to heat.
• Never try to modify the power cord
in any way, and do not subject it to
excessive bending.
• Never twist or pull on the power
cord.
Danger This symbol indicates information that, if ignored or applied incorrectly,
creates the risk of death or serious personal injury.
Warning This symbol indicates information that, if ignored or applied incorrectly,
could possibly create the risk of death or serious personal injury.
Caution This symbol indicates information that, if ignored or applied incorrectly,
could possibly create the risk of personal injury or material damage.
A triangle indicates a situation against which you need to exercise caution. The
example shown here indicates you should take precaution against electric shock.
A circle with a line through it indicates information about an action that you should
not perform. The specific action is indicated by the figure inside the circle. The
example shown here means disassembly is prohibited.
A black circle indicates information about an action that you must perform. The
specific action is indicated by the figure inside the circle. The example shown here
indicates you must unplug the power cord from the power outlet.
Warning
YP100_Guide_E.book 3 ページ 2006年8月8日 火曜日 午後3時16分

Safety Precautions
E-4
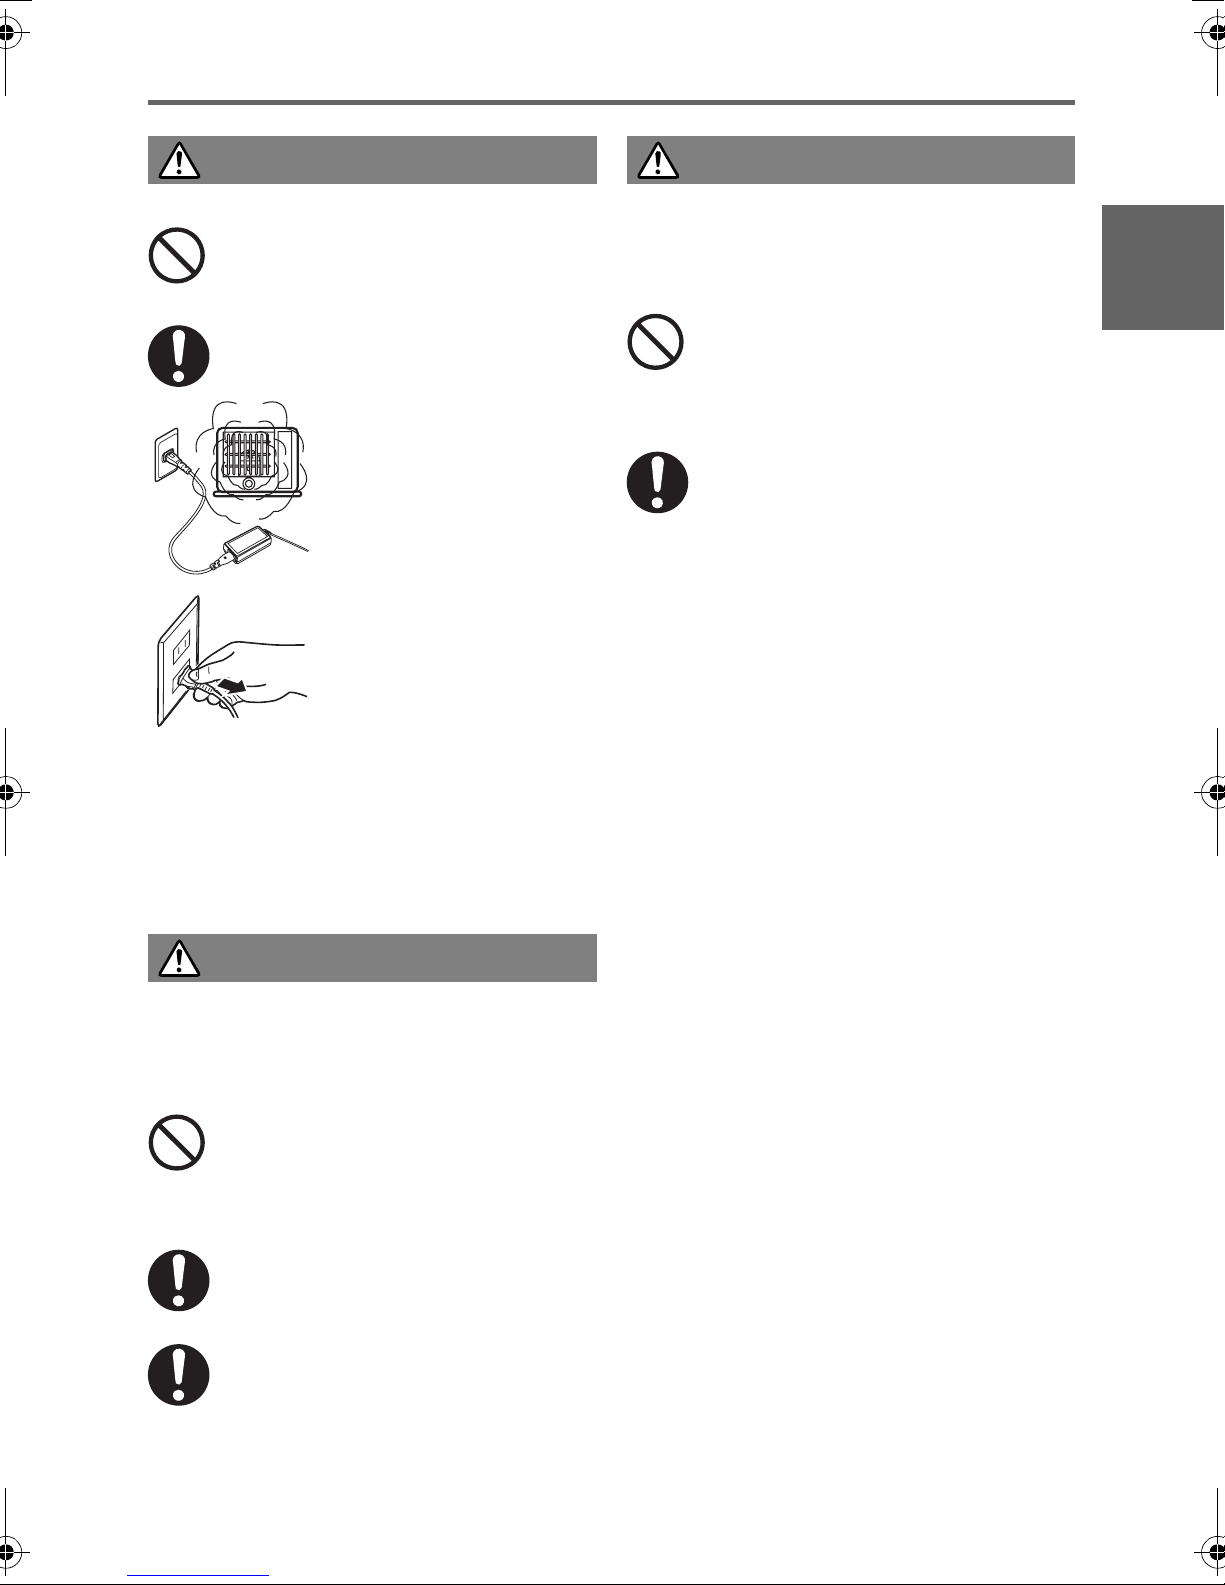
• Should the electrical cord or plug
become damaged, contact your
original dealer or authorized CASIO
service center.
Never touch the AC adaptor while
your hands are wet. Water creates the
risk of electric shock.
Never allow the AC adaptor to
become wet. Water creates the risk of
fire and electric shock.
Never place a vase or any other
container of liquid on top of the AC
adaptor. Water creates the risk of fire
and electric shock.
●Water and foreign matter
Water, other liquid, or foreign matter
(metal, etc.) getting into the product
creates the risk of fire and electric
shock. Be especially careful when
using the product in the rain or snow,
at the seashore, near water, or in a
bathroom. Should anything get inside
the product, immediately perform the
following steps.
1. Turn off power.
2. Unplug the AC Adaptor.
3. Contact your original dealer or authorized
CASIO service center.
●Disassembly and modification
Never try to take the product apart or
modify it in any way.
Be sure to leave all internal inspection,
adjustment, and repair up to your original
dealer or authorized CASIO service center.
●Dropping and impact
Continued use of the product after it
has been damaged by dropping or
other mistreatment creates the risk of
fire and electric shock. Immediately
perform the following steps.
1. Turn off power.
2. Unplug the AC Adaptor.
3. Contact your original dealer or authorized
CASIO service center.
●Disposal by burning
Never try to dispose of the product by
burning it. Doing so can cause an
explosion, which creates the risk of
fire and personal injury.
●Location
Never locate the product in any of the
following types of locations. Doing so creates
the risk of fire and electric shock.
• Near an area subject to strong vibration
• An area subject to large amounts of
moisture or dust
• In a kitchen or other area exposed to oil
smoke
• Near a heater, on a heated carpet, or in an
area exposed to direct sunlight
• An area subject to temperature extremes
(Operating temperature range is 5°C to 35°C
(41°F to 95°F)).
●Never place heavy objects on the
product
Doing so creates the risk of fire and electric
shock.
●Water
Never locate the product in a bathroom or
anywhere else there is the chance that it will
be splashed with water.
●Unstable location
Never place the product on an
unstable surface or on a high shelf.
Doing so can cause it to fall, creating
the risk of personal injury.
●Lightening
During a lightening storm, do not touch the
plug of the power cord.
●Remote controller
Never try to take the remote controller
apart or modify it in any way. Doing
so creates the risk of electric shock,
burn injury, and other personal injury.
Be sure to leave all internal
inspection, adjustment, and repair up
to your original dealer or authorized
CASIO Service Center.
Never allow the remote controller to
become wet. Water creates the risk of
fire and electric shock.
YP100_Guide_E.book 4 ページ 2006年8月8日 火曜日 午後3時16分

E-5
Safety Precautions
English
●AC adaptor
Misuse of the AC adaptor creates the
risk of fire and electric shock. Make
sure that you always observe the
following precautions.
• Never cover the AC
adaptor with a blanket
while it is in use or locate
it next to a heater. Such
conditions can interfere
with heat radiation, and
cause heat to build up in
the area of the AC
adaptor.
• Never pull on the power
cord when unplugging the
AC adaptor. Grasp the
plug unit.
• Insert the plug into the
power outlet as far as it
will go.
• Unplug the AC adaptor before
leaving on a trip or otherwise leaving
it unattended for a long period.
• Unplug the AC adaptor at least once
a year and clean any dust built up
around the prongs of the plug.
Battery Precautions
Misuse of a battery can cause it to leak and
stain the area around it, or to explode,
creating the risk of fire and personal injury.
Make sure that you always observe the
following precautions.
• Never try to take a battery apart
and do not allow it to become
shorted.
• Never expose a battery to heat or
throw it into fire.
• Never try to charge the battery.
• Take care that the battery is oriented
correctly when you load it.
●Button battery
• Keep the button battery out of the
reach of small children to make sure
it is not swallowed accidentally.
Should a button battery ever be
swallowed, contact a physician
immediately.
Misuse of a battery can cause it to leak and
stain the area around it, or to explode,
creating the risk of fire and personal injury.
Make sure that you always observe the
following precaution.
• Use only the type of battery that is
specified for the remote controller.
●Dead battery
Be sure to remove the battery from the
remote controller as soon as it goes dead.
• Remove the battery from the remote
controller if you do not plan to use
it for a long time.
●Disposing of batteries
Make sure that you dispose of used batteries
in accordance with the rules and regulations
in your local area.
Caution
Warning
Caution
YP100_Guide_E.book 5 ページ 2006年8月8日 火曜日 午後3時16分

E-6
Operating Precautions
This product is made of precision components. Failure to observe the following precautions can
result in inability to correctly save data and malfunction.
●Never use or store the product in the following locations. Doing so creates the
risk of malfunction of and damage to the product.
zLocations subjected to electrostatic charge
zLocations subjected to temperature extremes
zLocations where there is extreme moisture
zLocations subjected to sudden temperature changes
zLocations where there is a lot of dust
zOn a shaky, slanted, or otherwise unstable surface
zLocations where there is the danger of getting wet
●Avoid using the product under the following conditions. Such conditions create
the risk of malfunction of and damage to the product.
zAvoid areas subject to temperature extremes (operating
temperature range is 5°C to 35°C (41°F to 95°F)).
zNever place heavy objects on the product.
zNever insert or allow foreign objects to drop into the product.
zNever place a vase or any other container of water on top of
the product.
●Never leave a dead battery inside the remote controller for a long time.
A dead battery can leak, which leads to malfunction of and damage to the remote controller.
●Clean with a soft, dry cloth.
When very dirty, use a soft cloth that has been dampened in a weak solution of water and a
mild neutral detergent. Wring all excess water from the cloth before wiping. Never use thinner,
benzene, or any other volatile agent to clean the product. Doing so can remove its markings
and cause staining of the case.
●To reduce power supply noise:
Noise from the speakers of a projector or from a speaker with built-in amplifier that is
connected to the product’s LINE OUT terminal is due to power supply noise, and does not
indicate malfunction of this product. If you experience noise from the speaker, use a
commercially available noise filter or other measures to reduce power supply noise.
Unpacking
As you unpack the product, check to make sure that all of the items listed below are present.
zMultifunctional Presentation Kit YP-100
zRemote controller (Pre-loaded with a test battery.)
zAC adaptor, power cord
zSoft case
zAnchor screws ×2
zCD-ROM ×1
zThis manual ×1
zWarranty ×1
Unpacking
YP100_Guide_E.book 6 ページ 2006年8月8日 火曜日 午後3時16分

E-7
Introduction
English
Introduction
The YP-100 makes it possible to connect a USB memory device, a wireless LAN, or a
document camera to a data projector (CASIO XJ-S30, XJ-360, XJ-460) that is equipped with an
RGB input terminal. Once you connect any one of the external USB devices described below to
the USB terminal of the YP-100, you can project data from the connected device.
Using a USB Memory Device with the YP-100
You can connect a commercially available USB memory device to the USB port of the YP-100
and project images and movies stored on the device from the projector also connected to the
YP-100.
zFor information about basic YP-100 operations, see “Using a USB Memory Device with the
YP-100” on page E-16 of this manual.
zFor detailed information about operations, see the User’s Guide on the CD-ROM that comes
with the YP-100.
What you can do with the YP-100
XJ-S30, etc.
USB memory
device
YP-100
YP100_Guide_E.book 7 ページ 2006年8月8日 火曜日 午後3時16分

Introduction
E-8
Using a Wireless LAN with the YP-100
Establishing a connection between the YP-100 and a computer over a wireless LAN makes it
possible to project the display contents of the computer’s screen from the projector connected to
the YP-100.
You can have up to four computers connected to the YP-100 over a wireless LAN at the same
time. Use the remote controller that comes with the YP-100 to select which of the four
computer screens you want to project.
zFor detailed information about operations, see the User’s Guide on the CD-ROM that comes
with the YP-100.
XJ-S30, etc.
CASIO YW-2
YP-100
XJ-S30, etc.
YP-100
YP100_Guide_E.book 8 ページ 2006年8月8日 火曜日 午後3時16分

E-9
Introduction
English
Using the YC-400 Document Camera with the YP-100
You can connect a CASIO YC-400 Document Camera to the USB port of the YP-100 and
project the images of documents placed on the document stage of the YC-400.
zFor information about basic YC-400 operations, see “Using the YP-100 with a YC-400
Document Camera” on page E-19 of this manual.
zFor detailed information about operations, see the User’s Guide on the CD-ROM that comes
with the YP-100.
XJ-S30, etc.
YP-100
YC-400
YP100_Guide_E.book 9 ページ 2006年8月8日 火曜日 午後3時16分

Introduction
E-10
Terms and Conventions
In this manual, there are many procedures that require parallel operations on the YP-100 and
your computer. The following are special terms and conventions used in this manual to
differentiate between the YP-100 and computer.
projection area
This is the entire rectangular area that is projected by the projector connected to the YP-100.
Certain YP-100 operations will cause messages and menus to appear within the projection area.
computer screen
This is the physical display device of your computer.
CD-ROM User Documentation
Detailed explanations about how to use the YP-100 can be found in the User’s Guide PDF file
on the CD-ROM that comes with the YP-100. Your computer will need to have Adobe®Reader®
installed in order for you to view the User’s Guide file.
If your (Windows) computer does not have Adobe Reader installed, double-click the
“AdbeRdr60_enu_full.exe” file on the CD-ROM to install Adobe Reader.
Viewing CD-ROM User Documentation
1. Place the bundled CD-ROM into your computer’s CD-ROM drive.
2. Navigate to the CD-ROM, and open the “User’s Guide” folder.
3. Double-click “YP100_UG_ENG.PDF”.
zThis starts up Adobe Reader and displays the contents of the User’s Guide.
zOn some systems, the “.PDF” extension may not appear at the end of the file name.
About this manual...
YP100_Guide_E.book 10 ページ 2006年8月8日 火曜日 午後3時16分

E-11
Introduction
English
YP-100
Remote Controller
General Guide
AC adaptor terminal
LINE OUT terminal
[ ] (Power) key
[ ] (Hold) key
[POWER] indicator
[HOLD] indicator
RGB OUT terminal
Remote control signal
receiver (both sides)
USB port
[MENU] key
[FUNC] key
[]key
[]key
[ ] key
Cursor keys [S
SS
S, T
TT
T, W
WW
W, X
XX
X]
[ESC] key
[ ] key
[ENTER] key
Remote control signal emitter
CLASS 1 LED PRODUCT
YP100_Guide_E.book 11 ページ 2006年8月8日 火曜日 午後3時16分

E-12
Getting Ready
Getting Ready
The remote control unit comes loaded with a test battery. Before using it for the first time,
remove the battery insulation sheet from the back of the remote controller.
zTo avoid running down the battery, store the remote control unit so its buttons are not
pressed inadvertently.
The battery (CR2025) that comes pre-installed in the remote controller is for test purposes.
1. Turn over the remote controller. Insert your thumbnail into slot 1on the battery holder
and press to the right as you pull the battery holder out of the remote controller by
pulling on slot 2with your index finger nail.
Preparing the Remote Controller
Replacing the Remote Controller Battery
Caution RISK OF EXPLOSION IF BATTERY IS REPLACED BY AN INCORRECT
TYPE.
DISPOSE OF USED BATTERIES ACCORDING TO THE INSTRUCTIONS.
Caution
Misuse of a battery can cause it to leak and stain of the area around it, or
to explode, creating the risk of fire and personal injury. Make sure that you
always observe the following precautions.
zTake care that battery is positioned correctly when you load it.
zUse only the type of battery that is specified for use with the remote
controller.
21 Battery holder
YP100_Guide_E.book 12 ページ 2006年8月8日 火曜日 午後3時16分

E-13
Getting Ready
English
2. Insert a new battery (CR2025) into the
battery holder.
zMake sure that the plus (+) side of the
battery is facing upwards (so you can
see it).
3. Slide the battery holder back into the
remote controller.
zMake sure that the YP-100 and the projector are both turned off before connecting them.
zThe audio part of a movie file stored on a USB memory devices connected to the YP-100
is output from the YP-100’s LINE OUT terminal. There is no need to connect the YP-100’s
LINE OUT terminal to external equipment if you do not want to output recorded audio.
zIf the projector you are using does not have a LINE IN terminal, you can connect the
YP-100’s LINE OUT terminal to a speaker with built-in amplifier.
Connecting a Projector
YP-100
RGB OUT
terminal LINE OUT
terminal
Audio cable (commercially available)
RGB cable (commercially available or bundled with the projector)
Projector
To RGB IN
terminal To LINE IN
terminal
YP100_Guide_E.book 13 ページ 2006年8月8日 火曜日 午後3時16分

Getting Ready
E-14
To turn on the YP-100
1. Connect the projector to the YP-100, referring to “Connecting a Projector” (page E-13).
2. Turn on the projector and/or audio equipment that is connected to the YP-100.
3. Connect the AC adaptor that comes with the YP-100 to the AC adaptor terminal, and
plug the AC adaptor into a power outlet.
zThis will cause the YP-100 to turn on automatically.
zThis will cause the YP-100’s [POWER] indicator to light green. Also, the YP-100 logo
screen will be projected by the projector if there is nothing connected to the YP-100’s
USB port.
zIf this is the first time for you to turn on the YP-100, the dialog box shown below will
appear in the center of the projection area. In this case, advance to the next step below.
4. Use the [T] and [S] keys to move the highlighting to the language you want to
select and then press the [ENTER] key.
zThis will select the language you specified and display the logo screen.
Turning On Power
YP100_Guide_E.book 14 ページ 2006年8月8日 火曜日 午後3時16分

E-15
Getting Ready
English
To turn off the YP-100
Press the [ ] (Power) key to turn off the YP-100.
zAny changes you make to setup menu*settings are retained when you press the [ ]
(Power) key to turn off the YP-100.
Note, however, that setup menu settings are lost if you unplug the AC adaptor from the
YP-100 without first pressing the [ ] (Power) key to turn it off.
*The setup menus include the Viewer setup menu, the Wireless setup menu, and the YC
Camera application setup menu. For detailed information about menu settings, see the
User’s Guide on the CD-ROM that comes with the YP-100.
You will need to install YP-100 software on your computer in order to perform the following
operations.
zConvert files created with Microsoft PowerPoint to image (jpg) files and store them on a USB
memory device
zProject the contents of the screen of a computer connected to the YP-100 over a wireless
LAN
For more information about installing the software, see the user documentation on the CD-ROM
that comes with the YP-100.
Depressing the [ ] (Hold) key on the top of the YP-100 for about one second will cause the
[HOLD] indicator to light. Reception of signals from the remote controller by the YP-100 is
disabled while the [HOLD] indicator is lit.
Re-enabling Remote Controller Signal Reception
Press the [ ] (Hold) key so the [HOLD] indicator goes out.
zIf you press the [ ] (power) key to turn off the YP-100 while the [HOLD] indicator is lit,
the [HOLD] indicator will be off (and remote controller signal reception will be enabled)
when you turn the YP-100 back on again.
Installing YP-100 Software
Using the Hold Key
YP100_Guide_E_Body.fm 15 ページ 2006年10月3日 火曜日 午後2時44分

E-16
Basic YP-100 Operations
This section explains the following YP-100 operations.
zBasic operation for using a USB memory device with the YP-100
You can use the projector connected to the YP-100 to project images from files stored on the
USB memory device.
zBasic operation for using a YC-400 document camera with the YP-100
You can use the projector connected to the YP-100 to project images of documents whose
images were recorded with the YC-400 document camera.
1. On a computer, copy the image files to the USB memory device.
zIn this example we will create a folder named “YP-100” in the root directory of a USB
memory device and copy the image files to the folder. Perform any one of the following
operations depending on the operating system your computer is running.
■If your computer is running Windows XP
1. Insert the USB memory device into the USB port of your computer.
zThis will display a dialog box for specifying the contents of the USB memory device.
2. Select “Open folder to view files using Windows Explorer” and then click the [OK]
button.
zThis will display the USB memory device contents in Windows Explorer.
3. On the [File] menu, click [New] and then [Folder].
Using a USB Memory Device with the YP-100
YP100_Guide_E.book 16 ページ 2006年8月8日 火曜日 午後3時16分

E-17
Basic YP-100 Operations
English
4. Enter “YP-100” and then press the [Enter] key.
zThis will create a folder named “YP-100”.
5. Drag the image files to the “YP-100” folder.
zThis will copy the image files into the folder.
zBe sure to copy only JPEG (jpg, jpeg or jpe) or BMP (bmp) format image files into
the folder. Other formats are not recognized by the YP-100.
6. On the taskbar, click the (Safely Remove Hardware) icon. On the menu that
appears, click “Safely remove USB mass storage device - Drive(X)”.
zThis will display the “Safe To Remove Hardware” message.
7. Remove the USB memory device from the computer’s USB port.
■If your computer is running Windows 2000
1. Insert the USB memory device into your computer’s USB port.
2. Double-click the “My Computer” icon and then double-click “Removable Disk (X:)”.
zThis will display the USB memory device contents in Windows Explorer.
3. On the [File] menu, click [New] and then [Folder].
4. Enter “YP-100” and then press the [Enter] key.
zThis will create a folder named “YP-100”.
5. Drag the image files to the “YP-100” folder.
zThis will copy the image files into the folder.
zBe sure to copy only JPEG (jpg, jpeg or jpe) or BMP (bmp) format image files into
the folder. Other formats are not recognized by the YP-100.
6. On the taskbar, click the (Hardware Unplug/Eject) icon. On the menu that
appears, click “Stop USB mass storage device - Drive(X)”.
zThis will display a “Safe To Remove Hardware” dialog box.
7. Click the [OK] button and then remove the USB device from the USB port of the
computer.
YP100_Guide_E.book 17 ページ 2006年8月8日 火曜日 午後3時16分

Basic YP-100 Operations
E-18
2. Connect the projector to the YP-100, referring to “Connecting a Projector” (page E-13).
3. Use the procedure under “Turning On Power” on page E-14 to turn on the YP-100.
zThis will cause the YP-100’s [POWER] indicator to light green. The YP-100 logo screen
also will be projected by the connected projector.
4. Plug the USB memory device you prepared in step 1 into the YP-100’s USB port.
zOnce the YP-100 recognizes the USB memory device, Viewer will start up automatically
and a menu of the files contained on the USB Memory Device will appear in the
projection area.
5. Use the remote controller’s cursor keys to move the highlighting to the “YP-100” folder
and then press the [ENTER] key.
zThis will display a list of image files contained in the folder, arranged in alphabetical
sequence on the file names.
6. To start a slideshow of the image files in the “YP-100” folder, press the remote
controller’s [ ] key.
zThis will project the first image file of the folder so it fills the entire projection area.
zTo scroll to the content of the next image file, press the [X] key. To scroll to the content
of the previous image file, press the [W] key.
7. To end the slideshow, press the remote controller’s [ESC] key.
YP100_Guide_E.book 18 ページ 2006年8月8日 火曜日 午後3時16分

E-19
Basic YP-100 Operations
English
1. Connect the projector to the YP-100, referring to “Connecting a Projector” (page E-13).
2. Use the procedure under “Turning On Power” on page E-14 to turn on the YP-100.
zThis will cause the YP-100’s [POWER] indicator to light green. The YP-100 logo screen
also will be projected by the connected projector.
3. Connect the document camera to the YP-100 using the USB cable that comes
bundled with the document camera.
Using the YP-100 with a YC-400 Document Camera
YP-100
YC-400
Camera
Camera stand
Document stage
USB cable
YP100_Guide_E.book 19 ページ 2006年8月8日 火曜日 午後3時16分

Basic YP-100 Operations
E-20
4. With nothing on the document stage, press the [ ] (power) button on the camera
stand.
zThis will turn on the document camera.
zThe YP-100 will recognize the document camera and start up the YC Camera application
automatically. When the YC Camera application starts up, the YP-100 will project an
image of the document stage along with a dialog box for adjusting the document camera
position.
zIf the document camera is positioned correctly, position adjustment will end automatically
and the dialog box will close. At this time the monitor screen (the image being picked up
by the document camera) will be projected.
zIf the document camera is not positioned correctly, a message prompting you to adjust
the document camera position will appear. Follow the instructions shown in the message
to adjust the document camera position.
YP100_Guide_E.book 20 ページ 2006年8月8日 火曜日 午後3時16分
This manual suits for next models
1
Table of contents
Other Casio Projector Accessories manuals