Operation Guide 5369 (MTG)
E-55
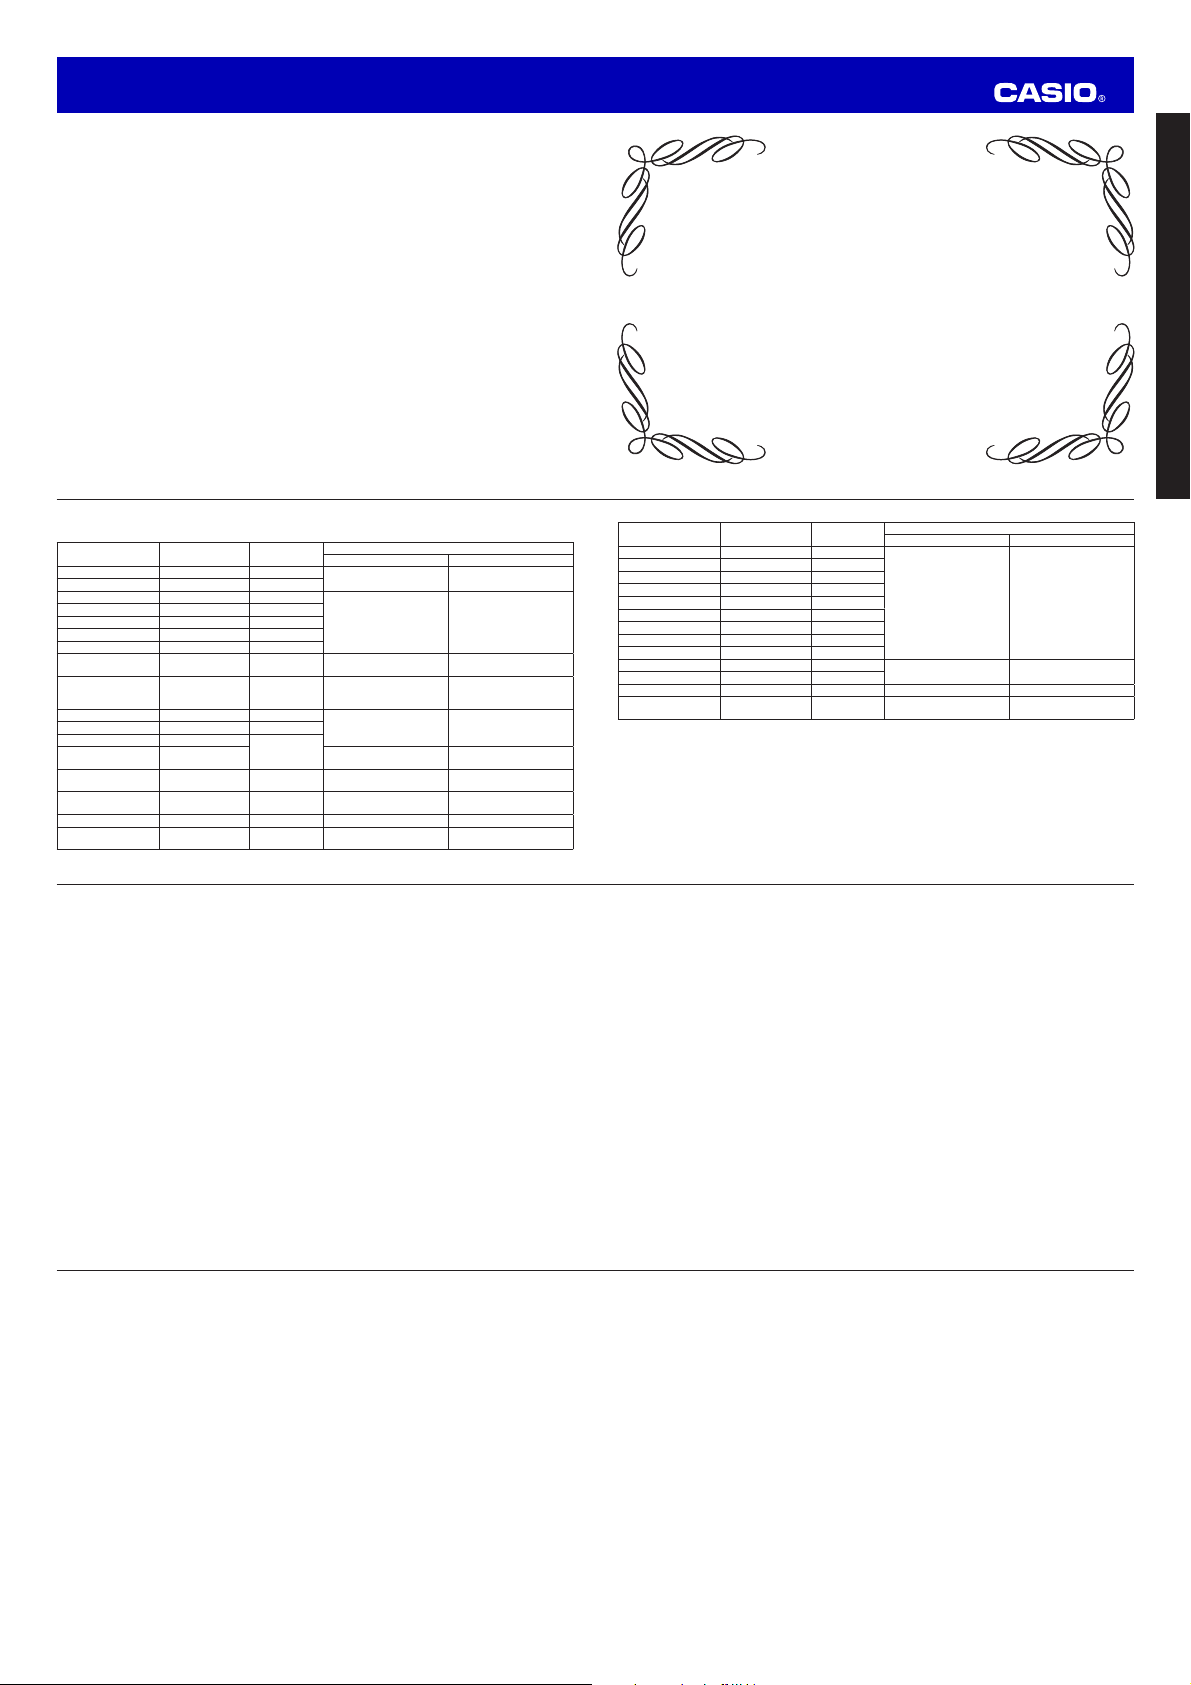
Power Supply: Solar panel and one rechargeable battery
Approximate battery operating time: 5 months (no exposure to light after a full charge; one signal
reception of approximately 4 minutes, and 10 seconds of alarm operation per day)
E-54
Specifications
Accuracy at normal temperature: ±15 seconds a month (with no signal calibration)
Timekeeping : Hour, minutes, seconds, 24-hour, day, day of the week
Calendar system: Full Auto-calendar pre-programmed from the year 2000 to 2099
Other: Home City and World Time City can be assigned one of 29 city codes (29 time zones) and
Coordinated Universal Time; Daylight Saving Time (summer time)/Standard Time auto switching
Time Calibration Signal Reception: Auto receive up to six times a day (5 times a day for the Chinese
calibration signal; Remaining auto receives cancelled as soon as one is successful);
Manual receive
Receivable Time Calibration Signals:
Mainflingen, Germany (Call Sign: DCF77, Frequency: 77.5 kHz); Anthorn, England
(Call Sign: MSF, Frequency: 60.0 kHz); Fukushima, Japan (Call Sign: JJY, Frequency:
40.0 kHz); Fukuoka/Saga, Japan (Call Sign: JJY, Frequency: 60.0 kHz); Fort Collins,
Colorado, the United States (Call Sign: WWVB, Frequency: 60.0 kHz); Shangqiu City,
Henan Province, China (Call Sign: BPC, Frequency: 68.5 kHz)
Stopwatch: Measuring capacity: 1:59'59.95"
Measuring unit: 1/20 (0.05) seconds
Measuring modes: Elapsed time, Split time
Other: Auto-Start
Countdown Timer:
Measuring unit: 1 second
Input range: 1 to 120 minutes (1-minute increments)
Alarm: Daily alarm
Other: Power Saving; Low battery alert; Auto Correction of Hand Home Positions
E-53
■Signal reception is being performed successfully, but the time and/or day is wrong.
Possible Cause Remedy Page
Your Home City setting is wrong. Check your Home City setting and correct it, if
necessary.
E-14
E-24
The watch may have been exposed to magnetism
or strong impact, which has caused problems with
proper hand and day alignment.
Adjust the watch’s hand and day home positions. E-45
Alarm
■The alarm does not sound.
Possible Cause Remedy Page
Battery power is low. Expose the watch to light until battery power is
back to normal. E-10
The watch is in the sleep state. Move the watch to a well-lit area or press any button. E-13
The crown is pulled out. Push the crown back in. E-3
Crown Operation
■Nothing happens when I rotate the crown.
Possible Cause Remedy Page
The crown has been left pulled out for more than
two minutes (30 minutes in the case of hand home
position adjustment) without any operation being
performed.
Push the crown back in and then pull it out again to
restore normal operation. E-3
E-52
■The current time setting is off by one hour.
Possible Cause Remedy Page
The period when summer time is applied in the
location where you are using the watch may be
different from the period set for your currently
selected Home City.
Use the procedure under “To switch between
standard time and summer time manually” to switch
from AT (AUTO) to STD (for standard time) or DST
(for summer time).
E-27
■Auto Receive is not performed or I cannot perform Manual Receive.
Possible Cause Remedy Page
Your Home City setting is wrong. Check your Home City setting and correct it, if
necessary.
E-14
E-24
Auto Receive is disabled because there is an
ongoing elapsed time operation or Auto Start
countdown operation in the Stopwatch Mode.
Stop the ongoing Stopwatch Mode operation. E-35
A countdown timer operation is in progress.
Both Auto Receive and Manual Receive are
disabled while a countdown is in progress. If you
want to perform Auto Receive, go to the Countdown
Timer Mode, stop the timer operation, and then
return to the Dual Time Mode.
E-39
The Auto Receive function is turned off. Turn on Auto Receive. E-19
The crown is pulled out. Push the crown back in. E-3
There is not enough power for signal reception. Expose the watch to light to charge it. E-10
E-51
Time Calibration Signal
The information in this section applies only when LONDON (LON), PARIS (PAR), ATHENS (ATH),
HONOLULU (HNL), ANCHORAGE (ANC), LOS ANGELES (LAX), DENVER (DEN), CHICAGO (CHI),
NEW YORK (NYC), HONG KONG (HKG), or TOKYO (TYO) is selected as the Home City. You need to
adjust the current time manually when any other city is selected as the Home City.
■The
Second Hand indicates N (NO) when I check the result of the latest receive operation.
Possible Cause Remedy Page
xYou are wearing or moving the watch, or
performing a button operation during the signal
receive operation.
xThe watch is in an area with poor reception
conditions.
Keep the watch in an area where reception
conditions are good while the signal receive
operation is being performed.
E-16
An alarm sounded while time signal reception was
in progress. Try again later. —
You are in an area where signal reception is not
possible for some reason. See “Approximate Reception Ranges”. E-15
The calibration signal is not being transmitted for
some reason.
xCheck the website of the organization that
maintains the time calibration signal in your area
for information about its down times.
xTry again later.
—
■The current time setting changes after I set it manually.
You may have the watch configured for Auto Receive of the time calibration signal (page E-17), which will
cause the time to be adjusted automatically according to your currently selected Home City. If this results
in the wrong time setting, check your Home City setting and correct it, if necessary (page E-24).
E-50
■The current time setting is off by one hour.
xIf you are using the watch in an area where time calibration signal reception is possible, see “To
configure Home City settings” (page E-24).
xThe period when summer time is applied in the location where you are using the watch may be
different from the period set for your currently selected Home City. Use the procedure under “To switch
between standard time and summer time manually” (page E-27) to switch from AT (AUTO) to STD (for
standard time) or DST (for summer time).
■The hands and/or day indications are off.
This could indicate that the watch has been exposed to magnetism or strong impact, which has caused
problems with proper hand and day alignment. Adjust the watch’s hand and day home position alignment
(page E-45).
■Data indication is correct, but it is not in the middle of the day indicator.
The
Day Indicator will change gradually between approximately 10 p.m. and 2 a.m. each day. If the
date is misaligned during this period, it is only momentarily and does not indicate malfunction. If you
change your Home City setting while the current time in the new Home City is between approximately
10 p.m. and 2 a.m., the date may become misaligned momentarily.
Charging
■The watch does not resume operation after I expose it to light.
It can take quite a long time to charge the battery after the power level drops to Level 3 (page E-11). Continue
exposing the watch to light until the
Second Hand starts moving normally (at one-second intervals).
■The
Second Hand starts to move at one-second intervals, but then suddenly returns to moving
at two-second intervals.
The watch probably is not sufficiently charged yet. Continue keeping it exposed to light.
E-49
Troubleshooting
Hand Movement and Position
■I lost track of what mode the watch is in.
Refer to “Mode Reference Guide” (page E-21). To return directly to the Dual Time Mode, hold down Cfor at
least two seconds.
■The
Second Hand is moving at two-second intervals.
■All the watch’s hands are stopped at 12 o’clock and none of the buttons work (
Second Hand
stopped at 57, 58, 59, or 00).
Power may be low. Expose the watch to light until the
Second Hand starts moving normally, at one-
second intervals (page E-11).
■The hands of the watch suddenly start moving at high speed, even when I do not perform any
operation.
This could be due to any one of the following causes. In all cases, the hand movement does not indicate
malfunction, and should stop shortly.
xThe watch is recovering from a sleep state (page E-13).
xThe time setting is being adjusted following a successful auto time calibration signal receive operation
(page E-14).
■Hands suddenly stop moving. Button operation also is disabled.
The watch may be in the power recovery mode (page E-12). Do not perform any operation until the hands
return to their normal positions. The hands should return to their correct positions when normal operation
returns. To help power recover, leave the watch in a location where it is exposed to light.
■The current time setting is off by hours.
xYour Home City setting may be wrong. Check your Home City setting and correct it, if necessary (page
E-24).
E-48
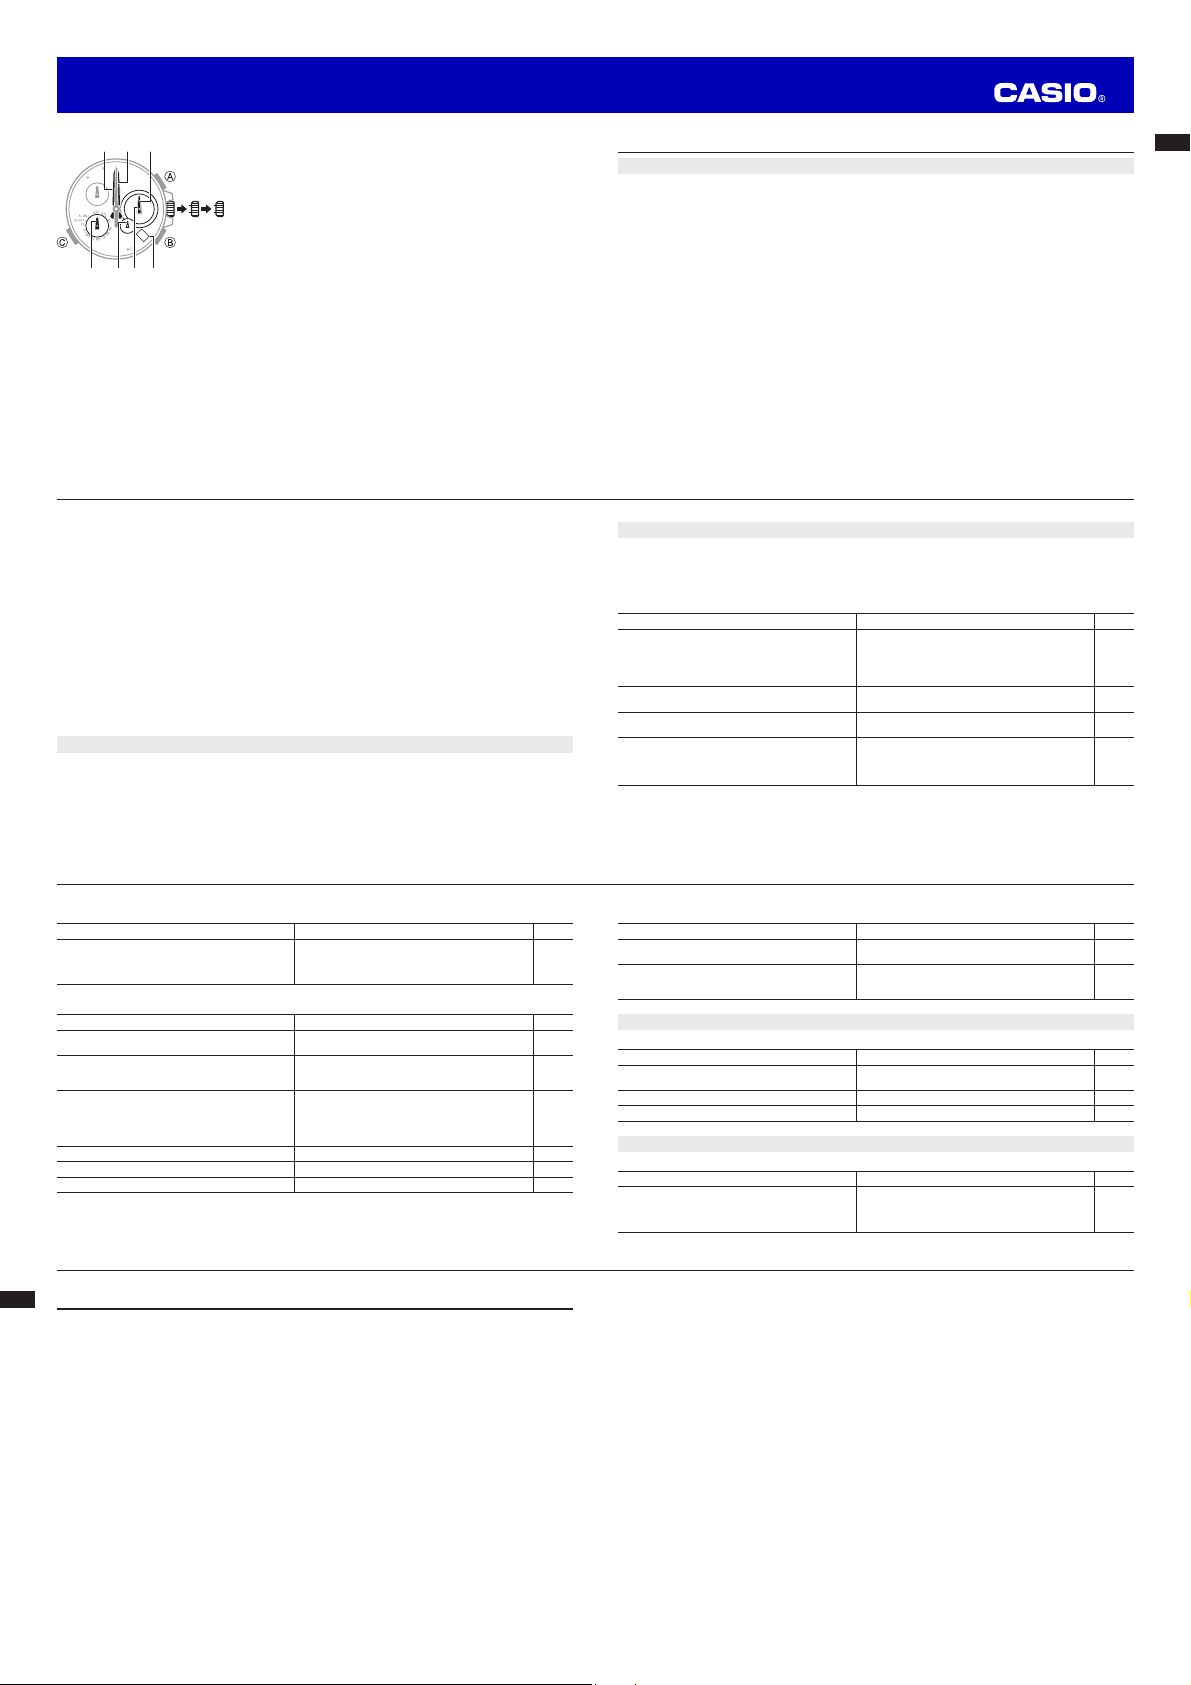
4. Press C.
xCheck if the
Small Minute Hand is stopped at 12 o’clock.
xIf the position of the
Small Minute Hand is not correct, rotate
the crown to adjust it to 12 o’clock.
5. Press C.
xCheck if the
Small Hour Hand is stopped at 12 o’clock.
xIf the position of the
Small Hour Hand is not correct, rotate
the crown to adjust it to 12 o’clock.
xThe
Small Hour Hand (24-hour) moves simultaneously with
the
Small Hour Hand. If the hands are not at 12 o’clock,
advance the
Small Hour Hand until they do.
6. Press C.
xCheck if the
Lower Dial Hand is stopped at 12 o’clock.
xIf the position of the
Lower Dial Hand is not correct, rotate the
crown to adjust it to 12 o’clock.
7. Push the crown back in.
This exits the adjustment mode and returns to normal timekeeping.
Important!
xLeaving the crown pulled out for more than approximately 30 minutes without performing any operation
will automatically cause the adjustment operation to become disabled. If this happens, push the crown
back in and then pull it out to restart the above procedure from the beginning.
xPushing the crown in will return to the mode you started from in step 1 with the hands and/or day in
their newly adjusted positions.