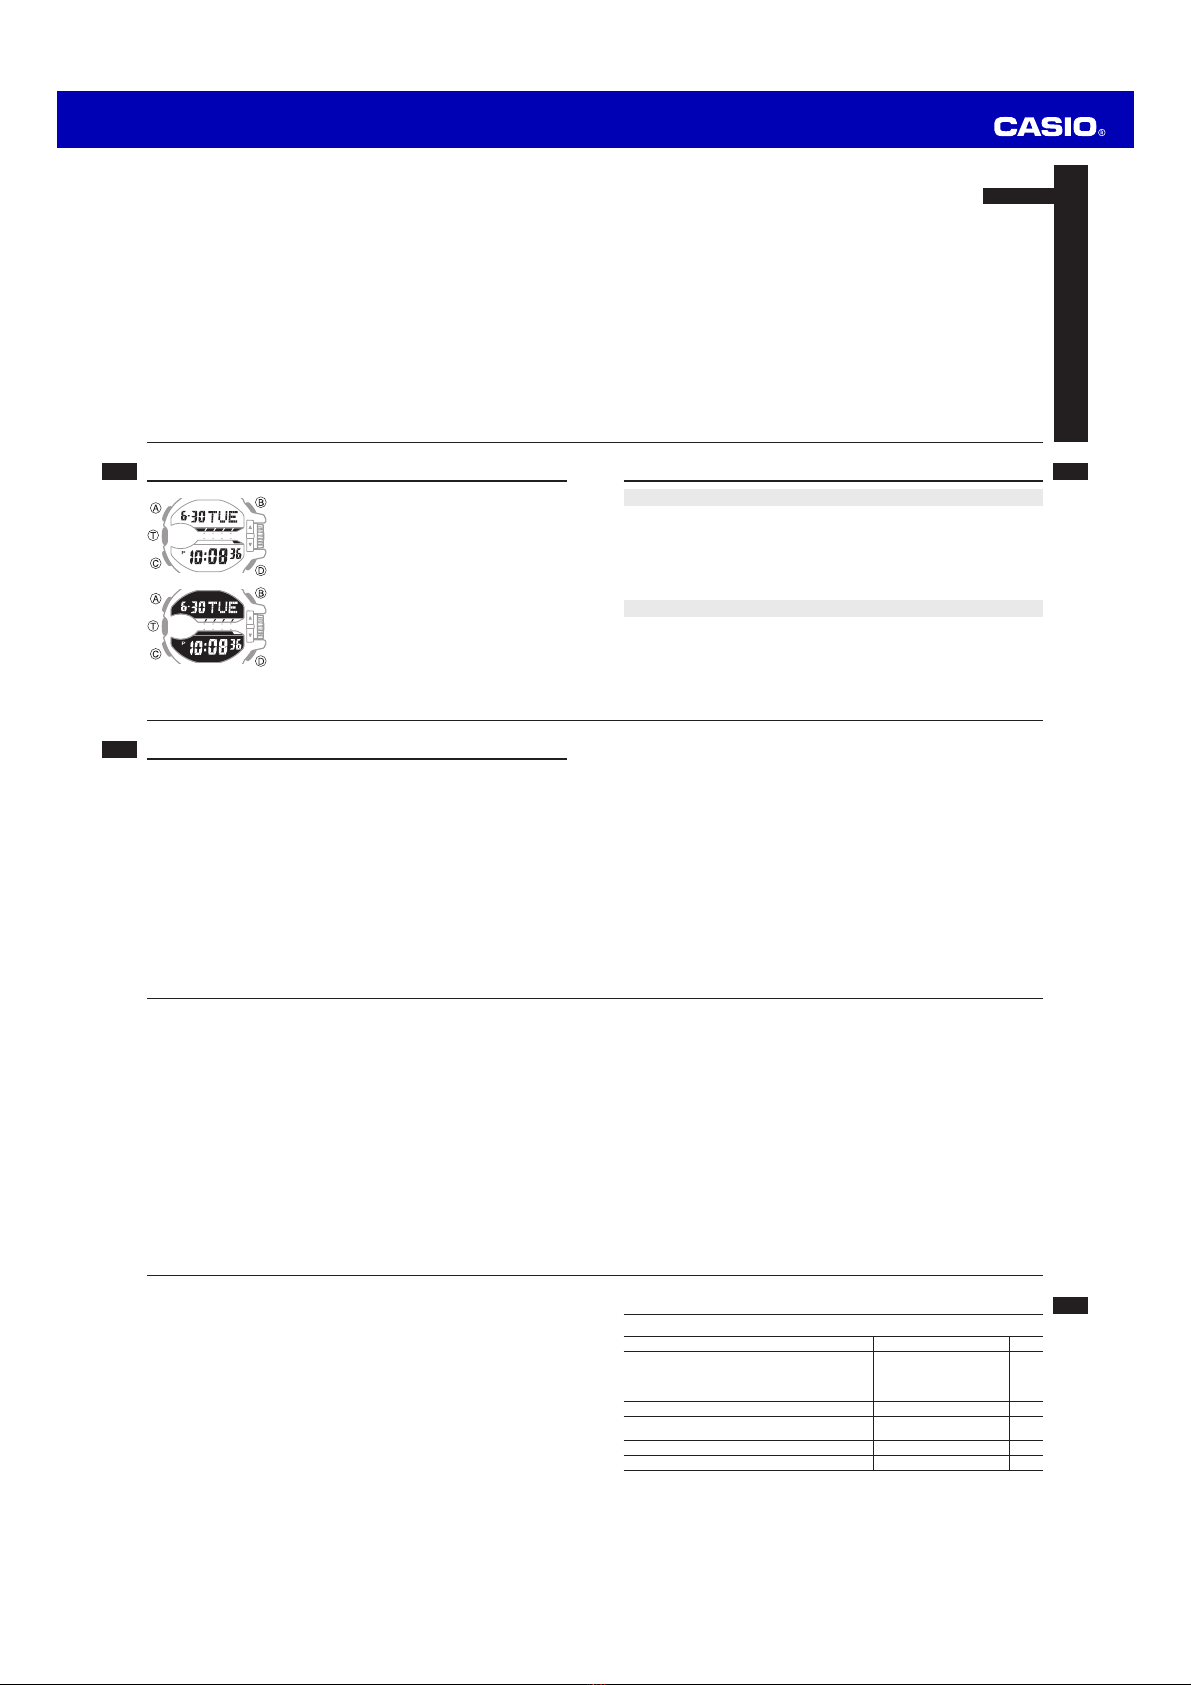
Operation Guide 5398
E-49
Button Operation Tone
You can turn the button operation tone on or off as
desired.
•Even if you turn off the button operation tone, the
stopwatch countdown tone, alarms, the Hourly Time
Signal, and other beepers all operate normally.
To turn the button operation tone on and off
1.
In the Timekeeping Mode, hold down Auntil the
flashing Hold indicator disappears from the display
and the currently selected city code appears on the
right side of the upper display.
2. Press Ceight times to display the button operation
tone On/Off screen (page E-22).
The screen will show either KEY or MUTE.
E-48
3. Press C.
•This enters the hour and minute hand adjustment
mode.
•Press Cagain* to enter the timer hand adjustment
mode.
*Nothing will happen if you press Cwhile the hands
are moving.
4. If the hour and minute hands are not at 12o’clock,
rotate the rotary switch to adjust them until they are.
5. Press Ato return to the Timekeeping Mode.
Check to make sure that the time indicated by the
hands matches the time on the digital display. If the
times don’t match, perform the correction procedure
above again.
Hour hand and minute hand
E-47
Adjusting Hand Positions
The watch hands can go out of alignment with the time on the digital display if it
is exposed to strong magnetism or impact. If this happens, you should adjust the
hand positions.
Important!
•You do not need to perform the operation below as long as the analog hands
indicate the same time as the digital display.
1. Hold down Afor about five seconds until Sub
appears.
•This indicates the timer hand adjustment mode.
2. If the timer hand is not at 12 o’clock, rotate the rotary
switch to adjust it until it is.
Timer hand
E-46
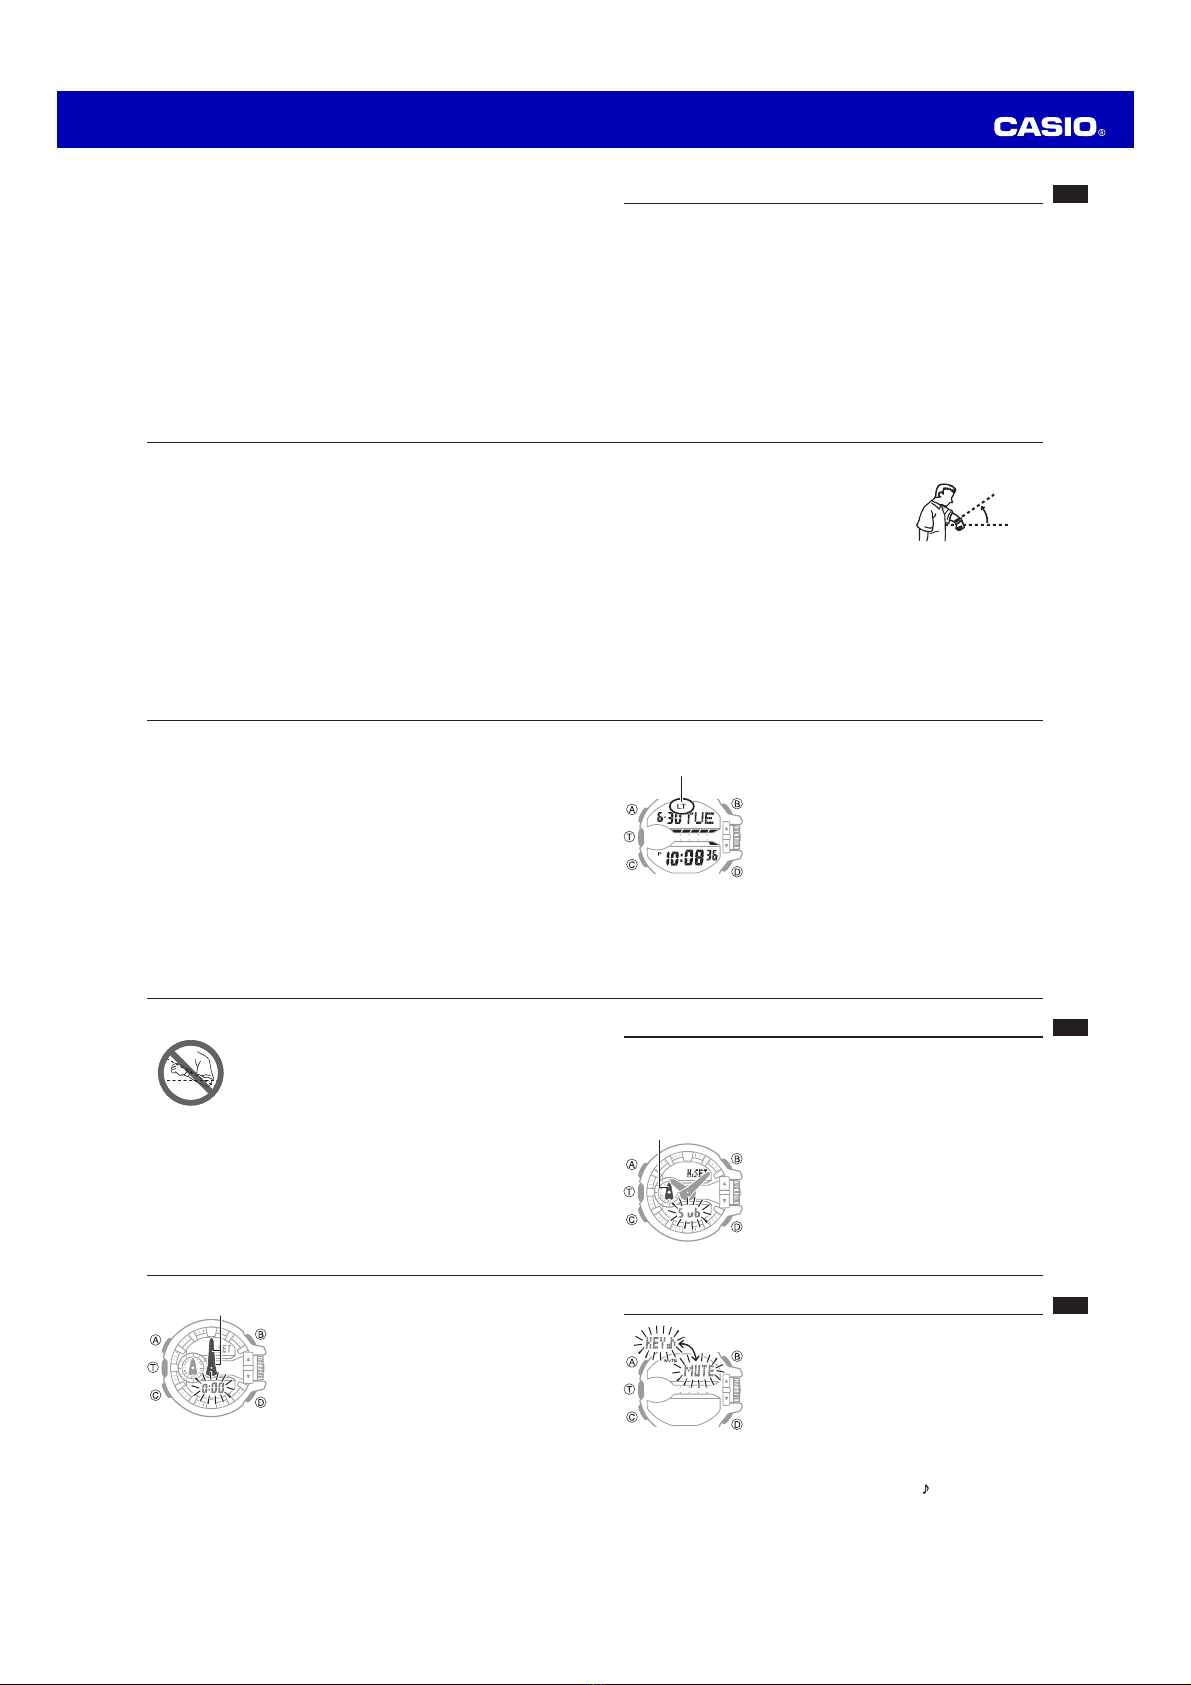
Auto light switch precautions
•Illumination may not turn on if the face of the watch is more than
15degrees above or below parallel. Make sure that the back of
your hand is parallel to the ground.
•Leaving auto light enabled can run down the watch's battery due
to frequent display illumination.
•Static electricity or magnetic force can interfere with proper
operation of the auto light switch. If illumination does not turn on,
try moving the watch back to the starting position (parallel with
the ground) and then tilt it back towards your face again. If this
does not work, drop your arm all the way down so it hangs at
your side, and then bring it back up again.
•You may notice a very faint clicking sound coming from the watch when it is
shaken back and forth. This sound is caused by mechanical operation of the auto
light switch, and does not indicate a problem with the watch.
•To protect against running down the battery, auto light switch operation
automatically disables approximately six hours after you enable it.
E-45
To enable or disable the auto light switch
In the Timekeeping Mode, hold down Bfor at least three
seconds to toggle the auto light switch between enabled
(LT displayed) and disabled (LT not displayed).
•The auto light switch enabled indicator (LT) is displayed
in all modes while the auto light switch is enabled.
Illumination Precautions
•The LED that provides illumination loses power after
very long use.
•Illumination may be hard to see when viewed under
direct sunlight.
•Illumination turns off automatically whenever an alarm
sounds.
•Frequent use of illumination runs down the battery.
Auto light switch enabled
indicator
E-44
•When you are wearing the watch, make sure that its auto light switch is
disabled before riding on a bicycle or operating a motorcycle or any other
motor vehicle. Sudden and unintended operation of the auto light switch
can create a distraction, which can result in a traffic accident and serious
personal injury.
Note
•The auto light switch is always disabled, regardless of its on/off setting, when any
one of the following conditions exists.
While an alarm is sounding
While a hand shift operation is in progress
E-43
About the Auto Light Switch
Enabling the auto light switch causes illumination to
turn on, whenever you position your wrist as described
below in any mode.
Moving the watch to a position that is parallel to the
ground and then tilting it towards you more than
40degrees causes illumination to turn on.
Warning!
•Always make sure you are in a safe place whenever you are reading the
display of the watch using the auto light switch. Be especially careful when
running or engaged in any other activity that can result in accident or
injury. Also take care that sudden illumination by the auto light switch does
not startle or distract others around you.
More than
40°
Wear the watch on the
outside of your wrist
E-42
To change the illumination duration
1. In the Timekeeping Mode, hold down Auntil the flashing Hold indicator
disappears from the display and the currently selected city code appears on the
right side of the upper display.
2. Press Cnine times to display the illumination duration setting screen.
•The current illumination duration setting (1 or 3) will be flashing in the middle
display.
•See the sequence in step 2 of the procedure under “To configure the digital time
and date settings” (page E-21) for information about how to scroll through setting
screens.
3.
Rotate the rotary switch to toggle the illumination duration between three
seconds (3displayed) and 1.5seconds (1displayed).
4. After all the settings are the way you want, press Ato exit the setting screen.
E-41
Illumination
The display of the watch is illuminated for easy reading in the dark. The watch’s
auto light switch turns on illumination automatically when you angle the watch
towards your face.
•The auto light switch must be turned on (page E-45) for it to operate.
To turn on illumination manually
Press Bin any mode to illuminate the display.
•You can use the procedure below to select either 1.5 seconds or three seconds as
the illumination duration.
•The above operation turns on illumination regardless of the current auto light switch
setting.
E-40
•Before starting a countdown timer operation, check to make sure that a
countdown operation is not in progress (indicated by the seconds counting down).
If it is, press Tto stop it and then Dto reset to the countdown start time.
To stop the alarm
Press any button.
Directly Entering the Countdown Timer Mode from the Timekeeping Mode
•While the Countdown Timer is stopped and reset to the countdown start time, you
can use the operations below to directly enter the Countdown Timer Mode from
the Timekeeping Mode.
−In the Timekeeping Mode, rotate the rotary switch. If you do not change the
Countdown Timer start time setting within about 10 seconds, the watch will
automatically return to the Timekeeping Mode.
−In the Timekeeping Mode, press T. This will enter the Countdown Timer Mode
and start a countdown operation from the currently set start time.


 User manual")