4. PARTS LIST: MODULE
W-4791
W-4791A
1
W-4791AT-01
Note: 1. Prices and s
ecifications are sub
ect to chan
e without
rior notice.
2. S
are
arts are classified as follows accordin
to their im
ortance in after-sales service.
Rank ----------------------------------------
Im
ortant
C Rank ----------------------------------------
Not Im
ortant
3. Batteries in Bulk
ack on the tra
will be su
lied from our Overseas S
are Parts Section under char
e basis.
Batteries in Blister
ack will be su
lied from our Sales De
artment.
4. As for order/su
l
of s
are
arts, refer to the se
arate
ublication "GUIDE BOOK for s
are
arts su
l
".
ttention to order
1. The most of normal re
air or initial re
air within 1
ear since released month can be done b
main
arts.
2. Minor
arts should be ordered carefull
in consideration of the actual usa
e of
our re
air and
our technical skills.
3. Main
arts should be ordered and stocked a
ro
riatel
in consideration of
our
arts usa
e anre re
air usa
e for
similar models.
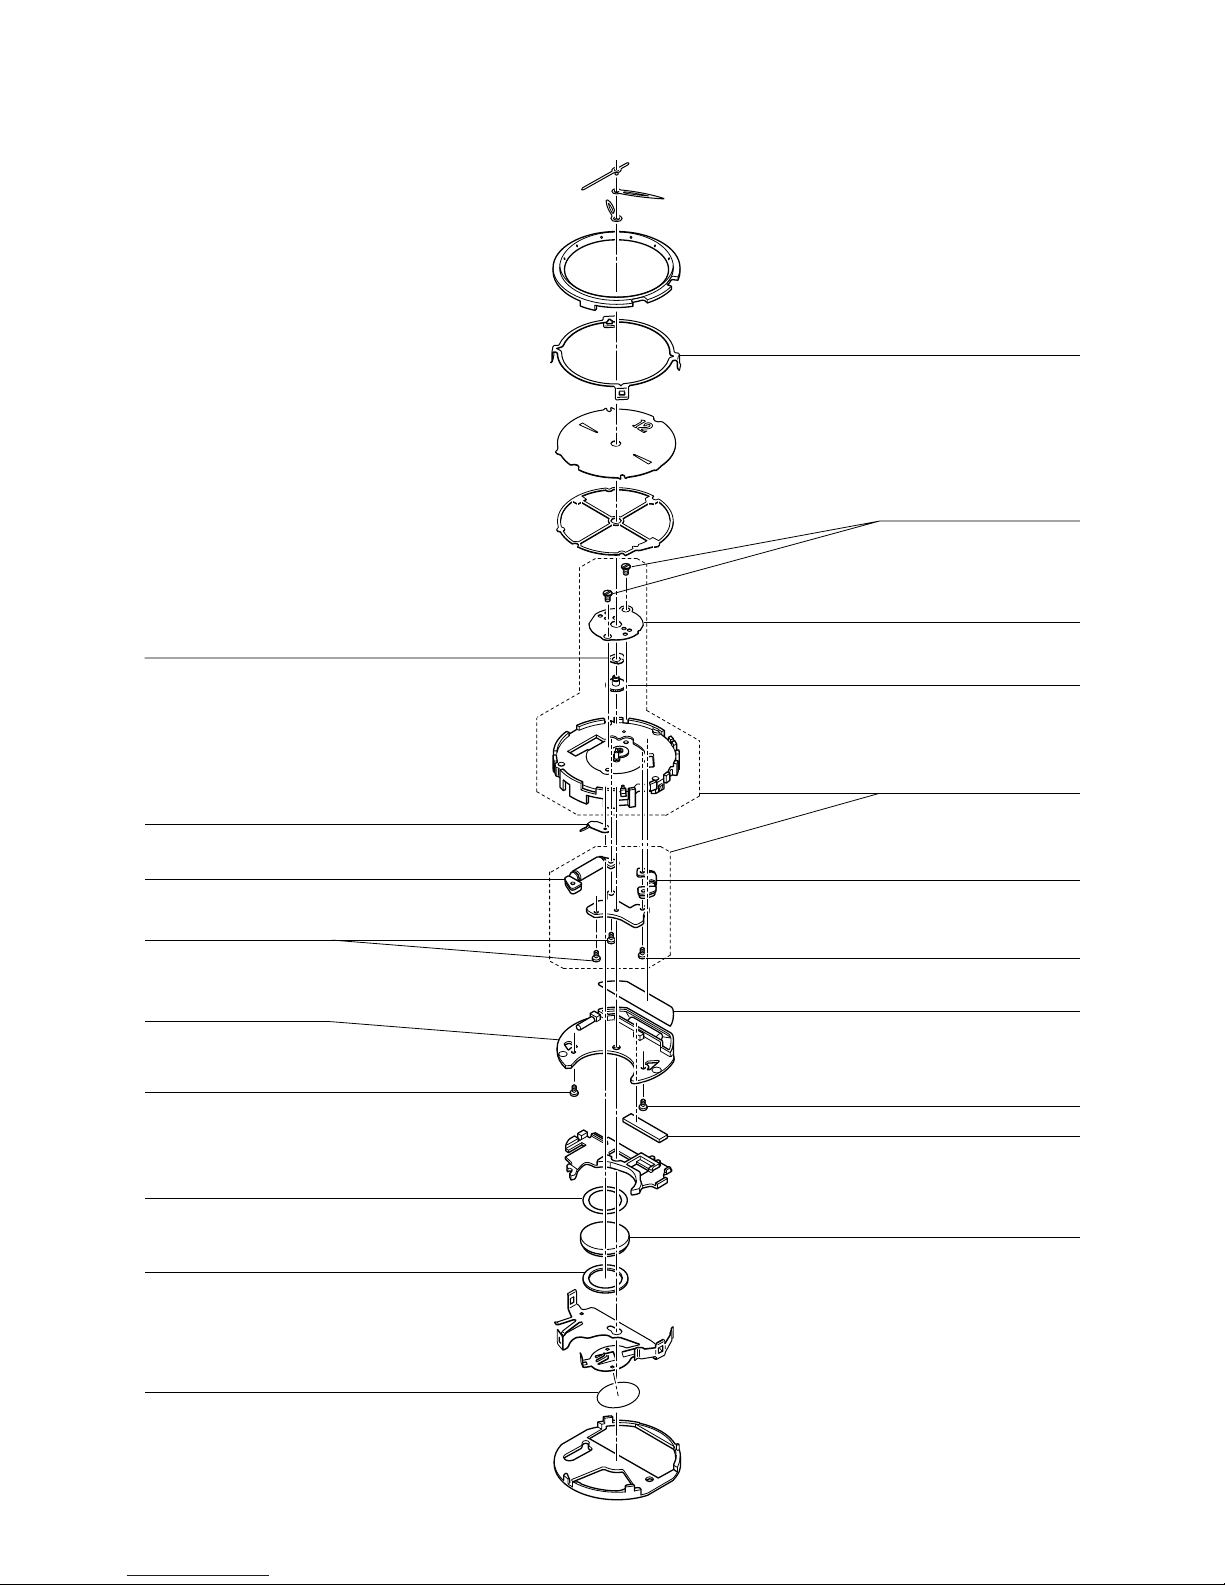
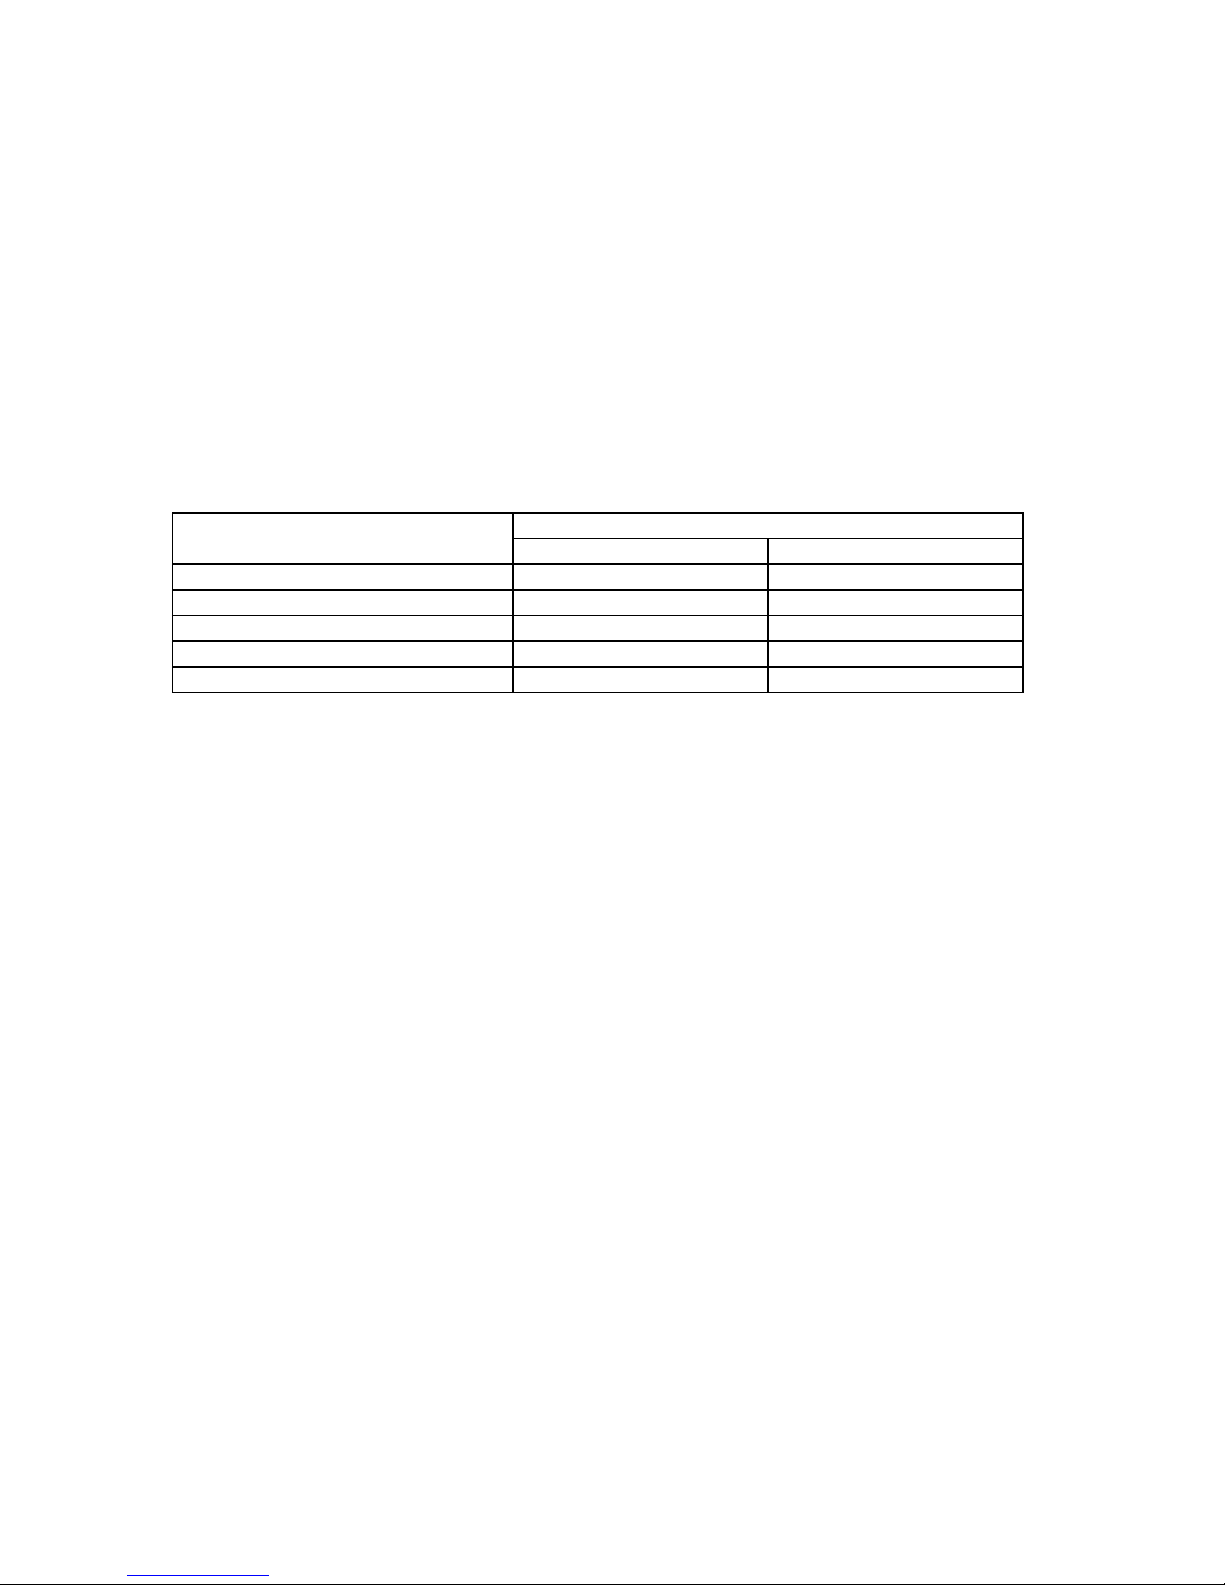
MAIN PARTS
Item Code No. Parts Name S
ecification Q'TY R
1
76410781 MODULE/WITH MOVEMENT QW-4791AT-01TK 1
1 76409228
NALOG BLOCK QW-4323MV-82TK 1
RJQ528359*001V01
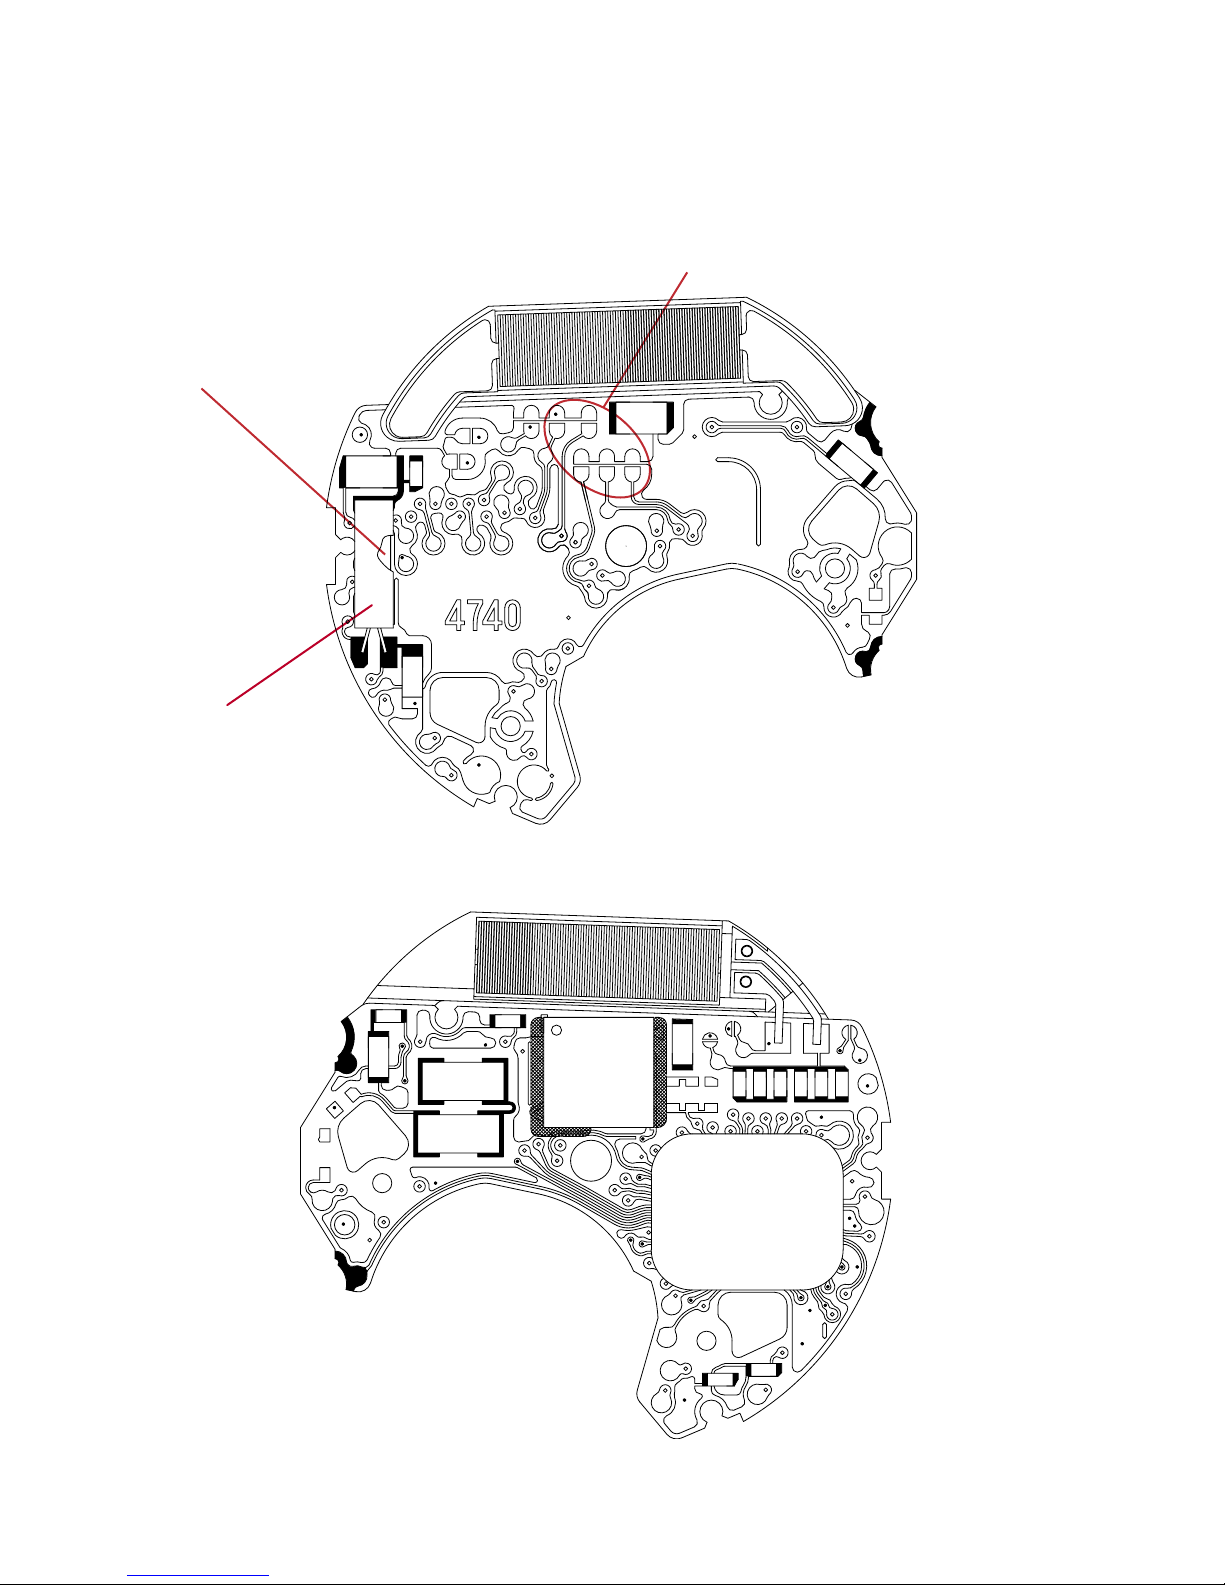
2 76410798 PCB ASS'
RJQ538072*001V01TK 1
MINOR PARTS
Item Code No. Parts Name S
ecification Q'TY R
1
3 19101199 BATTERY/STORAGE ESR920W 1 C
4 10209108 COIL ASS'Y 4323-1 RJQ526939*001V02 1 C
5 10209109 COIL ASS'Y 4323-2 RJQ526940*001V02 1 C
6 10212752 CUSHION 4323-1 RJQ527451-001V01 1 C
7 10237097 CUSHION 4323-2 RJQ527452-001V02 1 C
8 10212747 HOLDER 4323 RJQ527417-001V01 1 C
9 10209123 HOLDER RJQ526931-001V01 1 C
/HOUR WHEEL 4323
10 10140782 LABEL 2815 RJQ517198-001V02 1 C
11 10009244 SCREW 2323 Q465649-1 3 C
12 10209124 SCREW 4323 RJQ526942-001V01 2 C
13 10234346 SCREW 4329 RJQ532242-001V01 2 C
14 10212750 SHEET/INSULATION 4323-2 RJQ527449-001V01 1 C
15 10212751 TAPE/ADHESIVE 4323 RJQ527454-001V01 1 C
16 10212748 TERMINAL/BATTERY
+
4323 RJQ527422-001V01 1 C
Notes: R - Rank
A: Im
ortant
C: Not Im
ortant
— 4 —


 User manual")