Caso TE-100 User manual

SUPPORT DESK HELP IS AVAILABLE ON :-01924 438640 Mon-Fri 8.30am –4.30pm
BEFORE USING THE REGISTER CARRY OUT THE TASKS BELOW
UNPACKING THE CONTENTS
The following items should be located in the box:
1 x Set of operator/program keys 1 x Take up spool
1 x Set of drawer keys 1 x Paper roll
1 x Users manual 3 x Memory backup batteries
HOW TO INITIALISE THE REGISTER
§Remove the till roll cover.
§Lift the printer arm where it says “PUSHHERE”.
§Remove the battery cover by pressing the clip on the right side of the battery compartment.
§Insert the batteries as illustrated below:-
§Install the receipt paper as illustrated on page 9 of the user’s manual.
§Plug the cash register into the mains power.
§Insert the PGM key.
§Turn the mode switch to OFF.
§Press and hold down the button.
§Turn the mode switch to PGM.
§Release the button.
§The display should show INIT on the first line and 00000000 on the second line, the display will
then show dashes as the printer issues a receipt. The display will show PGM 1.
§Carry out the key presses as shown (unless stated otherwise all key presses are numeric 0-9).
HOW TO SET THE DATE
§Insert the PGM key.
§Turn the mode switch to PGM. The display will show PGM 1.
§Carry out the key presses shown.
§When the receipt has printed, return to REG and remove the PGM key.
HOW TO SET THE TIME
§Insert the PGM key.
§Turn the mode switch to PGM. The display will show PGM 1.
§Carry out the key presses shown, using the
§When the receipt has printed, return to REG and remove the PGM key.
Page 1 –Necessary Initialisation
TE-100 Cash Register
§
When the receipt has printed, return to REG and remove the PGM key.
24 Hour clock format.
Year Month Day

SUPPORT DESK HELP IS AVAILABLE ON :-01924 438640 Mon-Fri 8.30am –4.30pm
HOW TO MAKE SALES USING THE KEYBOARD DEPARTMENTS
There are twenty four department buttons located on the keyboard. These can be used for
either manual price entries or preset pricing. Each Department can be given a 12 character
name for receipt printing and reporting. For example, Department 1 could be Food and
Department 2 could be Drinks, providing a total for both food and drink goods sold.
§Insert the OP key.
§Turn the mode switch to REG.
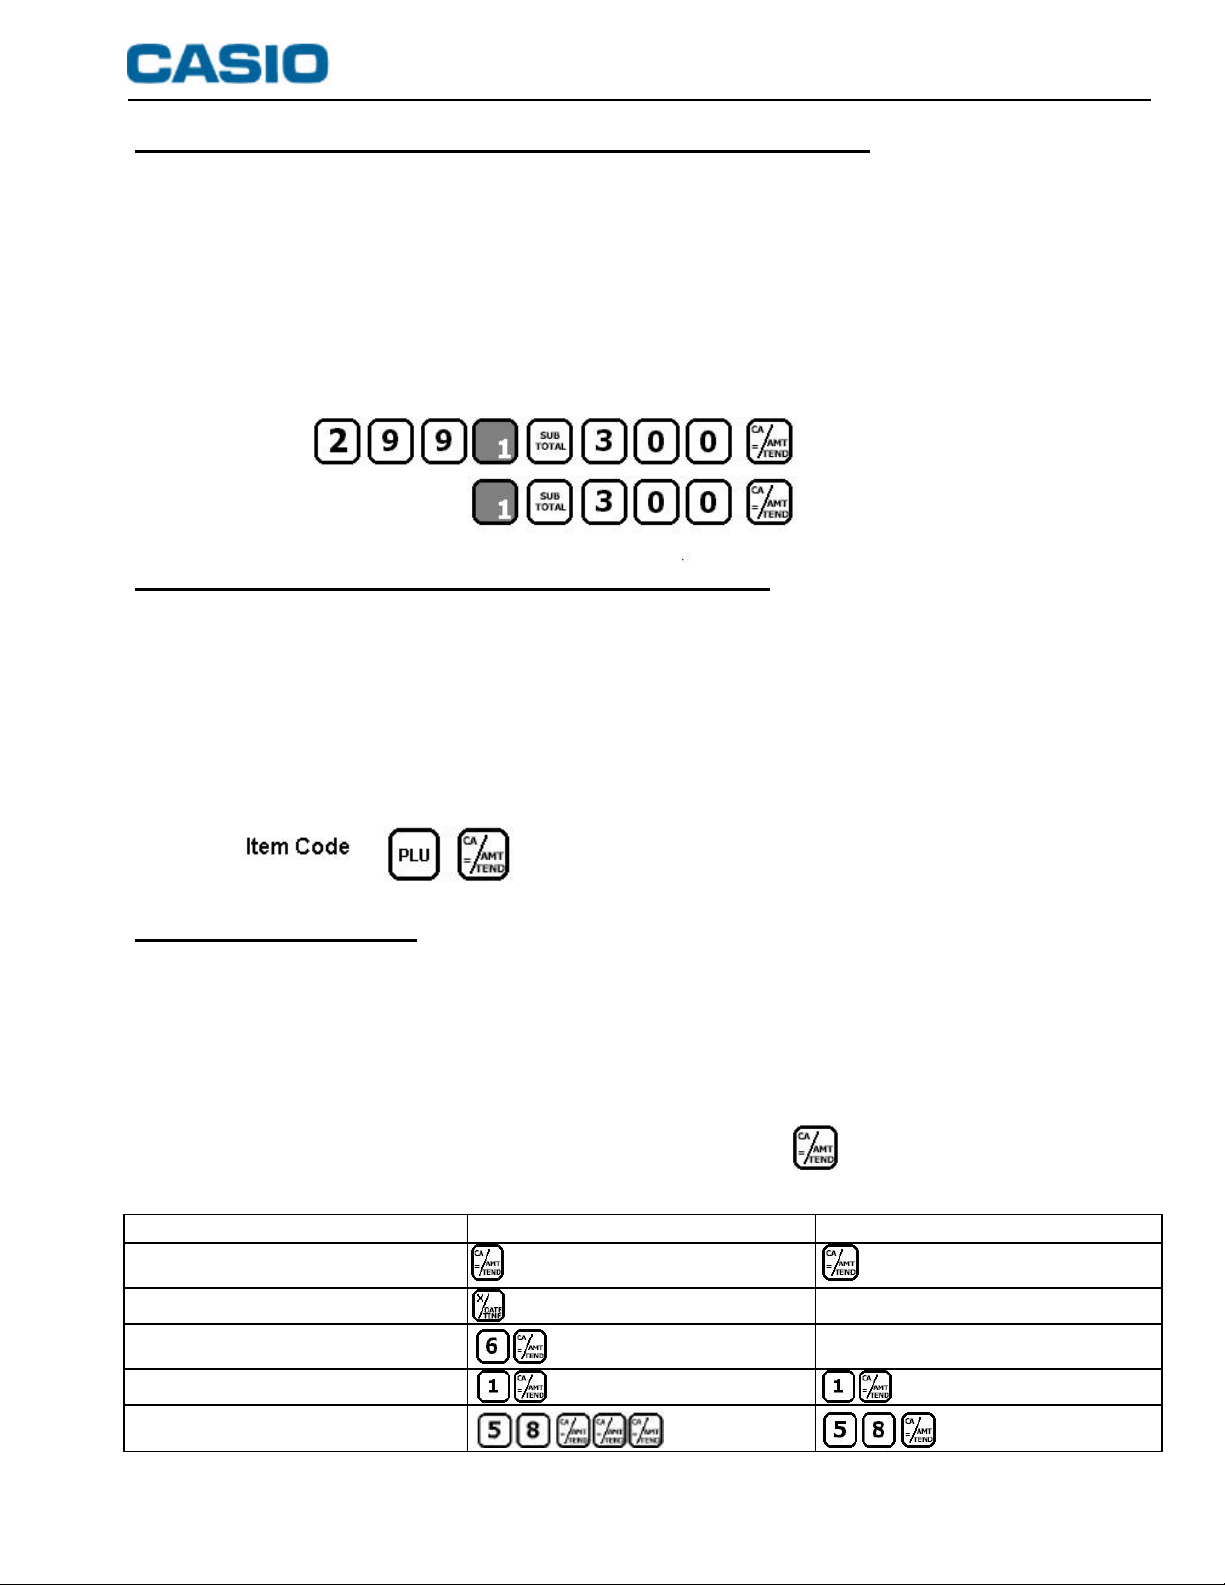
§To sell a department at £2.99 paid for with £3.00 cash (see fig.1) or alternative using a preset
price (see fig.2). (Note:pre-set prices can only be used if the department has been programmed with a price).
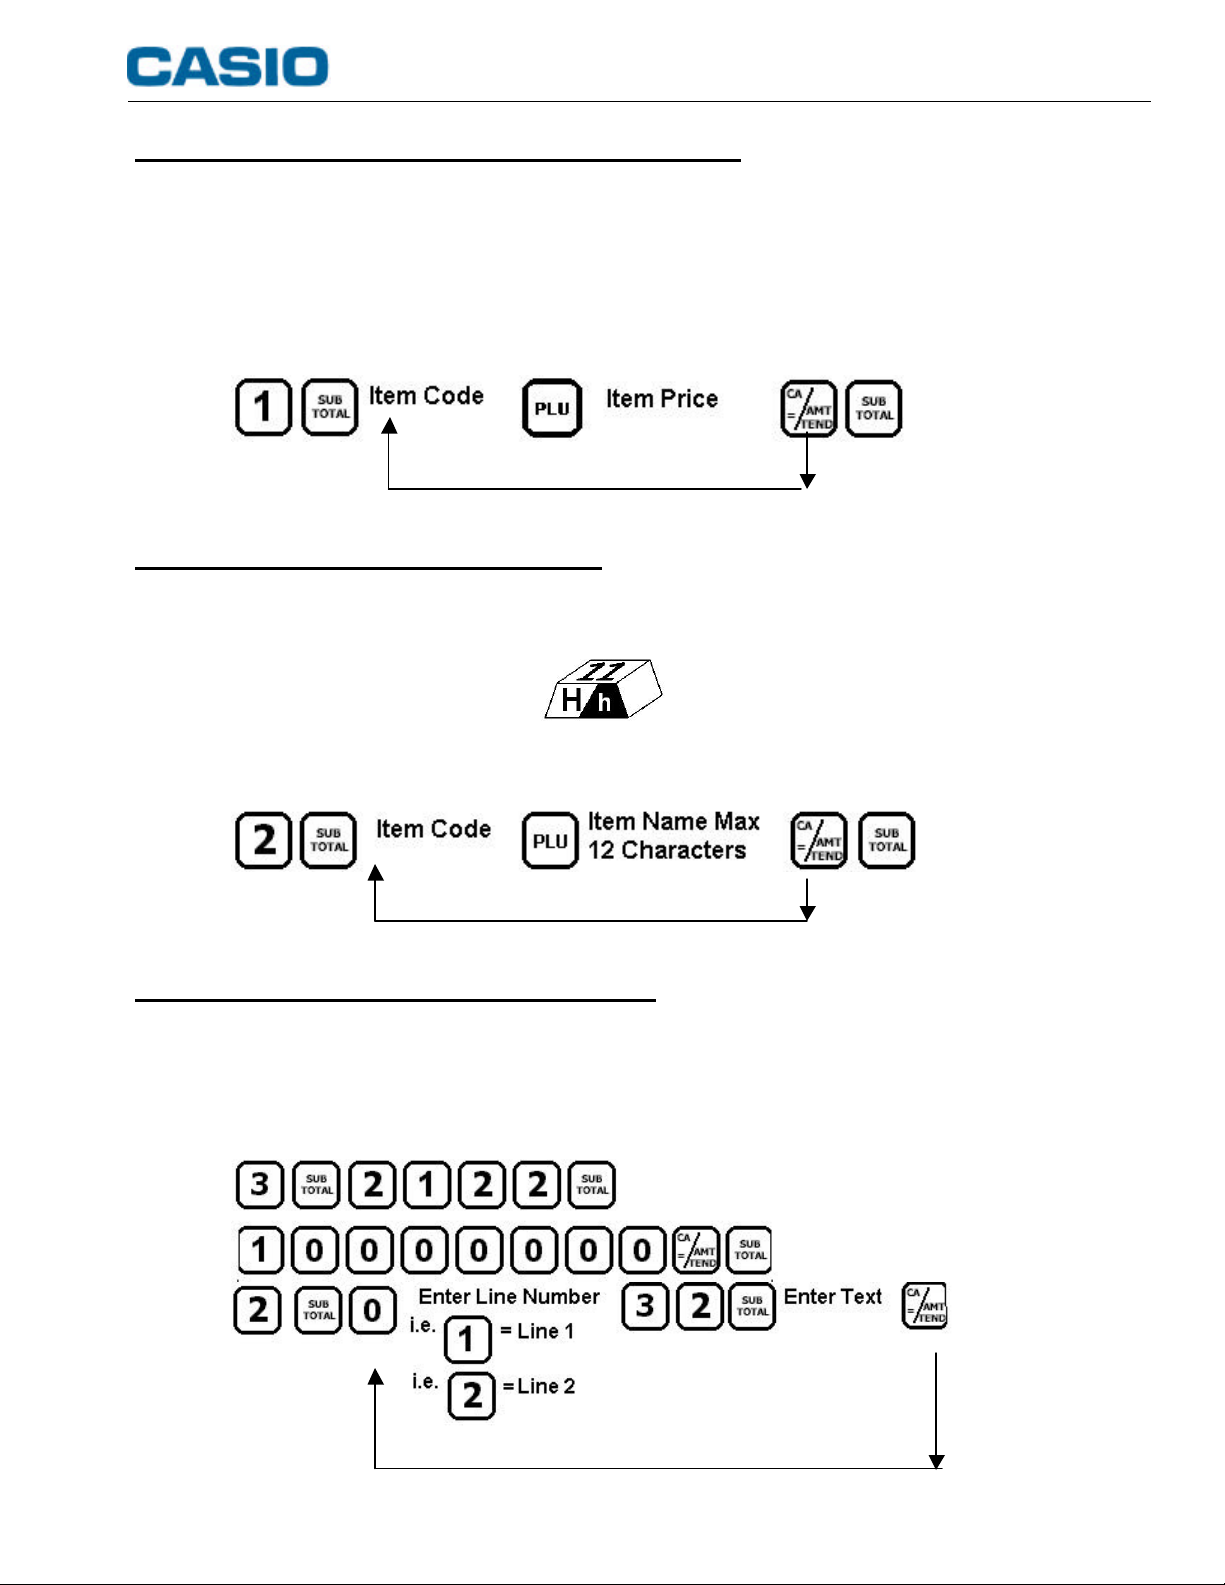
HOW TO MAKE SALES USING PRICE LOOK UP CODES
It is possible to set a Price Look Up code between 1 and 1200 for each product. When the code
is entered and the PLU key is pressed the pre-programmed price and 12 character name are
recalled. (Note: Unless the codes have been pre-programmed with a price as illustrated on sheet 4 this operation
is not available).
§Insert the OP key.
§Turn the mode switch to REG.
§Carry out the key presses shown.
HOW TO RUN REPORTS
All sales for the day are recorded within the register so that sales and transaction analysis can
be printed. There are two types of reporting modes :-
XReports give a printout but do not reset any totals. These can be done whenever required.
ZReports give a printout but reset the totals in the register. Usually done at the end of the day.
§Insert the PGM Key.
§Turn the mode switch to either Xor Z.
§Press the button(s) as shown in the table below. e.g. for the Financial Report.
§Once finished, return the mode switch position to REG and remove the key.
Report type Turn the mode switch to X Turn the mode switch to Z
Financial
Cash In Drawer
Group
PLU
Electronic Journal
*
fig.1
fig.2
Page 2 –Basic Operation
TE-100 Cash Register
The display will show the change
due if the amount entered prior to
pressing CA/AMT TEND is greater
than the amount due.
The display will show the change due If the amount entered prior to
pressing CA/AMT TEND is greater than the amount due.
*Electronic journal can be printed in order of date or consecutive number. See page 74 of the user’s manual.

SUPPORT DESK HELP IS AVAILABLE ON :-01924 438640 Mon-Fri 8.30am –4.30pm
HOW TO SET THE PRICES FOR THE KEYBOARD DEPARTMENTS
There are twenty four Department buttons located on the keyboard. These can be used for
either manual price entries or preset pricing. Each Department can be given a 12 character
name for receipt printing and reporting. For example, Department 1 could be Food and
Department 2 could be Drinks, providing a total for both food and drink goods sold.
§Insert the PGM key.
§Turn the mode switch to PGM. The display will show PGM 1.
§Carry out the key presses shown by entering a price without the decimal point, followed by
a department button.
§Return the mode switch to REG and remove the PGM key.
HOW TO SET THE NAMES FOR THE KEYBOARD DEPARTMENTS
Each of the department keys can be given a 12 character description which is printed on the
receipt and reports. To enter the name use the keys with the alphabet printed on them as per
the example below.
§Insert the PGM key.
§Turn the mode switch to PGM. The display will show PGM 1.
§Carry out the key presses shown.
HOW TO USE THE JOURNAL SPOOL
The paper roll can be used as a receipt, which is issued to the customer, or can be wrapped round
the take up spool, so that the roll can be kept for audit purposes. It is however possible to store the
journal electronically whilst still issuing receipts to the customer. This information can then be printed
as a report, when required.
§Insert the PGM key.
§Turn the mode switch to PGM. The display will show PGM 1.
§Carry out the key presses shown.
§Once finished, return the mode lock position to REG and remove the key.
§Return the mode switch to REG and remove the PGM key.
TE-100 Cash Register
Repeat if required for next item
Repeat if required
Page 3 –Extra Programming

SUPPORT DESK HELP IS AVAILABLE ON :-01924 438640 Mon-Fri 8.30am –4.30pm
HOW TO SET PRICE LOOK UP CODES WITH PRICES
It is possible to set a Price Look Up code between 1 and 1200 for each product. When the code
is entered and the PLU key is pressed the pre-programmed price and 12 character name are
recalled.
§Insert the PGM key.
§Turn the mode switch to PGM.
§Carry out the key presses shown.
§Return the mode switch to REG and remove the PGM key.
HOW TO PROGRAM PLU DESCRIPTORS
Each of the Price Look Up codes can be given a 12 character description which is printed on the
receipt and reports. To enter the name use the keys with the alphabet printed on them as per
the example below.
§Insert the PGM key.
§Turn the mode switch to PGM. The display will show PGM 1.
§Carry out the key presses shown.
§Return the mode switch to REG and remove the PGM key.
HOW TOSET THE RECEIPT LOGO MESSAGE
The Receipt can print a header consisting of upto six lines of text with 24 characters.
§Insert the PGM key.
§Turn the mode switch to PGM. The display will show PGM 1.
§Carry out the key presses shown.
Repeat if required for next item
§Return the mode switch to REG and remove the PGM key.
Page 4 –Extra Programming
TE-100 Cash Register
Repeat if required for next line
Table of contents