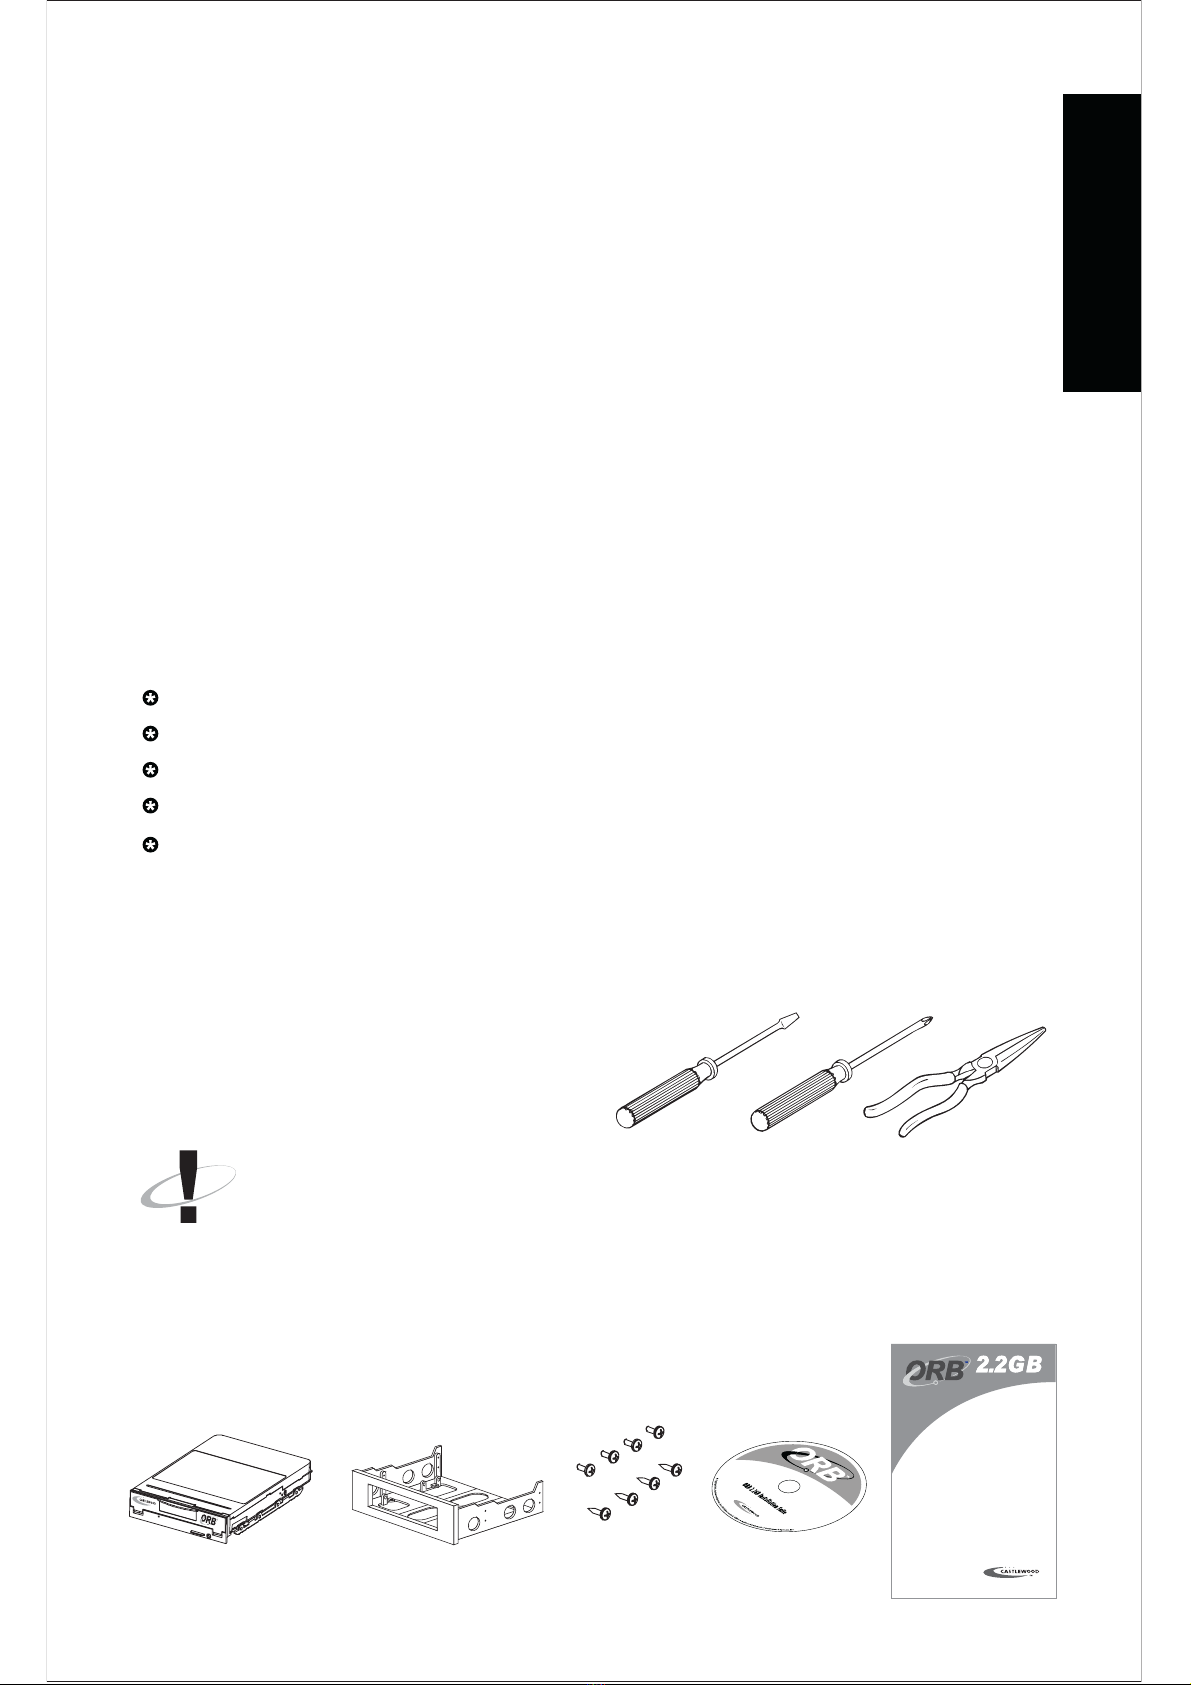
The mounting s rews are provided with your drive to be used in the
installation. This drive is designed to mount in a 3½-in h drive bay. If a
spare 3½-in h drive bay is not available, you will need to mount the drive
into a 5¼-in h bay.
Become familiar with your ORB drive:
1.5 INSTALLATION PRECAUTIONS
Be sure to read the following Installation Safety Instru tions before pro eeding
on to the a tual installation steps. Damage ould o ur to your drive and
disk if these pre autions are not followed. If for any reason you do not
understand these instru tions, please onta t a qualified omputer te hni ian
to install or assist in the installation.
Temperature Stabilization - Before removing the drive from its prote tive
plasti bag, ensure the drive has rea hed room temperature. This is
a omplished by allowing the drive to sit in its prote tive plasti bag in
the room environment for at least one hour.
ESD - This drive and its ele troni omponents are sensitive to Ele tro
Stati Dis harge (ESD). On e the drive has been removed from its ESD
prote tive plasti bag, handle it only by its sides. Do not tou h the Printed
Cir uit Board. To prevent ESD problems, tou h the metal hassis of the
omputer before handling the omputers hard drive and periodi ally
throughout the installation. If you are working in a old and/or dry limate,
use an ele trostati dis harge wristband. Your lothing generates stati
ele tri ity as well. Do not allow your lothes to ome into dire t onta t
with the parts of the ir uit board or the hard drive.
Shock - Dropping, jarring, or moving the drive while a disk is inserted
an ause atastrophi damage. Do not operate this drive when it is not
se ured to your omputer hasis.
Power - Always power off your system before installing or removing the
drive.
4
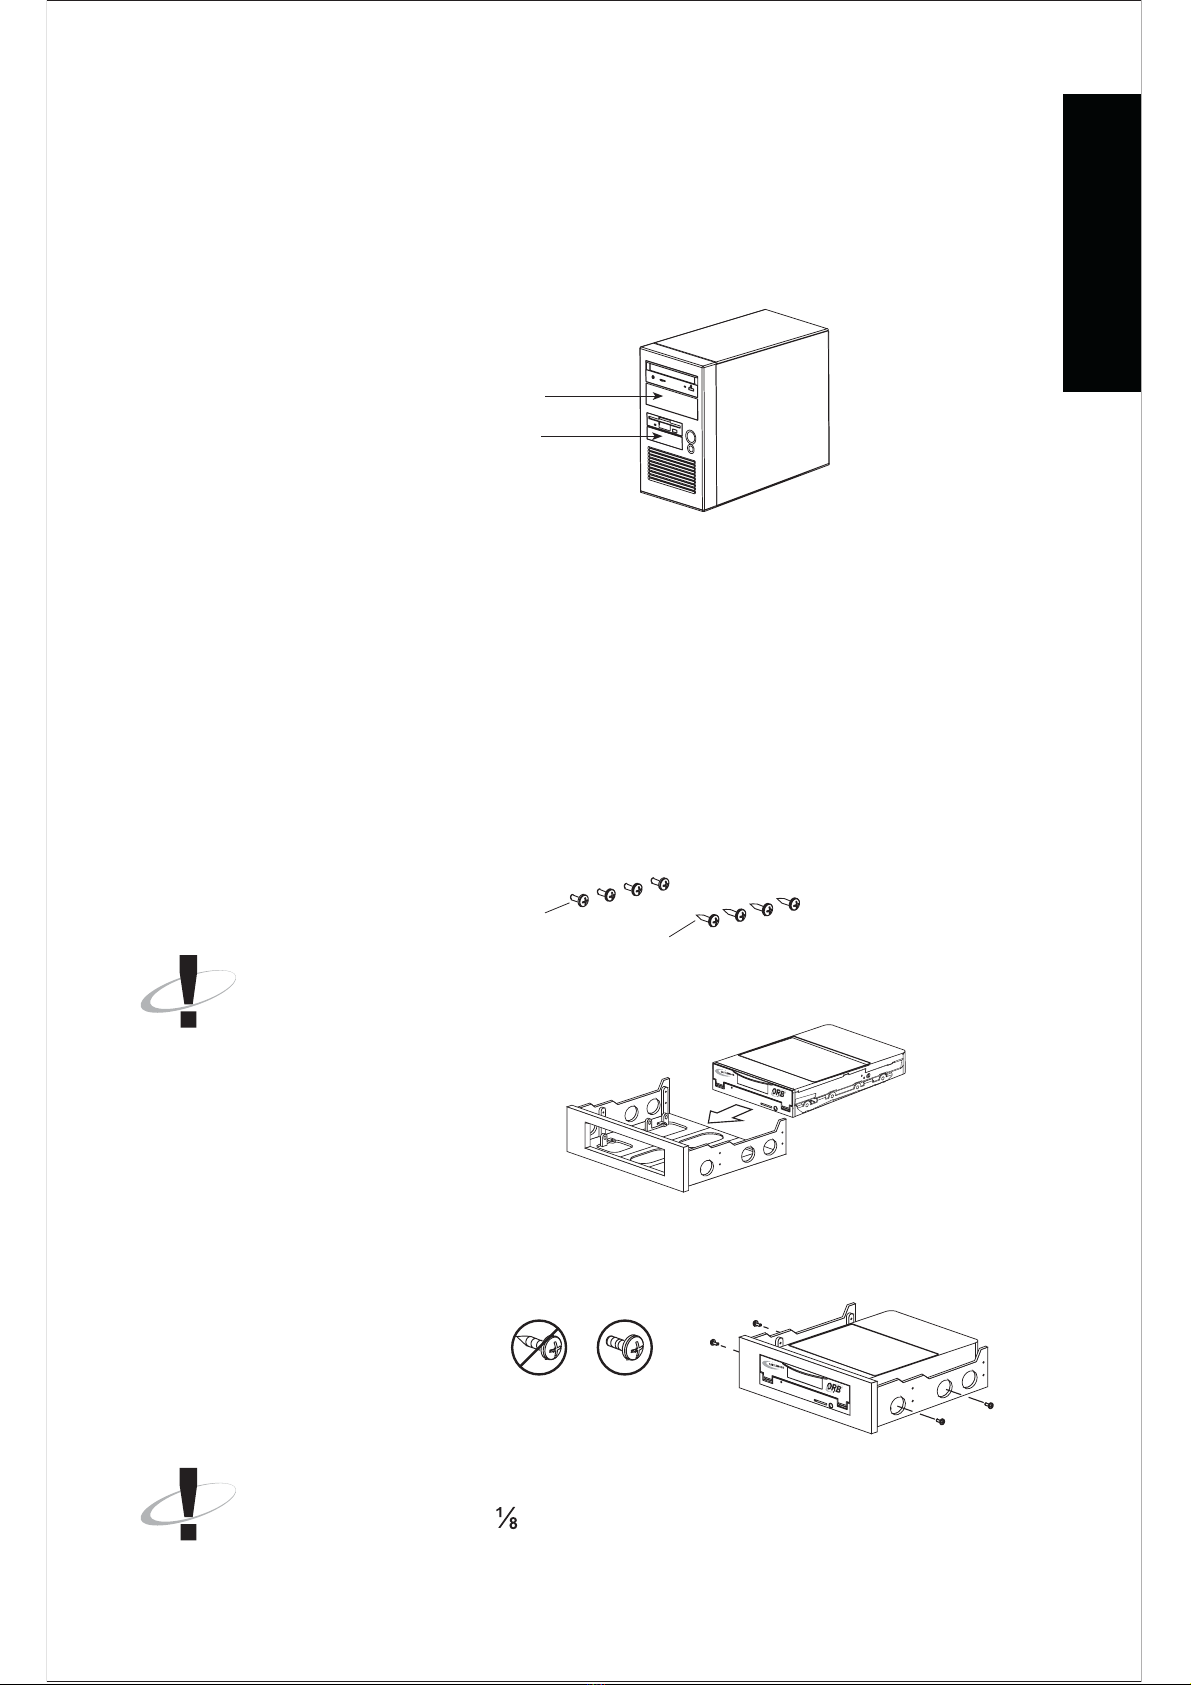
INSTALLATION GUIDE
Front view of drive
Figure 2
Power able
onne tor
EIDE/IDE able
onne tor
Jumper
pins
Figure 1
Emergen y
eje t hole
Disk eje t
button
Power/
Status LED
Drive setup - Rear connector