manuals.online logo
Brands
  1. Home
  2. •
  3. Brands
  4. •
  5. CAVS
  6. •
  7. Karaoke System
  8. •
  9. CAVS JB-99 RS User manual

CAVS JB-99 RS User manual

Other CAVS Karaoke System manuals

CAVS JB-99RT Instruction manual

CAVS

CAVS JB-99RT Instruction manual

CAVS JB-99RG I Instruction manual

CAVS

CAVS JB-99RG I Instruction manual

CAVS DVD-305G USB Quick start guide

CAVS

CAVS DVD-305G USB Quick start guide

CAVS DVD-105G USB Quick start guide

CAVS

CAVS DVD-105G USB Quick start guide

CAVS JB-199 Premier User manual

CAVS

CAVS JB-199 Premier User manual

CAVS JB-199 Premier User manual

CAVS

CAVS JB-199 Premier User manual

CAVS DVD-305G USB User manual

CAVS

CAVS DVD-305G USB User manual

CAVS DVD-203G Quick start guide

CAVS

CAVS DVD-203G Quick start guide

CAVS 205G USB User manual

CAVS

CAVS 205G USB User manual

CAVS JB-199 Premier User manual

CAVS

CAVS JB-199 Premier User manual

CAVS DVD-105G USB User manual

CAVS

CAVS DVD-105G USB User manual

CAVS JB-99RG I Instruction manual

CAVS

CAVS JB-99RG I Instruction manual

CAVS JB-199 IV Online User manual

CAVS

CAVS JB-199 IV Online User manual

CAVS Karaoke Station IPS-11G User manual

CAVS

CAVS Karaoke Station IPS-11G User manual

CAVS PlayCDG PE User manual

CAVS

CAVS PlayCDG PE User manual

CAVS DK3 User manual

CAVS

CAVS DK3 User manual

CAVS DVD-105G USB Manual

CAVS

CAVS DVD-105G USB Manual

CAVS JB-199 Premier User manual

CAVS

CAVS JB-199 Premier User manual

Popular Karaoke System manuals by other brands

Tiger Karaoke Player Instruction

Tiger

Tiger Karaoke Player Instruction

Cocoon HE414118 Getting started guide

Cocoon

Cocoon HE414118 Getting started guide

The Singing Machine STVG-519 instruction manual

The Singing Machine

The Singing Machine STVG-519 instruction manual

Memorex MKS2430 user guide

Memorex

Memorex MKS2430 user guide

Tosing 008 user guide

Tosing

Tosing 008 user guide

Karma KSTATION instruction manual

Karma

Karma KSTATION instruction manual

The Singing Machine SML2250 instruction manual

The Singing Machine

The Singing Machine SML2250 instruction manual

LG HT902TR-XK owner's manual

LG

LG HT902TR-XK owner's manual

Karaoke Warehouse Player 2000 user manual

Karaoke Warehouse

Karaoke Warehouse Player 2000 user manual

VocoPro DVG-888K II owner's manual

VocoPro

VocoPro DVG-888K II owner's manual

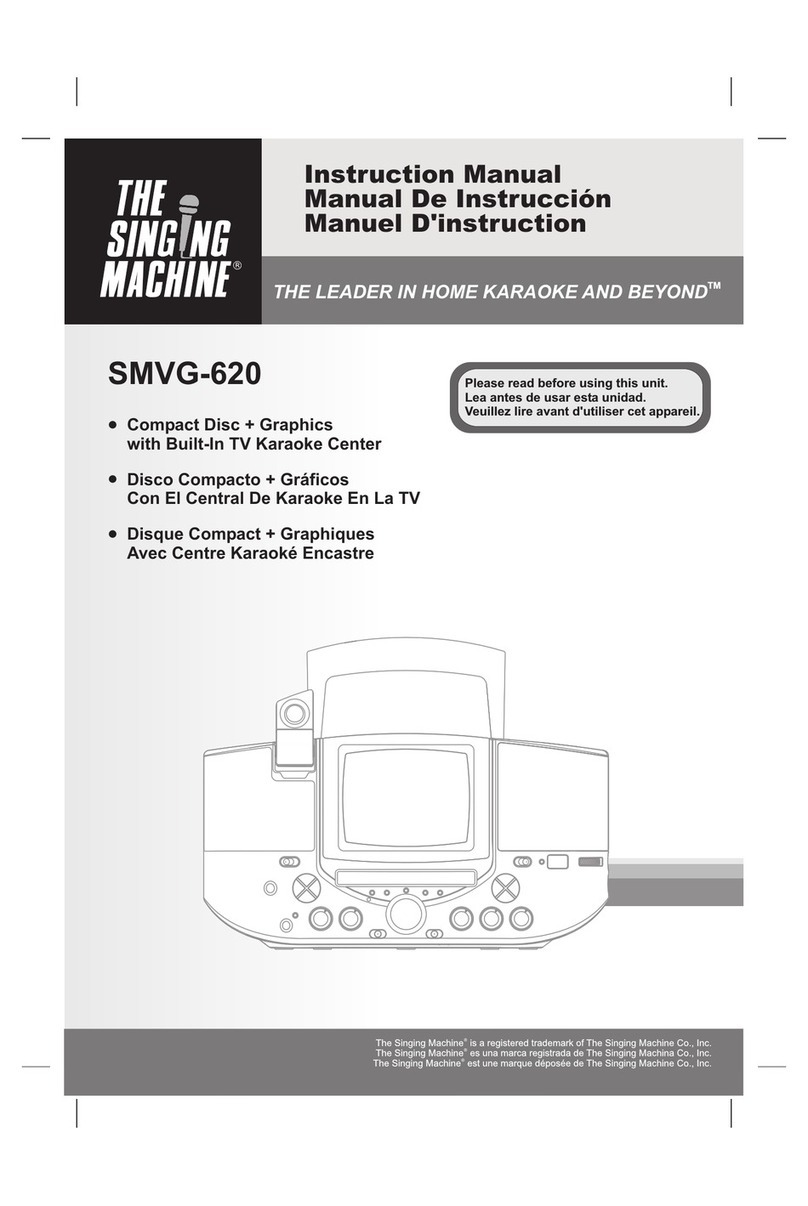
The Singing Machine SMVG-620 instruction manual

The Singing Machine

The Singing Machine SMVG-620 instruction manual

Singsation CENTER STAGE FREESTYLE quick start guide

Singsation

Singsation CENTER STAGE FREESTYLE quick start guide

RSQ NEO K-2 user manual

RSQ

RSQ NEO K-2 user manual

VocoPro BRIDGE user guide

VocoPro

VocoPro BRIDGE user guide

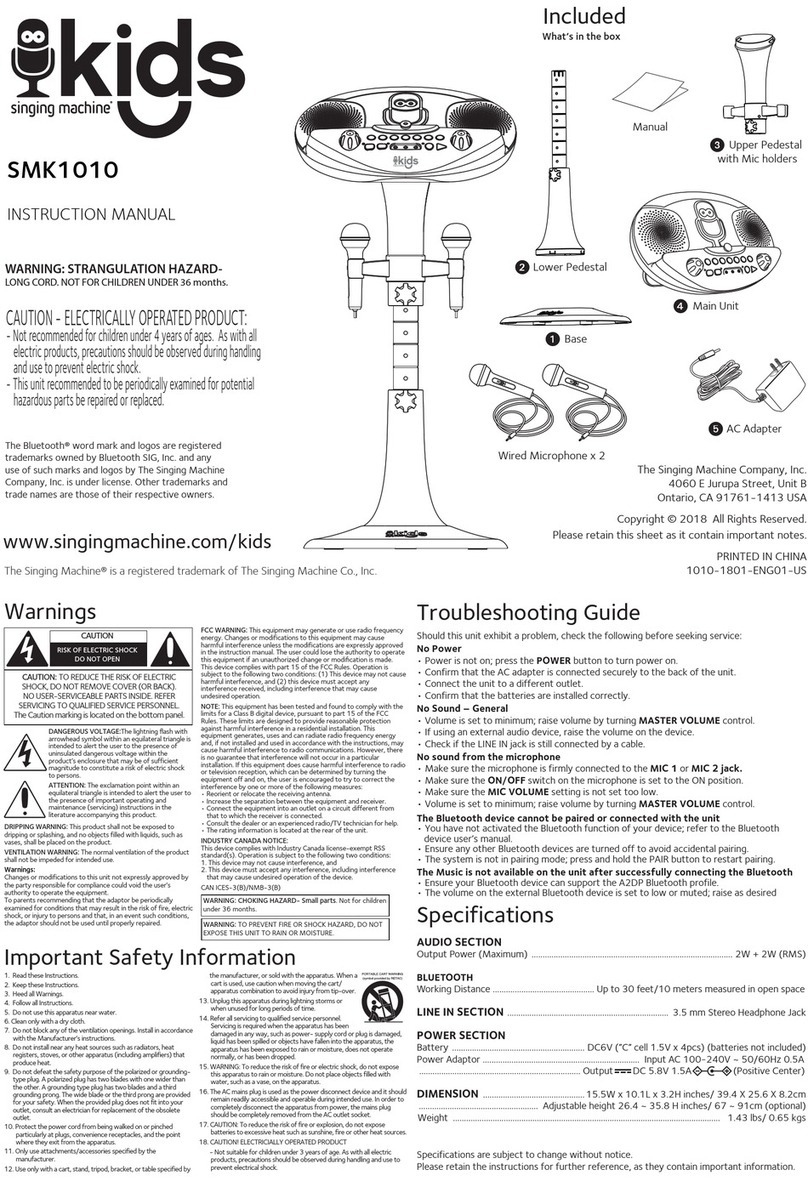
The Singing Machine SMK1010 instruction manual

The Singing Machine

The Singing Machine SMK1010 instruction manual

MASINGO Illuminato Q4 user manual

MASINGO

MASINGO Illuminato Q4 user manual

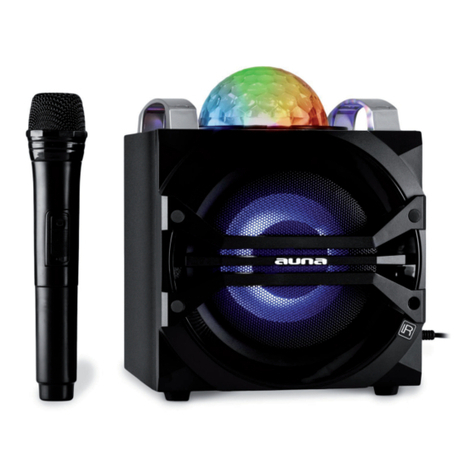
auna DisGo instruction manual

auna

auna DisGo instruction manual

The Singing Machine Classic iSM990BT instruction manual

The Singing Machine

The Singing Machine Classic iSM990BT instruction manual

manuals.online logo
manuals.online logoBrands
  • About & Mission
  • Contact us
  • Privacy Policy
  • Terms and Conditions

Copyright 2025 Manuals.Online. All Rights Reserved.

Quick Setup Guide
for
CAVS JB-99 RS Karaoke System
20220108
CAVS USA Inc.
1. Unpacking
The JB-99 RS will arrive in two pieces, one box at the top containing an LCD monitor and one wooden
crate containing the JB-99 RS kiosk.
A. Box: 20”x 20”x 10”, 15 lbs
19”–21”LCD monitor
(size may vary depending on shipment)
B. Wooden Crate: 45”x 33”x 30”, 300 lbs
CAVS JB-99 RS kiosk
The top box contains an LCD monitor.
•Gently remove the monitor out of the box and set it on its stand. It will come without any
accessories as the power cable and screws will be attached to the JB-99 RS kiosk in the crate.
The wooden crate contains the JB-99 RS kiosk.
•When unloaded from a delivery truck, open the wooden crate from the top using a screw
driver. We recommend using a power driver as there are many wooden screws to remove.
•Remove the four sides after the top. Next remove the bubble wrap around the kiosk.
•Lift the JB-99 RS gently up from the bottom wooden pallet. This will require two people using
the side handles of the JB-99 RS.
•Slide out the bottom pallet and set the JB-99 RX down on its wheels.
•Unlock the four wheels. Now the unit can be rolled into a permanent location.
•Remove the plastic wrap in the front of the JB-99 RS kiosk covering the speaker mesh.
2. Connecting Parts
Please follow the steps below in the order of instructions written.
•First roll the JB-99 RS kiosk into a room or location of your permanent placement.
•In the plastic side pockets of the kiosk, you will find
oA bag with a power cord, microphone holders plus screws, and a set of keys.
o2 x Wireless microphones
•Use the screws to connect the microphone holders to a kiosk side. The holes for the screws
are pre-made for easy installing.
•Take out the microphones from plastic bags and place them in the holders.
•On the top of the JB-99 RS kiosk, you will find a set of four screws in a plastic bag. Take out
the screws.
•Place the monitor on top of the JB-99 RS kiosk. The swivel plate attached to the monitor will
sit on top of the metal plate bolted on the top of the kiosk.
•Use the four screws to secure the monitor in place.
•Next connect the 2 cables (power and VGA) encased in a plastic tube on the top of the JB-99
RS kiosk to the monitor. Be sure to connect the cables tightly.
3. Turning on the Power
•Using the power cord found in a side pocket, connect the JB-99 RS kiosk to a wall outlet of
110V. The plug for the power cord is located on the lower back side of the kiosk.
•Turn on the monitor with its power switch located on the bottom right side of the monitor.
The exact location of the power switch will vary depending on the monitor model.
•Next press the Power button on the front control to turn on the CAVS 205G USB player
inside the kiosk.
•You will see the monitor starting up to the following initial screen.
4. Playing songs
•Wireless Microphone:
Take a microphone from its holder. Press the Power button (shown below) for 2 –3 seconds and
release. The microphone will turn on with Channel display. Adjust the control levels of 4.VOL,
1.ECHO, 2.TREBLE, and 3.BASS.
Recommended settings:
1. ECHO: 5
2.TREBLE: 0
3. BASS: 0
4. VOL: 2
5. POWER: On/Off
•Select a song:
Using a phone, tablet, or PC, go to https://cavsusa.com/songlist8445/ to see the song list. You
can also click on the following QR code to reach the song list.
You can scroll, sort, and search the song list for a song. After finding the song, remember the
song number (INDEX) and input it into the JB-99 RS Karaoke player using the numeric buttons in
the front control. For example, we input the number 3126 for the song ‘Always On My Mind’.
Next press Play to being playing the song.
Alternatively, you can select a song by pressing the MENU button on the front control of the JB-
99 RS kiosk as shown below.
The song list will appear on the monitor as follows.
Depending on your preference, you can sort the song list by Title or Artist by pressing the SORT
button.
Next press the Line Up and Line Dn buttons to move between the pages.
Remember there are over 8 thousand songs consisting of over 1,000 pages. When a song is
found, press the MENU button to return to the initial page of the JB-99 RS and input the song
number using the numeric buttons. Here for example, we input the number 03126 for the song
‘Always On My Mind’.
Press Play to being the song.
•Adjust the volume
Use the Volume Up and Down buttons as above to adjust the music volume.
Note that to control the microphone volume and echo levels, use the control buttons on the
microphones.
5. Techsupport
For your question and support, contact CAVS USA Inc at Email: techsupport@cavsusa.com, or
Telephone: 800-957-2287
CAVS USA Inc
81616 Phoenix Drive
Manassas, VA 20110
562-777-1850
www.cavsusa.com
Appendix: Advanced Setting
A.1 Amplifier Setting
It is NOT recommended to give free access to the amplifier controls located on the back of the
JB-99 RS. Users are known to do more harm than good for the setting.
For karaoke, keep the amplifier volume level between 10 o’clock –11 o’clock positions as shown
below.
Note that the volume can also be adjusted by the front control of the JB-99 RS.
Next keep the echo level as shown below between 10 o’clock –11 o’clock positions.
Note that the echo level can also be controlled by the Echo button on the microphone itself.
When using the JB-99 RS for Public Announcement, decrease the echo level on the amplifier to
zero. Also reduce the echo level on the microphone to zero.
For all other controls, we recommend keeping the levels at 12 o’clock positions. You can
experiment with moderate adjustments when you feel comfortable with the JB-99 RS Karaoke
player. Keep in mind that extreme settings CAN cause the permanent damage to the amplifier
and/or speakers.
A.2 External TV Setting
On the top of the JB-99 RS kiosk, there is a HDMI cable with female connector, coming out of the
corner as shown below. The HDMI connector can connect to any wall TV via a standard HDMI
cable (M/M).