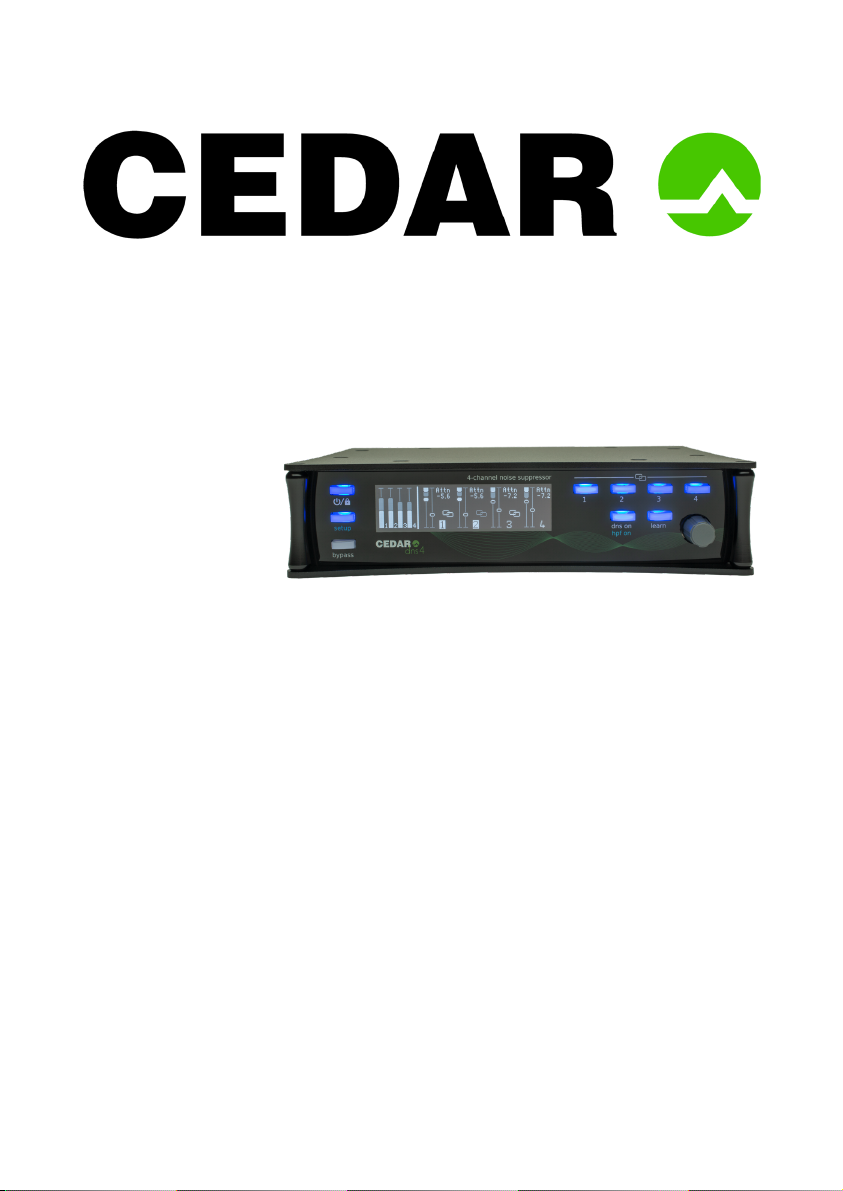
CEDAR DNS 4 dialogue noise suppressor
Page 6
Safety instructions
Read these instructions, and follow them.
■
Water and moisture
The DNS 4 must not be exposed to rain or moisture. Furthermore, if it is brought directly
from a cold environment into a warm one, moisture may condense inside it. This, in
itself, will not cause damage, but may cause electrical shorting. This could damage the
unit, and even cause danger to life. Always allow the unit to reach ambient temperatures
naturally before connecting the mains power.
■
Mounting and ventilation
You should place the DNS 4 on a flat, stable surface or in a suitable equipment bag. Do
not subject it to strong sunlight, excessive dust, mechanical vibration or periodic shocks.
It is not susceptible to excessive heat build-up, but should be installed away from heat
sources such as radiators and audio devices that produce large amounts of heat.
■
Power sources
The DNS 4 operates on nominally 12VDC power, although it will operate on voltages in
the range from 8V – 17.5V. You should route power cables so that they will not be walked
on or pinched. Unplug the supply cord to isolate the external PSU from the mains supply
if it is not to be used for some time. Grasp the supply cord by the plug, never by the cord
itself.
■
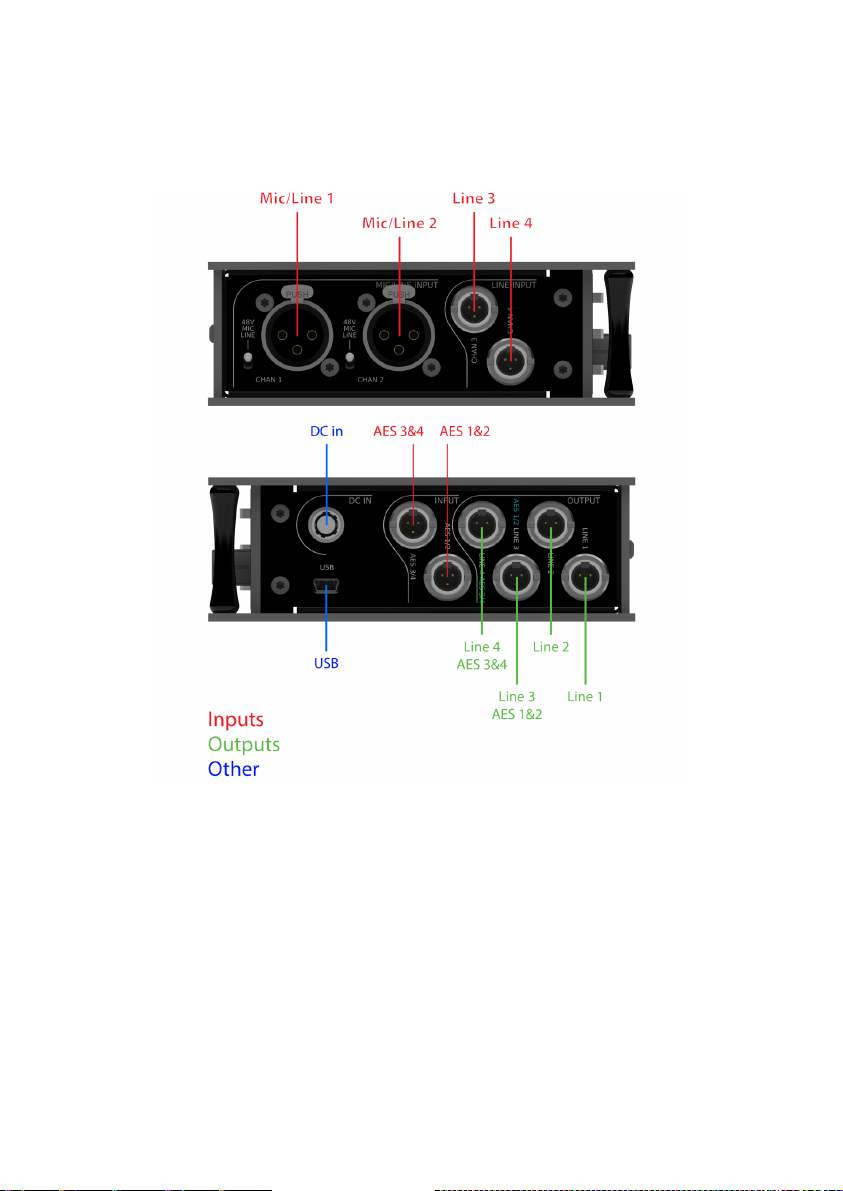
Connections
Turn off the power to all equipment before making any connections. In order to comply
with EMC regulations, you must use metal-shelled connectors and good quality shielded
cable suitable for AES3 connections.
■
Cleaning
Clean the DNS 4 only with a dry cloth. Never use abrasive pads, water or liquid cleaners
such as alcohol or benzene.
■
Damage requiring service
The DNS 4 contains no user-serviceable parts and should on no account be opened or
dismantled by unauthorised personnel. A unit should be returned to qualified service
agents when it has been exposed to liquids, when it fails to function correctly, when it
has been dropped, or when the case is damaged.