Ceiva WQG081807 User manual

DIGITAL PHOTO FRAME
exclusively for
QUICKSTART GUIDE
This product is compatible with WHIRLPOOL® brand
refrigerators that have the centralpark® port connection.

Getting Started
Here’s everything you need to set up
your personal CEIVA Digital Photo
Frame™and begin displaying photos.
In the box
CEIVA Digital Photo Frame•
CEIVA Wireless Adapter• ™
TwoCEIVAspecicscrews•
Quickstart Guide•
WhatYou Need to
InstallYour CEIVA
Phillips screwdriver•
Your memory card—if you plan to display•
pictures from a memory card
Your home wireless network informa-•
tion—if you plan to enhance your CEIVA
with Media Server and/or PicturePlan®
capabilities
(see page 4)
The name of your wireless network•
(SSID)
Your network key, or password, if your•
network requires one
Is Something Missing or Damaged?
Locate the 12-digit serial number, which is visible under the LCD panel when the door of the CEIVA is open.
Call 1-877-MYCEIVA (1-877-692-3482) to speak with the CEIVA®Customer Care Team. The team member
willrstaskyoufortheserialnumberofyourCEIVA.
NOTE: Please keep the original product packaging in case you need to return your CEIVA for repairs.
Menu Button1.
Left Arrow Button2.
Right Arrow Button3.
Up Arrow Button4.
Down Arrow Button5.
Select Button6.
New Photo Indicator7.
Power Light8.
CF I/CF II Slot9.
(for Compact Flash®or Microdrive memory card)
SD/MMC/MS Slot10.
(for Secure Digital™, MultiMedia Card™, Memory
Stick®, Memory Stick PRO®, Memory Stick
Duo™, Memory Stick PRO Duo™, SmartMedia™,
xD-Picture Card™, miniSD™
*Some memory cards may require adapter;
please visit http://help.ceiva.com)
C-Port 111.
C-Port 212.
Power Button13.
Components
2

InstallingYour CEIVA
Remove the decorative cover from the1.
refrigerator door. Please refer to the re-
frigerator manufacturer’s instructions.
Position the CEIVA on the refrigerator2.
freezer door. The front sides of the freezer
door and the CEIVA should both be facing
you.
Raise the CEIVA above the freezer door3.
and align the frame’s electrical connector
with the electrical accessory port at the
top of the freezer door.
Gently lower the CEIVA into the accessory4.
port on refrigerator, so that it slides into
place. Screw into place with the CEIVA
provided screws making sure to not over-
tighten.
Setting upYour CEIVA to Display Pictures
Press on the door of the installed CEIVA to release the latch, allowing the1. frame
door to open.
Press the Power button on the CEIVA once.2.
NOTE: After completing this initial setup, do not
use the Power button to turn the frame on or off,
unless a CEIVA Customer Care Team member asks
you to do so for troubleshooting purposes. For
information on how to turn the screen off, during
routine use, please see page 5.
Insert your memory card into the appro-3.
priate slot in the CEIVA*.
Press the Menu button and use on-screen4.
menus to start your slideshow. For infor-
mation on using your CEIVA menus, see
page 6.
Other Picture Display Options
With CEIVA, you can manage all your pictures in one place - on your computer.
Stream your pictures direct to your CEIVA across your wireless network. You can also
receivepicturesfromfriendsandfamilywithPicturePlan!Turnthepagetondout
how to get connected!
* Please see the list on page 2 of compatible memory cards.
Installation and Setup
3
Insert Memory
Cards Here

Send Photos fromYour Home Computer!
With CEIVA, you can turn your home
computer, running Windows® XP or Win-
dowsVista™ using Windows Media Player
11, into a Media Server for your CEIVA.
It’s free and simple to set up.All you need
is a wireless network connection, and you
can stream images from your computer
direct to your frame.You can select spe-
cicimagesorgroupsofimagesstoredon
your computer and customize how your
CEIVA frame will display them.
For more information and easy instructions on how to set up a Media Server for your
CEIVA frame, please visit http://mediaserver.ceiva.com.
Receive Photos from Family and Friends!
With your CEIVA you can receive and display new photos from
friends and family around the world automatically, every day. In-
vite anyone you choose to share photos with you for free.
You can also:
Send photos directly to your frame from your camera phone•
or your online CEIVA account.
Store and organize an unlimited number of photos in your•
secure personal online albums on the CEIVA Network™.
Order picture prints directly from your CEIVA for delivery via•
U.S. mail. View your choice of daily CEIVA Channel™ updates
for entertainment, news, horoscopes, sports, local weather,
and more.
Turn photos into one-of-a-kind greeting cards with personal•
messages.
All you need is a PicturePlan subscription and a wireless home network connection.
For more information and easy instructions on how to set up your PicturePlan, please
visit http://pictureplan.ceiva.com.
Getting Connected with Media Server and PicturePlan ConnectYour CEIVA Frame toYour Wireless Network
4

To set up the connection to your home wireless network settings, you need:
The name of your network (SSID)•
Your network key, or password, if your network requires one•
Plug in your CEIVA Wireless Adapter
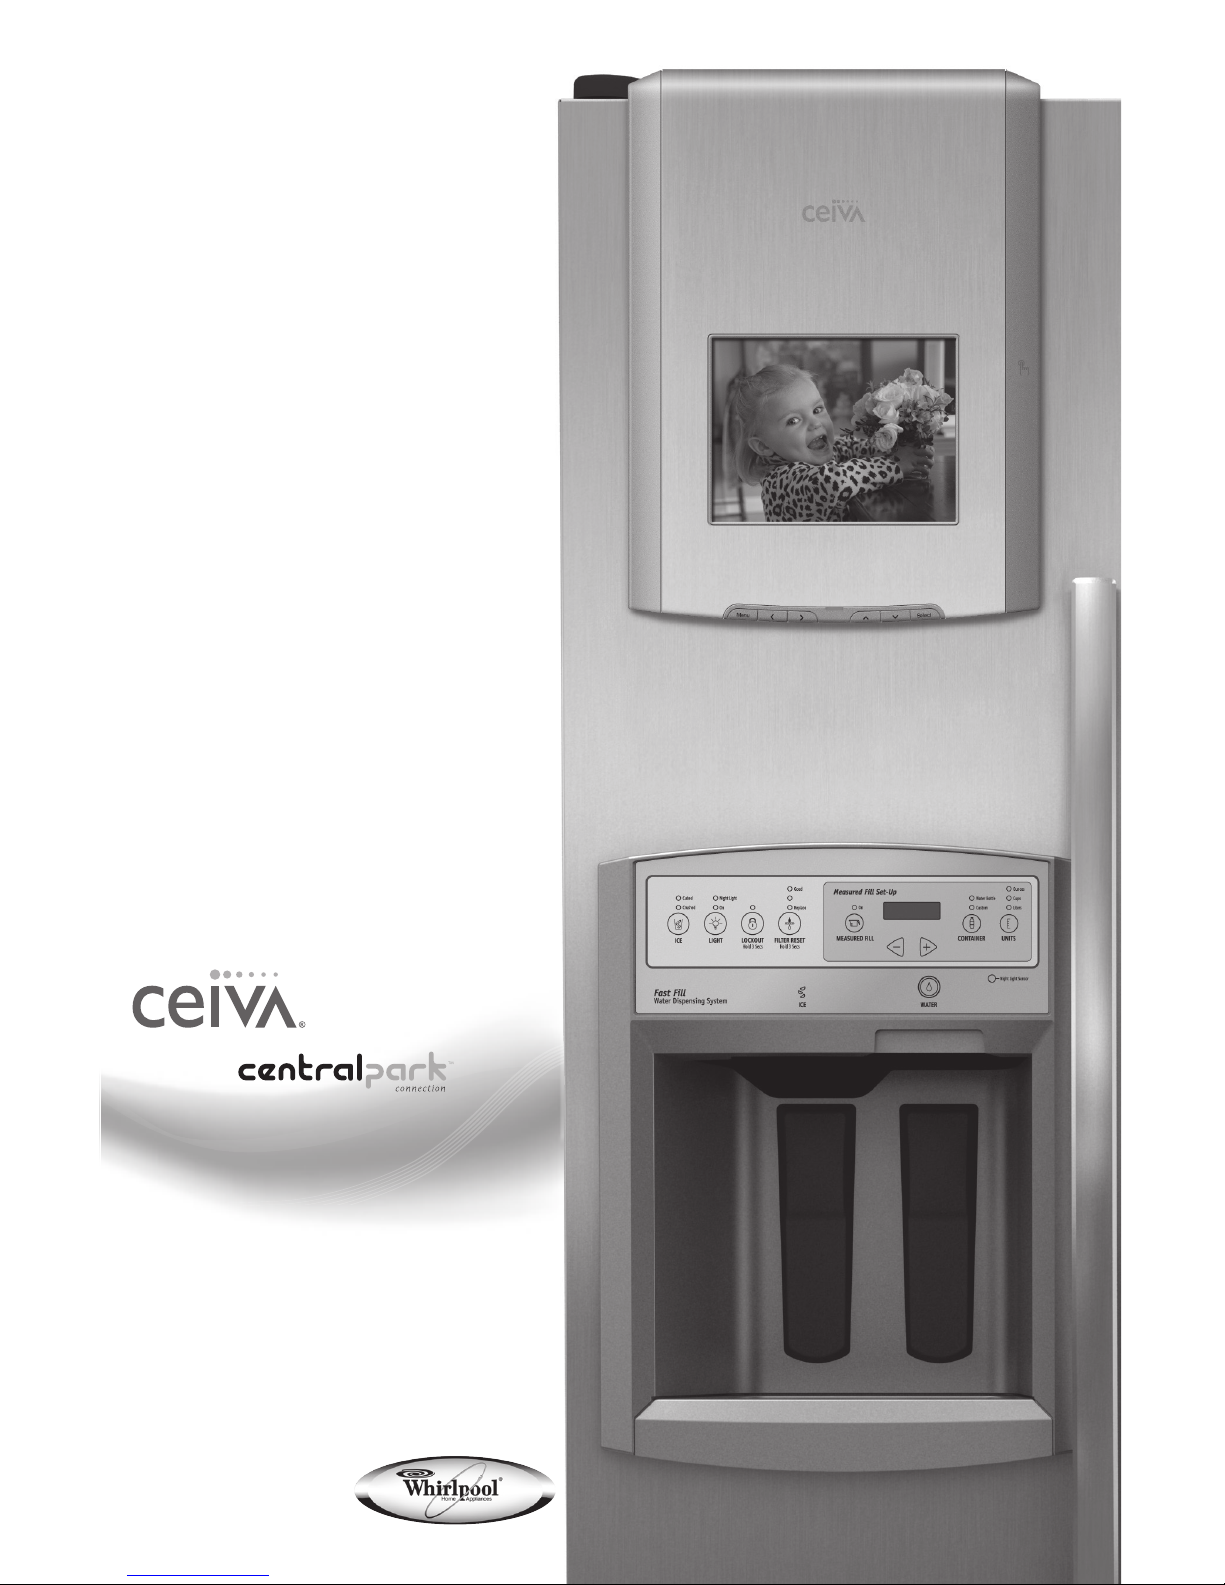
Press on the door of the CEIVA to release1.
the latch, allowing the frame door to open.
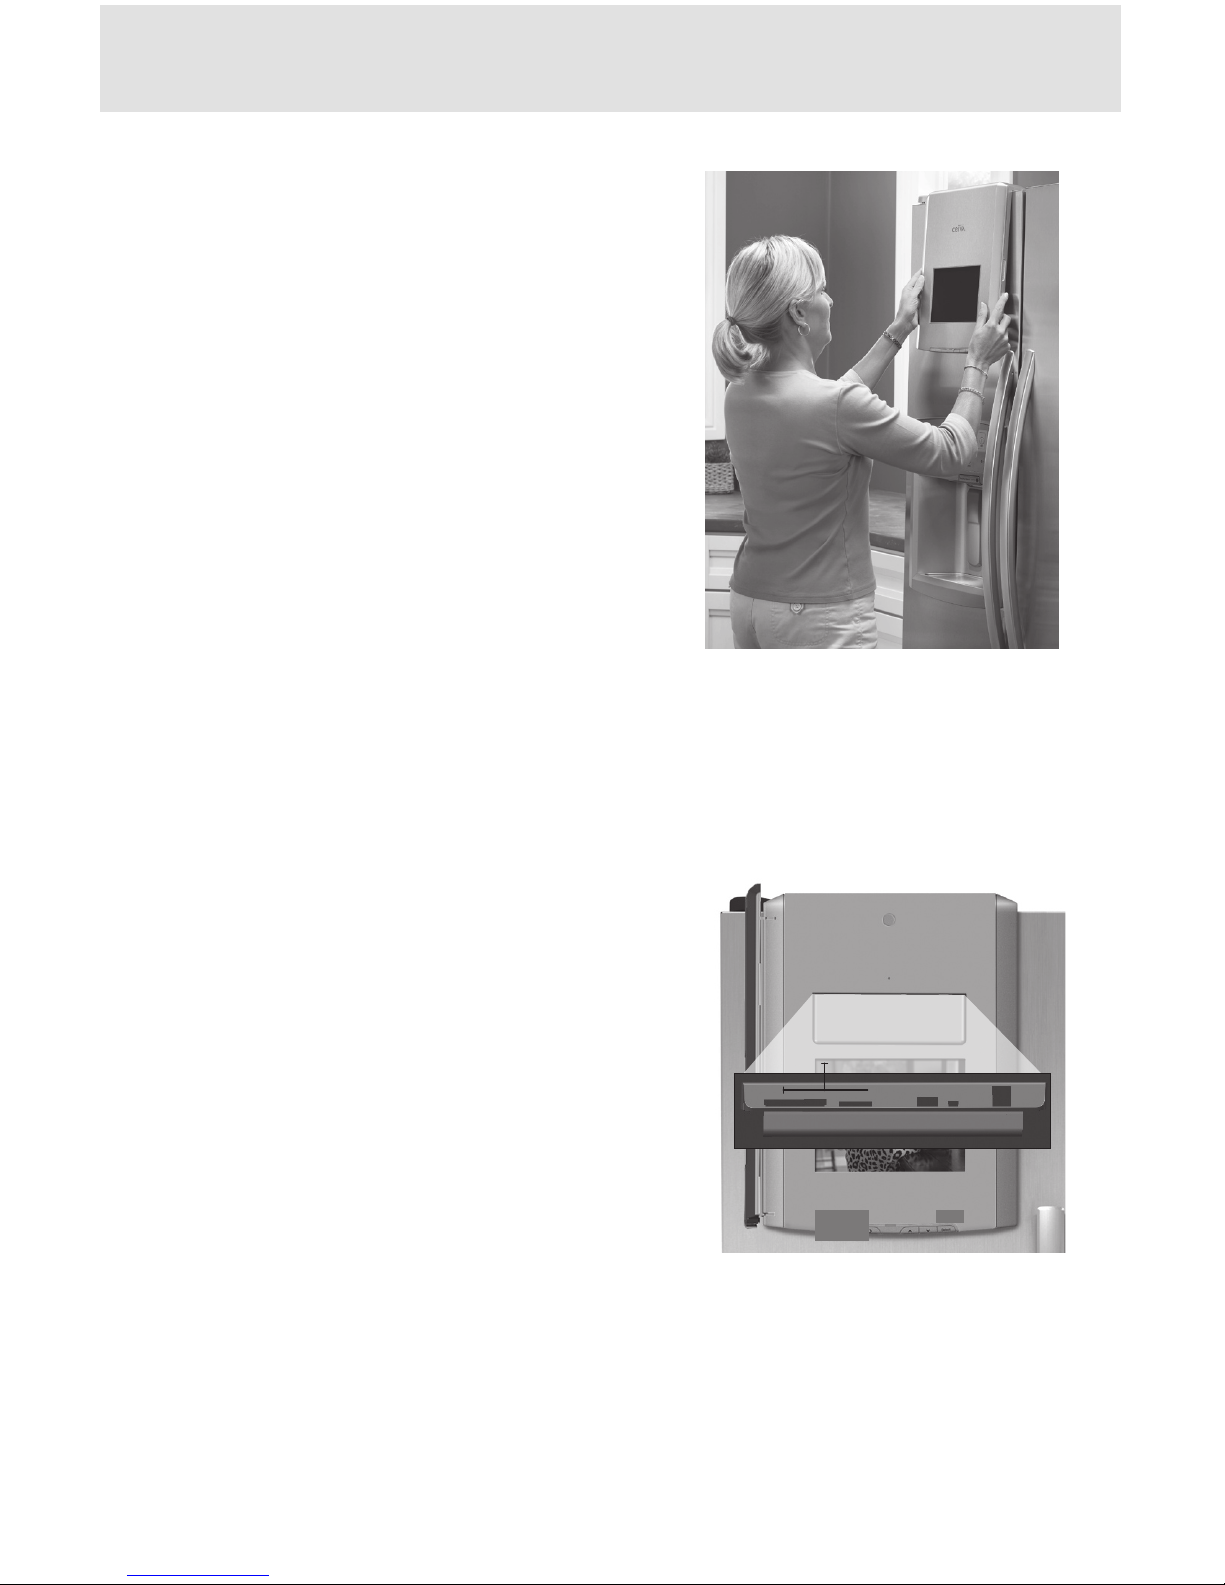
Insert your CEIVA wireless adapter into2.
the C-Port 1 slot as shown.
Congure your wireless settings
Press the black Power button on the1.
CEIVA to turn the frame on if it isn’t on
already.Then, close the frame door.
Press the Menu button to display menu set-2.
tings. See page 6 for easy instructions on
how to operate the CEIVA in Menu Mode.
From the main menu screen, choose Settings.3.
From the Settings screen, choose Connection Settings.4.
From the Connection Settings screen, choose How To Connect.5.
From the following screen, choose Wireless. Press the Select button again to6.
save your selection.
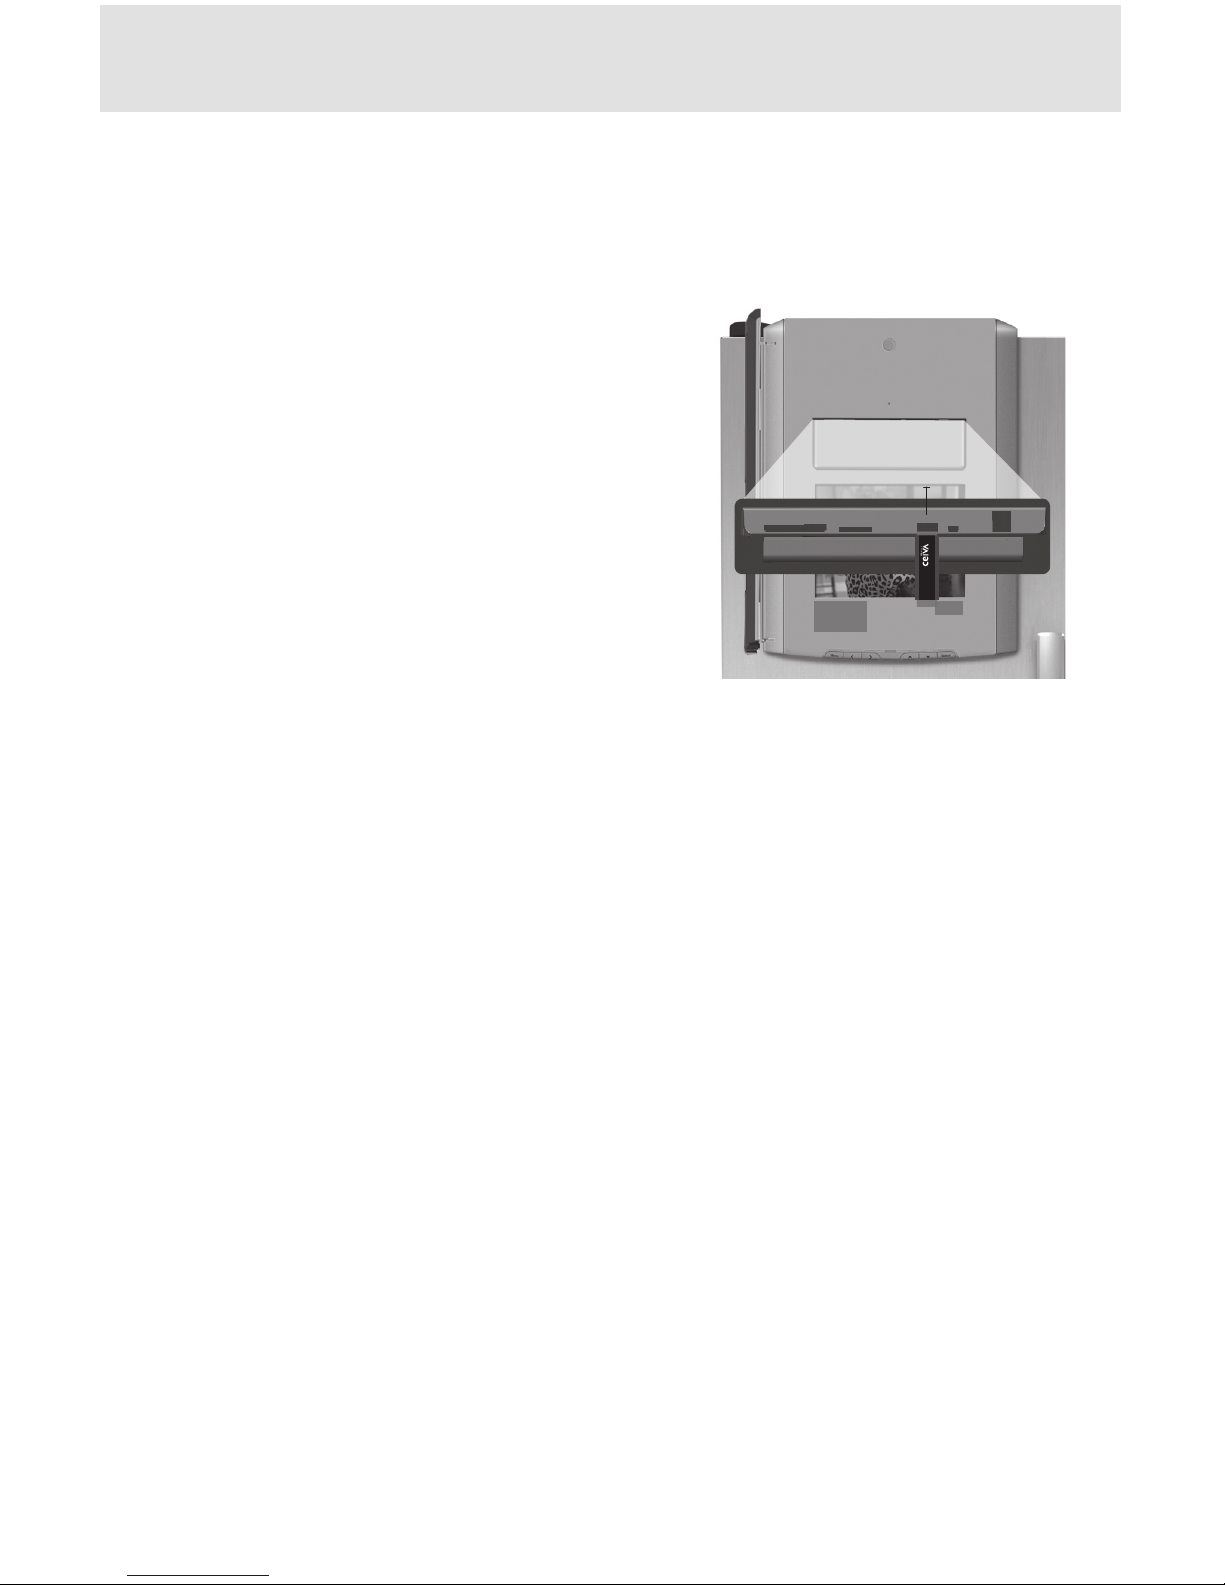
From the Setup Wireless screen, choose Select Wireless Network. The frame7.
will automatically scan for available networks and display them on the following
screen.
On the Select Wireless network screen, use the Left and Right Arrow buttons to8.
scroll through available networks. If you do not see your network in the list hit
Refresh to scan again. Press the Select button to choose a network. Press the
Select button again to save your selection.
Ifyournetworkdoesnotrequireakey(password)youarenished.Ifyour9.
network requires a key please enter it at this time via the on-screen keyboard.
Selecting each letter is the same process as texting on a mobile phone keypad.
Press the Select button twice to save your selection.
Choose Exit to exit Menu Mode.10.
PicturePlan members can test their wireless network connection by holding down the
Right Arrow button until you see the message:“You can let go now, I’m dialing in” on
the screen.
Media Server capabilities are an always on connection, please visit http://mediaserver.
ceiva.com for more information.
For advanced wireless network setup instructions and troubleshooting, please visit
http://ceivawireless.ceiva.com.
Getting Connected with Media Server and PicturePlan ConnectYour CEIVA Frame toYour Wireless Network
5
Insert Wireless
Adapter Here
WIRELESS™
TM

How do I use the menus?
You can use menus to rotate photos, add and remove photos from the slideshow, con-
trol slideshow transitions and timing, set on and off times, adjust brightness, and more.
To start Menu Mode on your CEIVA, press the Menu button.•
Use the Up, Down, Left, and Right Arrow buttons to scroll between menu options.•
Also, use the Left and Right buttons to change settings for certain features.
Press the Select button to choose a highlighted menu option.•
Press the Menu button, or choose the Back option in the lower left corner of the•
menu screen, to return to the previous menu page.
Choose the Exit option in the lower right corner of the menu screen to exit the•
menu at any time.
For more detailed information on menus, please visit http://menus.ceiva.com.
How do I browse my pictures?
Press the Select button to display thumbnail previews
of all the photos in your slideshow. Use the arrow but-
tons to scroll until you see the photo you are searching
for. Press and hold either the right button to resume
the slideshow.
How do I turn off my screen? How do I turn it back on?
Press the Down Arrow button several times to turn off the CEIVA screen. To turn the
screen back on, simply press any of the buttons on the front of the frame.
You can also set your CEIVA to turn on and off automatically, using the “Screen on/
off times” menu function. If you are not a PicturePlan member please manually set the
time on this screen in order for this function to work. PicturePlan members and those
connected to a wireless network have the time automatically set for them.
How to I adjust the brightness on my screen?
When your CEIVA is in Slideshow Mode, you can press
the Up and Down Arrow buttons to adjust the display
brightness of the frame. Press and release the Up
button to increase the brightness one level. Press and
release the Down button to decrease the brightness
one level.
OperatingYour CEIVA OperatingYour CEIVA
6

How do I customize my slideshow?
Your CEIVA has a number of display options available in the Slideshow Settings area of
the menus.
The Display Mode feature allows you to control how your CEIVA frame will size•
your photos.
The Transition Type feature allows you to control how the slideshow transitions•
from one photo to the next.
The Slideshow Timing screen allows you to determine how long each photo or•
Channel in the slideshow will be displayed, from 5 seconds to 2 hours.
How do I delete or rotate a photo?
Deleting and rotating individual images is easily accomplished from the Main Menu
screen. Manually browse to the photo you wish to delete or rotate and then press the
Menu button, once in the menus navigate to the appropriate button and press Select.
Onthenextscreeneitherconrmordenythefunctionandyou’realldone!
How do I restart my slideshow?
Whenever you press a button in Slideshow mode—to scan previews, for example—
the slideshow automatically pauses. It will automatically resume within a preset
amount of time, depending on your slideshow settings. The default is 30 seconds.To
restart the slideshow immediately, hold down the Right Arrow button until you see
the message,“Let go now to start the slideshow, or keep holding to connect.” You
cancongurehowyourslideshowappearsusingtheCEIVAmenufunction“Slideshow
Settings”.
How do I make my CEIVA contact the network?
If you have a PicturePlan subscription, your CEIVA automatically contacts the CEIVA
Network to retrieve any new photos either once or twice a day, depending on how
youcongureit.Youcansetthisfeatureonlineorbyusingthe“ConnectionFrequen-
cy” menu function.
When your frame is not scheduled to contact the CEIVA Network, you can hold down
the Right button to make a manual connection.
How do I care for my CEIVA?
Dust your CEIVA regularly with a clean, soft, dry cloth. Do not spray liquids directly
onto the frame. Do not immerse the CEIVA in water or otherwise get it wet.
OperatingYour CEIVA OperatingYour CEIVA
7

The frame isn’t displaying photos from my memory card.
Make sure your CEIVA is in Slideshow mode. Remove the memory card, and reinsert
it. If the frame does not display photos after you insert your memory card into the
card reader, make sure that photos are stored on the card, that they are in JPEG for-
mat, and that they are lower than 12 megapixels in resolution.
The frame displays one of the following error messages: “Wireless Connect Fail-
ure”, “Wireless Not Available”, or “Conguration Problem”.
You can correct most problems with your CEIVA’s wireless network connection by
changingthecongurationintheframe’sMenuMode.Fordetailedinformationon
how to address these network problems, please visit http://ceivawireless.ceiva.com.
The slideshow isn’t running.
Make sure that you have at least two photos in your CEIVA slideshow. Then, press the
Right button on the CEIVA until you see the message,“You can let go now to start the
slide show, or keep holding to connect.”
The CEIVA screen is dark.
Press the Up or Down Arrow button on the CEIVA a few times to ensure that the
CEIVA is not in “lights-out” mode. If the screen remains dark, please call the appropri-
ate customer care number (see below).
When to call CEIVA Customer Care? If the Power light is on but you are not
receiving pictures, please visit http://help.ceiva.com/whirlpool or call 1-877-MYCEIVA.
When to call Whirlpool Customer Care? If the Power light is not on, press the
black Power button. If the Power light still doesn’t come on, call 1-800-253-1301.
Troubleshooting
Need More Assistance?
© 2007 CEIVA Logic, Inc., Burbank, CA 91502.All Rights Reserved. Protected by United States
Patent No. 6,442,573. Other Patents Pending.
WQG081807
Table of contents
Other Ceiva Digital Photo Frame manuals

Ceiva
Ceiva Ceiva 2 User manual

Ceiva
Ceiva LF2000 User manual

Ceiva
Ceiva CEIVAshare SHR508A-US User manual

Ceiva
Ceiva LF4007 User manual

Ceiva
Ceiva LF-3000 User manual

Ceiva
Ceiva CEIVAshare SHR508A User manual

Ceiva
Ceiva LF4007 User manual

Ceiva
Ceiva LF4007 User manual

Ceiva
Ceiva CEIVAlife LIF408A User manual

Ceiva
Ceiva PRO80408A User manual