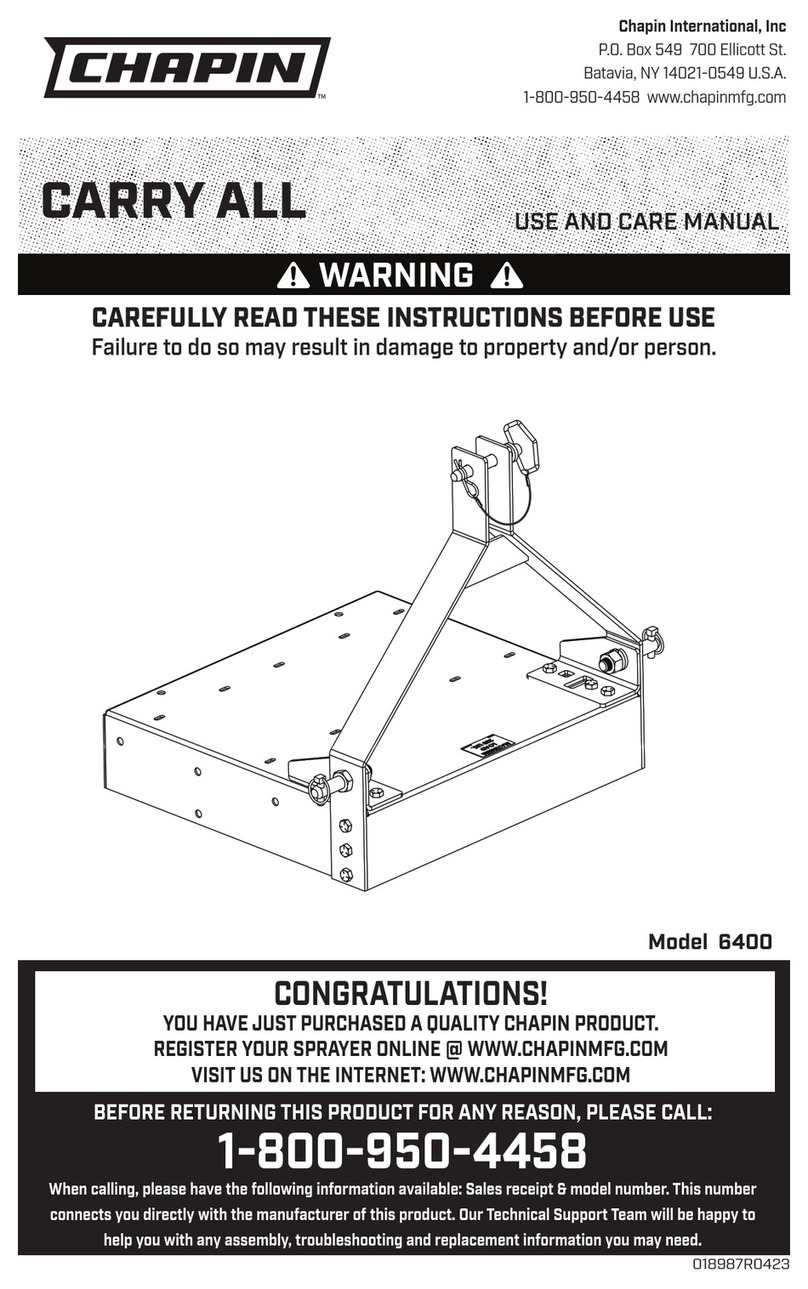
Chapin 8700 User manual

WARNING
Please call 800-950-4458 or visit www.chapinmfg.com if you are
missing any parts, having trouble assembling, or have any questions
regarding the safe operation of this product.
DO NOT RETURN TO THE STORE.
MODEL 8700
Carefully Read These Instructions Before Use 014315 R1016
CHEST-MOUNTED SPREADER

1E
WARNING
IMPROPER USE OR FAILURE TO FOLLOW INSTRUCTIONS CAN RESULT IN
PRODUCT FAILURE OR INJURIES. FOR SAFE USE OF THIS PRODUCT YOU MUST
READ AND FOLLOW ALL INSTRUCTIONS BEFORE USING.
ASSEMBLY INSTRUCTIONS
The Chapin 8700 Chest Spreader is preassembled at our factory, leaving only the crank handle for
you to attach. To attach, remove nut, slide handle through plastic base and fully tighten the nut.
Insert handle into gear and turn clockwise to tighten. Use a 14mm wrench to snug the nut against
the gear. (SEE FIGURE A)
WARNING:
is product contains chemicals, including lead, known to the state of California to
cause birth defects and other reproductive harm. Wash hands after handling.
FIGURE A

2E
OPERATING INSTRUCTIONS
1) Make sure the Gate is closed before lling hopper.
2) Fill hopper with material.
3) Place shoulder strap over shoulder. Place unit on chest and adjust the strap.
4) Select spreader setting 1-6 to set size of gate (Fig. B).
5) Crank the handle maintaining a steady clockwise motion and walk a consistent
pace to spread the material evenly. Squeeze handle to open the gate.
6) Adjust side bafe as needed (Fig. D).
7) Adjust Gate location as needed (Fig. D).
8) To close the Gate, simply release handle.
SPREADER SETTINGS:
Material Type
Spreader Setting*
Grass Seed Fine 4
Coarse 5
* Due to the variables involved, these settings arre intended for reference only.
FIGURE D
(Gate Location)
FIGURE C
Side
Bafe
Gate
Control
FIGURE B
(Spreader Settings)

LIMITATIONS: This warranty covers only the product. Any additional expense
associated with repair or replacement of defected product is specifically
excluded. Chapin makes no warranty against product failure due to the effects of
corrosion. As a preventative measure, clean and dry your spreader thoroughly
after each use.
Chapin warrants this product against defects in
workmanship and materials for a period of 5 years. If a
defect is found during this period, Chapin will repair or
replace the product at no charge provided the failure is
not the result of incorrect installation, mishandling or normal wear and tear
as determined by Chapin. Chapin may request return of the product along
with the original purchase receipt for examination and compliance with the
from Chapin by phone at 800-950-4458 or mail at 700 Ellicott Street, Batavia,
New York, 14021.
www.chapinmfg.com
800-950-4458
P.O. Box 549 700 Ellicott St.
Batavia, NY 14021-0549 U.S.A.
Congratulations!
You have just purchased a quality Chapin product.
Register Your Spreader Online@ www.chapinmfg.com/warranty.asp
Due to our ongoing product improvement process, product specifications may change without notice. U.S. and foreign patents pending.

ADVERTENCIA
MODELO 8700
Lea estas instrucciones atentamente antes de utilizarlo
014315 R1016
Por favor, llame al 800-950-4458 si le faltan piezas, tiene problemas
con el ensamblaje o tiene alguna duda sobre el funcionamiento seguro
de este producto.
NO LO REGRESE A LA TIENDA.
ESPARCIDORA DE PECHO

1S
EL MAL USO O EL NO SEGUIR LAS INSTRUCCIONES PUEDE ORIGINAR QUE EL
PRODUCTO NO FUNCIONE O QUE PRODUZCA LESIONES. PARA UN USO SEGURO DE
ESTE PRODUCTO, DEBE LEER Y SEGUIR TODAS LAS INSTRUCCIONES ANTES DE
UTILIZARLO.
INSTRUCCIONES PARA EL ENSAMBLAJE
La esparcidora de pecho Chapin 8700 viene armada de fábrica, por lo que sólo necesita colocarle la manija. Para
colocarla, quite la tuerca, deslícela a través de la base de plástico, y apriete la tuerca por completo. Inserte la manija
en el engranaje y gire en el sentido de las manecillas del reloj para apretarla. Utilice una llave de 14 mm para apretar
la tuerca y el engrane. (VER FIGURA A)
ADVERTENCIA
ADVERTENCIA:
Este producto contiene agentes químicos como plomo, que en el Estado de
California es conocido por provocar defectos congénitos y otros daños reproductivos.
Lávese las
manos después de usarlo.
FIGURA A

2S
INSTRUCCIONES PARA EL FUNCIONAMIENTO
AJUSTES DEL ESPARCIDOR:
Tipo de material
Ajuste del esparcidor*
Semillas
de césped
Fino 4
Grueso 5
*Debido a las variables implicadas, estos ajustes sirven solo como referencia.
1) Asegúrese de que la compuerta está cerrada antes de llenar la tolva.
2) Llene la tolva de material.
3) Colóquese la correa sobre el hombro. Coloque la unidad frente a su pecho
y ajuste la correa.
4) Seleccione la conguración de la esparcidora de 1 a 6, para especicar la
apertura de la compuerta (Fig. B).
5) Gire la manija con un movimiento uniforme en el sentido de las manecillas
del reloj, y camine a un paso constante para esparcir el material con
uniformidad. Apriete la manija para abrir la compuerta.
6) Ajuste el deector lateral cuando sea necesario (Fig. D).
7) Ajuste la ubicación de la compuerta cuando sea necesario (Fig. D).
8) Para cerrar la compuerta, simplemente suelte la manija.
FIGURA D
(Ubicación de la compuerta
FIGURA C
Deector
lateral
Control de
la compuerta
FIGURA B
(Conguración de la esparcidora)

LIMITACIONES: Esta garantía cubre solo el producto. Se excluye específicamente
todo gasto adicional asociado con la reparación o el reemplazo del producto
defectuoso. Chapin no ofrece garantía contra la falla de un producto debido a los
efectos de corrosión. Como una medida preventiva, limpie y seque completamente
su esparcidor después de cada uso.
calidad y los materiales por un periodo de 2 años. Si
se encuentra un defecto durante este periodo, Chapin
siempre y cuando la falla no sea el resultado de una incorrecta instalación,
Es posible que Chapin solicite el regreso del producto junto con el recibo
original de la compra para su revisión y conformidad con los términos de
de Chapin por teléfono al 800-950-4458 o por correo a 700 Ellicott Street,
Batavia, New York, 14021.
www.chapinmfg.com
800-950-4458
P.O. Box 549 700 Ellicott St.
Batavia, NY 14021-0549 U.S.A.
¡Felicitaciones!
Acaba de comprar un producto de calidad Chapin.
Registre su esparcidor en línea en www.chapinmfg.com/warranty.asp
Debido a nuestro proceso de mejora continua de productos, las especificaciones pueden cambiar sin previo aviso. Patentes en trámite en EE.UU. y en otros países.

AVERTISSEMENT
MODÈLE 8700
Avertissement : lisez attentivement ces instructions avant l’utilisation
014315 R1016
Veuillez composer le 800-950-4458 si des pièces sont manquantes, si
vous avez des problèmes d’assemblage ou des questions relativement
au fonctionnement sécuritaire de ce produit.
NE PAS RAPPORTER AU MAGASIN.
PANDEUR MONTÉ SUR LA POITRINE

1F
UNE MAUVAISE UTILISATION OU NE PAS SUIVRE LES INSTRUCTIONS PEUT MENER
À UNE DÉFAILLANCE DU PRODUIT OU À DES BLESSURES. POUR UTILISER CE
PRODUIT SANS DANGER, VOUS DEVEZ LIRE ET SUIVRE TOUTES LES INSTRUCTIONS
AVANT L’UTILISATION.
INSTRUCTIONS D’ASSEMBLAGE
L’épandeur Chapin 8700 est préassemblé à notre usine, ne vous laissant que la manivelle à xer. Pour ce faire,
retirez l’écrou, glissez la poignée à travers la base de plastique et serrez complètement l’écrou. Insérez la poignée
dans l’équipement et tournez en sens horaire pour serrer. Utilisez une clé 14 mm pour bien ajuster l’écrou contre
l’équipement. (VOIR LA FIGURE A)
AVERTISSEMENT
AVERTISSEMENT : Ce produit contient des produits chimiques, incluant le plomb, reconnus par l’État de
Californie comme causant des anomalies congénitales et autres problèmes reproductifs. Se laver les mains
après toute manipulation.
FIGURE A

2F
INSTRUCTIONS D’UTILISATION
RÉGLAGES DE L’ÉPANDEUR :
Type de matériel
Réglage de l’épandeur*
Semences
d’herbe
Fine 4
Grossière 5
*En raison des variables impliquées, ces réglages sont conçus à titre de référence uniquement.
1) Veillez à ce que la vanne soit fermée avant de remplir la trémie.
2) Remplissez la trémie avec le matériel.
3) Enlez la bandoulière sur l’épaule. Placez l’unité sur la poitrine et ajustez
la bandoulière.
4) Réglez l’épandeur entre 1 et 6 pour régler la taille de la vanne (g. B).
5) Tournez la manivelle en maintenant un mouvement pivotant constant et
marchez à une vitesse constante pour épandre le matériel uniformément.
Pressez la poignée pour ouvrir la vanne.
6) Réglez le déecteur latéral au besoin (g. D).
7) Réglez la vanne au besoin (g. D).
8) Pour fermer la vanne, dégagez simplement la poignée.
FIGURE D
(Emplacement de la vanne)
FIGURE C
Déecteur
latéral
Emplacement
de la vanne
FIGURE B
(Réglages de l’épandeur)

LIMITATIONS : Cette garantie couvre uniquement le produit. Toute dépense
supplémentaire associée à la réparation ou au remplacement d’un produit
défectueux est spécifiquement exclus. Chapin n’offre aucune garantie à l’égard
de tout défaut du produit suite aux effets de la corrosion. À titre de mesure
préventive, nettoyer et essuyer votre semoir après chaque utilisation.
Chapin garantie ce produit contre tout défaut de
fabrication et de matériel pour une période de 2 ans. Si
réparera ou remplacera le produit gratuitement,
si le défaut ne résulte pas d’une mauvaise installation, d’une mauvaise
manipulation ou d’une usure ou déchirure normale, comme déterminé par
Chapin. Chapin peut demander un retour du produit avec la facture d’achat
garantie. Tous les produits retournés doivent d’abord obtenir l’autorisation
de Chapin par téléphone au 800-950-4458 ou par courrier à 700 Ellicott
Street, Batavia, New York, 14021.
www.chapinmfg.com
800-950-4458
P.O. Box 549 700 Ellicott St.
Batavia, NY 14021-0549 U.S.A.
Félicitations!
Vous venez d’acheter un produit de qualité Chapin.
Enregistrez votre épandeur en ligne @ www.chapinmfg.com/warranty.asp
En raison de notre processus d’amélioration continue de produits, les spécifications de produits pourraient changer sans préavis. Brevets américains et étrangers en instance.
Table of contents
Languages:
Other Chapin Farm Equipment manuals