8
Hints for Best Results
• Toslicemeatsandcheesewaferthin,chillthoroughlybeforeslicing.Forbestresultsadvancethe
food carriage slowly while using steady pressure.
• Meatsshouldbeboneless,fruitsshouldbefreeofseeds.
• Foodswithanuneventexture,likeshanduncookedsteaksareoftendifculttoslice.
Partially freeze before slicing for more even cuts.
• Atcanningtime,usetheslicertoquicklyslicecucumbersandonionsforattractivepickles…
applesforpies…vegetablesforthefreezer.
• Forfooddehydrators:Youcanproduceeitherthickorthinslicesforuniformdehydrating.
• Handyforslicinghomemadeorbakerybread:agreatcompanionforyourbreadmachine.
Use extreme caution at all times to avoid contacting the edge of the blade.
Cleaning and Maintenance
Note: Before cleaning, removing the blade or undertaking other maintenance always unplug the cord
from the outlet. Never immerse the slicer in water or other liquid.
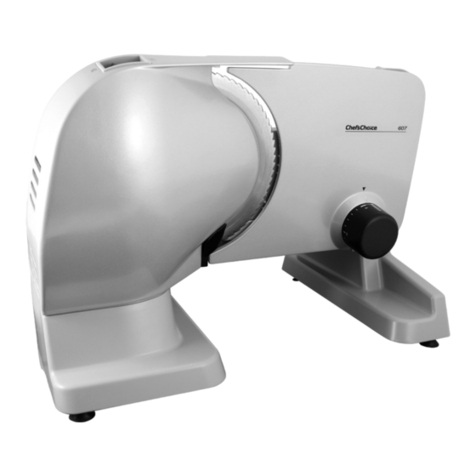
Cleaning: Slicer parts can be removed as described in the following sections for thorough cleaning.
Wash with a soft cloth or sponge and a mild soap or spray cleaner. Rinse and dry.
- Never use steel wool or scouring powder on any parts.
- Do not wash any part of the slicer in dishwasher.
Removing the Food Carriage:
Turn the thickness control knob clockwise until it stops. Turn carriage removal knob (Figure 6) counter-clock-
wise until it comes off. Carefully pull carriage off threaded stud. Lift off the food carriage with the attached
food pusher and wash them in a sink using a mild soap. Do not wash these parts in the dishwasher.
To replace the carriage, follow the above directions in reverse. Make sure the carriage is properly positioned
and tightened securely. With proper installation the carriage should not jiggle.
Cleaning the Blade (without removal of blade):
Make sure the thickness control knob is turned fully clockwise so that the thickness control blade “covers”
the blade edge. Remove the blade guard (5) by unscrewing the retaining screw on back of motor housing
(Figure 7). Clean the guard in the sink or with a spray cleaner.
Now, carefully clean the front of the blade with a moist sponge or cloth. Most – but not all of the back
of the blade can similarly be cleaned with a moist sponge or cloth, by carefully rotating the front of the
blade by hand (touch only the flat side of the blade, not the edge), to expose additional sections of the
blade. For a more thorough cleaning of the blade see the next page.
Cleaning Other Parts of the Slicer:
The slice deflector (15), shown in Figure 2, can be removed with a screwdriver (put screws away for
safekeeping) and cleaned in the sink or using a mild spray cleaner. The area behind the slice deflector
can be cleaned with a bottle brush.


