manuals.online logo
Brands
  1. Home
  2. •
  3. Brands
  4. •
  5. Childcare
  6. •
  7. Indoor Furnishing
  8. •
  9. Childcare Universal Change Table 092100 User manual

Childcare Universal Change Table 092100 User manual

www.childcare-prod.com.au www.childcare-prod.com.au
Additional products and accessories available in leading department stores
and nursery speciality shops include:-
Portable Cots, Change Tables, Highchairs, Hook on Highchairs, Safety
Gates, Bed Guards, Rockers, Parasoles, Pramettes, Strollers, Walkers,
Nappy Bags, Rain Covers and Wooden Cots.
Warranty
The manufacturer warrants this product to be free from defects in material
and workmanship under normal use and service following the date of
purchase for 12 months. This warranty shall not apply to damage arising
from neglect, incorrect assembly, accidental damage to, or misuse of the
product. Attempts to repair the cot other than by a Childcare Nursery
Product’s representative are not covered under this warranty. Where a
failed component or cot is replaced under warranty, the balance of the
original warranty will remain effective. The replaced component or cot does
not carry a new warranty. This warranty is only valid to the original
purchaser and is not transferable in any way.
6
Due to our continuing programme of development, Childcare reserves the right to alter the
specifications, colour or design without further notice.
Due to variations in the style and design of our products, the illustrations used in this
instruction manual are generic.
Keep this booklet in a safe place for future reference
Note: Colour and features of product may differ from the diagrams shown
Childcare Nursery Products Pty Ltd
20-22 Lindaway Place Tullamarine Vic 3043
Phone: 03 9335 2244 Fax: 03 9335 2270
email: [email protected]
Instruction Booklet
This product is not intended for commercial use.
Line Drawing to
be inserted by
Factory
Line Drawing to
be inserted by
Factory
Universal Change Table
(model# 092100)
Stirling Change Table
(model# 092120)
Universal/Stirling Change Table
092100/092120
Model
Universal/Stirling Change Table
Features:
• Classic style and high quality three tier timber change table.
•Sturdy construction with smooth slat sides.
•Two lockable castors with brakes for easy manoeuvrability.
•Adjustable safety strap to hold baby securely.
•Suitable from birth to 12 months or 12 kg, which ever comes first.
•Change table designed to fit a change mat size of 750 x 500 mm- not
included.
www.childcare-prod.com.au www.childcare-prod.com.au23
WARNING
• NEVER LEAVE CHILD UNATTENDED ON CHANGE TABLE.
• USE THE SAFETY STRAPAT ALL TIMES.
• TO PREVENT FALLS, DO NOT USE CHANGE MAT WITH A
THICKNESS OF MORE THAN 30 MM.
• WHEN LOCKABLE CASTORS/WHEELS ARE FITTED, THEY
SHOULD BE LOCKED WHEN THE CHANGING UNIT IS IN USE.
Care and Maintenance
Always check parts regularly for tightness of screws, nuts and other
fasteners – tighten or replace if required. To maintain the safety of your
nursery product, seek prompt repairs for bent, torn, worn or broken
parts. Use only those parts and accessories approved by Childcare
Nursery Products.
For cleaning, wipe with damp cloth and use a mild soap solution if
necessary. Do not use detergent or abrasives on wooden surfaces.
Always store product in a clean dry place.
Helpful Hints
If any parts squeak, use a silicon based spray, ensuring it penetrates
mechanism sufficiently.
If you have any difficulties in assembling the change table, please contact
our Service Department on 9335 2244.
How to Care for your Childcare Product
BEFORE ASSEMBLING THE CHANGE TABLE, PLEASE READ THE
INSTRUCTIONS CAREFULLY AND ALWAYS KEEP THESE
INSTRUCTIONS IN A SAFE PLACE FOR FUTURE REFERENCE.
Recommended change mattress size
This change table has been manufactured for use with a change mat which
measures 750 mm long and 500 mm wide and up to 30 mm in
thickness.
Some do’s and don’ts
• All assembly fittings should always be tighten properly.
• To prevent falls, do not leave your baby unattended on the change table
and use the safety strap provided to secure your baby at all times.
• Both brakes on the castors must be applied before placing your baby on
the change table.
• Discontinue use once child turns 12 months or 12 kg, whichever comes
first.
• Do not allow older children to climb or play on the change table.
• Do not use acessories other than those supplied and approved by
Childcare Nursery Products.
• Promptly replace worn out or broken parts.
• Do not overtighten the bolts.
• Do not use this change table if any part is broken, torn or missing.
• Ensure children are clear of any moving parts when adjusting the change
table.
• Retain your warranty card and keep your sales receipt to provide proof
of purchase.
WARNING
• NEVER LEAVE CHILD UNATTENDED ON CHANGE TABLE.
• USE THE SAFETY STRAP AT ALL TIMES.
• TO PREVENT FALLS, DO NOT USE CHANGE MAT WITH A
THICKNESS OF MORE THAN 30 MM.
• WHEN LOCKABLE CASTORS/WHEELS ARE FITTED, THEY
SHOULD BE LOCKED WHEN THE CHANGING UNIT IS IN USE.
www.childcare-prod.com.au www.childcare-prod.com.au
4 5
• Attach both top shelf sides into the
headboard as per the diagram by
aligning the shelf grooves with the
headboard slots. Insert bolts into the
holes on headboard making sure they
are secure but not tight.
• Place the headboard onto its back and
gently slide the top shelf along the
grooves of the headboard.
• Attach the foot end to the shelves by
aligning the foot end to the shelf
grooves.
• Secure the remaining six bolts into the
foot end of the Stirling Change Table.
• Secure the remaining eight bolts into the
foot end of the Universal Change Table.
PARTS
Headboard Foot End Shelves X 2
Top Shelf Castors X 2
Universal Bolts X 16
Stirling Bolts X 14
Allen Key
Assembly Instructions
As small parts are involved in assembly, children should be kept clear of the
assembly area. Dispose of all packaging material immediatey after the
change table is assembled. Identify all parts and components. Clear an area
on the floor for assembly and place a sheet on the floor to ensure the
change table will not be scratched during assembly.
• Insert castors into headboard legs.
Stand end up and apply body weight
to securely attach castors into place.
Place the headboard on the sheet, on
its side as per the diagram.
• Attach both the middle and end
shelves into the headboard as per the
diagram by aligning the shelf grooves
with the headboard slots.
• Insert eight bolts into the holes on
headboard making sure they are
secure but not tight.
• Once all bolts are secure, stand
change table up and tighten all bolts.
WARNING: DO NOT OVERTIGHTEN
BOLTS

This manual suits for next models

1

Other Childcare Indoor Furnishing manuals

Childcare Osmo Beech User manual

Childcare

Childcare Osmo Beech User manual

Childcare Kids 094114 User manual

Childcare

Childcare Kids 094114 User manual

Childcare lullabye 036140M-267 User manual

Childcare

Childcare lullabye 036140M-267 User manual

Childcare Glider Rocking Chair & Ottoman "Sand" User manual

Childcare

Childcare Glider Rocking Chair & Ottoman "Sand" User manual

Childcare BabyDen User manual

Childcare

Childcare BabyDen User manual

Childcare Osmo 094111 User manual

Childcare

Childcare Osmo 094111 User manual

Childcare 091203 User manual

Childcare

Childcare 091203 User manual

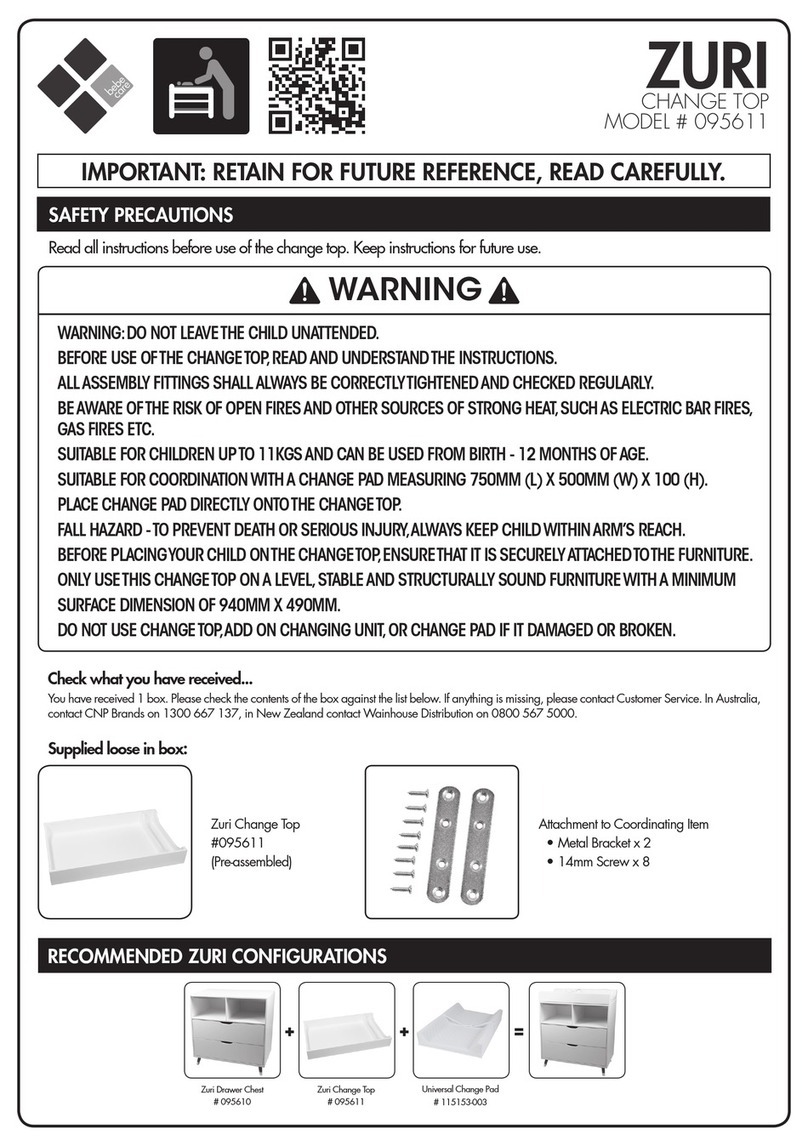
Childcare ZURI 095611 User manual

Childcare

Childcare ZURI 095611 User manual

Popular Indoor Furnishing manuals by other brands

Next 388553 Assembly instructions

Next

Next 388553 Assembly instructions

Furniture of America CM3319W-SC-2PK Assembly instructions

Furniture of America

Furniture of America CM3319W-SC-2PK Assembly instructions

ofichairs President quick start guide

ofichairs

ofichairs President quick start guide

Bestar 99700-1139 Assembly instructions

Bestar

Bestar 99700-1139 Assembly instructions

Garden Oasis D71 M25975 owner's manual

Garden Oasis

Garden Oasis D71 M25975 owner's manual

Jahnke CKUB C 135 quick start guide

Jahnke

Jahnke CKUB C 135 quick start guide

Merax DAY Assembly instructions

Merax

Merax DAY Assembly instructions

Next BRONX A77415 Assembly instructions

Next

Next BRONX A77415 Assembly instructions

Bob's Discount Furniture Maxwell Upholstered Trundle Assembly instructions

Bob's Discount Furniture

Bob's Discount Furniture Maxwell Upholstered Trundle Assembly instructions

Furniture of America CM3615T-48 Assembly instructions

Furniture of America

Furniture of America CM3615T-48 Assembly instructions

HENN C63-35 Assembly instructions

HENN

HENN C63-35 Assembly instructions

Kimball XSEDE Assembly instructions

Kimball

Kimball XSEDE Assembly instructions

L.L.Bean HOME MISSION quick start guide

L.L.Bean

L.L.Bean HOME MISSION quick start guide

modway EEI-2547 quick start guide

modway

modway EEI-2547 quick start guide

Crate and Barrel 443500 Assembly instructions

Crate and Barrel

Crate and Barrel 443500 Assembly instructions

Sauder 414443 Assembly instructions

Sauder

Sauder 414443 Assembly instructions

Instant Desks IDA-8050 Assembly instructions

Instant Desks

Instant Desks IDA-8050 Assembly instructions

Furniture of America CM6314CH Assembly instructions

Furniture of America

Furniture of America CM6314CH Assembly instructions

manuals.online logo
manuals.online logoBrands
  • About & Mission
  • Contact us
  • Privacy Policy
  • Terms and Conditions

Copyright 2025 Manuals.Online. All Rights Reserved.