Americas Headquarters
Cisco Systems, Inc.
170 West Tasman Drive
San Jose, CA 95134-1706
USA
http://www.cisco.com
Tel: 408 526-4000
800 553-NETS (6387)
Fax: 408 527-0883
Cisco, Cisco Systems, the Cisco logo, and the Cisco Systems logo are registered trademarks or
trademarks of Cisco Systems, Inc. and/or its affiliates in the United States and certain other
countries. All other trademarks mentioned in this document or Website are the property of their
respective owners. The use of the word partner does not imply a partnership relationship between
Cisco and any other company. (0705R)
© 2009 Cisco Systems, Inc. All rights reserved.
Printed in the USA on recycled paper containing 10% postconsumer waste.
78-19010-01
STEP 9(Optional) If the Cisco PVC2300 or WVC2300 camera is not
functioning correctly, you can press the Reset button to reset the
camera. The Reset button is found next to the Ethernet port. Insert a
paper clip into the opening and hold it in for twelve seconds. Be aware
that resetting the camera will erase all of your settings and return the
camera to factory defaults.
NOTE If you are installing the PVC2300 camera, you are done with
the camera installation. However, if you are installing the
WVC2300 camera, proceed to the next step.
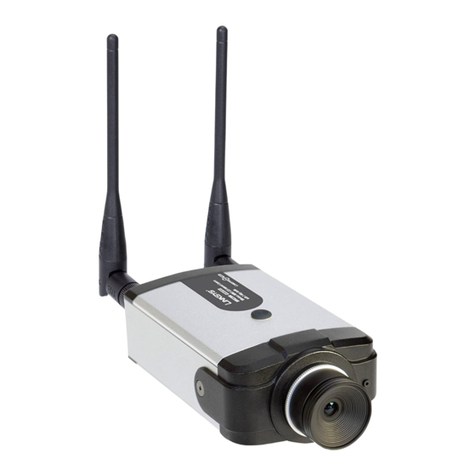
STEP 10 Connect each of the two antennas to the antenna connectors on the
back of the camera.
STEP 11 Place the antennas in an upright position.
Configuration
Follow these steps to configure your camera.
STEP 1Insert the Setup CD into the CD-ROM drive of your PC. If the CD
doesn’t run automatically, go to My Computer and click on the
CD-ROM drive to launch the application.
STEP 2When the Setup screen appears, click the Start button.
STEP 3Follow the Setup Wizard instructions to configure the Cisco PVC2300
and WVC2300 cameras.
TIPS
• Refer to the complete instructions found in the Cisco PVC2300 and
WVC2300 Internet Video Camera with Audio Administration Guide at the
following location:
http://www.cisco.com/en/US/products/ps9944/
prod_maintenance_guides_list.html.
• As you go through the configuration, the default user name and password
is admin. Type admin in lowercase letters in the User name and Password
fields when prompted, then click OK.
• If the Setup Wizard does not find your Cisco PVC2300 or WVC2300
camera, you need to enable UPnP on your computer. Instructions on how to
enable UPnP are found in the Cisco PVC2300 and WVC2300 Internet
Video Camera with Audio Administration Guide.
http://www.cisco.com/en/US/products/ps9944/
prod_maintenance_guides_list.html.
Wired and Wireless Modes
NOTE This section applies to the Cisco WVC2300 camera.
After the initial configuration, you can use the camera in one of two modes:
wired or wireless. You cannot use the camera in both modes simultaneously.
To switch between wired and wireless modes, power cycle the camera with an
Ethernet cable attached for a wired solution, or power cycle the camera without
an Ethernet cable attached for a wireless solution.
Verify the mode you are in by viewing the LEDs. Unplugging the Ethernet cable
does not automatically switch the camera to wireless mode.
Adjusting the Lens
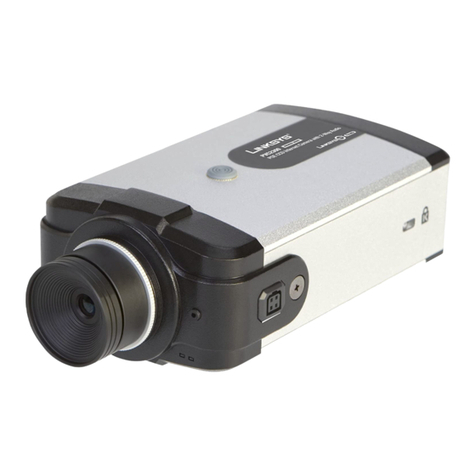
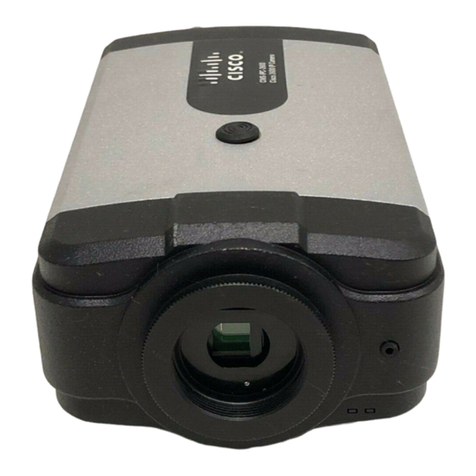
The Cisco Small Business Internet Video Camera uses an adjustable CS mount
lens.
Adjust the focus by slowly rotating the camera Lens Focus clockwise or
counterclockwise.
NOTE The resolution and video quality can be adjusted from the
Audio/Video > Video window in the web-based utility. Use
the camera Lens Focus to fine tune the image.
Where to Go from Here
Resource Location
Product Information www.cisco.com/go/surveillance
Te c h n i c a l
Documentation
http://www.cisco.com/en/US/products/ps9944/
tsd_products_support_series_home.html
Customer Support www.cisco.com/en/US/support/
tsd_cisco_small_business_support_center_contacts.
html
Open Source License
Notices
www.cisco.com/go/osln
Regulatory
Compliance and
Safety Information
www.cisco.com/en/US/products/ps9944/
tsd_products_support_series_home.html
Warranty Information www.cisco.com/go/warranty
Cisco Partner Central
site for Small Business
www.cisco.com/web/partners/sell/smb
