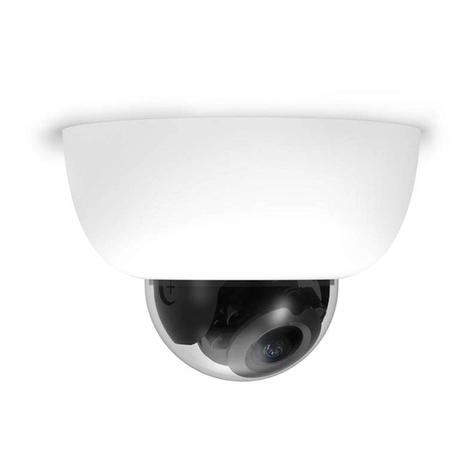
Powering the MV93 Series
The MV93 features a 1000BASE-TX Ethernet port and requires 802.3at PoE+ minimally for operation. Route the Ethernet cable from an active port on a PoE
switch or injector.
Note: Power over Ethernet supports a maximum cable length of 300 ft (100 m).
Pre-Install Preparation
You should complete the following steps before going on-site to perform an installation:
Configure Your Network in the Dashboard
The following is a brief overview of the steps required to add an MV93 series camera to your network. For detailed instructions about creating, configuring and
managing Meraki Camera networks, refer to the online documentation (https://documentation.meraki.com/MV).
1. Login to https://dashboard.meraki.com. If this is your first time, create a new account.
2. Find the network to which you plan to add your cameras or create a new network.
3. Add your cameras to your network. You will need your Meraki order number (found on your invoice) or the serial number of each camera, which looks
like Qxxx-xxxx-xxxx, and is found on the bottom of the unit.
4. Verify that the camera is now listed under Cameras > Monitor > Cameras.
Check and Configure Firewall Settings
If a firewall is in place, it must allow outgoing connections on particular ports to IP addresses. The most current list of outbound ports and IP addresses for your
organization can be found under Help>Firewall Info on the dashboard.
DNS Configuration Best practices for LAN Streaming
Each camera will generate a unique domain name for secured direct streaming functionality. These domain names resolve an A record for the private IP address
of the camera. Any public recursive DNS server will resolve this domain.
If utilising an on-site DNS server, please whitelist *.devices.meraki.direct or configure a conditional forwarder so that local domains are not appended to
*.devices.meraki.direct and that these domain requests are forwarded to Google public DNS.
Assigning IP Addresses
Currently, the MV93 series camera does not support static IP assignment. MV93 units must be added to a subnet that uses DHCP and has available DHCP
addresses to operate correctly.
Installation Instructions
Note: During first-time setup, the MV93 series will automatically update to the latest stable firmware. Some features may be unavailable until this automatic
update is completed. This process may take up to 5 minutes to enable whole disk encryption. The state of this process can be monitored by referencing the MV
LED Status.
3

