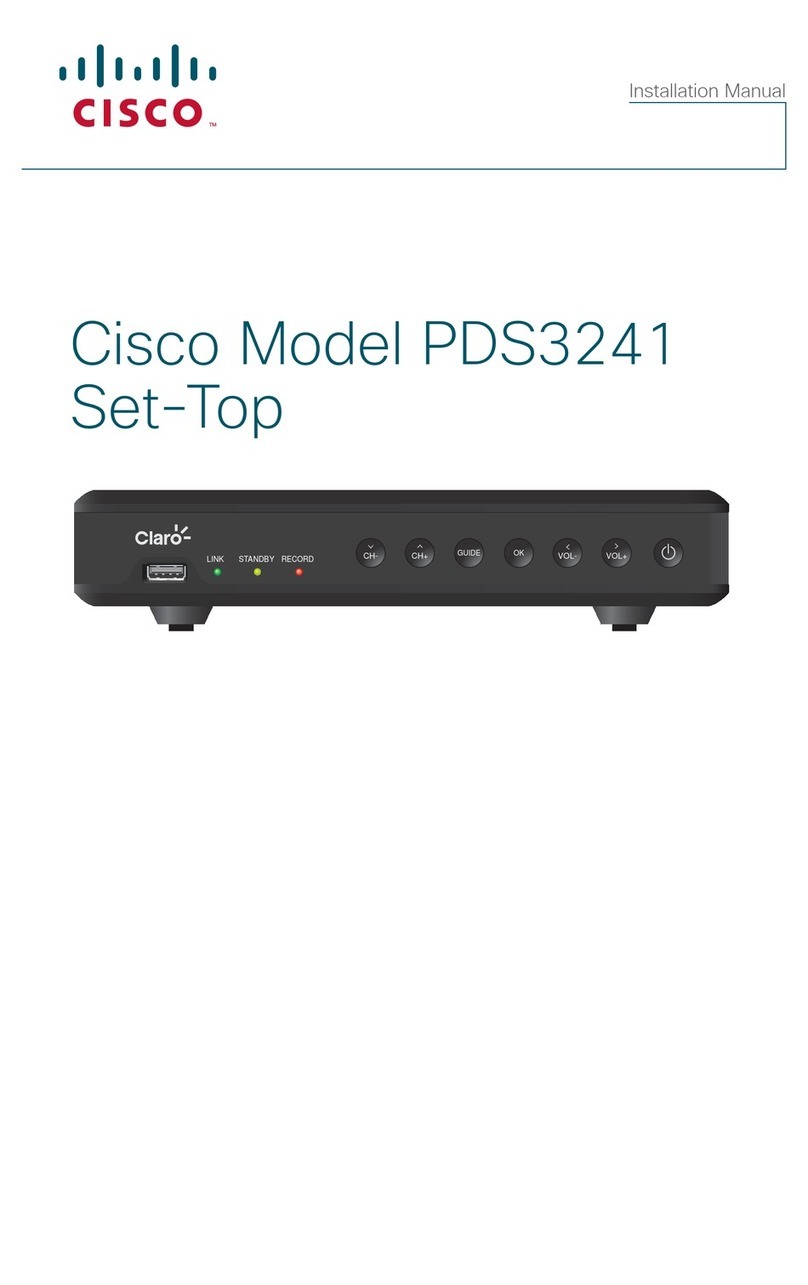
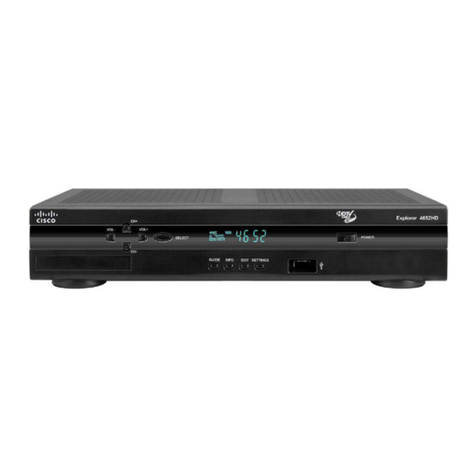
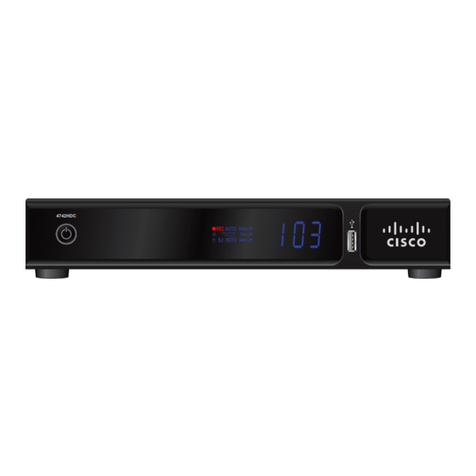
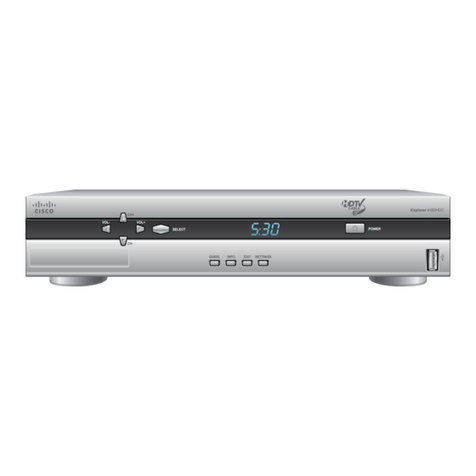
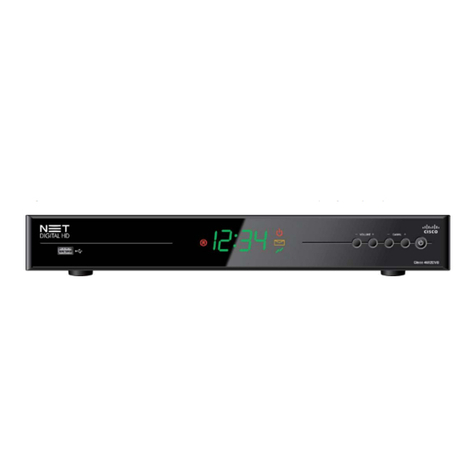
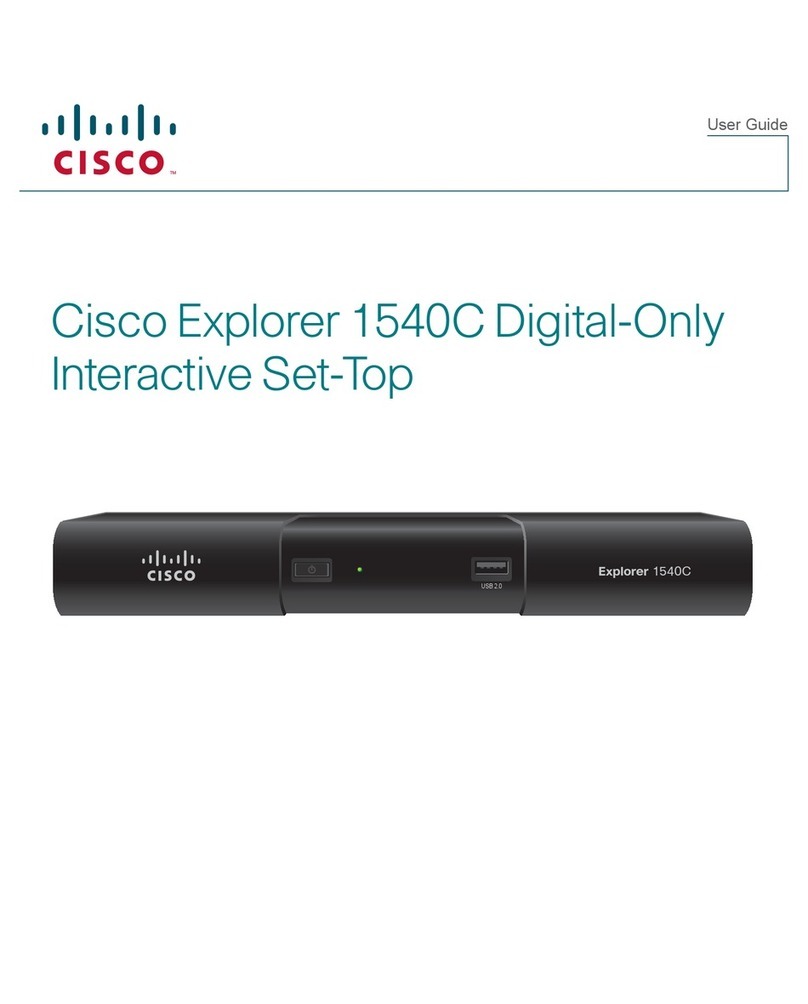
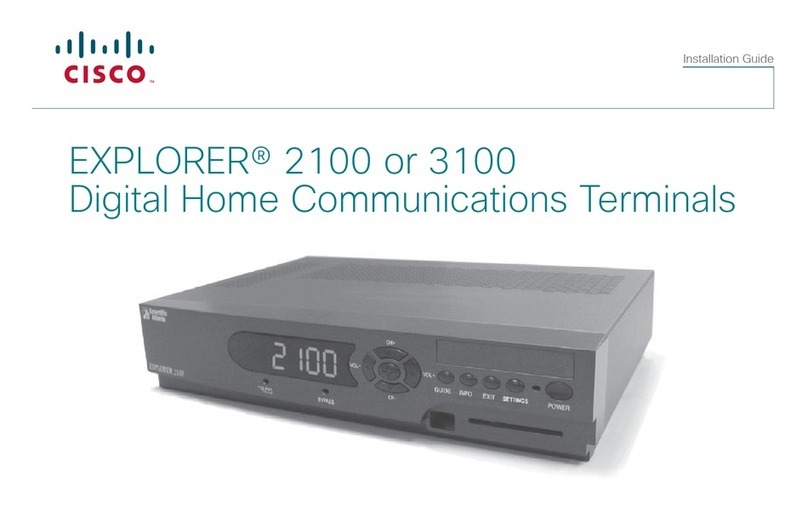
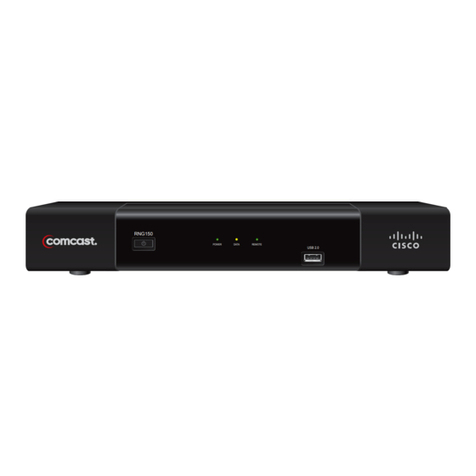
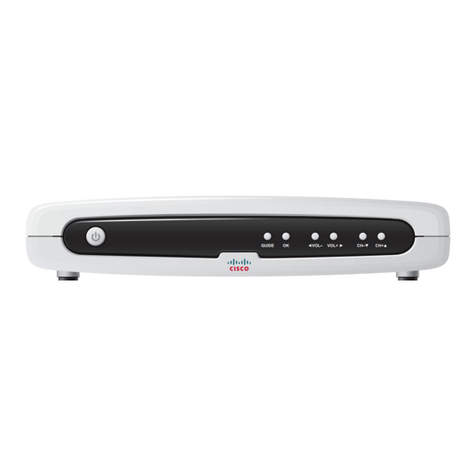
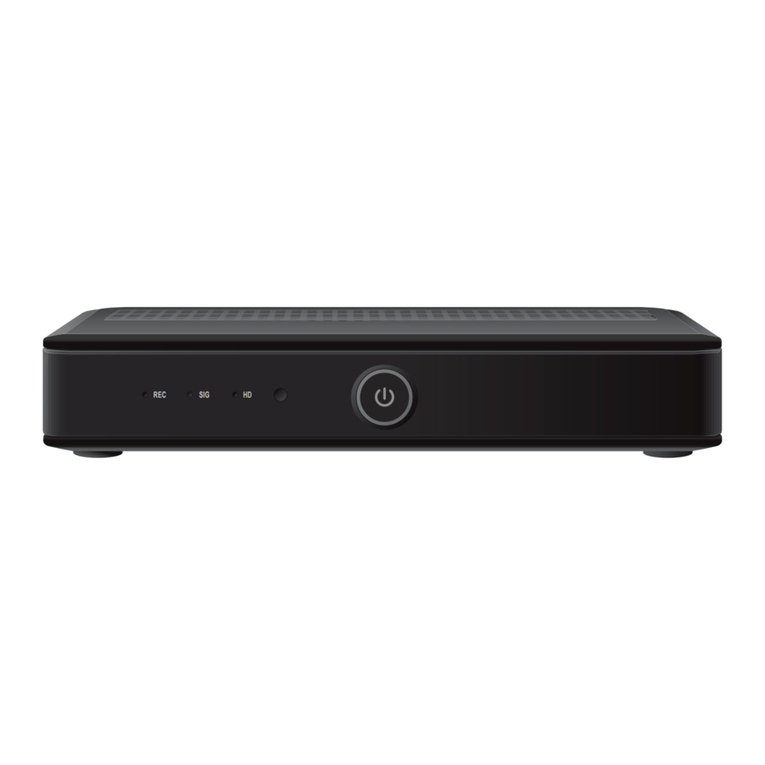
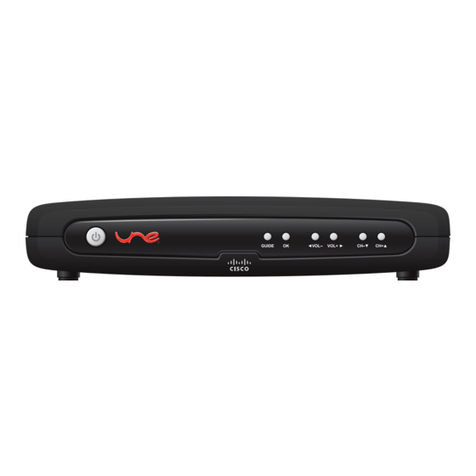
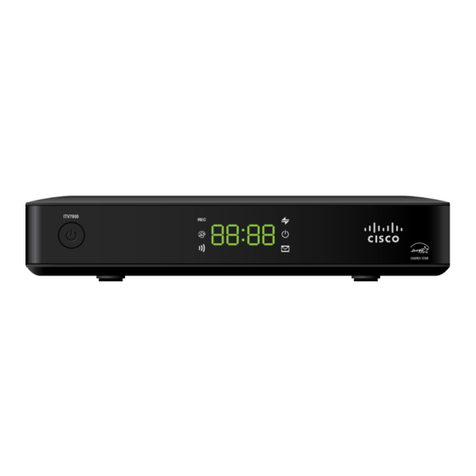
Cisco ISB7050 User manual

TV User Guide
Internet | Phone | TVInternet
TV User
Guide


Welcome!
Thank You for
Choosing Solarus TV.
This User Guide contains information to help you get acquainted with
your Solarus TV service. Over the next few pages, we’ll walk you
through getting started and introduce you to some handy features and
customization options that are sure to enhance your viewing experience.
Once you set your preferences, you’ll want to take a moment to get
to know Solarus’ advanced Whole-Home DVR system (if subscribed).
You’ll never miss a single minute of your favorite programming! Record
multiple shows simultaneously and access recordings from any TV in
your house. You can even start watching a recording in one room and
pick it up in another.
We also invite you to take advantage of Solarus TV Everywhere. If you
have access to Internet, you can login to watch your favorite shows from
a tablet, smartphone or computer – anywhere in the world – thanks to
the convenience of TV Everywhere! See page 34 to get started.
Lastly, keeping you connected is our top priority. We back all of our
services with 24/7 LOCAL technical support. Whether you’ve forgotten
your PIN, have a question, or are experiencing issues with your service,
our highly skilled agents can quickly analyze, diagnose and resolve your
issues over the phone, by email or via live chat.
24:HOUR
715-421-6085
LOCAL
TECH SUPPORT

4
Table of Contents
Getting Started
• Remote Control Functions . . . . . . . . . . . . . . . . . . . . . . . . . . . . . . . . . . . . . . . . . . . . . . . . . . . . 6
• Programming Your Remote . . . . . . . . . . . . . . . . . . . . . . . . . . . . . . . . . . . . . . . . . . . . . . . . . . . .7
• Get to know your Solarus Set-Top/DVR Box . . . . . . . . . . . . . . . . . . . . . . . . . . . . . 8
• The Menu . . . . . . . . . . . . . . . . . . . . . . . . . . . . . . . . . . . . . . . . . . . . . . . . . . . . . . . . . . . . . . . . . . . . . . . . . . 11
• Settings . . . . . . . . . . . . . . . . . . . . . . . . . . . . . . . . . . . . . . . . . . . . . . . . . . . . . . . . . . . . . . . . . . . . . . . . . . . 13
• Set Parental Controls . . . . . . . . . . . . . . . . . . . . . . . . . . . . . . . . . . . . . . . . . . . . . . . . . . . . . . . . . . 14
• Channel Blocking . . . . . . . . . . . . . . . . . . . . . . . . . . . . . . . . . . . . . . . . . . . . . . . . . . . . . . . . . . . . . . . 16
Watching TV
• The Guide Styles . . . . . . . . . . . . . . . . . . . . . . . . . . . . . . . . . . . . . . . . . . . . . . . . . . . . . . . . . . . . . . . . 18
• Favorites Lists . . . . . . . . . . . . . . . . . . . . . . . . . . . . . . . . . . . . . . . . . . . . . . . . . . . . . . . . . . . . . . . . . . . 19
• View in HD . . . . . . . . . . . . . . . . . . . . . . . . . . . . . . . . . . . . . . . . . . . . . . . . . . . . . . . . . . . . . . . . . . . . . . . . 19
• Search . . . . . . . . . . . . . . . . . . . . . . . . . . . . . . . . . . . . . . . . . . . . . . . . . . . . . . . . . . . . . . . . . . . . . . . . . . . . . 20
• Browse Recent Channels . . . . . . . . . . . . . . . . . . . . . . . . . . . . . . . . . . . . . . . . . . . . . . . . . . . . . . 21
• Browse Live TV by Category. . . . . . . . . . . . . . . . . . . . . . . . . . . . . . . . . . . . . . . . . . . . . . . . . 21
• Picture in Picture (PIP) Preview . . . . . . . . . . . . . . . . . . . . . . . . . . . . . . . . . . . . . . . . . . . . 22
• Time Shifting. . . . . . . . . . . . . . . . . . . . . . . . . . . . . . . . . . . . . . . . . . . . . . . . . . . . . . . . . . . . . . . . . . . . . 22
• Video On Demand (VOD) . . . . . . . . . . . . . . . . . . . . . . . . . . . . . . . . . . . . . . . . . . . . . . . . . . . . 23
• Pay-Per-View (PPV) . . . . . . . . . . . . . . . . . . . . . . . . . . . . . . . . . . . . . . . . . . . . . . . . . . . . . . . . . . 25
• Solarus Caller ID . . . . . . . . . . . . . . . . . . . . . . . . . . . . . . . . . . . . . . . . . . . . . . . . . . . . . . . . . . . . . . . . 26
Recording TV
• Live Recording . . . . . . . . . . . . . . . . . . . . . . . . . . . . . . . . . . . . . . . . . . . . . . . . . . . . . . . . . . . . . . . . . . 28
• Recording TV Menu. . . . . . . . . . . . . . . . . . . . . . . . . . . . . . . . . . . . . . . . . . . . . . . . . . . . . . . . . . . . 30
• Conflict Management . . . . . . . . . . . . . . . . . . . . . . . . . . . . . . . . . . . . . . . . . . . . . . . . . . . . . . . . . 32
Watch TV Everywhere
• Registration . . . . . . . . . . . . . . . . . . . . . . . . . . . . . . . . . . . . . . . . . . . . . . . . . . . . . . . . . . . . . . . . . . . . . . 34
Frequently Asked Questions
• Questions about your Solarus Set-Top/DVR Box. . . . . . . . . . . . . . . . . . . . . . 36
• Questions about Managing your Recordings . . . . . . . . . . . . . . . . . . . . . . . . . . . 37

5
Getting Started
To Access Your Solarus TV Service:
Remote Control Batteries
To change the batteries, you will need to gently press the cover tab and lift
the cover up. Other ways of opening the cover may result in breaking the cover.
The batteries should be installed observing the polarity indicated on the inside
of the battery compartment.
Note: All customized features (i.e. Parental Controls, Adult Content Locking,
Favorites, Settings) are specific to the Set-Top Box (STB) that you save
them to. If you want to set up Parental Controls, Favorites, etc. on multiple
TV’s, you’ll have to program the settings to each STB.
1. Press the STB button on your remote control.
2. Press the Power button on your remote control, this will power
on your TV and STB/DVR Box simultaneously.
3. Press the Menu button to display the main menu.
4. Use the arrow keys to: Search, Browse Live TV, view Recorded
TV, explore On Demand programming,
adjust your Caller ID preferences in Applications
or access Settings.
Getting Started

6
Remote Control Functions
To get the most from your Solarus TV service, we recommend you take a moment
to familiarize yourself with the remote control.
Use your remote to access programs, adjust volume, control your Set-Top/
Whole-Home DVR Box and On Demand selections as well as scroll through
and confirm actions within the on-screen menus.
Mode buttons to control TV and additional devices
Rewind/Fast
Forward controls
Pause your
programming
Go to the main
menu screen
Closed captioning
Display program
information
Quick access to
Caller ID History
Browse channels
Review last 5
channels viewed
Customize guide,
channel and
viewing options
Access your
on screen
program guide
Go directly to your
list of recorded
programs
OK confirms
your menu and
guide selections
Skip forward
in 30 second
increments
Record TV
Stop recording
or replay modes
Skip back in
7 second increments
Go to the Video
On Demand menu
Return to previous
menu screen
Use the cursor keys
to navigate guide
and menu screens
Return to
live TV
Quick access
to Favorites
Adjust volume
Edit text on the
search screen
and PIN fields
Quick access
to Search

7
Our professionally trained Installation Technicians will program your remote
control(s) at the time of your initial install. If you have purchased a new TV and
need to reprogram the remote, you can either contact our Technical Assistance
Center at 715-421-6085 for help or follow these instructions below.
Automatic Programming
• Turn on the TV.
• Press and hold the TV Mode button first, and then press and hold the OK
key at the same time for about 3-5 seconds. When released, all mode keys
should blink twice.
• Press 9 2 2, TV Mode button should blink 3 times.
• Point the remote at the TV and press PLAY, press and release until the TV
turns o.
• Press the Enter/Zoom key when the TV turns o, the TV key will flash 3 times.
• If you miss the code, you must start over.
• Alternatively, instead of repeatedly pressing the play button over and over,
you can just hold it down and it will cycle through the codes. Once the TV
turns o, just let go of the play button. If you let go as soon as the TV goes
o, you should be on the code.
Manual Programing
• Turn on the TV.
• Press and hold the TV Mode button first, and then press and hold the OK
button at the same time for about 3-5 seconds. When released, all mode
keys should blink twice.
• Enter the 4 digit setup code for your TV (codes can be found at:
www.solarus.net/wp-content/uploads/2014/11/Remote-Control-User-Manual.pdf).
The TV key will blink 3 times.
• Press POWER, the TV turns o if it was the correct code.
• Repeat previous steps if the TV does not turn o.
Getting Started
Programming Your Remote Control

8
Get to Know Your Solarus Whole-Home Set-Top/DVR Box
Your Solarus STB/DVR Box supports all of Solarus’ TV services including HD,
Recording, Pay-Per-View, and Video on Demand.
To ensure optimum performance, we recommend your STB/DVR Box be handled
much in the same way as a computer.
• Position it in an open space to allow airflow around the STB/DVR Box.
• Do not place the STB/DVR Box in an enclosed entertainment unit or cabinet.
• Do not place the STB/DVR Box on a soft surface such as a rug, sofa, bed or
other similar surface.
• The STB/DVR Box should not be next to an external heat source that could
raise the temperature of the unit.
• Connection into a surge protector along with your other audio/video
equipment is highly recommended.
Front Panel
Set-Top Box (STB)
Item Description Function
The power button will turn the STB/DVR Box on and o.
1 Power When held for more than 5 seconds the STB/DVR Box is restarted.
Green light indicates the power is on
2 Link LED Green light indicates data or programming stream is being received
3 HD LED Blue light indicates the STB/DVR Box is in HD mode
(720p or 1080i setting mode)
4 Record Red light indicates program recording
5 Menu Press the Menu button to activate the on-screen menu
Up, down, Up to view recent channels; Down to see On Now,
6 left and right Right to explore viewing options;
arrow buttons Left to access the menu
7 OK Confirms channels or menu options
8 USB Port USB 2.0 Connector, not supported at this time, reserved for future use
1 82 3 4 5 6 7

9
Getting Started
TROUBLESHOOTING TIP:
Most minor issues can be resolved by rebooting your Set-Top Box.
This can be accomplished in either of the following ways:
1. Unplug the power cord (#12) and wait 20 seconds.
2. Reconnect the cord. System will start the reboot process.
This may take up to five minutes.
3. Press the Menu button on your remote control.
4. Scroll to Settings and press OK.
5. Scroll down to Restart System and press OK. The system will
start the reboot process. This may take up to five minutes.
Rear Panel
Item Description Function
1 To Wall (Video In) Coax input for home video network
2 To TV (Video Out) Coax output for TV or VCR
3 Network Ethernet Port
4 eSATA eSATA connector not currently supported, reserved for future use
5 Y PB PR Components to connect video output to an HDTV
6 S-Video Video output for VCR or TV with S-Video connections
7 Video Out RCA output to connect to TV, VCR, DVD recorder or other device
8 Audio Out L & R Left and Right RCA stereo audio output
9 Optical S/PDIF audio output to a digital home theater receiver menu
10 HDMI Input for high-definition TV or home theater receiver
with HDMI connection
11 USB USB 2.0 connector, not currently supported, reserved for future use
12 Power +12V DC DC power adaptor connection
1 113 5 6 9 102 7 8 124

10
STB/DVR Initial Boot Up
Once you have completed connecting your STB/DVR Box to your TV, turn the
box on. The box will boot up and communicate with the Solarus server in order to
download all programming information. This process can take up to 5 minutes.
Standby/Sleep Mode
The Standby/Sleep Mode is identified
by a screen with a “Press OK to watch
TV” message.
Your STB/DVR Box will go into
Standby or Sleep Mode in the
following instances:
• A VOD program or DVR recording has reached the end and is
waiting on a response.
• If you reach your network capacity you will be given the option to discontinue
one of the functions. If you choose to continue on the current box, the others
will go into Standby/Sleep Mode. If no action is taken, the current box will go
into Standby/Sleep Mode.
To bring your STB/DVR box out of Standby/Sleep Mode press OK to begin
watching TV.
Note: If your STB/DVR Box is in Standby/Sleep Mode, this does not mean the box
is powered o. When the unit is in Standby/Sleep Mode, it is still pulling a
data/video stream and is using bandwidth. In order to free up a stream you
will want to power o the box by pressing the Power button. When the
green light turns o, the unit is turned o.
When in use or powered on, each STB counts as a program being watched.
If you see a message that displays “Too many devices in use” on your TV
screen, ensure the set-top boxes not in use are powered o by pressing
the Power button.

11
Menu Settings
Getting Started
Use the menu button to Search, Browse Live TV,
views your Recorded TV, access the Video On
Demand library, access Applications (Caller ID),
and manage your system Settings.
Access The Menu
1. Press the Menu button.
2. Use the arrow keys to select an option.
3. Press OK to access one of these options.
Options Use Functions
Search Use the Search function to find programs in the guide
or On Demand library by Title, Keyword or People
Browse Live TV Guide Styles Choose the way your guide appears
Live TV Filters Filter programming by category (Sports, Kids, News,
Comedy, etc)
Favorites Manage and access lists of your favorite channels
Recorded TV Manage or view DVR recordings by Date, Title, or Series
Add or edit existing recordings
On Demand My Rentals View VOD titles that you have rented up to 72 hours
after your initial rental confirmation (availability time
varies by title)
Movies View a listing of movies that are available for rent
Free On Demand View a listing of FREE content available with your
Solarus TV subscription
Premium View a listing of premium content
Events View a listing of music, sporting, or other special event
programming
Search Find content with a specific movie or actor’s name
Applications Caller ID Management View and manage your Caller ID Settings
and Caller ID History
Settings General Manage your System settings
Television Manage your Guide, Favorites and Display settings
Audio Manage your Audio settings
Parental Controls Manage your Set-Top/DVR Box parental controls
Restart System Use the Restart System function to automatically
reboot your Set-Top/DVR Box

12
Menu Settings
Use the Settings menu to manage your STB/DVR box settings and preferences.
QUICK KEYS:
Activate your “Search” feature.
View your “Favorite” channels.
View your “Caller ID History” feature.
Options Use Functions
General System Sound Choose to allow or mute the sound eects you hear
Eects while navigating through your Set-Top Box menus and
program guide
On Screen Language Choose the preferred language for your
on screen displays.
System Information View network and system information
RF Output Channel Select the channel your TV should be tuned to in order
to view your Digital TV service. Channel 4 is the
recommended output channel
Television Customize Channel Choose the channels that you would like to have
Guide displayed or suppressed
Set Up Favorites Create lists of your favorite channels
Recent Set your recently viewed preferences when pressing
Panel Settings the last button
Subscribed Choose to see all available channels in your guide or
Channel Settings just those you are subscribed to
Primary Guide Style Choose from a Grid, Channel Line Up or OnNow styles
for your on screen program guide
Screen Aspect Ratio Select the aspect ratio for your Set-Top/DVR Box display.
and High Definition 1080i is the recommended selection for HD TV’s, 4:3 is
the recommended for SD, the default setting is 480i
Closed Caption Activate/deactivate digital or standard
closed captioning
Subtitles Language Toggle subtitles on/o and choose preferred language
Settings
TV Receiver Name Designate descriptive names for each receiver
in your home
Audio Audio Language Choose your preferred audio language
Audio Description Enable/disable audio descriptions. Audio descriptions
are secondary audio streams that provide descriptions
of the visuals in the program to assist those with visual
impairments
Digital Audio Output Choose from Stereo or Surround sound
Parental Parental Locking Activate and manage the parental controls
Controls
Restart Use the Restart System function to automatically
System reboot your Set-Top/DVR Box
A
B
C

13 8
HDTV Set Up
The default setting for your STB/DVR Box is 4:3 standard definition TV,
if you will be connecting your box to a standard definition TV or would prefer
to view your programming in 1080i format, please follow the steps below:
1. Press the Menu button.
2. Scroll to Settings, press OK.
3. Scroll to Television, press OK.
4. Arrow to Screen Aspect Ratio
and press OK.
5. Select the aspect ratio you prefer.
6. Scroll to Continue and press OK.
7. To Start Test you will receive a confirmation screen
with a countdown.
8. Scroll to Keep Setting and press OK. You will see a
confirmation bar across the top of the screen confirming
your selection. If no selection is made, your
Set-Top/DVR Box will revert back to the original setting.
Audio
To set up your language preference:
1. Press the Menu button.
2. Scroll to Settings, press OK.
3. Scroll to Audio and press OK.
4. Arrow to Audio Language and
press OK.
5. Select your preferred language.
6. Arrow to the Save option and press OK.
Getting Started

14
Set Parental Controls
The Parental Control features enable you to control the content your household
can watch or even see in the Program Guide. You’ll need to establish a PIN code
to configure the Parental Controls, but once you’ve done that, you can modify
settings to restrict programming based on channel, content, and/or rating. You
can also choose to lock Pay-Per-View and Video on Demand rentals to protect
yourself from unapproved rental activity.
Parental Control
Set Up Your Parental Control PIN
Change Your PIN
Note: You will need to set Parental Control preferences on each STB in your home.
1. Press the Menu button.
2. Scroll to Settings and
press OK.
3. Scroll to Parental Control
and arrow right to Parental
Locking option.
4. You will be prompted to
choose a 4-digit PIN. Enter
a PIN and press OK.
5. Confirm the PIN and press OK.
Your Parental Control PIN has now been activated.
1. Press the Menu button.
2. Scroll to the Settings and press OK.
3. Scroll to Parental Control, arrow right to Parental Locking option.
4. Enter your PIN.
5. Arrow to Change PIN, press OK.
6. Enter a new 4-digit PIN.
7. Confirm the new PIN.

15
Access Parental Controls
Note: Even when a channel or program has been locked with Parental
Locking settings, program titles and descriptions are still viewable
in the program guide.
1. Press the Menu button.
2. Scroll to Settings and press OK.
3. Scroll to Parental Controls, and arrow right to Parental Locking.
Press OK. (The first time you access this option you will be
prompted to establish a 4-digit PIN. This PIN will be used to
lock and unlock the parental controls.)
4. Enter your PIN.
The Parental Locking screen will appear. Use your remote
to set preferences for the following categories:
a. Rentals
b. Channels
c. US TV Parental
Guidelines
d. Movie Ratings
e. Unrated Content
f. Adult Programs
FORGET YOUR PARENTAL LOCKING PIN?
If you forget your Parental Locking PIN, please contact our Technical
Assistance Center at 715-421-6085.
Getting Started

16
Channel Blocking
Sometimes, you may prefer to not have all of the available channels appear in
your Program Guide (perhaps you find a channel name inappropriate or do not
subscribe to that channel). In this case, you can choose to block that channel
from appearing in your guide.
Note: To see which channels are currently blocked, select the View Unchecked
option from the Channel Locking menu.
1. Press the Menu button.
2. Scroll to Settings and press OK.
3. Scroll to Television and arrow right to Customize Channel Guide,
press OK.
4. Using the up and down arrows, uncheck any channels you want
to block.
5. Arrow left to Save, press OK.

17
Watching TV

18
Program Guide
With SolarusTV, you have the ability to customize the way your Program Guide appears.
View program listings in various layouts, create “Favorites” lists for each member of your
household or even hide channels you’ll never watch or don’t want shown.
Guide Styles
To change your guide style preference:
Note: From the Primary Guide Style Menu, you can select Guide Rotation,
which will enable you to toggle guide styles by pressing the Guide
button multiple times.
While in the Guide, you have many customization and short cut options.
To access these options press the Enter/Zoom button. Below is a list of
the options available when using the Guide Options short cut with a
description of each option.
Guide Options Function
Live TV Filters This option enables you to filter programming by
categories such as: Kids, Movies, Series, Sports, News, etc.
Jump To Day View programming for specified future dates
Favorites List Allows you to choose previously created favorite lists
Add To Favorites Quickly add current channel to a previously
created favorites list
Edit Favorites Make changes to existing favorites or set up
new favorite lists
Guide Settings Customize channels, set guide style or manage
subscribed channels
Channel Search Search your system for a specific channel by typing
in the name of the channel
Grid Style
(default)
Channel List Style OnNow Style
1. Press the Menu button.
2. Scroll to Settings and select the Television option.
3. Arrow over to Primary Guide Style, press OK.
4. Select your preferred guide style and select Save.

19
Favorites
In addition to the default channel list, you can create up to 5 personalized lists.
To create a Favorites list, follow the steps below:
To Access Your Favorites List
View in High Definition (HD)
To ensure the best viewing experience,
your system will now let you know if
the channel you’ve chosen is available
to watch in High-Definition (HD).
When you choose a Standard Definition (SD0 channel from the channel guide,
the system will alert you with a View in HD message. Simply press OK to be
taken to the HD programming.
To confirm whether the channel you are watching is an SD or HD channel,
you can press the down arrow to launch the On Now screen guide that will
notify you if you could be viewing in HD.
1. Press the Menu button.
2. Scroll to Browse Live TV, then down to Favorites and press OK.
3. Arrow to the Favorite list you’d like to use.
1. Press the Menu button.
2. Scroll to Settings, press OK.
3. Scroll to Television, arrow right to Set up Favorites
and press OK.
4. Scroll to Set up a New List, and press OK.
5. Choose the channels you would like to add/remove from
your Favorites list.
6. Arrow left to Save and press OK.
Your Favorite list has now been created.
Watching TV
QUICK KEYS:
View your “Favorite” channels without
going through the menu.
B

20
TV Features
Search
The Search feature has been created to help you find specific programming,
shows or actors. This feature helps you find programming without scrolling
through the program guide channel by channel or by time frames. The Search
function will search all programming information available through the guide
and VOD library.
To search for programming follow the steps below:
1. Press the Menu button.
2. Scroll to Search and press OK.
3. Type the text that you would like to search for. As you type,
the programming that matches your text criteria will begin to
appear on the screen.
4. Choose a program from the list, press OK.
5. Now, you will be given a list of the time and location of the
program. Using your remote control cursor keys, select a
programming option.
6. You can now choose to Watch, Record episode, Record Series
or View more Showtimes.
You can also opt to search titles only, video on demand only or to search people
only. To access these options, while in the search detail screen scroll to the
Options button and choose Filter Results.
QUICK KEYS:
Activate or deactivate your “Search” feature
without going through the menu.
A
Table of contents
Other Cisco Set-top Box manuals

Cisco
Cisco 3410DVB User manual

Cisco
Cisco 8640HD User manual

Cisco
Cisco EXPLORER 4640HDC User manual

Cisco
Cisco IPV5000 User manual

Cisco
Cisco CIS430 User manual

Cisco
Cisco EXPLORER 4640HDC User manual

Cisco
Cisco Explorer 4642HD User manual

Cisco
Cisco Z870DVB User manual

Cisco
Cisco prime home Guide

Cisco
Cisco EXPLORER 2100 User manual

Cisco
Cisco Explorer 3350 User manual

Cisco
Cisco Explorer 8640HDC User manual

Cisco
Cisco 3413DVB User manual

Cisco
Cisco PDS3241 User manual

Cisco
Cisco Explorer RNG200 User manual

Cisco
Cisco CHS 435HDC User manual

Cisco
Cisco Explorer Z60DVBTM User manual

Cisco
Cisco EXPLORER 4540HDC guide User manual

Cisco
Cisco 8640HD User manual

Cisco
Cisco Explorer 1540C User manual