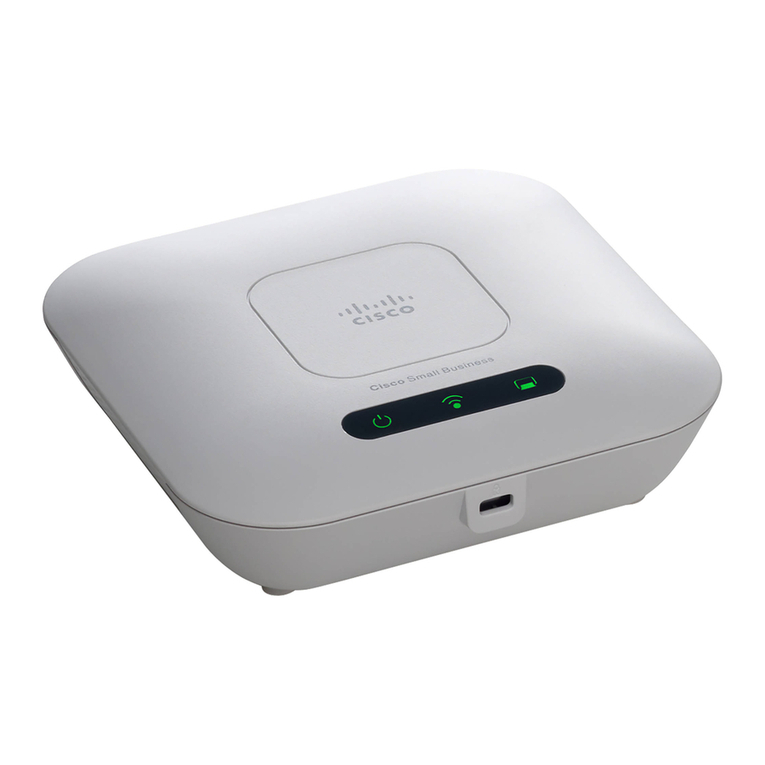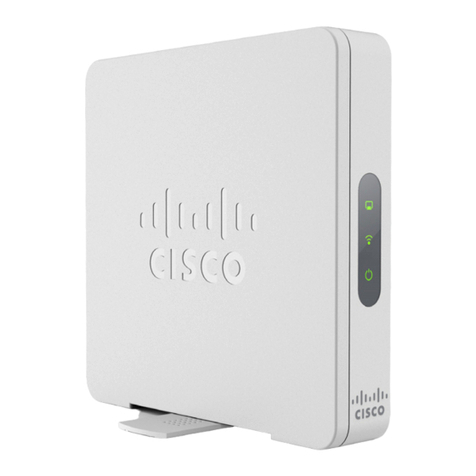
6 Cisco WAP131 Quick Start Guide
Getting Started with the Configuration
To configure the Cisco WAP131, follow these steps to access the Wizard
and then the web-based Configuration Utility from your computer:
STEP 1Connect the Cisco WAP131 to the same network (IP subnet) as your
computer. The factory default IP address configuration of the Cisco
WAP131 is DHCP. Make sure that your DHCP server is running and
can be reached.
See “Incorrect IP Address” on page 8 for troubleshooting
information, or if you do not have a DHCP server.
STEP 2Locate the IP address of the Cisco WAP131.
a. The Cisco WAP131 can be accessed and managed by Cisco
Small Business network tools and services including the Cisco
FindIT Network Discovery Utility that enables you to
automatically discover all supported Cisco Small Business
devices in the same local network segment as your computer.
You can get a snapshot view of each device or launch the
product Configuration Utility to view and configure the
settings. For more information, see www.cisco.com/go/findit.
b. The Cisco WAP131 is Bonjour-enabled and automatically
broadcasts its services and listens for services being
advertised by other Bonjour-enabled devices. If you have a
Bonjour-enabled browser, such as Microsoft Internet Explorer
with a Bonjour plug-in, or the Apple Mac Safari browser, you
can find the Cisco WAP131 on your local network without
knowing its IP address.
You can download the complete Bonjour for Microsoft Internet
Explorer browser from Apple’s website by visiting:
http://www.apple.com/bonjour/
c. Locate the IP address assigned by your DHCP server by
accessing your router or DHCP server. See your DHCP server
instructions for more information.
STEP 3Launch a web browser, such as Microsoft Internet Explorer.
STEP 4In the Address field, enter the default DHCP address and press the
Enter key.
STEP 5Enter the default user name of cisco and password of cisco in the
User Name and Password fields.
STEP 6Click Login. The Wireless Access Point Setup Wizard appears.


