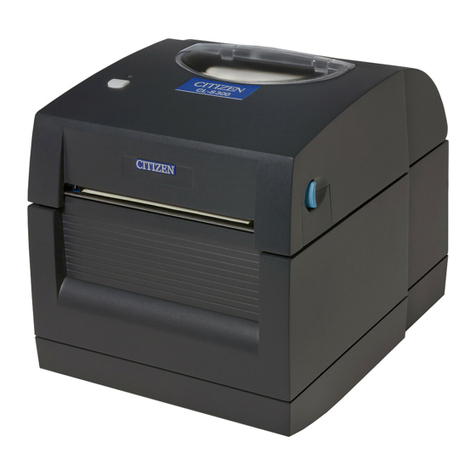
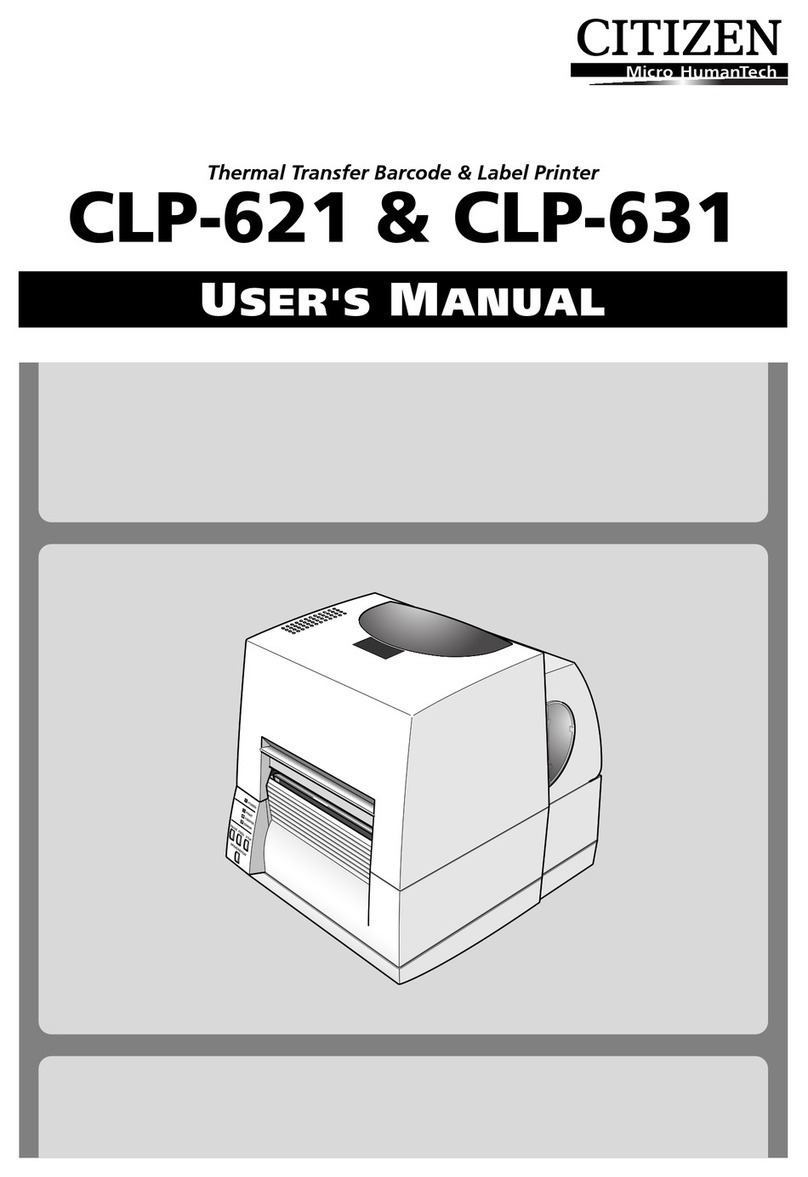
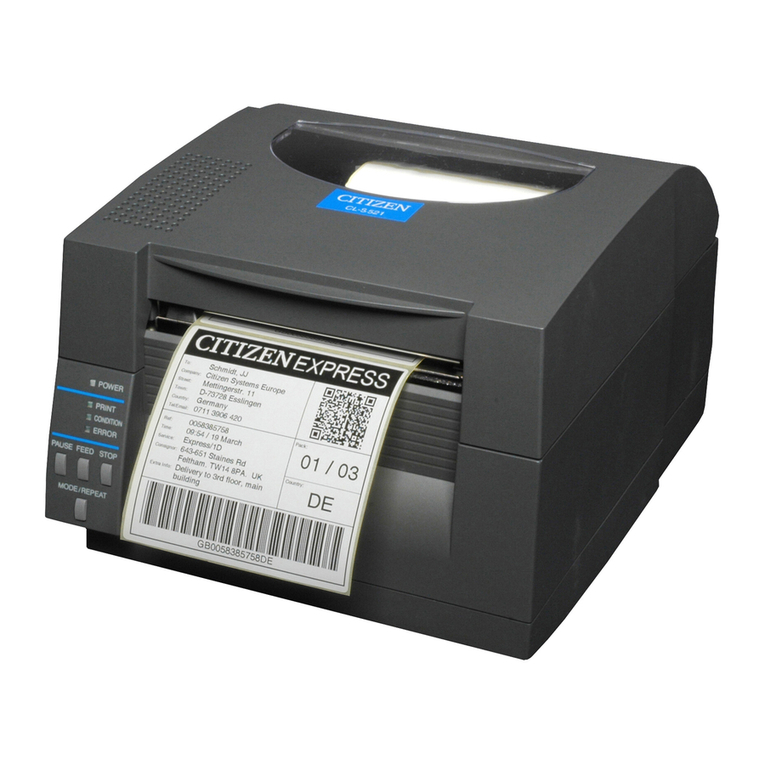
Citizen CL-E700 Series User manual

PEELER
USER’S MANUAL
For CL-E700 Series

I – 2
Contents
CAUTION............................................................................I-3
1 Function .............................................................................I-4
1-1 Exterior view and part names .....................................I-4
2 Main specications of peeler .........................................I-5
3 Checking items inside the accessory box ....................I-6
4 Peeler setting ....................................................................I-7
4-1 Peeler door opening/closing.......................................I-7
4-2 Media loading...................................................................I-7
4-3 Peeler setting ....................................................................I-7
5 Initial value of peeling position.....................................I-8
6 Peeler commands.............................................................I-9
CITIZEN is a registered trademark of CITIZEN WATCH CO., Japan.
CITIZEN es una marca registrada de CITIZEN WATCH CO., Japón.
Company names and product names in this manual are trademarks or
registered trademarks of relevant companies.
Copyright ©2016 by CITIZEN SYSTEMS JAPAN CO., LTD.

I – 3
CAUTION
zAlways use the peeler with the door closed except when the media is
loaded into the peeler.
zDo not push down the door roughly when it is opened, which may cause
damage to the hinge of the door.
zUse the media that meets standard requirements. If not, the liner and label
may be jammed in the peeler.
zWipe o dirt or glue stuck to the peeler with a soft cloth soaked in a neutral
detergent.
zDo not use volatile liquids such as benzine and thinner, which may cause
the roller rubber and plastic parts to deteriorate.

I – 4
1 Function
This peeler unit is designed to automatically remove the label from the liner.
1-1 Exterior view and part names
Peeling Roller
Idle Roller (upper)
Friction Roller (lower)
Top view of door opened
Door
Top view
Front view
Peeling Sensor
Release Knob
Side view

I – 5
2 Main specications of peeler
Width of liner (a) : 25.4 118 mm (1 4.65 in)
Minimum length of label (b) : 25.4 mm (1 in)
Label: ne media/Thickness: 0.09 mm (0.0035 in)
(including glue layer)/Rolled inwards
Maximum length of label : Approx. 120 mm (4.72 in)
However it will change depending on the
environment of the media exit and the type of
media used.
Minimum width of label (c) : Label must be positioned at 16 22 mm
(0.63 0.87 in) from left edge of liner, which is
viewed from front of media exit.
Maximum width of label : To be narrower than liner
Thickness of label : 0.17 mm (0.0067 in) or less
Thickness of liner : 0.07 mm (0.0027 in) or less
Inner diameter of roll media : 76 mm (3 in) or more
Durability : 20 km (when using the label above)
Peeling position accuracy : ±1.5 mm
Peeling position varies depending on the type of
media, the size of roll media and the size of ink
ribbon, so adjust it to the optimum condition as
needed.
c
a
b
Direction of media feed

I – 6
3 Checking items inside the accessory box
You should check that all of the following items are inside the accessory box.
If any are missing, please contact your supplier.
PEELER...............................................................................................................................................1 piece
Screws..............................................................................................................................................2 pieces
Installation Guide ..........................................................................................................................1 piece
User’s Manual..................................................................................................................................1 piece
Screw (2)
Installation Guide
User's Manual
PEELER

I – 7
4 Peeler setting
4-1 Peeler door opening/closing
1Opening
Shift the release knob of the peeler to the left with the nger, and the peeler door
will open.
2Closing
Push down the left end of the peeler door until it clicks closed.
4-2 Media loading
1First peel o the labels with a length of 12 cm (5 inch) or more on the top of the
loading media, then load the media into the peeler where the rst label comes to
the peeling sensor. Close the print head of the printer.
2Open the peeler door and pass the liner between the peeling roller and the peeler
door and close the door.
4-3 Peeler setting
To use this peeler, set the peeler function ON that is one of the various setting items in
a nonvolatile memory in the printer.
To change the setting of the peeler function, execute it in the printer congurations
setting mode from the control panel or use the command STX KD.
The CL-E700 series has the menu “AutoCongure“ set to ON when shipping from
the factory. In this ON condition, if the peeler is installed on the printer, the menu
“Function Select” will be automatically changed to “Peel On.” But if the O condition
occurs, select the “Peel On” in the following manner. (For details of menu setting,
refer to the operation manual of each printer.)
Selecting the“Peel ON” in the menu setup mode
1In a condition that the “Ready” is displayed on the control panel, press the MENU
key and the printer will be placed into the printer conguration setting mode.
2Press the Feed key twice rst and then the Stop key.
3Press the Feed key and the menu “Function Select” will be displayed.
4Press the Stop key and the current function select item will be displayed.
5Press the Feed key 1-3 times until the “Peel On” is displayed.
6Press the Stop key and the current contents will be stored in the memory.
If turn o the power, the printer will return to the original menu item. If the current
setting data is required to be stored permanently, perform the “Save Settings”
operation, referring to Chapter 2 in the User’s Manual of the printer.
Note: After selecting the peeler function, feed the media to the peeling position
by pressing the Feed key. After this, the media, once printed, automatically
advances towards the peeling position and there the label is peeled o.
I – 8
5 Initial value of peeling position
If the peeler function is selected when the power is turned on or the resetting is
performed, the media will automatically feed from the reference point to the peeling
position (by initial value of feeding amount), regardless of printer emulation.
To nely adjust the peeling position, transmit the command STX f or STX Kf from
the host computer to the printer. In this case, each command initial value being set
designates the zero (0) of peeling position, and the peeling position shifts front or
back by the parameter of each command. (For details, see the separate Command
Reference.)
<Each command initial value>
Emulation DM4 : 68.6 mm (2.70 in)
Emulation DMI : 12.7 mm (0.50 in)
Emulation DPP : 37.1 mm (1.46 in)
<Example of making ne adjustments>
STX f (nnn)
When the emulation is set to DM4, the peeling position shifts from zero (0) to
frontward position by 0.01 inch. In this case, the command is STX f (271).
The distance between the peeler sensor or platen center and the peeling position is
shown below.
35.4 mm (1.39 in)
10.76 mm
(0.42 in)
Center of platen
24.64 mm (0.97 in)
Middle point
between labels Label
Liner
Sensor position
Peeling plate
Note:The measurements shown here are examples.

I – 9
6 Peeler commands
The following are the peeler commands. For details of each command, see the
separate Command Reference.
Peeling position designated command STX f, STX Kf
This command designates the feeding amount from the reference point to the peeling
position.
Software switch setting command STX V
The peeler function can be temporarily turned ON or OFF by transmitting this
command to the printer while turning on the power to the printer.
Note: If the label is at peeling position when the peeler function is selected, the
media will not feed even if the Feed key is pressed. In this case, remove the
label rst.

363 V
an Ness Way, Suite 404
T
orrance, CA 90501. USA
T
el: (310) 781-1460
Fax:
(310) 781-9152
http://www
.citizen-systems.com
Otto-Hirsch-Brücken 17
Elizabeth House, 56-60 London Road
70329 Stuttgar
t Staines-Upon-Thames, TW18 4HF
Ger
many United Kingdom
T
el: +49 (0) 711 49032-0 Tel: +44 (0) 20 8893 1900
Fax:
+49 (0) 711 49032-45 Fax:+44 (0) 20 8893 0080
http://www
.citizen-europe.com
6-1-12, T
anashi-cho, Nishi-Tokyo-shi
T
okyo, 188-8511. Japan
T
el: +81 (0) 42 468 4608
Fax:
+81 (0) 42 468 4687
http://www
.citizen-systems.co.jp
PXZ00122-10
PMC-1609
Other manuals for CL-E700 Series
2
Table of contents
Other Citizen Barcode Reader manuals

Citizen
Citizen CLP 7202e User manual

Citizen
Citizen CL-S400DT User manual

Citizen
Citizen CL-S400DT User manual

Citizen
Citizen CLP-7200 Series User manual

Citizen
Citizen CL-S300 User manual

Citizen
Citizen OPTICAL MOUSE User manual

Citizen
Citizen CLP-7201e User manual

Citizen
Citizen CL-S521 User manual

Citizen
Citizen CLP 621 CLP-621 CLP-621 User manual

Citizen
Citizen Peeler CL-S6621 User manual