150 151
5. Reception
Three types of radio signal reception are possible: regular automatic reception, on
demand reception and automatic reception recovery.
Regular Automatic Reception
(To receive signals automatically)
• It is not necessary to operate buttons during
regular automatic reception.
<Receiving the radio signals>
1. Remove the watch from your wrist and place on a
stable surface near a window, with the 9:00 position
(antenna for receiving the radio signals side) facing
in the direction of the radio signal transmitter from
which the radio signal can be easily received.
2. The watch will receive the radio signals at 2 a.m.
every day. If a signal cannot be received at 2 a.m., it
will try again automatically at 4 a.m. and the time
will be adjusted.
On demand reception (Manual reception)
• Signals can be received at any time in this mode.
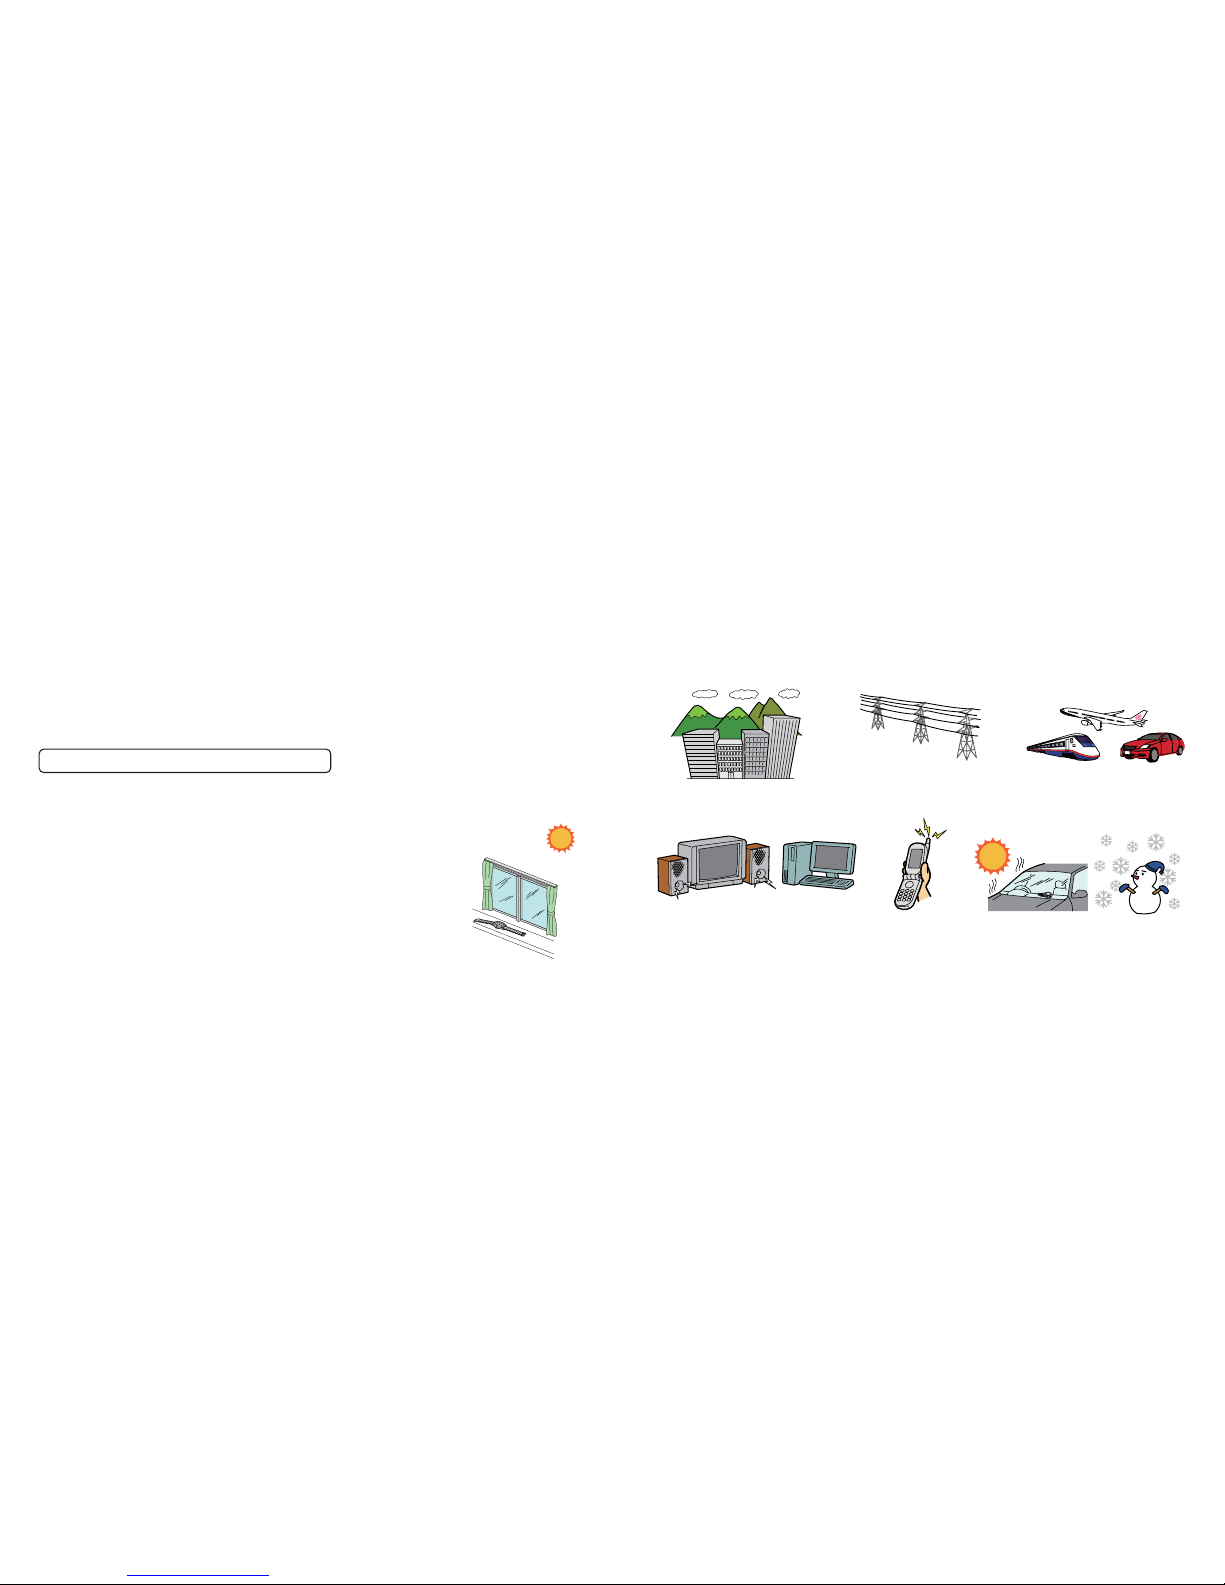
* Not possible when the radio wave is interrupted.
Use this function when regular automatic reception is impossible due to changes in the
reception environment.
<Receiving the Radio Signals>
• Step
1. Find the direction of the radio signal transmitter.
2. Remove the watch from your wrist and place on a stable surface near a window where the
radio signal can be easily received.
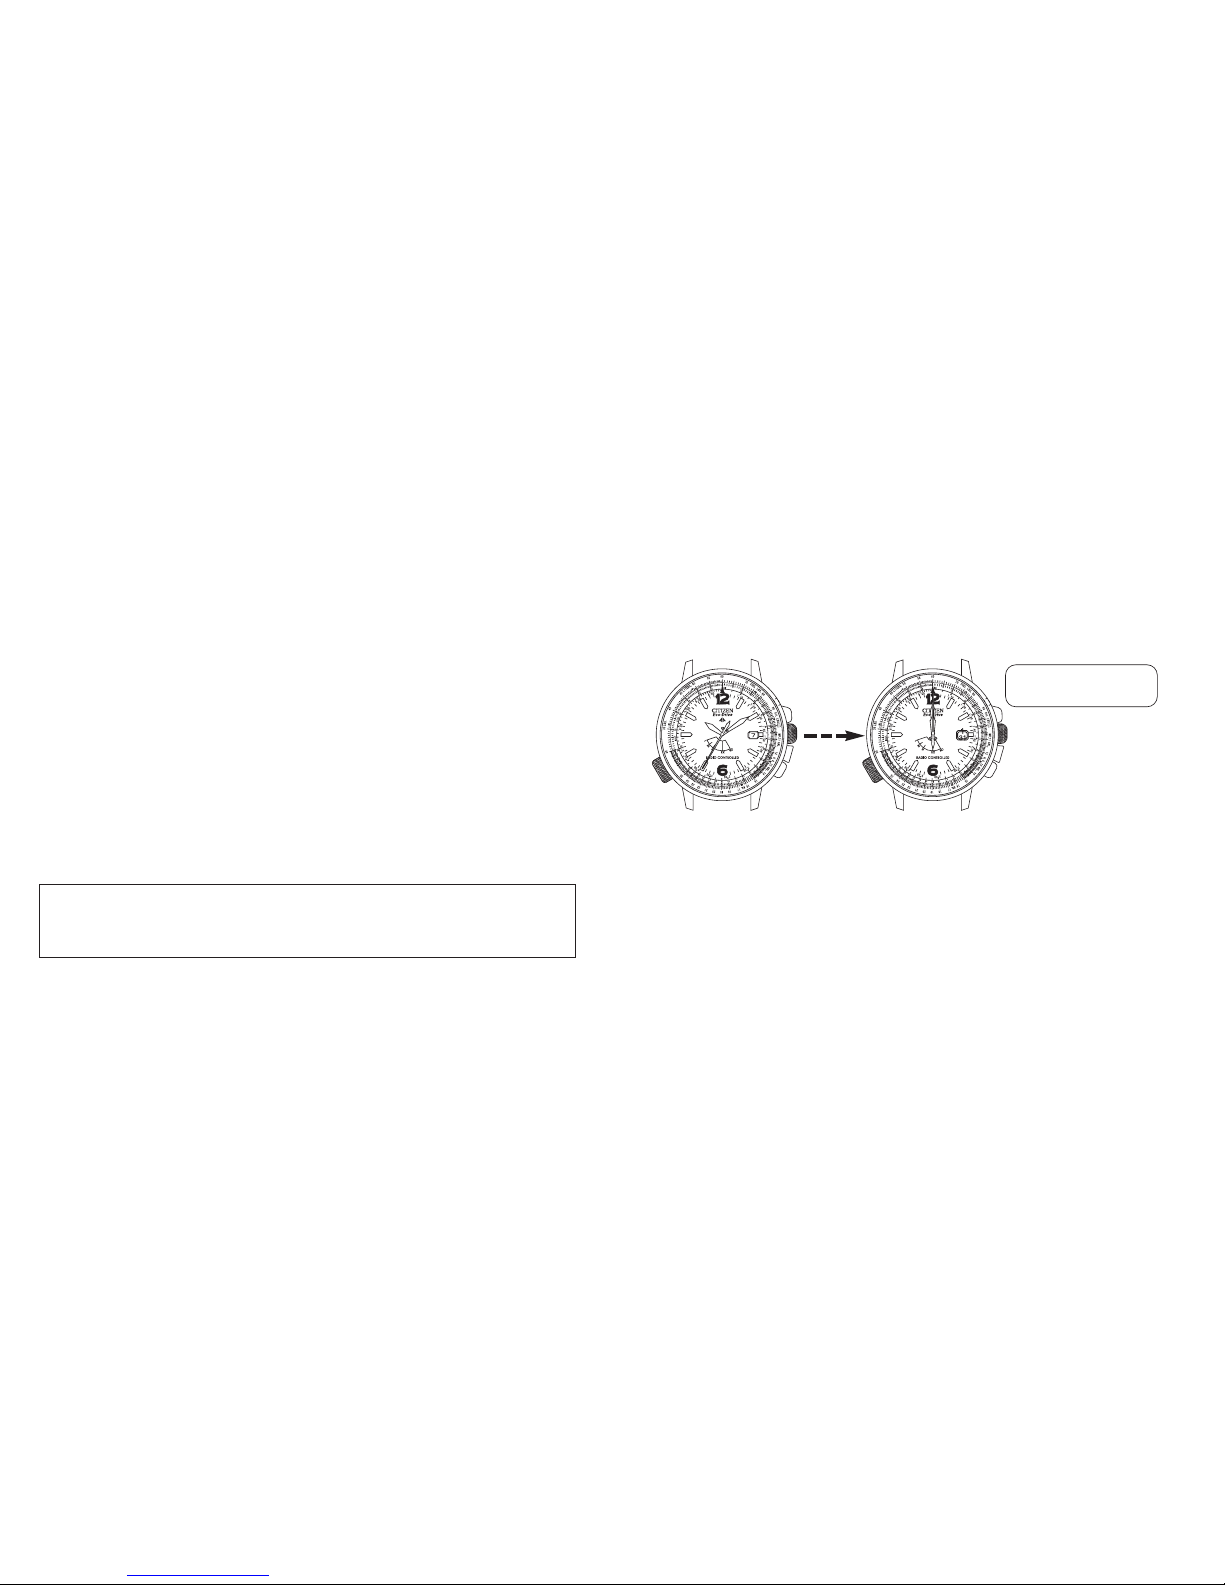
3. Point the 9:00 position of the watch in the direction of the radio signal transmitter, and
press and hold button (A) for more than 2 seconds. Release when it stops at RX.
4. The second hand will then move to H, M or L.
An antenna for receiving the radio
signals is located inside the watch (on
the 9:00 position).
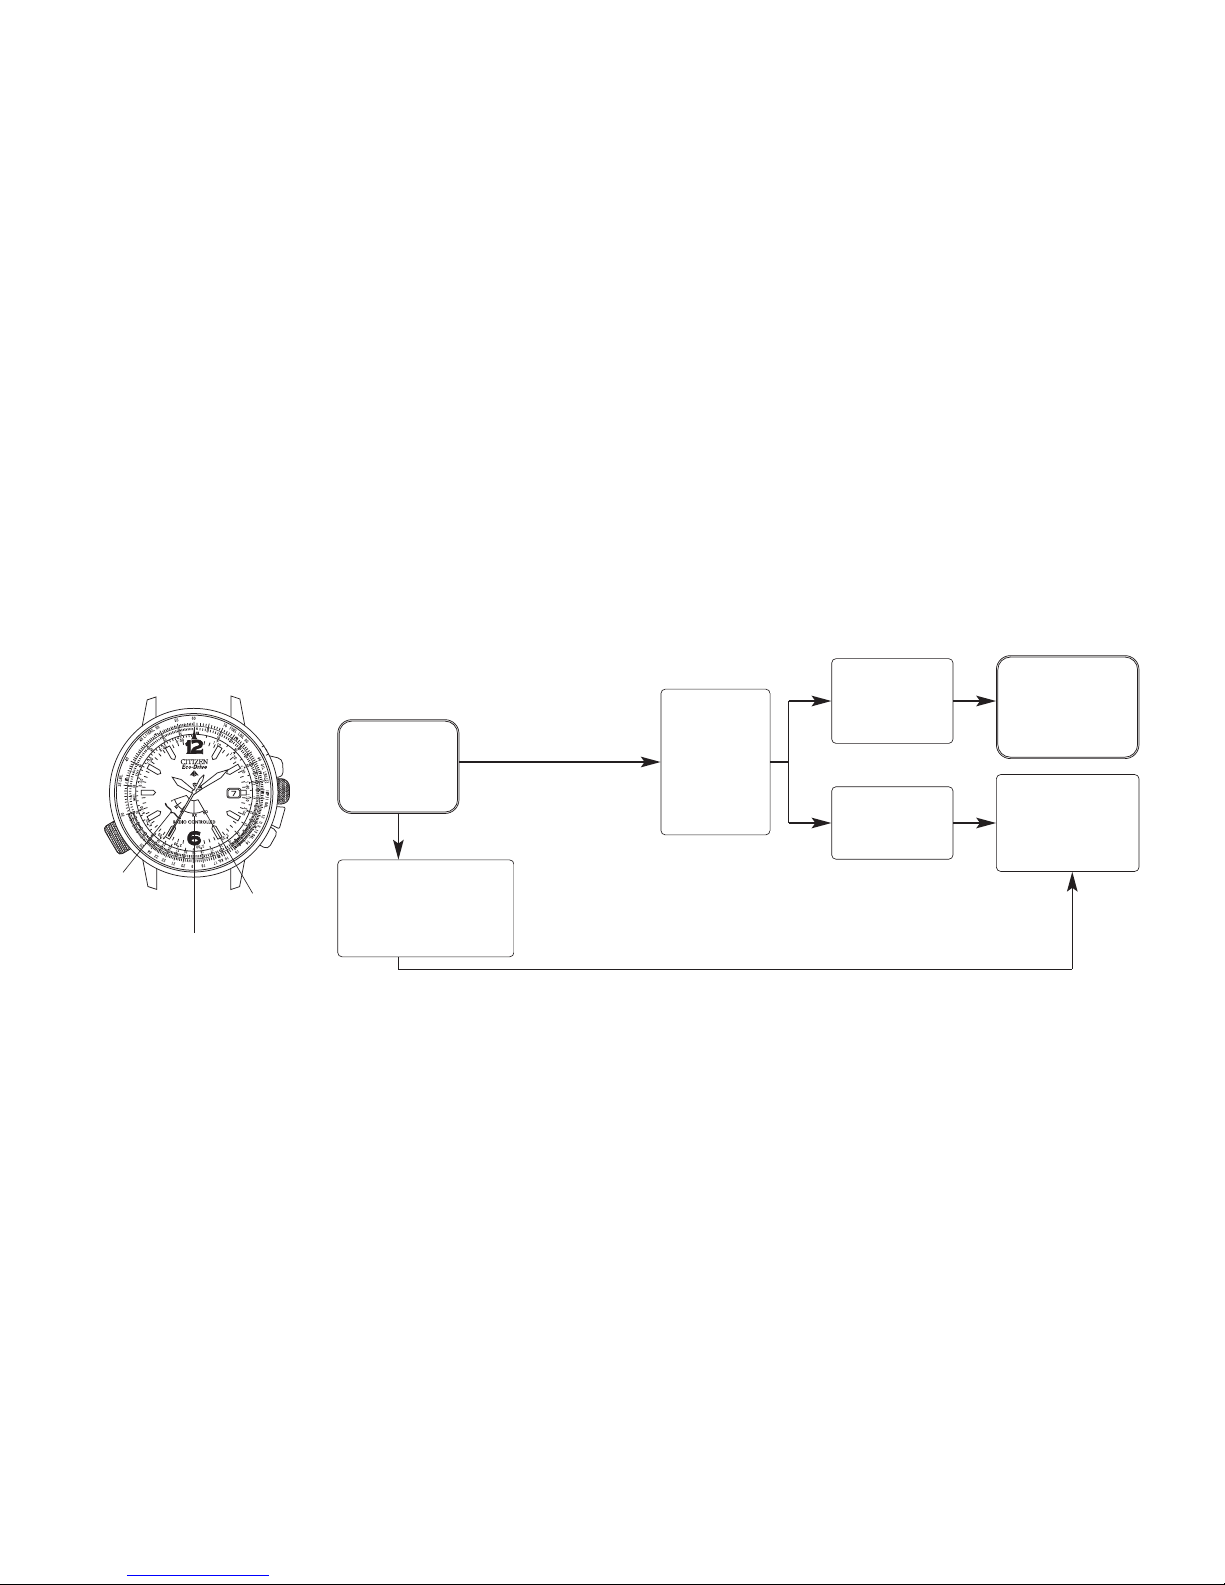
Radio Signal Reception
[Reception standby] [Receiving signal] [Reception completed]
RX
(Reception
standby) The second hand returns to
1-second interval movement.
Reception
level (H, M, L)