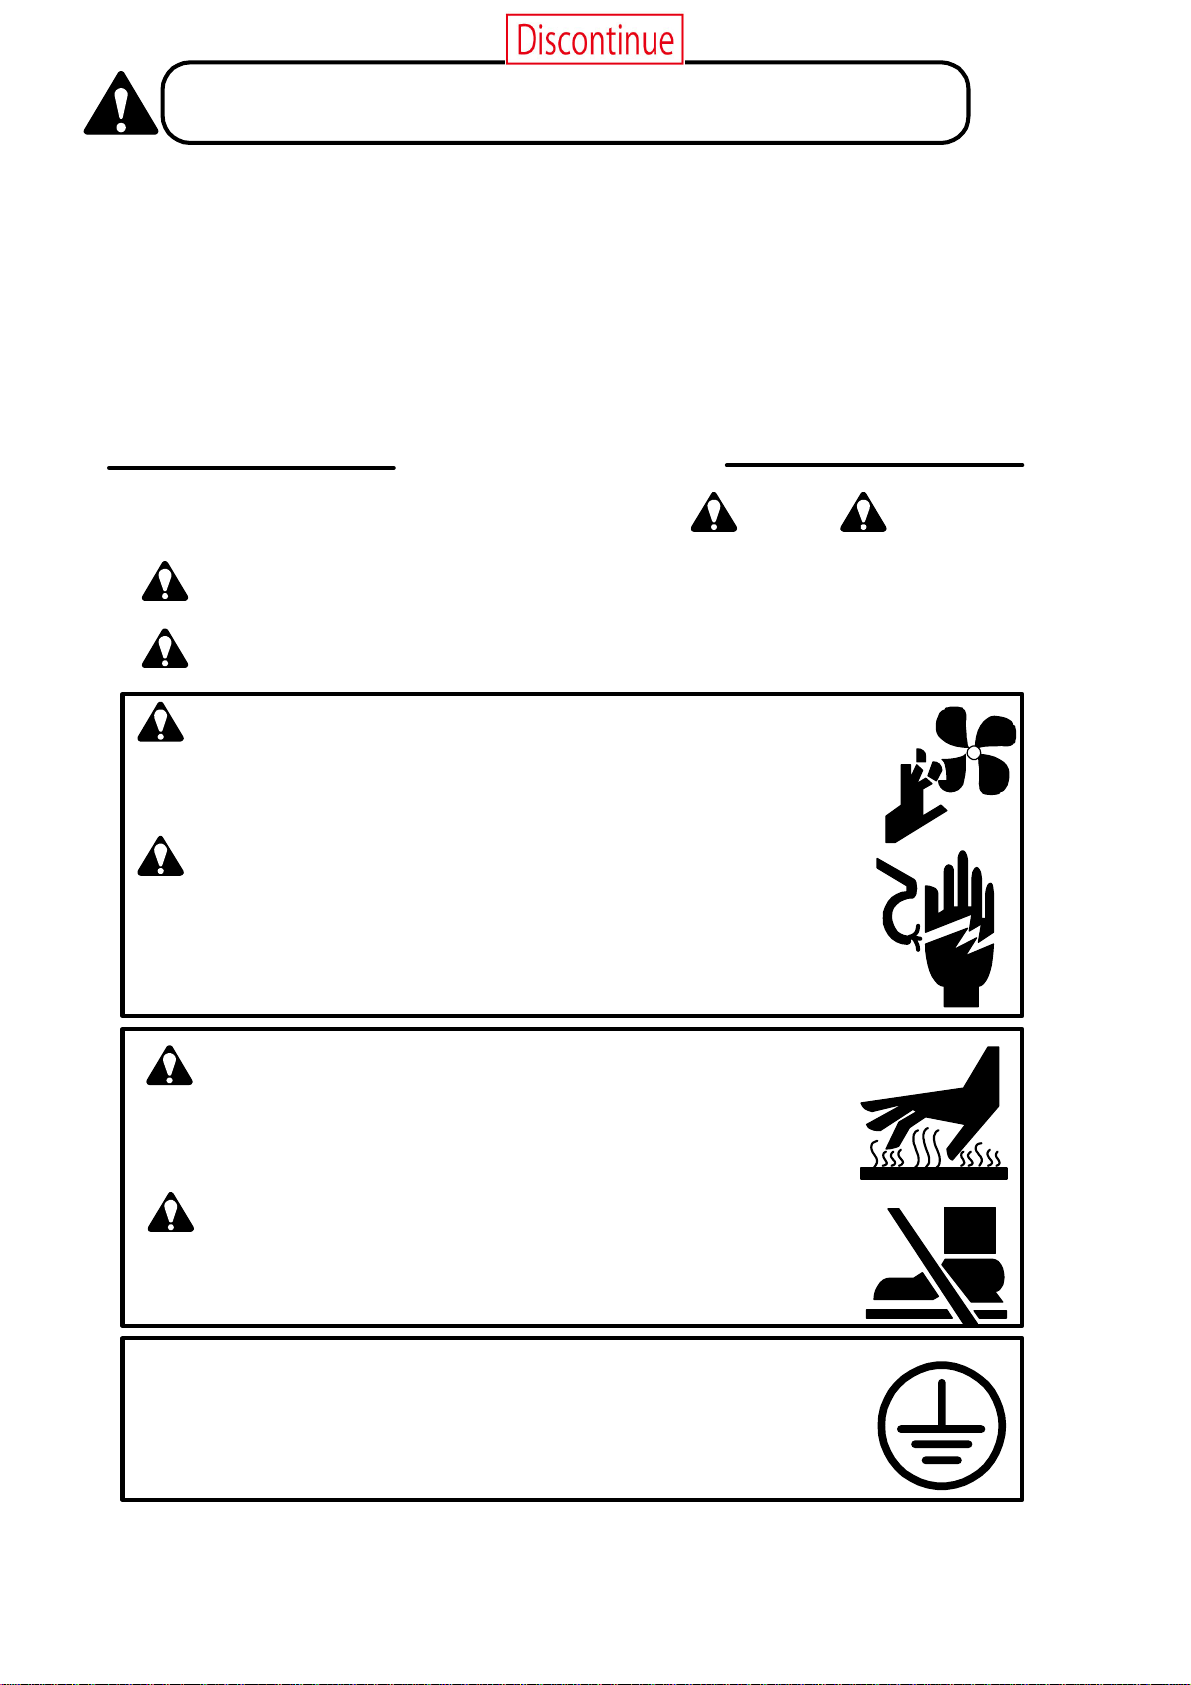
<
SM-13235-A
>
-6-
4.Installation
4.1
Confirmthefollowing.
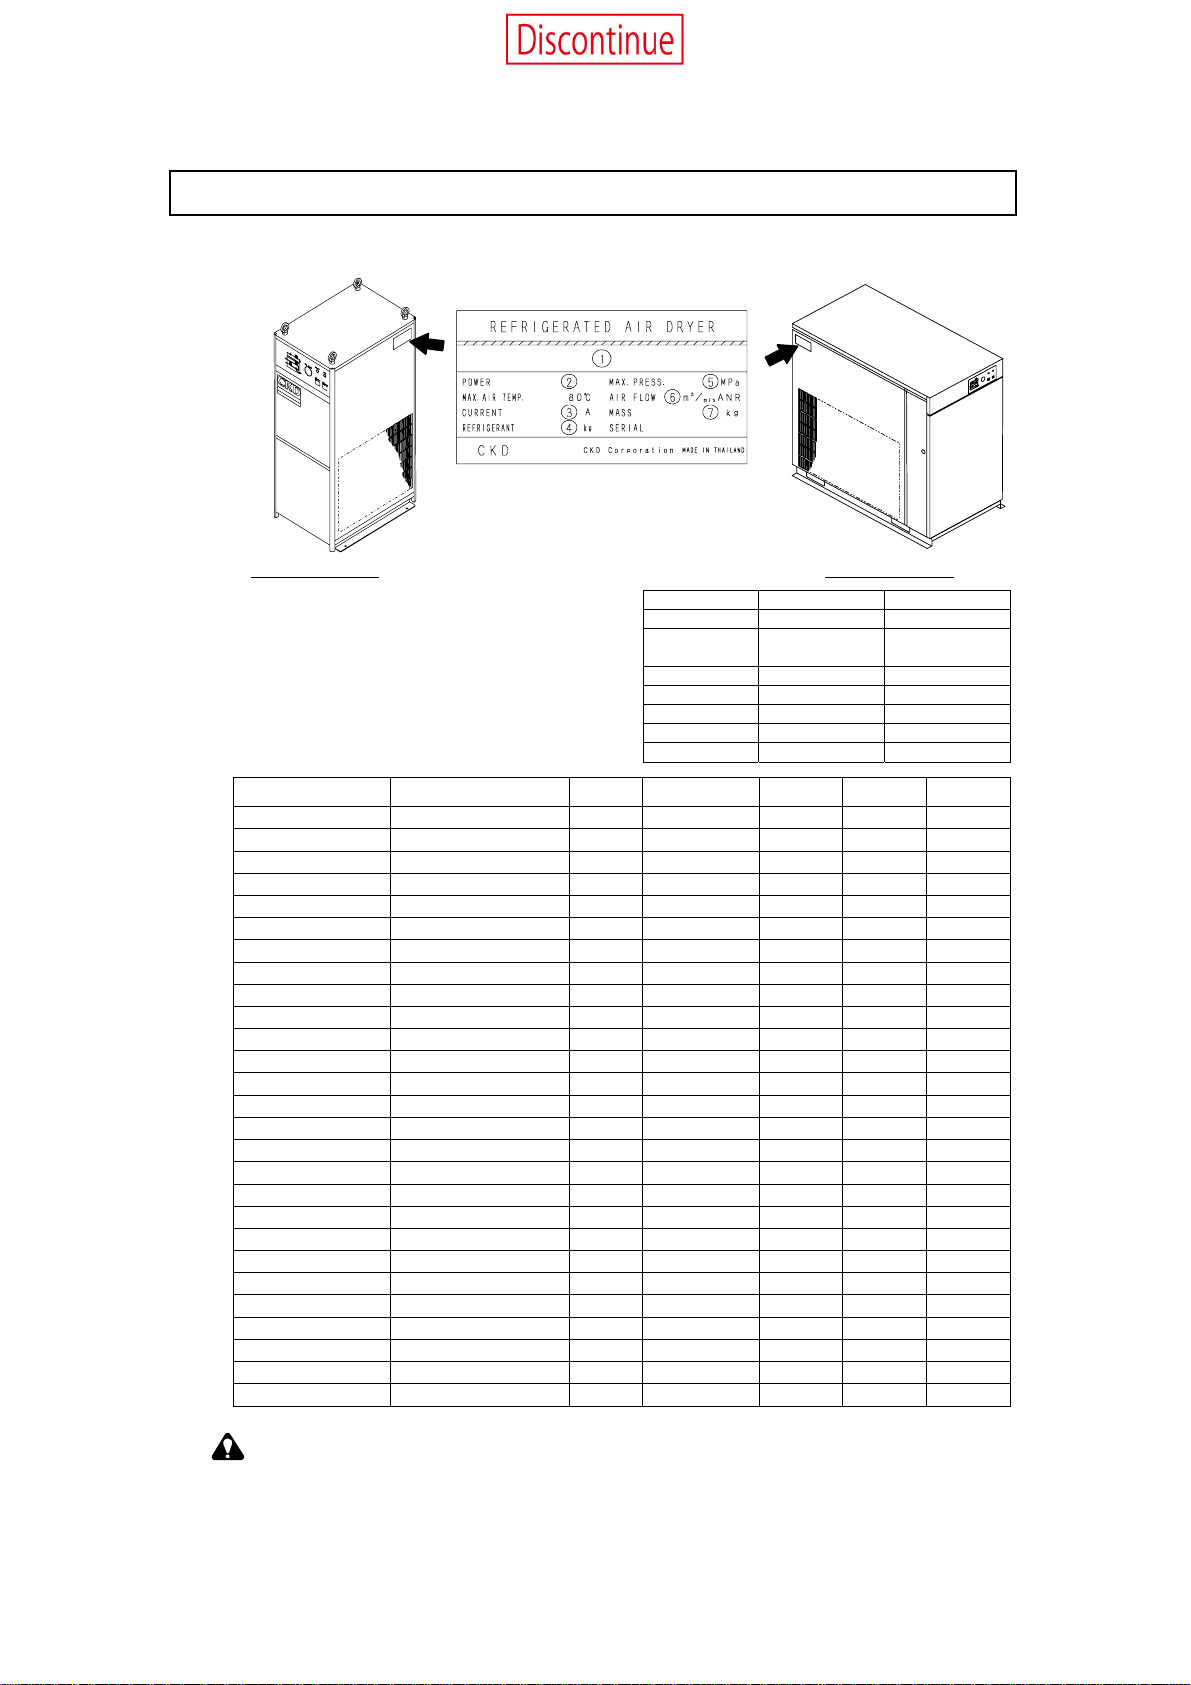
1) Confirmthecontentsonthelabel.(ModelNo.,Spec.etc.)
GX8000series GX8100 series
Accessories
GX8000series GX8100series
InstructionManual 〇 〇
Certificatefor
withstandpressure − 〇 (Only GX8175)
Y-typestrainer 〇 −
Bothscrewnipple 〇 −
Singleelbow 〇 −
Insertring 〇 −
Draintube 〇 −
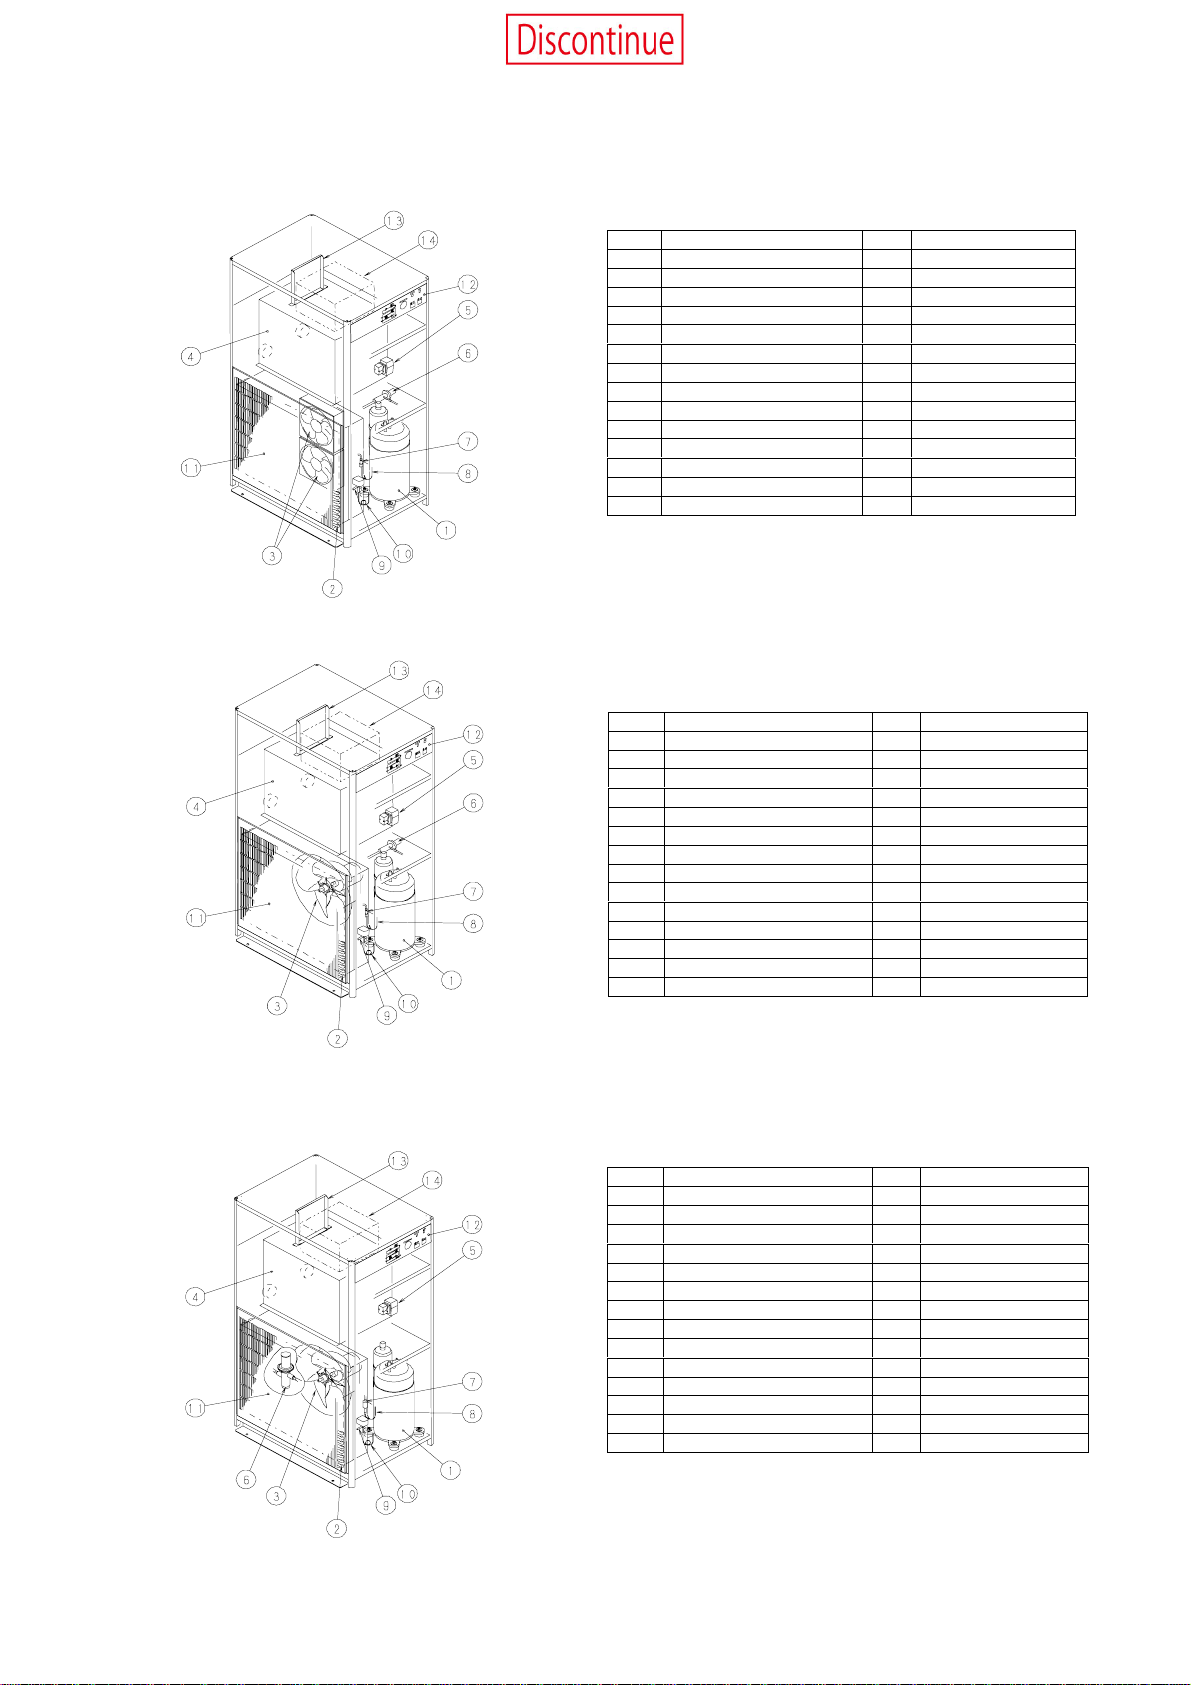
① ② ③ ④ ⑤ ⑥ ⑦
GX8004-AC220V 1φAC220V50/60Hz 1.3/1.4 R-22,*1 1.6 0.5/0.55 35
GX8004-AC230V 1φAC230V50/60Hz 1.3/1.3 R-22,*1 1.6 0.5/0.55 35
GX8004-AC240V 1φAC240V50/60Hz 1.2/1.2 R-22,*1 1.6 0.5/0.55 35
GX8006-AC220V 1φAC220V50/60Hz 1.4/1.7 R-22,*1 1.6 0.74/0.81 40
GX8006-AC230V 1φAC230V50/60Hz 1.3/1.6 R-22,*1 1.6 0.74/0.81 40
GX8006-AC240V 1φAC240V50/60Hz 1.3/1.5 R-22,*1 1.6 0.74/0.81 40
GX8008-AC220V 1φAC220V50/60Hz 2.9/2.4 R-22,*1 1.6 1.2/1.3 46
GX8008-AC230V 1φAC230V50/60Hz 2.7/2.3 R-22,*1 1.6 1.2/1.3 46
GX8008-AC240V 1φAC240V50/60Hz 2.6/2.2 R-22,*1 1.6 1.2/1.3 46
GX8011-AC220V 1φAC220V50/60Hz 3.2/2.9 R-22,*1 1.6 1.65/1.82 60
GX8011-AC230V 1φAC230V50/60Hz 3.0/2.7 R-22,*1 1.6 1.65/1.82 60
GX8011-AC240V 1φAC240V50/60Hz 2.9/2.6 R-22,*1 1.6 1.65/1.82 60
GX8015-AC380V 3φAC380V50/60Hz 2.3/2.5 R-22,*1 1.6 2.8/3.1 93
GX8015-AC400V 3φAC400V50/60Hz 2.2/2.4 R-22,*1 1.6 2.8/3.1 93
GX8015-AC415V 3φAC415V50/60Hz 2.1/2.3 R-22,*1 1.6 2.8/3.1 93
GX8022-AC380V 3φAC380V50/60Hz 3.0/3.3 R-22,*1 1.6 3.9/4.3 110
GX8022-AC400V 3φAC400V50/60Hz 2.9/3.1 R-22,*1 1.6 3.9/4.3 110
GX8022-AC415V 3φAC415V50/60Hz 2.8/3.0 R-22,*1 1.6 3.9/4.3 110
GX8037-AC380V 3φAC380V50/60Hz 4.5/5.4 R-22,*1 1.6 6.6/7.3 150
GX8037-AC400V 3φAC400V50/60Hz 4.2/5.1 R-22,*1 1.6 6.6/7.3 150
GX8037-AC415V 3φAC415V50/60Hz 4.1/4.9 R-22,*1 1.6 6.6/7.3 150
GX8155-AC380V 3φAC380V50Hz 5.7 R-407C,*1 1.0 9.6 230
GX8155-AC400V 3φAC400V50Hz 5.4 R-407C,*1 1.0 9.6 230
GX8155-AC415V 3φAC415V50Hz 5.2 R-407C,*1 1.0 9.6 230
GX8175-AC380V 3φAC380V50Hz 7.2 R-407C,*1 1.0 10.5 235
GX8175-AC400V 3φAC400V50Hz 6.9 R-407C,*1 1.0 10.5 235
GX8175-AC415V 3ΦAC415V50Hz 6.6 R-407C,*1 1.0 10.5 235
*1Theamountofrefrigerantisindicated.
【Note】Ifthecontentsarenotclearorthereareanyquestions,pleasecontactCKDordistributorsbeforeusing
thedryer.
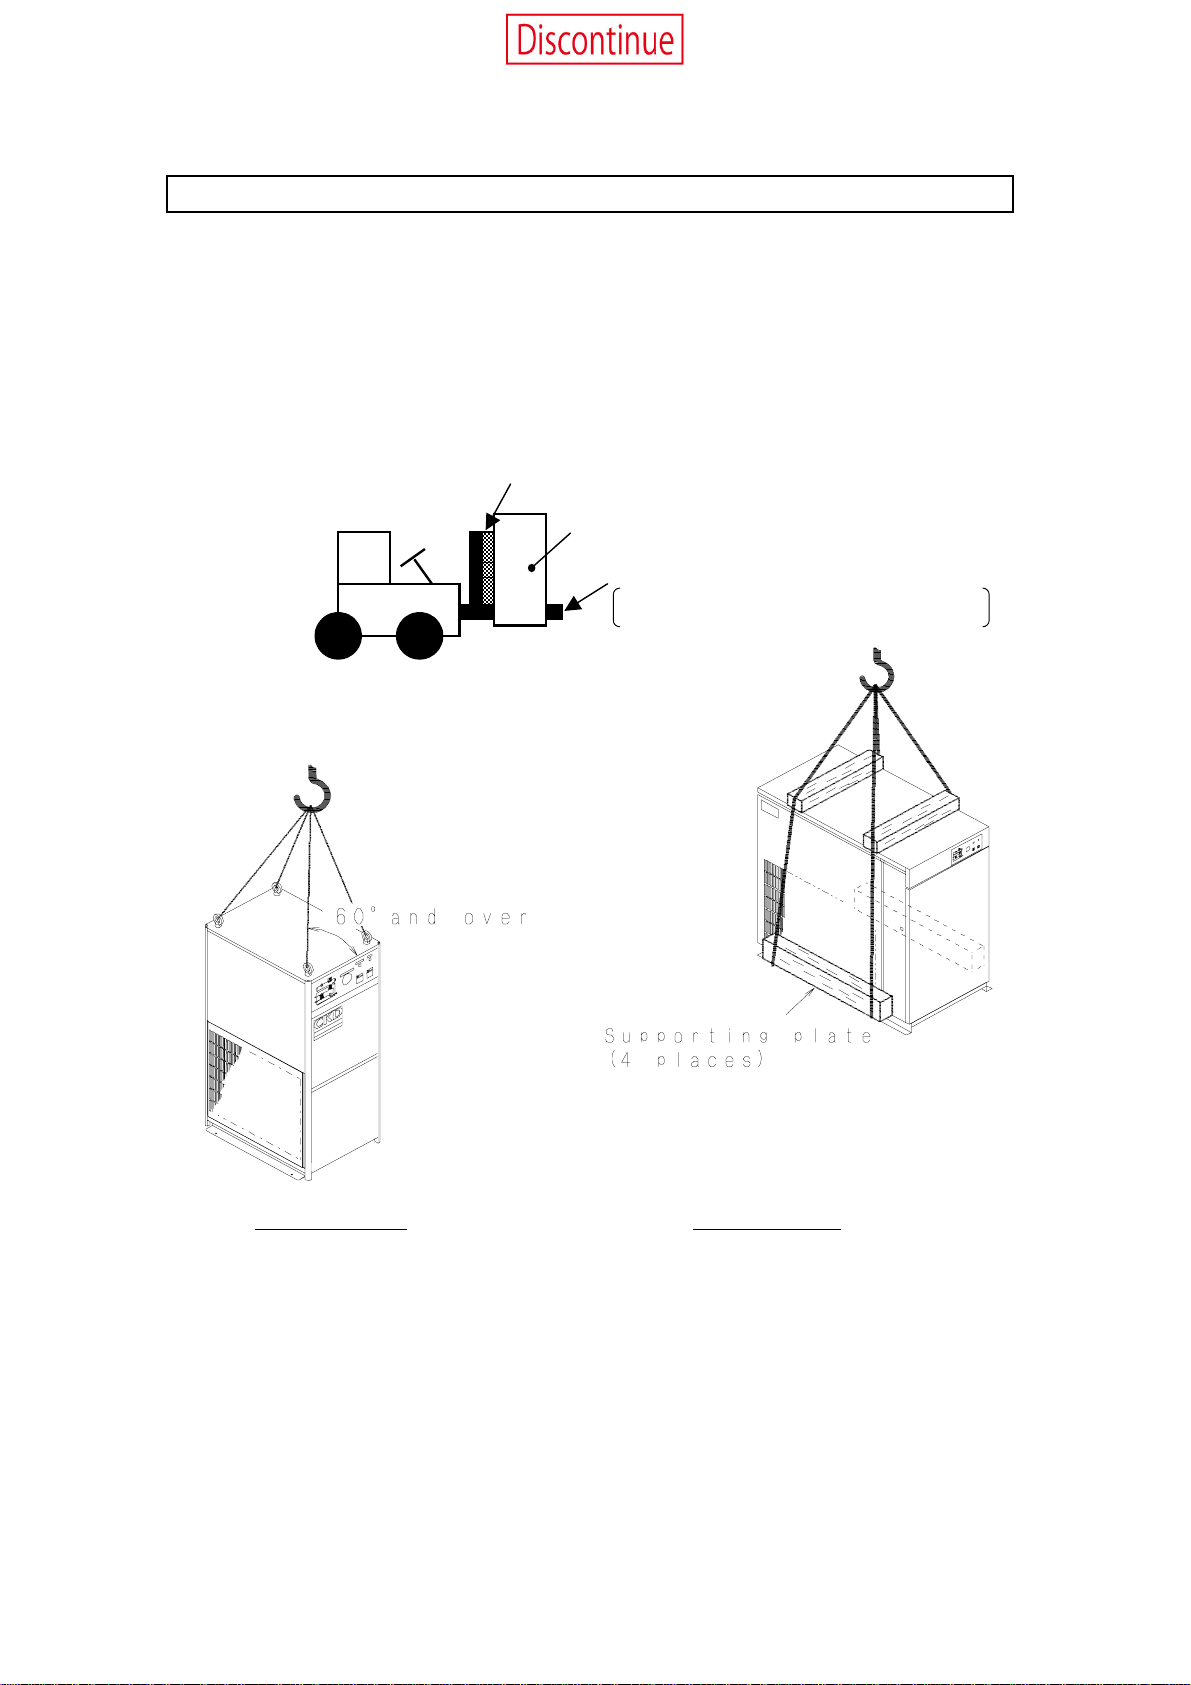
2) Confirmdamageortransformationthatismadeduringthetransportation.
3) Attachmentlist.
Checkwhetherthereareallaccessories.(Refertoabove.)
POWER・・・operatingvoltage
MAX.PRESS・・・max.inletairpressure
MAX.AIRTEMP・・・max.inletairtemperature
AIRFLOW・・・flowlate
CURRENT・・・operatingcurrent
MASS・・・
REFRIGERANT・・・refrigeranttype&mass
SERIALNo.・・・serialnumber