manuals.online logo
Brands
  1. Home
  2. •
  3. Brands
  4. •
  5. CLA-VAL
  6. •
  7. Control Unit
  8. •
  9. CLA-VAL 55L-60 Owner's manual

CLA-VAL 55L-60 Owner's manual

DESCRIPTION
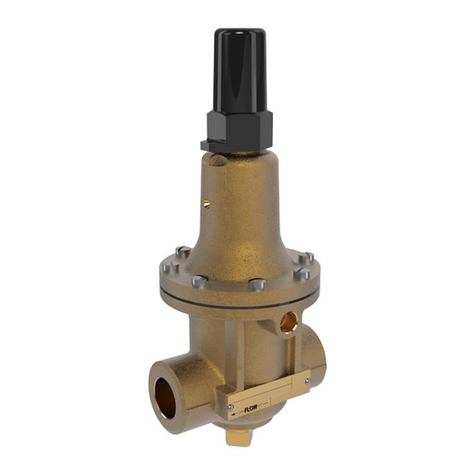
The 55L-60 Pressure Relief Control is a direct acting, spring loaded,
diaphragm type relief valve. It may be used as a self-contained valve or
as a pilot control for a Cla-Val Main valve. It opens and closes within
very close pressure limits.
INSTALLATION
The 55L-60 Pressure Relief Control may be installed in any position.
The control body (1) has one inlet and one outlet port. Body (1) also has
smaller side ports; one on inlet, one on outlet, each with pipe plugs (23)
installed. These smaller side ports are used for control connections or
gauge applications. The body (1) also has one center side port, used as
the sensing line port. A flow arrow is marked on the body casting.
OPERATION
The 55L-60 Pressure Relief Control is normally held closed by the force
of the compression spring above the diaphragm; control pressure is
applied under the diaphragm.
When the controlling pressure exceeds the spring setting, the disc is lifted
off its seat, permitting flow through the control.
When controlling pressure drops below spring setting, the spring returns
the control to its normally closed position.
ADJUSTMENT PROCEDURE
The 55L-60 Pressure Relief Control can be adjusted to provide a relief
setting at any point within the range found on the nameplate.
Pressure adjustment is made by turning the adjustment screw (11) to
vary the spring pressure on the diaphragm. Turning the adjustment screw
clockwise increases the pressure required to open the valve.
Counterclockwise decreases the pressure required to open the valve.
When pressure adjustments are complete the jam nut (10) should be
tightened and the protective cap (12) replaced. If there is a problem of
tampering, lock wire holes have been provided in cap and cover. Wire
the cap to cover and secure with lead seal.
DISASSEMBLY
The 55L-60 Pressure Relief Control does not need to be removed from
the line for disassembly. Make sure that pressure shut down is accompa-
nied prior to disassembly. If the 55L-60 is removed from the line for dis-
assembly be sure to use a soft jawed vise to hold body during work.
Refer to Parts List Drawing for Item Numbers.
1. Remove cap (12), loosen jam nut (10) and turn adjusting
screw counterclockwise until spring tension is relieved.
2. Remove the eight screws (15) holding the cover (9). Keep the cover
and eight screws together and place on a suitable work surface.
See NOTE under REASSEMBLY.
3. Remove the cover (9) from body (1). The spring (8) and two spring
guides (7).
4. Remove plug (22) from body (1). Using screwdriver, hold stem
assembly (4) to remove nut (13).
5. Slide off the belleville washer (14), upper diaphragm washer (18),
diaphragm (17) and lower diaphragm washer (19).
6. Remove stem guide (21) from body (1). Remove stem assembly (4).
Inspect, replace stem assembly and/or O-rings (5), (6) and (20) if
necessary. Use soft jawed pliers or vise to hold stem. The polished
surface of stem must not be scored or scratched.
7. The seat (3) need not be removed unless it is damaged. If removal
is necessary use proper size socket wrench and turn counterclock
wise.
INSPECTION
Inspect all parts for damage, or evidence of cross threading. Check
diaphragm for tears. Check stem assembly (4) for abrasions or other
damage. Check all metal parts for damage, corrosion or excessive wear.
REPAIR AND REPLACEMENT
Minor nicks and scratches may be polished out using 400 grit wet or dry
sandpaper fine emery or crocus cloth. Replace all O-rings and any
damaged parts.
When ordering replacement parts, be sure to specify parts list item
number and all nameplate data.
REASSEMBLY
In general, reassembly is the reverse of disassembly. However, the
following steps should be observed:
1. Lubricate the O-Ring (5) and (6) with a small amount of a good grade
of waterproof grease, (Dow Corning 44 medium grade or equal).
Use grease sparingly when installing O-ring (20) into guide stem (21).
2. Install stem assembly (4) into guide stem (21). Use a rotating motion
with minimum pressure to let stem pass through O-ring. Do Not
Cut O-Ring.
3. Install O-ring (6) at top of stem assembly (4). Install guide stem (21)
and stem assembly (4) into body (1). Use socket to tighten securely.
Place lower diaphragm washer (19) on the stem assembly with the
serrated side up. Position diaphragm (17), upper diaphragm washer
(18), with serration down, and belleville washer (14) with concave
side down.
4. Install nut (13) and tighten securely.
5. Continue reassembly as outlined in disassembly steps 1 through 3.
Pressure Relief Control
55L-60
MODEL
INSTALLATION / OPERATION / MAINTENANCE
CLA-VAL
Copyright Cla-Val 2016 Printed in USA Specifications subject to change without notice.
1701 Placentia Ave •Costa Mesa CA 92627 Phone: 949-722-4800 •Fax: 949-548-5441 •E-mail: [email protected] •www.cla-val.com
©
N-55L-60 09/2016
SYMPTOM PROBABLE
CAUSE REMEDY
Fails to open Controlling pressure
too low
Back off adjusting
screw until valve
opens
Fails to open with
spring compression
Mechanical
obstruction,
corrosion, or scale
build-up on stem
Disassemble, locate
and remove
obstruction or scale
Leakage from cover
vent hole when
controlling pressure
is applied
Diaphragm Damage Disassemble, replace
damaged diaphragm
Loose diaphragm
assembly
Tighten upper
diaphragm washer
Fails to close No spring
compression
Re-set pressure
adjustment
Fails to close with
spring compression
Mechanical
obstruction
Disassemble, locate
and remove
obstruction
1/2" & 3/4" PRESSURE RELIEF CONTROL
55L-60
When ordering parts please specify:
1. All Nameplate Data
2. Item Part Number
3. Item Description
CLA-VAL
Copyright Cla-Val 2016 Printed in USA Specifications subject to change without notice.
1701 Placentia Ave •Costa Mesa CA 92627 Phone: 949-722-4800 •Fax: 949-548-5441 •E-mail: [email protected] •www.cla-val.com
©
PL-55L-60 09/2016
PARTS LIST
Item Description Quantity
1 BODY 1
* 2 O-‐RING 1
3 SEAT 1/2" & 3/4" 1
* 4 STEM ASSEMBLY 1
* 5 O-‐RING 1
* 6 O-‐RING 1
7 Guide Spring 2
8 SPRING 1
9 COVER 1
10 Hexnut .375-‐16 UNC 1
11 Adjusting Screw 1
12 Cap 1
13 NUT, STEM 1
14 BELLEVILLE WASHER FLAT 1
15 FIL HD SCREW #10-‐32 UNF 8
16 NAMEPLATE 1
* 17 DIAPHRAGM 1
18 Washer Diaphragm Upper 1
19 DIAPHRAGM WASHER 1
* 20 O-‐RING 1
21 GUIDE STEM 1
22 3/4" NPT PIPE PLUG 1
23 1/8" NPT PIPE PLUG 3
24 DRIVE SCREW 2
* SUGGESTED REPAIR PARTS REPAIR KIT;
1/2" & 3/4"….…P/N 9170033G
SIZE SPRING PART
NUMBER
1/2” 0-75 PSI 79222-01E
1/2” 20-200 PSI 79222-05F
1/2” 100-300 PSI 79222-02C
3/4” 0-75 PSI 82809-01D
3/4” 20-200 PSI 79229-02H
3/4” 100-300 PSI 86005-01E
20881501D
20885301G
20881503B
20881504A
20885302F
20881502C
55L-60
Spring Range
PSI
APPROX. INCREASE
FOR EACH
CLOCKWISE TURN OF
ADJUSTING SCREW
0 to 75 8.5 PSI
20 to 105 12.5 PSI
20 to 200 28.0 PSI
100 to 300 18.0 PSI
24
25
16
1
22
2
3
5
4
20
6
21
23
19
17
14
18
13
7
8
7
9
10
15
11
12
16

Other CLA-VAL Control Unit manuals

CLA-VAL 49-01 Installation and operating instructions

CLA-VAL

CLA-VAL 49-01 Installation and operating instructions

CLA-VAL 81-02/681-02 Owner's manual

CLA-VAL

CLA-VAL 81-02/681-02 Owner's manual

CLA-VAL 90G-21 Instruction manual

CLA-VAL

CLA-VAL 90G-21 Instruction manual

CLA-VAL CRL Installation and operating instructions

CLA-VAL

CLA-VAL CRL Installation and operating instructions

CLA-VAL 60-73 User manual

CLA-VAL

CLA-VAL 60-73 User manual

CLA-VAL 50-49 Instruction manual

CLA-VAL

CLA-VAL 50-49 Instruction manual

CLA-VAL 636-03 Owner's manual

CLA-VAL

CLA-VAL 636-03 Owner's manual

CLA-VAL CRL-60 Owner's manual

CLA-VAL

CLA-VAL CRL-60 Owner's manual

CLA-VAL 92-07 Owner's manual

CLA-VAL

CLA-VAL 92-07 Owner's manual

CLA-VAL 43-01/643-01 User manual

CLA-VAL

CLA-VAL 43-01/643-01 User manual

CLA-VAL 98-06 Instruction manual

CLA-VAL

CLA-VAL 98-06 Instruction manual

CLA-VAL CRL-60 Owner's manual

CLA-VAL

CLA-VAL CRL-60 Owner's manual

CLA-VAL 340-07 General instructions

CLA-VAL

CLA-VAL 340-07 General instructions

CLA-VAL 790-01 Owner's manual

CLA-VAL

CLA-VAL 790-01 Owner's manual

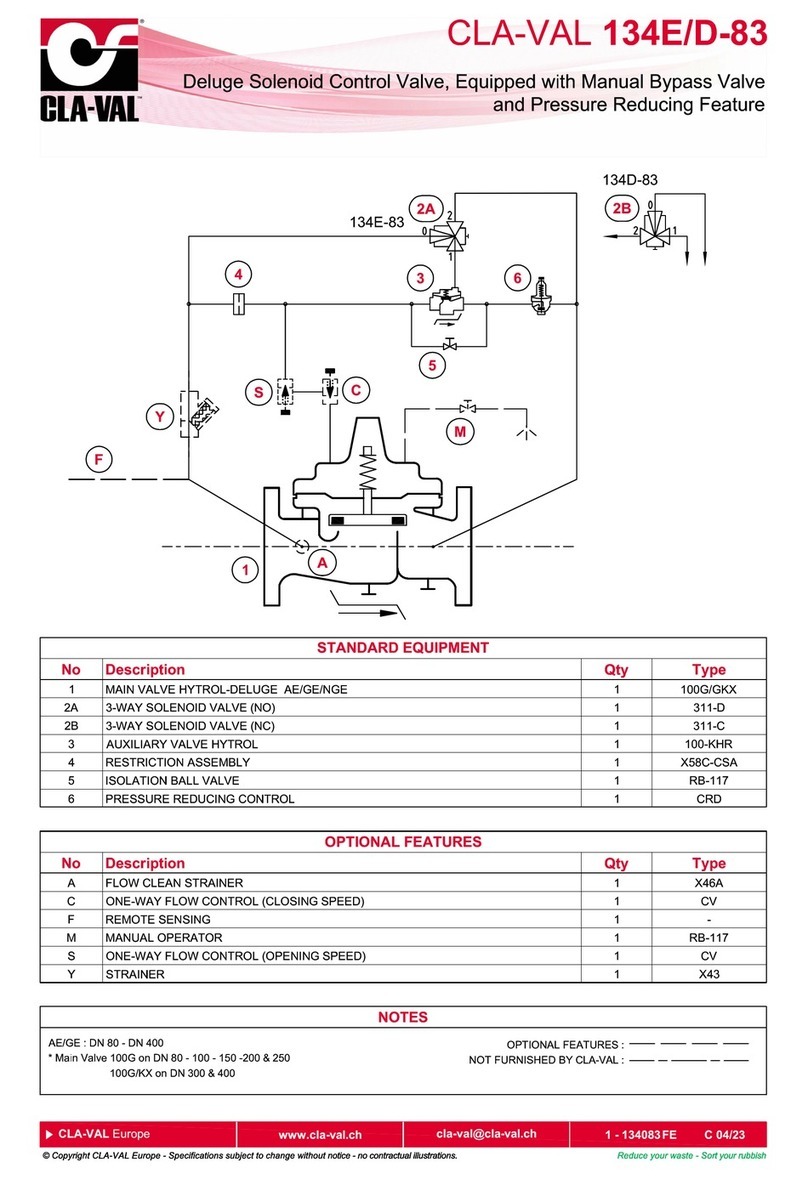
CLA-VAL 134E-83 User manual

CLA-VAL

CLA-VAL 134E-83 User manual

CLA-VAL 90-21 Owner's manual

CLA-VAL

CLA-VAL 90-21 Owner's manual

CLA-VAL 49-01/649-01 General instructions

CLA-VAL

CLA-VAL 49-01/649-01 General instructions

CLA-VAL 581 Owner's manual

CLA-VAL

CLA-VAL 581 Owner's manual

CLA-VAL 90-48 Owner's manual

CLA-VAL

CLA-VAL 90-48 Owner's manual

CLA-VAL 40-01/640-01 Owner's manual

CLA-VAL

CLA-VAL 40-01/640-01 Owner's manual

CLA-VAL 34AR Series User manual

CLA-VAL

CLA-VAL 34AR Series User manual

CLA-VAL 50B-4KG1 Installation and operating instructions

CLA-VAL

CLA-VAL 50B-4KG1 Installation and operating instructions

CLA-VAL 600 Series Owner's manual

CLA-VAL

CLA-VAL 600 Series Owner's manual

CLA-VAL 81-02 User manual

CLA-VAL

CLA-VAL 81-02 User manual

Popular Control Unit manuals by other brands

Sun Microsystems Sun Cobalt Control Station Maintaining and Upgrading the Hardware

Sun Microsystems

Sun Microsystems Sun Cobalt Control Station Maintaining and Upgrading the Hardware

TECO MR-0105 Basic Manual

TECO

TECO MR-0105 Basic Manual

Yoshitake GP-1200 Installation and operation manual

Yoshitake

Yoshitake GP-1200 Installation and operation manual

Infineon AIROC IFW56810 Getting started

Infineon

Infineon AIROC IFW56810 Getting started

BFT ALPHA BOM Installation and user manual

BFT

BFT ALPHA BOM Installation and user manual

Automationdirect.com Productivity 1000 P1-08TA manual

Automationdirect.com

Automationdirect.com Productivity 1000 P1-08TA manual

Texas Instruments bq25600 user guide

Texas Instruments

Texas Instruments bq25600 user guide

Kunbus PR100023R03 user manual

Kunbus

Kunbus PR100023R03 user manual

WILKINS 350 Installation and testing instructions

WILKINS

WILKINS 350 Installation and testing instructions

ICP DAS USA ECAT-2050 quick start

ICP DAS USA

ICP DAS USA ECAT-2050 quick start

Canford 58-321 Technical data sheet

Canford

Canford 58-321 Technical data sheet

Telit Wireless Solutions GE864 DUAL V2 Hardware user's guide

Telit Wireless Solutions

Telit Wireless Solutions GE864 DUAL V2 Hardware user's guide

Quectel LTE-A Series Hardware design

Quectel

Quectel LTE-A Series Hardware design

Bosch Rexroth IndraControl VCP 25.2 Project planning manual

Bosch

Bosch Rexroth IndraControl VCP 25.2 Project planning manual

Unitronics IO-D16A3-RO16 installation guide

Unitronics

Unitronics IO-D16A3-RO16 installation guide

MX Atmos Vision Fitting instructions

MX

MX Atmos Vision Fitting instructions

Watermark Reefe rainpro RM1500-2 Installation and operating instructions

Watermark

Watermark Reefe rainpro RM1500-2 Installation and operating instructions

Heicko HD15BT user manual

Heicko

Heicko HD15BT user manual

manuals.online logo
manuals.online logoBrands
  • About & Mission
  • Contact us
  • Privacy Policy
  • Terms and Conditions

Copyright 2025 Manuals.Online. All Rights Reserved.