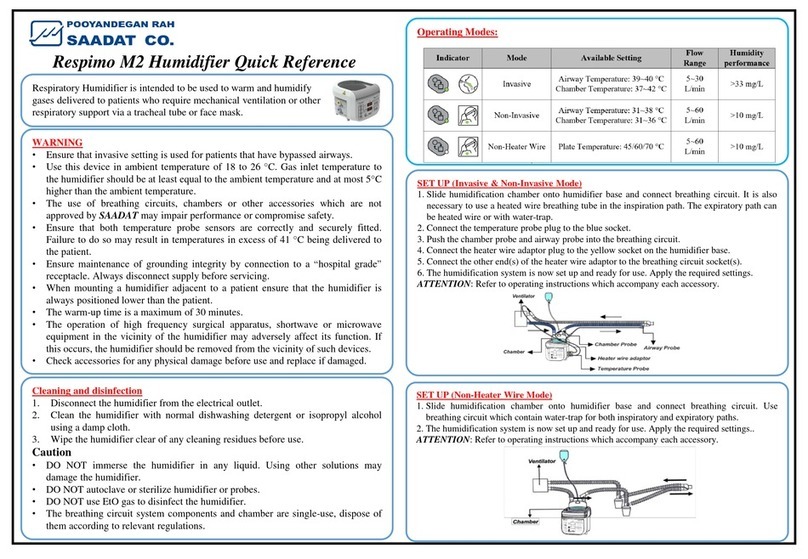
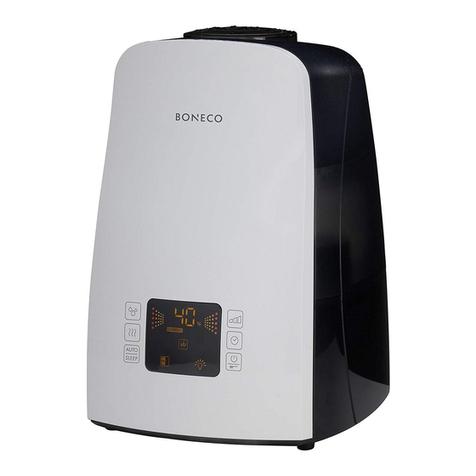
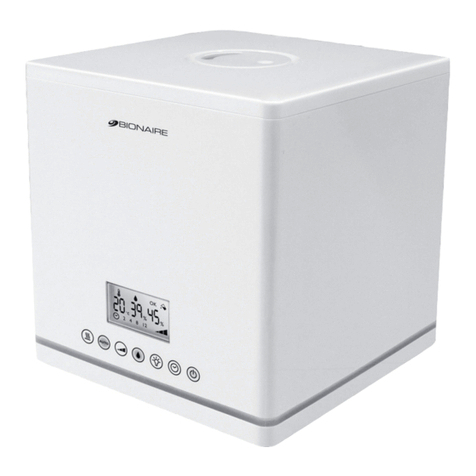
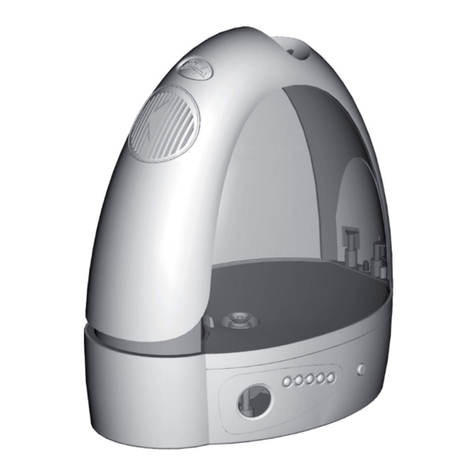
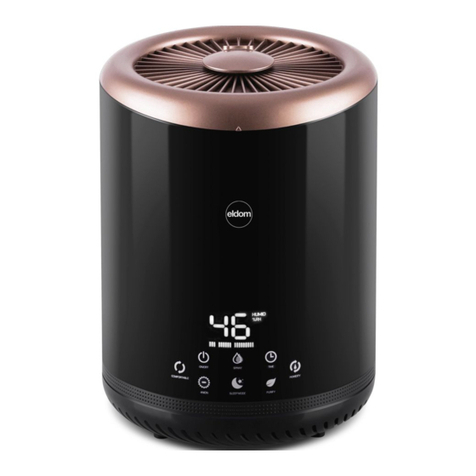
CLAIRION SA-1015 User manual

INSTRUCTION MANUAL
CLAIRION MODEL # SA-1015
READ AND SAVE THESE INSTRUCTIONS
Home Care
Product Inc.
16805 Hymus Boulevard,
Kirkland (Quebec) Canada H9H 3L4
Phone : 1-800-633-9007
www.clairion.com
FOR ASSISTANCE CALL TOLL FREE :
1-800-633-9007 (U.S.A. and CANADA)
PATENT PENDING
If you do not plan to use your humidifier for an extended
period of time (i.e. during the summer months),
it is important that you follow these instructions to
help prevent stagnation of water in the unit.
1.Clean your humidifier as instructed in the section
titled “Cleaning and Maintenance”.
2.Make sure all water is emptied from the tank and tray.
3.Dry your unit thoroughly.
4. Leave the tank cap off allowing the tank
to be exposed to air.
5.Pack your humidifier in its original carton and store
in a cool, dry place.
Should your ConfortPlus humidifier require service,
please call 1-800-633-9007
for the service center closest to you.
Please note that a proof of purchase will be required
for all warranty claims.
STORAGE TIPS
TROUBLE-SHOOTING
TROUBLE
Power light
not illuminated.
PROBABLE CAUSE
•
Unit not plugged in.
•
Power failure.
•
Vapor column safety
switch is not engaged.
SOLUTION
•
Plug in unit.
•
Check circuit breaker
or fuse.
•
Push vapor column
firmly into position.
Moist air
output low.
•
Scale buildup in tray.
•
Scale buildup on
heating element.
•
Remove tray and
flush out scale residue.
•
Remove scale from
heating element.
Water leaks
from unit.
•
Tank cap seal missing
or improperly placed.
•
Remove tank cap
and replace or
reposition seal.
QUESTIONS AND COMMENTS,
PLEASE CALL :
1-800-633-9007
(U.S.A. and CANADA)
IMPORTANT SAFEGUARDS HOW YOUR HUMIDIFIER WORK
•DO NOT operate without water in the tank.
•Use only clean, cool tap water to fill tank.
•DO NOT remove the vapor column while the unit
is in operation.
•To avoid hazard of fire or shock, plug your unit directly
into a 120 VAC grounded outlet.
•DO NOT unplug the humidifier if your hands are wet.
•Turn the humidifier off when the tank is empty
or when the unit is not in use.
•Be sure to turn the unit off, unplug it and allow the
water inside the tray to cool before moving the unit
or before cleaning it.
•DO NOT place the unit near heating devices or
in direct sunlight.
•DO NOT immerse unit in water.
•Be sure the tank filling cap is firmly tightened and
the tank cap seal is in place.
•DO NOT touch the heating element when it is hot.
•ONLY place your ConfortPlus Humidifier on surfaces
that are water resistant.
• If you turn your ConfortPlus Humidifier off
for extended periods, empty the water tank.
• To avoid any possible spillage, be careful when moving
unit when it is full of water.
Low indoor humidity levels during the fall and winter
months can dry your nose, skin and throat and even
damage your furniture and household effects.
ConfortPlus Humidifiers add moisture to the air to help
relieve sinus and respiratory discomfort and to provide a
healthier environment for plants and pets. Soothing
medication can also be dispensed with the mist from the
humidifier to bring relief to family members suffering from
cold and flu symptoms.
Your ConfortPlus Humidifier uses boil technology to
produce moisture which is free of minerals, (white dust),
and bacteria. Minerals are retained in the lift-out tray for
easy cleaning. The tray and vapor column can also be
placed in the dishwasher for additional cleaning and
sterilization. The exclusive, plug-in control unit allows total
access to all surfaces of the non-stick-coated heating
element to further simplify cleaning.
Unlike steam vaporizers the mist generated by your
ConfortPlus Humidifier is at a safe comfortable
temperature. Air is drawn into the humidifier through
openings in the back of the vapor column. This cool
room air then flows through “chimneys” built into the
boiling tray where it mixes with the vapor from the
boiling water in the tray. This patent-pending
technology produces a warm comforting mist.
To monitor room humidity and avoid
over-humidification use of a humidity
meter is recommended.
MEDICINE RECESS
WATER TANK
VAPOUR COLUMN
CONTROL HOUSING
BASE & BOILING TRAY
Fig. 1

OPERATING INSTRUCTIONS
FILLING THE WATER TANK
1.Place your ConfortPlus humidifier in the desired
location. A hard level surface is necessary for proper
operation. Do not place your humidifier on
any surface that could be damaged by
water droplets.
2.Plug the power cord into a convenient, grounded
120 VAC outlet. The red “POWER” light will turn
“ON”. If the “Power” light does not illuminate make
sure that the vapor column is pressed firmly in place
in order to activate the safety switch located in the
control housing. This switch will turn the humidifier
“OFF” if the vapor column is removed when
in operation.
3.Lift out water tank and carry it to a water tap.
4.Turn the tank upside down and remove the tank
cap by twisting it counterclockwise (figure 4).
5.Fill the tank with cool tap water as shown in figure 5.
6.Replace the tank cap, making sure the cap seal is
in its correct position. Carry the full tank and
carefully replace it, cap down, into the humidifier.
Wait a few minutes for the tray to refill.
A medicated vapor can be distributed with
the “mist” output.
To add medication to the vapor:
1.Switch humidifier off and allow the outlet grill area
to cool down..
2.Carefully add liquid medication to the medicine cup
recess in the center of the outlet grill. Do not fill
cup more than half full.
3.Switch unit on and press restart button if
the “MIST ON” light does not illuminate.
4.After use, remove the vapor column from the unit
and clean any residue from the medicine cup
recess with warm water.
WARNING:DO NOT use any liquid medication
other than those specifically
recommended for use with a
steam vaporizer.
DO NOT pour medication directly into
the outlet grill openings nor add it to
the water in the tank.
1.Turn the unit off and unplug it. Allow to cool down.
2.Remove the tank and wash with a mild soap.
Mineral deposits may be removed using plain vinegar.
Rinse well.
3.Remove the vapor column and wash with a mild
soap or place in the dishwasher.
4.Lift off the control housing and remove any mineral
deposits using water and a soft brush. For stubborn
deposits see “Special Maintenance – Heating Element”
below. (Fig. 6)
5. Lift the tray from the base and rinse. The tray may be
placed in the dishwasher for additional cleaning and
sterilization. Make sure that the small hole located at
the side of the center boiling recess is not blocked.
Mineral deposits in the tray may be removed by filling
the tray with plain vinegar.
WARNING: All cleaning agents must be thoroughly
rinsed away after use and before
the unit is returned to service.
In hard water areas mineral deposits which build-up on
the heating element may not be removed by normal
cleaning procedures. These deposits may be removed
by soaking the element in plain vinegar. Soak element
for at least 20 minutes but not more than 30 minutes.
Do not immerse any part of the plastic control housing.
Rinse thoroughly.
When the unit is used daily, weekly cleaning is
recommended. Regular cleaning also prevents scale
buildup on the heating element and tray. It also prevents
micro-organisms from growing in the tray and tank.
This ensures that maximum efficiency will be achieved.
Before cleaning, please note the following:
• DO NOT use harsh detergents, abrasives, gasoline,
glass or furniture polish, or boiling water to clean
any parts of your ConfortPlus humidifier.
These will interfere with the proper operation of
your humidifier.
• DO NOT use sharp or metal objects to clean
mineral deposits in the cavity or element.
Contact with sharp objects can result in damage
to the plastic and the element.
•We recommend that the tray be rinsed daily and
that the unit be allowed to run out of water
every second day.
•Mineral deposits should be soaked in plain vinegar.
DO NOT operate unit while it is soaking!
•The boiling tray and vapor column may also
be cleaned in the dishwasher.
MEDICATION CLEANING INSTRUCTIONS
CLEANING AND MAINTENANCE
THE MEDICATION RECESS
SPECIAL MAINTENANCE
HEATING ELEMENT
NOTE : Allowing your ConfortPlus humidifier to
run out of water before refilling the tank
helps to self-clean the heating element.
7.If the amber “EMPTY” light is illuminated press the restart
button then rotate the “humidistat” knob clockwise until
the green “MIST ON” light turns “ON”. It may take up
to 5 minutes before full mist output is obtained.
8 When all the water in the tank has been used,
the unit will shut down automatically.
NOTE: One full tank will last approximately 18 hours in
continuous operation.
Fig. 6
Fig. 4 Fig. 5
UNPACKING AND SETUP
CONTROL PANEL
Open your humidifier carton and remove the top cardboard
insert. Lift the unit from the outer carton using the two side
handles built into the bottom cardboard insert. Remove the tank,
vapor column and control housing from the base.
Remove all plastic bags and place in the humidifier box with
the cardboard inserts for future storage. Remove the tray from
the base and turn the base upside-down. Place the power cord
in the guides as shown in figure 2. Place your humidifier in the
desired location and replace the tray, control housing, vapor
column and tank.
Humidistat Control – This control is used to turn the heating
element “ON” or “OFF” and to set the desired humidity level.
Rotating the humidistat control knob clockwise will cause the
heating element to turn “ON” and will illuminate the green
“Mist ON” light. The humidistat will automatically turn the
heating element “ON” and “OFF” to maintain the selected
humidity level. The humidifier can also be turned “OFF” by
rotating the knob fully counter-clockwise.
Power Light – When illuminated, indicates that the humidifier
is plugged-into a powered wall plug. When extinguished
indicates that either the unit has been unplugged or that the
vapor column has been removed from the base.
Restart Button – This control resets the humidifier after it has
shut down due to an empty water tank or after it has been
cleaned. Once the tank has been refilled allow one minute for
the tray to fill then press the restart button. The amber
“EMPTY” will turn “OFF” and the green “MIST ON” light will
turn “ON”. The restart button should never be pressed when
the unit is empty.
HUMIDISTAT
CONTROL
KNOB
Fig. 2
Fig. 3
POWER LIGHT
(RED)
”MIST ON”
(GREEN)
EMPTY LIGHT
(AMBER)
RESTART BUTTON
Table of contents

