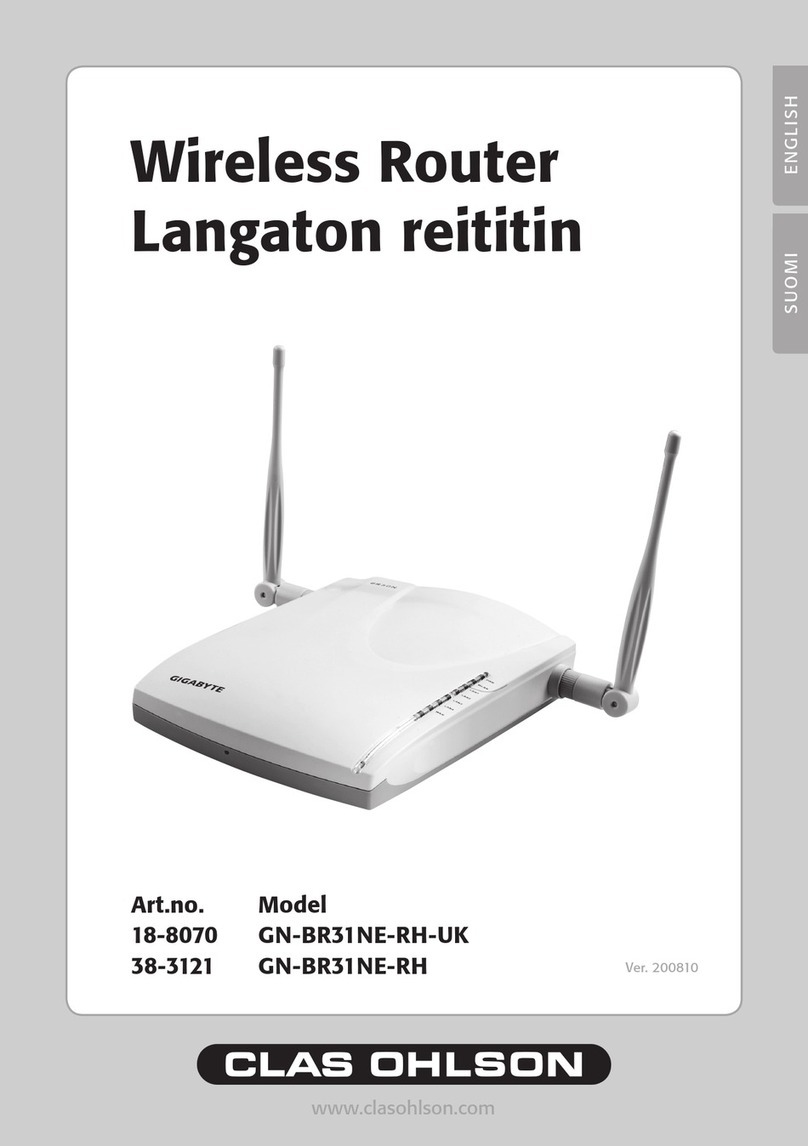
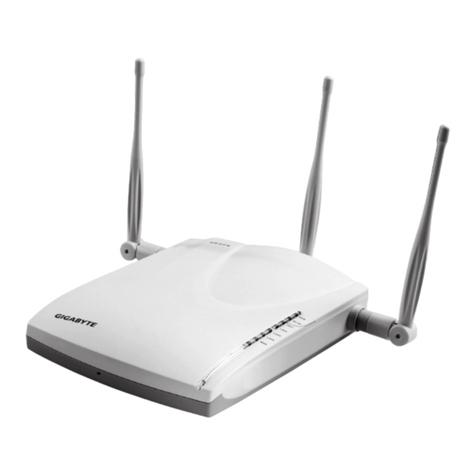
Clas Ohlson GN-BR32L-RH User manual

EnglishSvenskaNorskSuomi
Wireless Router
Trådlös Router
Trådløs Router
Langaton reititin
Art.no Model
18-8042 GN-BR32L-RH
38-2875 GN-BR32L-RH Ver. 201101

2

3
English
Wireless Router
Art. no 18-8042 Model GN-BR32L-RH
38-2875 GN-BR32L-RH
Please read theentire instruction manual before using theproduct and save it
for future reference. We reserve theright for any errors in text or images and any
necessary changes made to technical data. If you have any questions regarding
technical problems please contact Customer Services (see address on reverse).
1. Introduction
• Wireless Access Point with high transfer rate: Up to 150 Mbps.
• Supports dynamic and static routing. Up to 252 users can share thebroadband
modem/cable modem connection.
• IP packets can be sent between thewireless/wired network and theInternet.
• 64- /128-bit WEP encryption, 802.1x, WPA and WPA2, DHCP server IP address
function, improved and integrated firewall, online gaming and video conferencing
capabilities.
• Connections: 4 x RJ45 (LAN 1–4) and 1 x RJ45 (WAN).
• Indoor range: 35–100 m.
• Simple web interface installation.
• Supports MSN Messenger and most Internet applications.
• Wi-Fi Protected Setup.
• Smart Setup automatic configuration.
• Supports 2 BSSID.
2. Contents
• GN-BR32L-RH Wireless AP/Router
• AC/DC adaptor (5 V DC 2 A (+) centre pin)
• CD with complete instruction manual
• Instruction manual
• Network cable (Cat 5, length 1.8 m)

4
English
RJ45
RJ45
RJ45
ADSL
LAN 1 LAN 2 LAN 3 LAN 4WAN
+
LAN 1 LAN 2 LAN 3 LAN 4WAN
+ RF/WPS
3. Connections
1. Adaptor connection
2. WAN port, connects to modem.
3. LAN ports 1–4, connections for 1–4 computers.
4. RF/WPS, activates automatic encryption between computer and router.
N.B. This feature only works between two Gigabyte products.
5. Aerial
6. INIT, resets to original factory settings (bottom panel).
1
2
34
6
5

5
English
4. Configuring therouter
• Start your web browser and enter therouter IP-address 192.168.1.254
in theaddress field.
• When thelogin window appears enter theusername and password.
Username: admin
Password: admin
N.B. If this does not work: Go to section: Troubleshooting 9.1 and 9.4.
Setup Wizard
a) Click on theSetup wizard and follow theinstructions given. The standard
settings usually do not have to be changed.
b) On theInternet Connection Type page select your ISP (Internet Service
Provider) broadband connection type.

6
English
5. Checking your broadband connection
c) Check with your ISP regarding your type of Internet connection. Different ISPs
use different types of connection for connecting to theInternet. The most
common connection methods are:
• PPPoE
Automatically assigns IP addresses via PPPoE. Enter theusername and
password received from your ISP.
• Dynamic
Automatically assigns IP addresses from aDHCP server.
No user information is required.
• Static (permanent IP-addresses)
Enter theinformation received from your ISP.
Select Internet Connection Type or WAN Type Select (depending on
theconfiguration method) in therouter menu.
d) Click on Next. If you have received connection information from your ISP
enter this information here, or else click Finish.

7
English
Displaying theconnection status
When theconfiguration is completed, click on Status to display
the connection status.
If an IP address is displayed in theWAN IP-address field theconnection is correctly
configured. If WAN IP-address displays: “Unavailable” or “0.0.0.0” your connection
has not yet received an IP-address from your ISP.
Refer to theTroubleshooting section: 9.3. I can connect to therouter but not
to theInternet.
6. Setting up thewireless network, encryption, etc.

8
English
1. Click on Wireless Configuration.
Wireless configuration settings:
Wireless LAN 802.11ng Configuration.
Multiple BSSID, select asetting for one of thewireless networks (SSID 1 – SSID 2).
• SSID: Enter adesired name for your network.
• Hidden SSID: Select Enable to hide thenetwork name. Select Disable to
display thename.
• Authentication Type: Select thedesired security level from thedrop-down
menu: Open system gives no protection at all while WPA2-PSK provides
thehighest security.
• WEP: Select your desired encryption setting from thedrop-down menu:
Disabled (encryption deactivated), 64-bit or 128-bit.
N.B. WPA2-PSK may only be compatible with Vista or XP with Service Pack 3.
For XP with Service Pack 2 or earlier thehighest degree of encryption is WPA.
N.B: Changing these settings will cause all wireless devices will to be disconnected.
Setting thedesired security level
2. Open Authentication Type, select thedesired security level from thedrop-
down menu: Open system gives no protection at all while WPA2-PSK provides
thehighest security.
3. Open WEP and select your desired encryption setting from thedrop-down menu:
Disabled (encryption deactivated), 64-bit (5 symbols) or 128-bit (13 symbols)
encryption.
4. Enter adesired password (if you have chosen encryption), and click Submit.
Use apassphrase or hexadecimal key.
• A passphrase should consist of: 5 ASCII symbols for 64-bit WEP or 13 ASCII
symbols for 128-bit WEP. Approved symbols: 0–9, a-z, A-Z and ~ ! @ # $ % ^
& * () _ + | ` - = { } | [ ] \ : ” ; ’ < > ? , . / .
• The hexadecimal key should consist of: 10 hexadecimal symbols for
64-bit WEP or 26 hexadecimal symbols for 128-bit WEP. Approved symbols:
(0–9, A-F).
N.B. Important: Remember your password!

9
English
7. Recommended settings and changes
Concerns both SSID 1 and SSID 2:
• SSID1 is anormal network with WAN and LAN connections.
• SSID2 is a“Guest network” which has no LAN connection but has an exclusive
Internet connection with special security settings.
Step 1. Change theSSID (name) from Gigabyte to something of your choosing.
Step 2. Select WPA-PSK (encryption) from theAuthentication Type drop-down menu.
Step 3. Change theWPA-PSK Passphrase to apersonal passphrase.
Differientiate between capital and small letters. Use at least 8 characters.
Step 4. Click Submit.
Resetting thefactory settings
On thebottom panel of therouter is the[INIT] button which resets therouter to factory
settings. Resetting: Depress the[INIT] button for 10 seconds.
N.B. The username and password will also be reset to their factory settings.
8. LED indicator table
LED Status Colour Description
PWR On Green Power adaptor is connected and working.
Off - Power adaptor not connected
WLAN Flashing Green Wireless data transfer.
On Green No data traffic.
Off - Wireless connection idle.
WAN On Green The router has detected
an ADSL/cable modem.
Flashing Green Data is being transferred via the
WAN port.
WLAN/
WPS
Flashing Red WPS is activated. Depress thebutton
for approx. 4 seconds to deactivate
theWPS feature.
LAN On Green Router has detected alink with
a10/100 Mbps network.
Flashing Green Data is being transferred via theLAN port.

10
English
9. Troubleshooting
9.1. I am having trouble connecting to therouter
Possible causes:
• The router is not connected to theadaptor.
• No network connection is found.
• The computer you are using does not have avalid IP address.
• Check your firewall settings to see if they are blocking theconnection.
• Check your wireless connections.
Possible solution:
• Check that the ”PWR” light is on, if not: Check that both theAC/DC adaptor
and thewall socket have voltage.
• Check that you have aphysical or wireless connection between thePC and
therouter; the ”LAN” light should be on. The LED on thenetwork card will also
indicate if theconnection is functioning.
• Make sure that you have thesame settings both on thecomputer and router.
The settings can be used with theIPCONFIG tool which is entered at
thecommand prompt. Go to Start – Run and enter cmd to open
thecommand prompt.
• Type ipconfig and press [ENTER].
• The computer’s IP address and Net mask will then appear.
• The standard-gateway is also therouter’s IP address.
N.B. The router can change IP address to 192.168.2.254 if it detects aconflict
with e.g. amodem which already shares thesame 192.168.1.254
IP address.

11
English
Resetting – If you want to start from thebeginning:
On thebottom panel of therouter is the[INIT] button which resets therouter to
factory settings. Resetting:
• The router should be on. Use apaper clip or similar and depress the[INIT] button
for 5–6 seconds until the“PWR” light begins to flash, then remove
the paper clip.
• The router should now restart with theoriginal factory settings.
• The username and password are also reset to factory settings.
9.2. I cannot connect to other devices on thenetwork
Possible causes:
• The computers’ IP addresses are incorrectly set.
• The network cables are not properly connected.
• The network settings in Windows are incorrect.
Possible solutions:
• Every computer should have aunique IP address. Check this using
theIPCONFIG command.
• Normally, Obtain an IP address automatically should be ticked (if you want to
use therouter’s DHCP function), N.B. Any changes may require arestart for them
to take effect.
• With thePING function you can check which devices/computers are able to be
connected to thenetwork.
• The PING command is run at thecommand prompt. Enter theIP address you
wish to check theconnection for and then press [ENTER].
• “Reply from…” indicates that theconnection is functioning.
• “Request timed out” means that theconnection does not work.
• Check that the ”LAN” indicator lamp is on, if not: Try switching network cables.
• Check each computer’s network settings using theWindows Control Panel.

12
English
9.3. I can connect to therouter but not to theInternet
Possible causes:
• The modem or ADSL device does not work.
• Cable problems on theWAN port GN-BR32L-RH, modem or broadband modem.
• Incorrect connection type entered during Setup. PPPoE, Dynamic IP Address,
Static IP Address or PPPoE Unnumber. Dynamic IP Address
is most common, tick this if you feel uncertain.
• The username and password are mistyped.
Possible solutions:
• Check all devices and connections.
• Check your connection settings.
• Enter thecorrect username and password. Check that the[Caps Lock]
is not activated.
• Always read through theinstruction manual from your ISP.
N.B. Certain ISPs have a 30 minute lock-out of issued IP addresses. That is
why in some cases themodem cable must be disconnected for 30 minutes
before you are issued anew IP address.
9.4. I cannot connect to therouter with my Wi-fi network card
Possible causes:
• The settings are not identical on each Wi-fi card.
• You are out of range of thesystem.
• The IP address is incorrectly set.

13
English
Possible solutions:
• Make sure all Wi-fi cards have thesame setting for “Mode”,
“SSID” (Service Set Identifier) used for passwords and encryption.
• The preset values for “SSID” and “Channel” are “Gigabyte” and “6”.
• Make sure your computer is within therange of therouter. Try different locations.
Electrical fields generated by e.g. an adaptor can interfere with thecommunication
between therouter and computers in awireless network.
• Make sure you have thesame IP address on your computer and your router
(the three first groups, 192.168.1.) should be identical, thefinal group of digits
should be different for all devices.

14
English
10. Glossary
WAN
Wide Area Network, large networks e.g. theInternet, companies with large office
networks in several cities or in different countries.
LAN
Local Area Network, small networks, e.g. offices.
WLAN
Wireless Local Area Network, small wireless networks.
HUB
The centre of anetwork, used as point of contact betwen computers.
Messages reach all computers even if only one is targeted. Creates alot
of unnecessary network traffic.
Switch
Like thehub but more intelligent and uses thenetwork more efficiently.
Only calls thetargeted computer.
Router
Selects thefastest route for forwarding data through thenetwork.
IP SubnetMask
E.g. 255.255.255.0 displays how IP numbers should be interpreted.
IP address
Consists of up to 12 digits divided into 4 groups, e.g. 192.168.127.112 (32 bits)
corresponding to aMAC address unique to every network card. IP addresses and
IP Subnet Masks work in conjunction and adjust to each other within anetwork.
ISP
Internet Service Provider.
DHCP
Dynamic Host Configuration Protocol. Provides continuous IP addresses
to connected devices.
Mac address
Unique for each individual network card.
AP
Access point, base station in awireless network.

15
English
11. Specifications
11.1 General specifications
Model GN-BR32L-RH
Complies with the
following standards IEEE802.3 (10Base-T), IEEE802.3u (100Base-TX),
IEEE802.11b/g (Wireless).
Ports LAN 10/100 Ethernet (auto-MDIX), RJ45 (4x)
WAN 10/100 Ethernet (auto-MDIX), RJ45 (1x)
Buttons Reset ([INIT] on theback panel)
WPS-WLAN button
Power supply AC/DC adaptor (5 V DC 2 A, (+) centre pin)
Weight 225 g (±5 g)
Size 187 x 135 x 26.5 mm (excluding aerial)
11.2 Wireless specifications
Frequency range 2412–2484 MHz (according to local regulations)
Modulation technique OFDM and DSSS
Modulation format 64QAM, 16QAM, QPSK, BPSK, DBPSK, DQPSK, CCK
Bit rate 150, 135, 121.5, 108, 81, 54, 48, 36, 24, 18, 12, 11, 9, 6,
5.5, 2, 1 Mbps (auto fallback)
Output effect Legacy mode 20 dBm at 11b, 17 dBm at 11g
HT20 mode 17 dBm at MCS7/15
HT40 mode 17 dBm at MCS7/15
Reception, sensitivity Legacy mode - 90 dBm at 11b, -74 dBm at 11g
HT20 mode -71 dBm at MCS7/15
HT40 mode - 68 dBm at MCS7/15
Aerial 1x external aerial
Wireless range Outdoors 100 to 300 m, Indoors 30 to 100 m
Certifications CE (Europe), FCC part 15 (USA), NCC (Taiwan)
11.3 Operating environment
Temperature range 0 to 55 °C (operating), -20 to 65 °C (storage)
Humidity 10–85 % (non-condensing)
11.4 Protocol
Routing protocol Dynamic, Static Routing with TCP/IP, NAT, PPTP, PPPoE,
VPN Pass-Through (IPSec, L2TP), DHCP (Client & Server)
Safety 64/128 bit WEP; WPA-PSK; WPA

16
Svenska
Trådlös Router
Art.nr 18-8042 Modell GN-BR32L-RH
38-2875 GN-BR32L-RH
Läs igenom hela bruksanvisningen före användning och spara den sedan för
framtida bruk. Vi reserverar oss för ev. text- och bildfel samt ändringar av tekniska
data. Vid tekniska problem eller andra frågor, kontakta vår kundtjänst (se adress-
uppgifter på baksidan).
1. Introduktion
• Trådlös Access Point med hög överföringshastighet: Upp till 150 Mbps.
• Stöder dynamisk och statisk routing, flera kan dela på anslutning för
bredbandsmodem/kabelmodem, upp till 252 användare.
• Du kan skicka data mellan det trådlösa, icke-trådlösa nätet samt Internet.
• 64– /128-bitars WEP kryptering, 802.1x, WPA och WPA2, automatisk
DHCP-server delar på IP-nummer, inbyggd förbättrad brandvägg,
möjlighet till onlinespel och videokonferens.
• Anslutningar: 4xRJ-45 (LAN 1–4) och 1xRJ-45 (WAN).
• Räckvidd inomhus 35–100 m.
• Enkel installation med webbgränssnitt.
• Stöder MSN Messenger och de flesta Internet-applikationer.
• Wi-Fi Protected Setup.
• Smart Setup för automatisk konfiguration.
• Stöder 2 BSSID.
2. Förpackningen innehåller
• GN-BR32L-RH Trådlös AP/Router
• Batterieliminator (5 V DC, 2,A (+) på centrumstift)
• Cd-skiva med fullständig manual
• Bruksanvisning
• Nätverkskabel (Cat 5, längd 1,8 m)

17
Svenska
RJ45
RJ45
RJ45
ADSL
LAN 1 LAN 2 LAN 3 LAN 4WAN
+
LAN 1 LAN 2 LAN 3 LAN 4WAN
+ RF/WPS
3. Inkoppling
1. Anslutning för batterieliminator
2. WAN, anslutning till modem
3. LAN 1–4, anslutning för kabel från 1–4 datorer
4. RF/WPS, aktivering av automatisk kryptering mellan dator och router.
Obs! Denna funktion kan endast användas mellan Gigabyte-produkter.
5. Antenn
6. INIT, återställning till fabriksinställning (på undersidan).
1
2
34
6
5

18
Svenska
4. Konfiguration av routern
• Starta webbläsaren och ange routerns IP-adress 192.168.1.254 iadressfältet.
• I inloggningsrutan anger du användarnamn och lösenord:
Användarnamn: admin
Lösenord: admin
Obs! Fungerar inte detta: Gå till avsnittet: Felsökning 9.1 och 9.4.
5. Inställningsguiden (Setup Wizard)
a) Klicka på Setup wizard och följ anvisningarna. De föreslagna inställningarna behö-
ver oftast inte ändras.
b) På sidan Internet Connection Type väljer du din bredbandsleverantörs anslutningstyp.

19
Svenska
Kontrollera din bredbandsanslutning
c) Kontrollera med din bredbandsleverantör om vilken typ av anslutning du har till
internet. Olika bredbandsleverantörer använder olika anslutningstyper för att
ansluta till internet. De vanligaste anslutningstyperna är:
• PPPoE Automatisk tilldelning av IP-adress via PPPoE. Du behöver ange det
användarnamn och lösenord som du fått från din bredbandsleverantör.
• Dynamisk Automatisk tilldelning av IP-adress från en DHCP-server.
Inga användaruppgifter behöver anges.
• Statisk (fast IP-adress) Du behöver ange de uppgifter du fått från din
bredbandsleverantör.
Denna inställning väljer du på sidan ”Internet Connection Type” eller ”WAN Type
Select” (beroende på konfigurationssätt) irouterns menyer.
d) Klicka på Next. Har du fått anslutningsuppgifter från din bredbandsleverantör
fyller du idessa här, annars klickar du på Finish.

20
Svenska
Visa anslutningens status
När konfigureringen är slutförd, klicka på Status att visa anslutningens status.
Visas en IP-adress ifältet ”WAN IP-address” är anslutningen rätt konfigurerad.
Visas istället texten ”WAN IP-address: Unavailable” eller ”0.0.0.0” har anslutningen
ännu inte fått någon IP-adress av leverantören.
Se Felsökning: 9.3. Jag kan ansluta till routern men inte till Internetanslutning.
6. Inställning av trådlösa nätet, säkerhetskryptering etc.
Table of contents
Languages:
Other Clas Ohlson Wireless Router manuals

Clas Ohlson
Clas Ohlson 18-8070 User manual

Clas Ohlson
Clas Ohlson GN-BR33V-RH User manual

Clas Ohlson
Clas Ohlson SMP-600A-1 User manual

Clas Ohlson
Clas Ohlson SMP-600A005USB-UK User manual

Clas Ohlson
Clas Ohlson GN-BR30N-RH Series User manual

Clas Ohlson
Clas Ohlson ACPP-7388 User manual

Clas Ohlson
Clas Ohlson IR DSIR-620 User manual

Clas Ohlson
Clas Ohlson GUBTCR42 User manual