manuals.online logo
Brands
  1. Home
  2. •
  3. Brands
  4. •
  5. Clevetronics
  6. •
  7. Lighting Equipment
  8. •
  9. Clevetronics L10 LUBPRO-SM-UPS User manual

Clevetronics L10 LUBPRO-SM-UPS User manual

1942413
V1.1
7 September 2021
Testing:
Once connected to the 240V UPS backup mains supply, ensure the UPS unit has been allowed to charge.
Conduct the following tests:
•For the first test, the lamp must remain illuminated for at least 2 hours after disconnection from the
mains supply with the UPS running from the battery.
•Subsequent tests require the unit to illuminate for at least 90 minutes. The results of all tests are
required to be recorded in a service logbook, which is to be kept on-site at all times. If the unit fails to
remain illuminated for the requisite time, remedial action must be taken to repair the situation and
once completed, the unit must pass a subsequent test. For more specific information, please refer to
the current edition of the AS 2293.3 Standard.
Ultrablade Maintenance:
LED Lamp Replacement:
•Use only the LED Strip recommended in the
Spares Parts list of this instruction.
•Remove the screw holding the driver PCA.
Remove the PCA.
•Remove the 4 screws holding the battery
bracket. Remove the bracket.
•Disconnect the signal cable from LED strip.
•Remove 4 self-tapping screws and unclip the
LED strip.
•Install the new LED strip following the above
procedure in reverse.
Trouble Shooting:
Below are a list of common problems and their
possible causes.
Fault: The Status LED indicator and main
lamp is not illuminated.
Check: A.C. is connected and is turned on.
Fault: Lamp does not illuminate in
emergency mode.
Check: A.C. is connected.
Lamp is correctly inserted.
UPS battery condition.
Rated Emergency Lumen Output in accordance with AS2293.1, not applicable
for –TH (theatre) version (refer to spacing tables for installation positions):
Refer to the Technical Label for classification information.
Warranty:
For Product Warranty information and Terms and Conditions of Sales please refer to our website
http://clevertronics.com.au/terms-conditions-sale-australia-nz/
L10™Ultrablade Pro Surface Mount LED Exit
Uninterrupted Power Supply
Installation & Maintenance Instruction Leaflet
Models:
LUBPRO
-SM-UPS Premium Ultrablade Pro Surface Mount LED Exit - UPS
LUBPRO
-SM-DALI-UPS DALI Ultrablade Pro Surface Mount LED Exit - UPS
LUBPRO
-SM-DALI-BLK-UPS DALI Ultrablade Pro Surface Mount Black LED Exit - UPS
Spare Parts:
8002178
– PCA: UBP LED strip PCB Assy
8002343
– PCA: LUBPRO CT10142-L9 6C40 UPS
Important:
It is illegal for anyone, except for a licensed electrician to install or maintain this product. Before installation,
en
sure that the electricity supply has been switched off and isolated. Installation must be carried out in
accordance with the relevant Australian and International Standards.
Designed in Australia to comply with the requirements
of AS2293.3: 2005 and AS/N
ZS CISPR15: 2017
Victoria (Head Office & Manufacturing)
Website:
www.clevertronics.com.au
Email:
info@clevertronics.com.au
Phone:
+61 3 9559 2700
Fax:
+61 3 9559 2799
New South Wales
Phone:
+61 2 8805 6400
Fax:
+61 2 8805 6444
Queensland
Phone:
+61 7 3442 9700
Fax:
+61 7 3442 9777
South Australia/Northern Territory
Phone:
+61 8 8301 8800
Fax:
+61 8 8351 8286
Western Australia
Phone:
+61 8 9207 0000
Fax:
+61 8 9207 0088
New Zealand
Phone:
+64 800 548 448
1942413
V1.1
7 September 2021
DALI EM Option
Fittings with part numbers containing -DALI are fitted with DALI modules (nodes) that facilitate
connection and integration to 3rd Party Lighting Control Systems. The –DALI fitting
will be
addressed and configured into the control system by the Lighting Control System Commissioning
Technicians and not Clevertronics.
State LED Operation
Commissioned/ Un-commissioned LED on Solid (Green)
“IDENTIFY COMMAND” Fitting goes off for 10 seconds
A 2-way “figure 8” cable and terminal block facilitates the connection to the DALI network. DALI
connections are marked as Da Da.
To confirm operation of the fitting the Lighting Control System can only use the status query type
command. To “test” the sign this status query will need to be synchronised with the formal test of
the UPS from its battery source. The sign will report a fault if the LED lamp bar is not illuminated.
DO NOT run a Start Function Test or Start Duration Test command. If either of these
is run, the fitting will go into test mode and the fitting will switch off as it will be internally disconnected
from main power and there is no battery, so the LED lamp bar won’t run – the unit will report a failed
test. This condition cannot be rectified, and the fitting will report this forever as it can never pass a
test of this type.
Installation:
T
he L10 Ultrablade Pro Surface Mount LED Exit (LUBPRO-SM-UPS) is a surface mount fitting.
The
LUBPRO
-SM-UPS can be attached directly to any solid surface. Please follow the steps
below to install
the
LUBPRO Exit:
•
Open the fitting using the 2 screws on either side of the blade.
•
Locate the mounting surface.
•
Drill holes in the mounting base to suit the mounting method, Ceiling or Wall (see images below).
•
Use the mounting bracket to mark-out the mounting holes for Ceiling or Wall Mount.
•
Drill power access hole as required.
•
Mount the fitting using appropriate fixings.
•
Route the power to the mains connection and connect the 240VAC supply.
•
Attach the blade assembly to the bracket and tighten the 2 mounting screws.
•
Apply power to the fitting and test.
Pull the trim out at
the centre
Lift the decal and
slide out
Changing EXIT Legend Inserts
:
The Ultrablade Pro Exit comes with an assortment of standard legends.
1. To remove the legend, grasp the centre of the bottom trim piece and pull down slightly to expose
the legend edge. See photo.
2. Grasp the bottom edge of the legend and slide the existing legend out of the blade, while working
the edges out along the sides.
3. Slide the new legend into the blade, ensuring to fit the edges into the sides then slide the legend to
the top of the blade. Insert one bottom corner then the other. Slide the legend down into the bottom
trim.
Ceiling Mounting Points (4)
Wall Mounting Points (2)
Power Connections Power Access
Insert corners (1&2)
then slide up (3)
Insert corners (4&5), then
slide down

This manual suits for next models

2

Other Clevetronics Lighting Equipment manuals

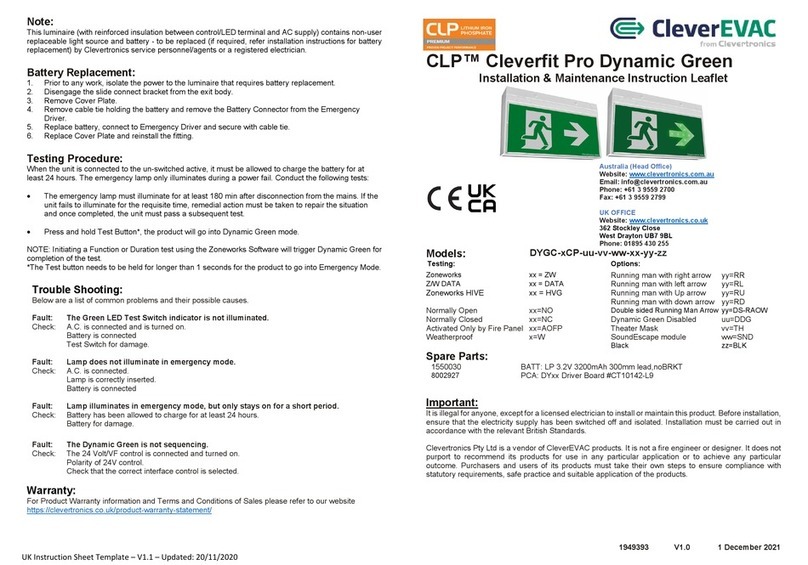
Clevetronics CleverEVAC CLP Cleverfit Pro Dynamic Green User manual

Clevetronics

Clevetronics CleverEVAC CLP Cleverfit Pro Dynamic Green User manual

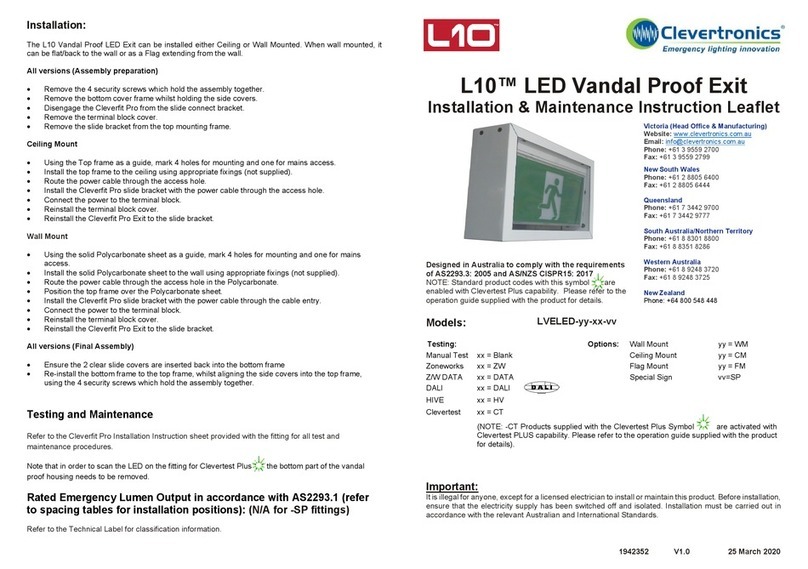
Clevetronics L10 LVELED Series User manual

Clevetronics

Clevetronics L10 LVELED Series User manual

Clevetronics L10 LVELED Series Installation and operating instructions

Clevetronics

Clevetronics L10 LVELED Series Installation and operating instructions

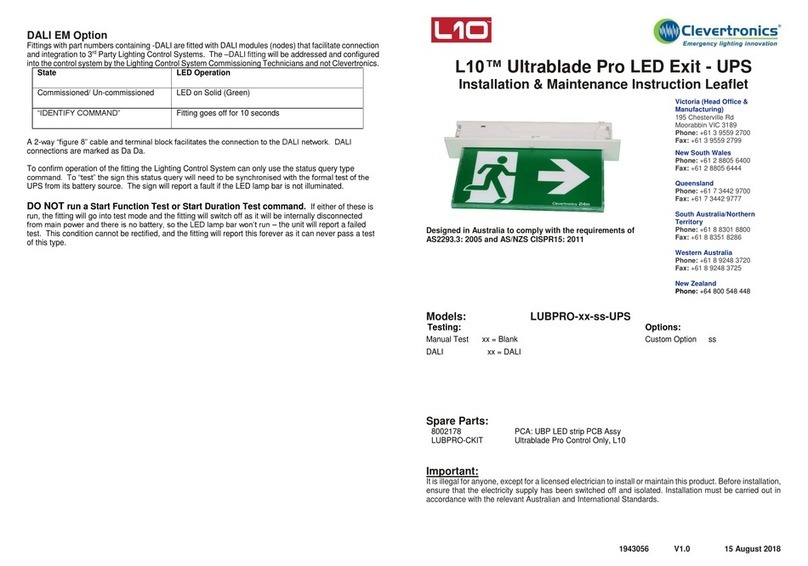
Clevetronics L10 LUBPRO Series Installation and operating instructions

Clevetronics

Clevetronics L10 LUBPRO Series Installation and operating instructions

Clevetronics L10 LUBPRO UPS Series User manual

Clevetronics

Clevetronics L10 LUBPRO UPS Series User manual

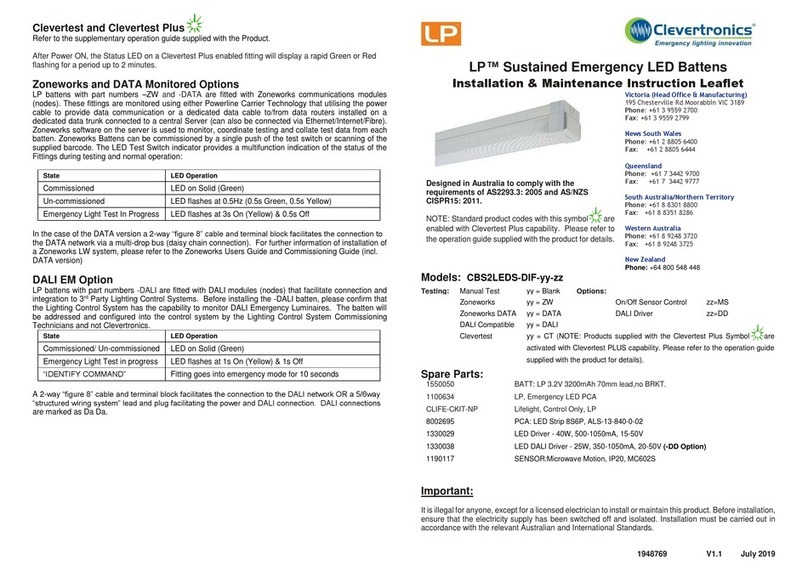
Clevetronics LP CBS2LEDS-DIF Series User manual

Clevetronics

Clevetronics LP CBS2LEDS-DIF Series User manual

Popular Lighting Equipment manuals by other brands

NBG Home SMRTLite DS18876 Use and care guide

NBG Home

NBG Home SMRTLite DS18876 Use and care guide

thomann STAIRVILLE DJ Lase Polar 200 user manual

thomann

thomann STAIRVILLE DJ Lase Polar 200 user manual

Energetiq LDTLS TLS-EQ77H Operation manual

Energetiq

Energetiq LDTLS TLS-EQ77H Operation manual

Spitzer LIGHTING STR-22-25W-CCT installation manual

Spitzer LIGHTING

Spitzer LIGHTING STR-22-25W-CCT installation manual

Lites PROFILE C6 COLOUR RGBACL Owner's and service manual

Lites

Lites PROFILE C6 COLOUR RGBACL Owner's and service manual

THORLABS PSY240E installation manual

THORLABS

THORLABS PSY240E installation manual

JB Systems CUBIST Operation manual

JB Systems

JB Systems CUBIST Operation manual

Selecon Pacific Dowser Operation manual

Selecon

Selecon Pacific Dowser Operation manual

Snowfall SF165MM installation manual

Snowfall

Snowfall SF165MM installation manual

Stahl YA6S/2 Series operating instructions

Stahl

Stahl YA6S/2 Series operating instructions

PLG TINY PLEX user manual

PLG

PLG TINY PLEX user manual

Hydrel 4400 Series installation instructions

Hydrel

Hydrel 4400 Series installation instructions

Beamz Matrix22Z instruction manual

Beamz

Beamz Matrix22Z instruction manual

Ortech DISC-RG2 instruction manual

Ortech

Ortech DISC-RG2 instruction manual

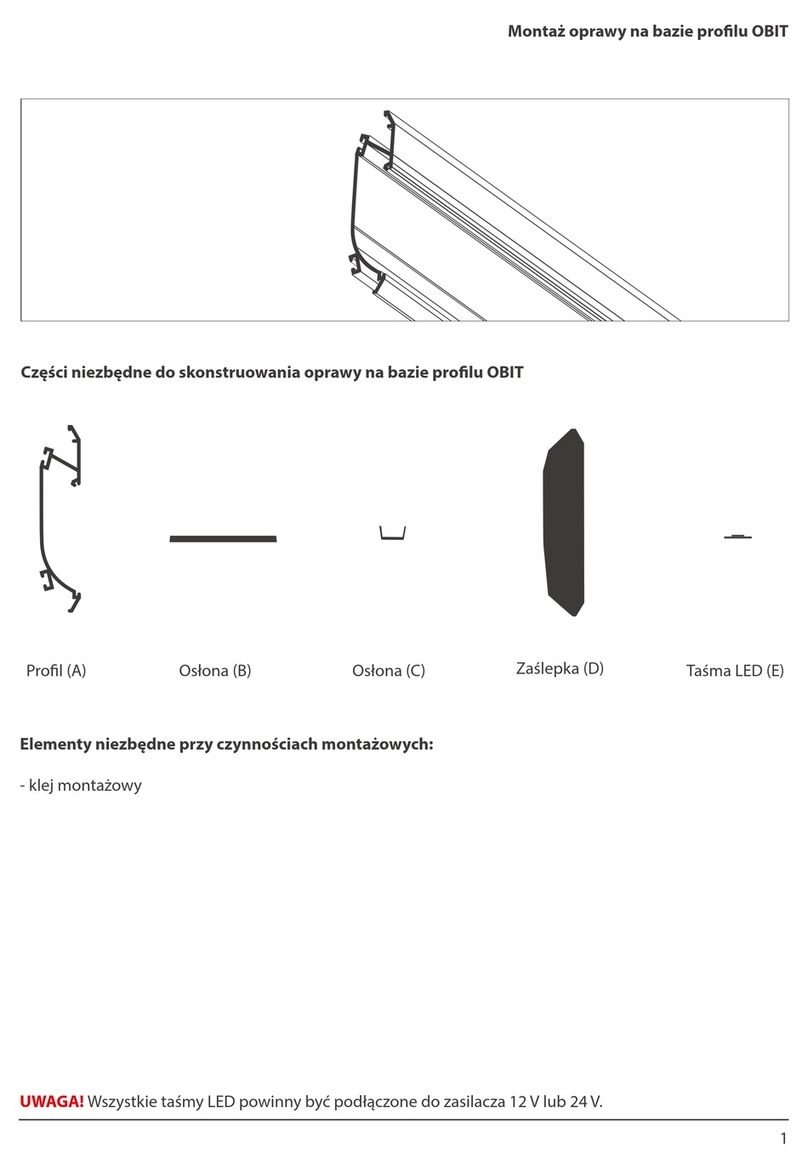
Klus OBIT W4826 Mounting instructions

Klus

Klus OBIT W4826 Mounting instructions

Cameo FLAT PRO SPOTIX CLFLATPROSP4 user manual

Cameo

Cameo FLAT PRO SPOTIX CLFLATPROSP4 user manual

Lepro 3200LM quick start guide

Lepro

Lepro 3200LM quick start guide

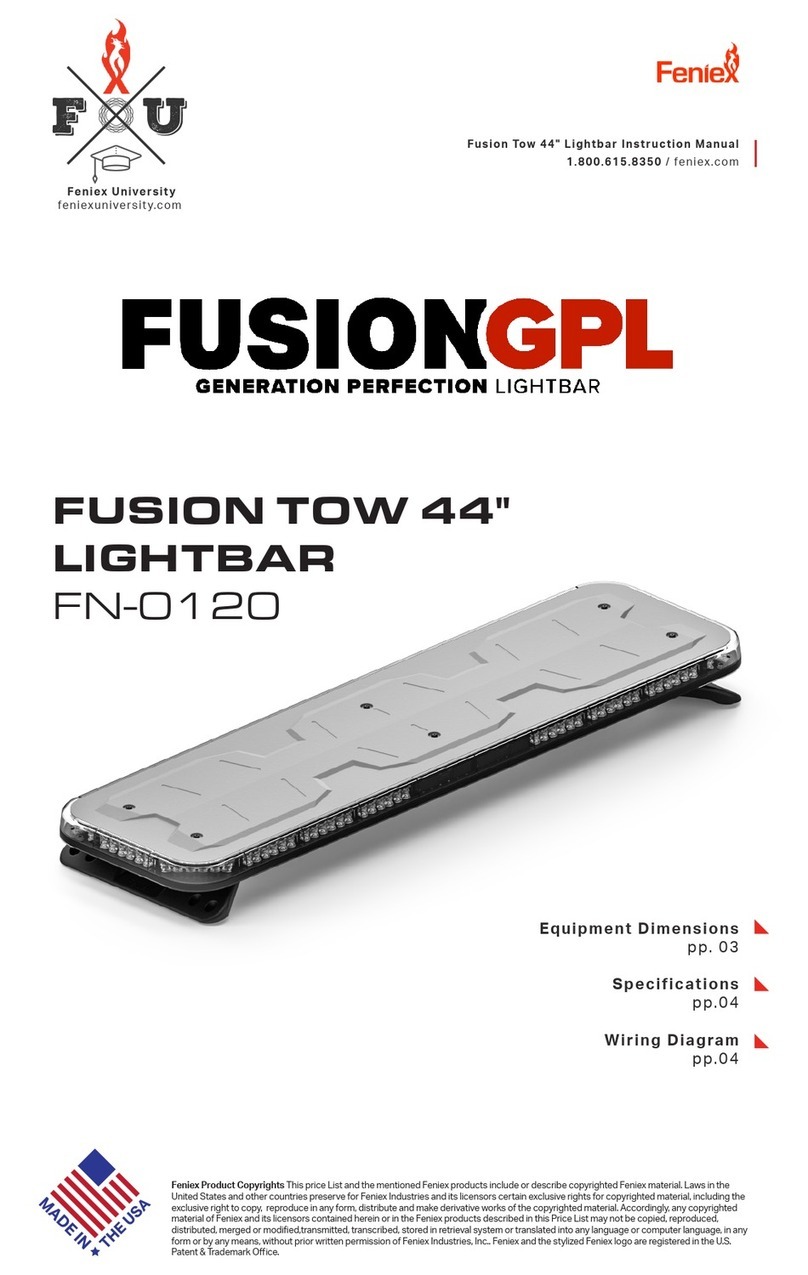
Feniex FUSION GPL FN-0120 instruction manual

Feniex

Feniex FUSION GPL FN-0120 instruction manual

manuals.online logo
manuals.online logoBrands
  • About & Mission
  • Contact us
  • Privacy Policy
  • Terms and Conditions

Copyright 2025 Manuals.Online. All Rights Reserved.