manuals.online logo
Brands
  1. Home
  2. •
  3. Brands
  4. •
  5. Clou
  6. •
  7. Indoor Furnishing
  8. •
  9. Clou Look at Me CL/08.08.110.20 User manual

Clou Look at Me CL/08.08.110.20 User manual

Look at Me - mirror
Matt white, with frame, with lighting,
110x50cm
CL/08.08.110.20
Montage instructies
Installation instructions
Notice de montage
Montageanweisungen
REV 01
05.05.2021
- Alvorens de montage te beginnen moet de
volledigheid van de levering gecontroleerd
worden. Tevens moet ook op transport-
schade gecontroleerd worden, te late
schademeldingen (> 1 dag na levering) wor-
den niet aanvaard.
- De meegeleverde bevestigingsartikelen zijn
geschikt voor gestucte of betegelde,
massieve muren die voldoende draagkracht
hebben. Voor andere muren dient men zelf
bevestigingsartikelen te voorzien en dient
de muur mogelijk verstevigd te worden.
- Clou behoudt zich het recht voor
technische en optische wijzigingen aan te
brengen t.o.v. afgebeelde producten.
- Door wijzigingen in de productie kan het
zijn dat gegeven afmetingen niet meer
correct zijn. Alle vermelde afmetingen in
deze handleiding dienen te worden
geverifieerd alvorens de actie uit te voeren.
- Clou b.v. kan niet verantwoordelijk worden
gesteld voor de gevolgen van onaangepast
gebruik, onaangepast transport of
beschadigingen veroorzaakt door
tussenopslag.
- De van toepassing zijnde garantievoor-
waarden gelden steeds.
- Alle maten zijn in mm.
- Before starting with the mounting check
whether the delivery is complete. At the
same time the delivery should be checked
for damage due to transportation, damage
reports that are too late (> 1 day after
delivery) will not be accepted.
- The included fixing media are suited for
plastered or tiled solid walls with enough
supporting power. For other walls the used
fixing media is at own responsibility, and
the wall might need reinforcement.
- Clou reserves the right to introduce
technical and visual changes with respect
to the depicted images.
- Due to changes in production it is
possible that given dimensions are no
longer correct. All mentioned dimensions
in this manual should be verified before
executing the action.
- Clou b.v. can not be held responsible for
the results of improper use, improper
transportation or any damage caused
during interim storage.
- The current terms of guarantee are always
valid.
- All dimensions are in mm.
NL EN
- Avant de procéder au montage, veuillez
contrôler si l’article livré est complet.
Veuillez aussi contrôler des dommages
éventuels causés par le transport, nous
n’acceptons pas de réclamations dues à
des dégâts causés par le transport au-delà
de 1 jour après livraison.
- Les fixations livrées avec les articles sont
destinés pour montage sur un mur
massif porteur, finition stuc ou carrelé.
Pour d’autres finitions ou murs plus faibles,
prévoir d’autres fixations et éventuellement
consolider le mur si nécessaire.
- Clou se réserve le droit pour tout
changement technique ou optique par
rapport à la photo représentant le produit.
- Des changements de production peuvent
faire en sorte que les dimensions achées
ne correspondent plus, nous vous prions de
vérifier avant de procéder à toute action.
- Clou BV ne peut être tenu responsable
pour usage non approprié des articles,
transport inadéquat ou dommage causés à
votre entrepôt en attente de livraison.
- Les conditions de garanties en vigueur
restent toujours valables.
- Toutes les mesures achées sont en mm.
- Bevor Sie die Montage durchführen,
kontrollieren Sie bitte wenn der gelieferte
Artikel vollständig ist. Auch kontrollieren
Sie mögliche durch den Transport
verursachte Schäden, wir akzeptieren
keine Beschwerden auf Schäden nach
1 Tag nach Lieferung.
- Die mit den Artikeln gelieferten
Befestigungen sind für Montage auf einer
vergipste oder mit Fliesen gedeckte feste
Wände mit genügender stützenenergie.
Für andere Wände ist die verwendeten
regelnmittel an eigener Verantwortlichkeit,
und die Wand konnte Verstärkung
benötigen.
- Clou behält sich das Recht vor, die
technische und Sichtbarmachungsände-
rungen in Bezug auf die bildlich
dargestellten Bilder vorzustellen.
- Wegen der Änderungen in der Produktion
ist es möglich, dass gegebene Maße nicht
mehr korrekt sind. Vor der Durchführung
der Tätigkeit alle erwähnten Maße in
diesem Handbuch sollten überprüft werden.
- Clou b.v. kann nicht verantwortlich
gehalten werden für die Resultate des
unsachgemäßen Gebrauches,
unsachgemäßen Transportes oder
irgendeines Schadens, die während der
Zwischenlagerung verursacht werden.
- Die gegenwärtigen Ausdrücke der Garantie
sind immer gültig.
- Alle Maße sind in Millimeter.
FR DE
4x
4x
4x
Inhoud levering:
Content of delivery:
Contenu de la livraison:
Inhalt der Anlieferung:
Benodigd gereedschap:
Required tools:
Outils requis:
Erforderliche Werkzeuge:
Tijdens de installatie moet men voorkomen dat het
oppervlak van het product beschadigd raakt door harde
voorwerpen op het product te leggen.
During installation one has to prevent damaging the surface of
the product due to placing hard objects on the product.
Pendant l’installation on doit empêcher d’endommager la surface
du produit en évitant de poser des objets contondants sur le
produit.
Während der Installation muss man Schädigung verhindern der
Oberfläche des Produktes, das zur Platzierung der harten
Gegenstände auf das Produkt passend ist.
max.
15 kg
Gebruiksvoorschriften:
Zie ook de onderhoudsvoorschriften op www.clou.nl
User’s instructions:
See also the maintenance guides at www.clou.nl
Instructions d’utilisation:
Consultez également les instructions de nettoyage sur www.clou.nl
Gebrauchsanweisungen:
Sehen Sie auch die Wartungsanweisungen am www.clou.nl
1100
850
800
476
193
80
76
Look at Me - mirror
With frame, with lighting, 110x80cm
CL/08.08.110.21 - CL/08.08.110.20
Dimensions in mm, for reference only / 05.05.2021 / rev_01 www.clou.nl
900
2000
Look at Me - mirror
With frame, with lighting, 110x80cm
CL/08.08.110.21 - CL/08.08.110.20
Dimensions in mm, for reference only / 05.05.2021 / rev_01 www.clou.nl
1
2
4x
4x
4x
1
Haal de spiegel uit het frame
door de spiegel onderaan los te
trekken van de magneten en de
spiegel vervolgens naar boven te
tillen.
Remove the mirror from the frame
by pulling the mirror o the
magnets at the bottom and then
lifting the mirror upwards.
Retirer le miroir du cadre
en éloignant le miroir des aimants
en bas, puis en soulevant le miroir
vers le haut.
Entfernen Sie den Spiegel vom
Rahmen indem Sie den Spiegel
von den Magneten unten
abziehen und dann den Spiegel
nach oben heben.
2
Neem de bevestigingsset en
planchet uit het frame.
Take the mounting set and
shelf out of the frame.
Sortez le kit de montage et
la tablette du cadre.
Nehmen Sie das Montageset
und die Ablage aus dem
Rhamen.
900
2000
Look at Me - mirror
With frame, with lighting, 110x80cm
CL/08.08.110.21 - CL/08.08.110.20
Dimensions in mm, for reference only / 05.05.2021 / rev_01 www.clou.nl
3
Duidt met potlood en
waterpas de middellijn van
de spiegel aan.
Mark with pencil and level
the centreline of the mirror.
Marquer avec un crayon et
avec un niveau la ligne de
centre du mirroir.
Markieren Sie mit einem
Bleistift und mithilfe der
Wasserwaage die Mittellinie
des Spiegels.
4
Duidt met potlood en waterpas
de gewenste hoogte Y van de
spiegel aan. (aangeraden: Y =
1900 mm)
Mark with pencil and level the
prefered height Y of the mirror.
(recommended: Y = 1900 mm)
Marquer avec un crayon et avec
un niveau la hauteur souhaitée
Y du mirroir. (recommandé : Y =
1900 mm)
Markieren Sie mit einem Bleistift
und mit Hilfe der Wasserwaage
die gewünschte Höhe Y des
Spiegels. (Empfohlener Wert: Y =
1900 mm)
Y mm
Y mm
centre
X mm
425 mm
76 mm
425 mm
476 mm
ø 8 mm
5
Duidt met potlood de plaatsen
aan waar u gaten moet boren.
Het is aangeraden de gegeven
afmetingen na te meten.
Mark with pencil the spots to
drill holes. It is recommended
to verify the given dimensions.
Marquer avec un crayon les
endroits de perçage des trous.
Il est recommandé de mesurer
encore les dimensions
indiquées.
Markieren Sie mit einem
Bleistift die Stellen wo Löcher
gebohrt werden müssen. Wir
empfehlen, die angegebenen
Abmessungen nachzumessen.
6
Boor de gaten
(ø 8 mm).
Drill the holes
(ø 8 mm).
Percer les trous
(ø 8 mm).
Bohren Sie die Löcher
(ø 8 mm).
7
Steek de pluggen in de
gaten en bevestig het
frame met de schroeven.
Insert the dowels in the
holes and mount the frame
with the screws.
Enfoncer les chevilles dans
les trous et fixer le cadre
avec les vis.
Bringen Sie die Dübel
in den Löchern an
und befestigen Sie
den Rhamen mit den
Schrauben.
8
Plaats de spiegel terug in het frame
door de spiegel eerst boven in het
frame te hangen en vervolgens de
spiegel onder tegen de magneten
aan te plaatsen.
Place the mirror back into the frame
by hanging the mirror in the top of
the frame first and then placing the
bottom against the magnets.
Replacer le miroir dans le cadre en
L’accrochant d’abord en haut du
cadre, puis en plaçant le miroir en
bas contre les aimants.
Setzen Sie den Spiegel wieder in
den Rahmen ein, indem Sie zuerst
den Spiegel oben am Rahmen
aufhängen und dann den Spiegel
unten an den Magneten anbringen.
2
1
9
Plaats de planchet onder in
het frame.
Place the shelf in the bottom
of the frame.
Placer la tablette dans le
fond du cadre.
Legen Sie die Ablage unten
in den Rahmen.
Clou. Bath findings.
Clou bv
Thermiekstraat 1
NL-6361 HB Nuth
T +31 (0)45 524 56 56
[email protected]
www.clou.nl
Looking for inspiration?

Other Clou Indoor Furnishing manuals

Clou hold me CL/08.04.002.40 User manual

Clou

Clou hold me CL/08.04.002.40 User manual

Clou hammock CL/07.66.204.50 User manual

Clou

Clou hammock CL/07.66.204.50 User manual

Clou hold me CL/08.01.002.29 User manual

Clou

Clou hold me CL/08.01.002.29 User manual

Clou match me CL/07.56.004.60 User manual

Clou

Clou match me CL/07.56.004.60 User manual

Clou match me CL/07.56.006.50 User manual

Clou

Clou match me CL/07.56.006.50 User manual

Clou Look at Me CL/08.07.040.04 User manual

Clou

Clou Look at Me CL/08.07.040.04 User manual

Clou hammock CL/07.66.209.50 User manual

Clou

Clou hammock CL/07.66.209.50 User manual

Clou match me User manual

Clou

Clou match me User manual

Clou Wash Me CL/07.49.111.21 User manual

Clou

Clou Wash Me CL/07.49.111.21 User manual

Clou match me CL/07.56.001.60 User manual
Clou

Clou match me CL/07.56.001.60 User manual

Clou New Wash Me CL/02.01438 User manual

Clou

Clou New Wash Me CL/02.01438 User manual

Clou match me CL/07.56.001.65 User manual

Clou

Clou match me CL/07.56.001.65 User manual

Clou hammock CL/07.66.211.50 User manual

Clou

Clou hammock CL/07.66.211.50 User manual

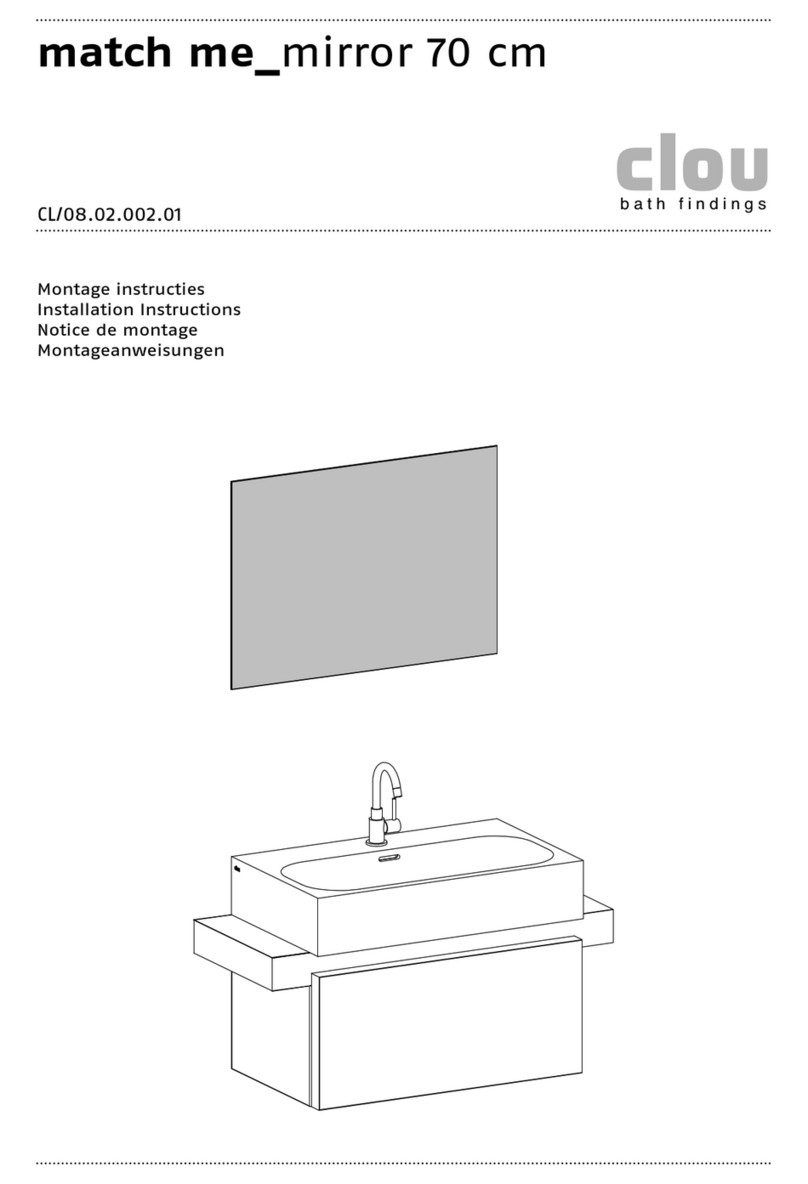
Clou match me CL/08.02.002.01 User manual

Clou

Clou match me CL/08.02.002.01 User manual

Clou mini match me CL/07.56.402.50 User manual

Clou

Clou mini match me CL/07.56.402.50 User manual

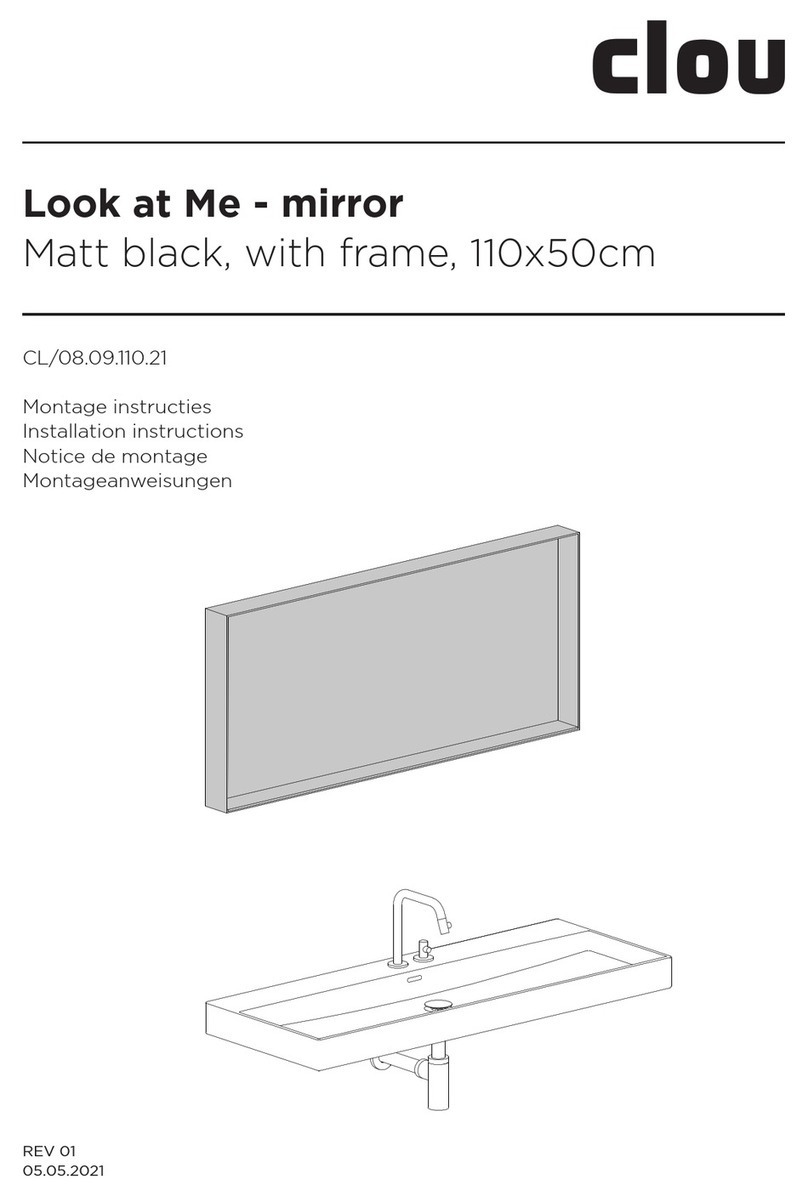
Clou Look at Me CL/08.08.110.21 User manual

Clou

Clou Look at Me CL/08.08.110.21 User manual

Clou Frame Wash Me CL/07.41.0 55 Series User manual

Clou

Clou Frame Wash Me CL/07.41.0 55 Series User manual

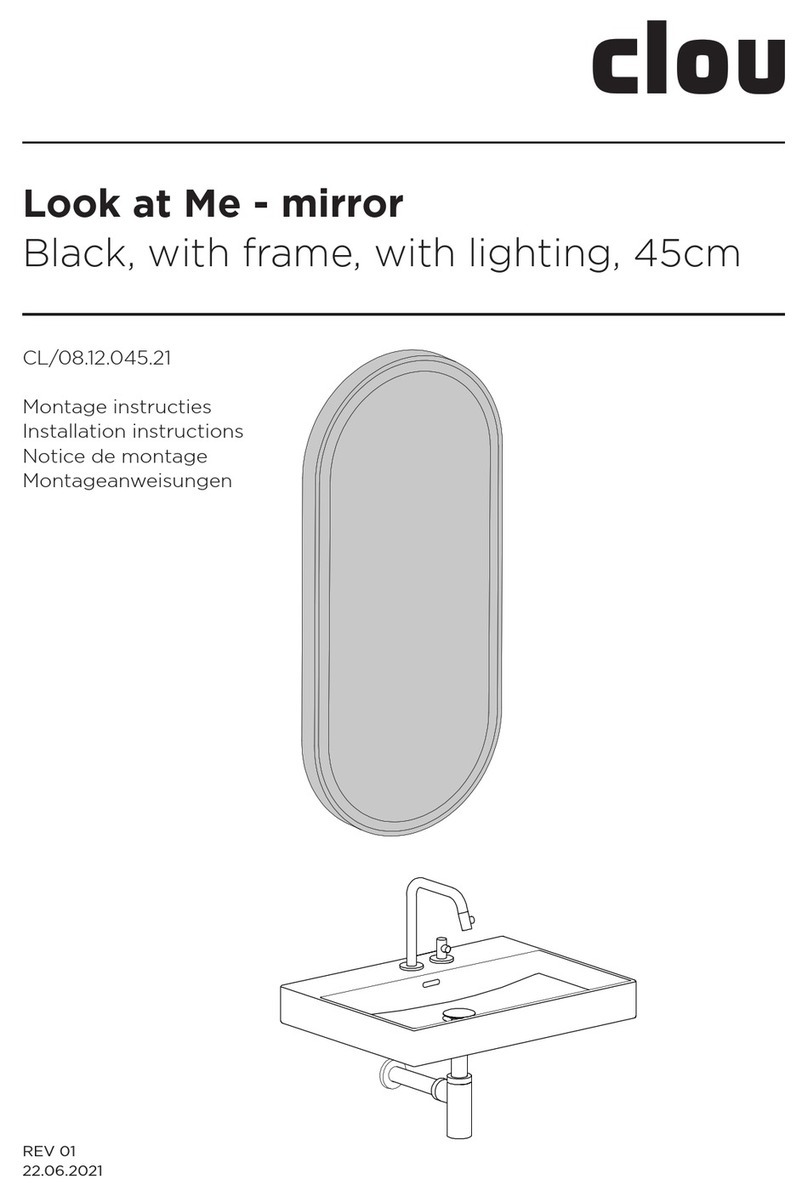
Clou Look at Me CL/08.12.045.21 User manual
Clou

Clou Look at Me CL/08.12.045.21 User manual

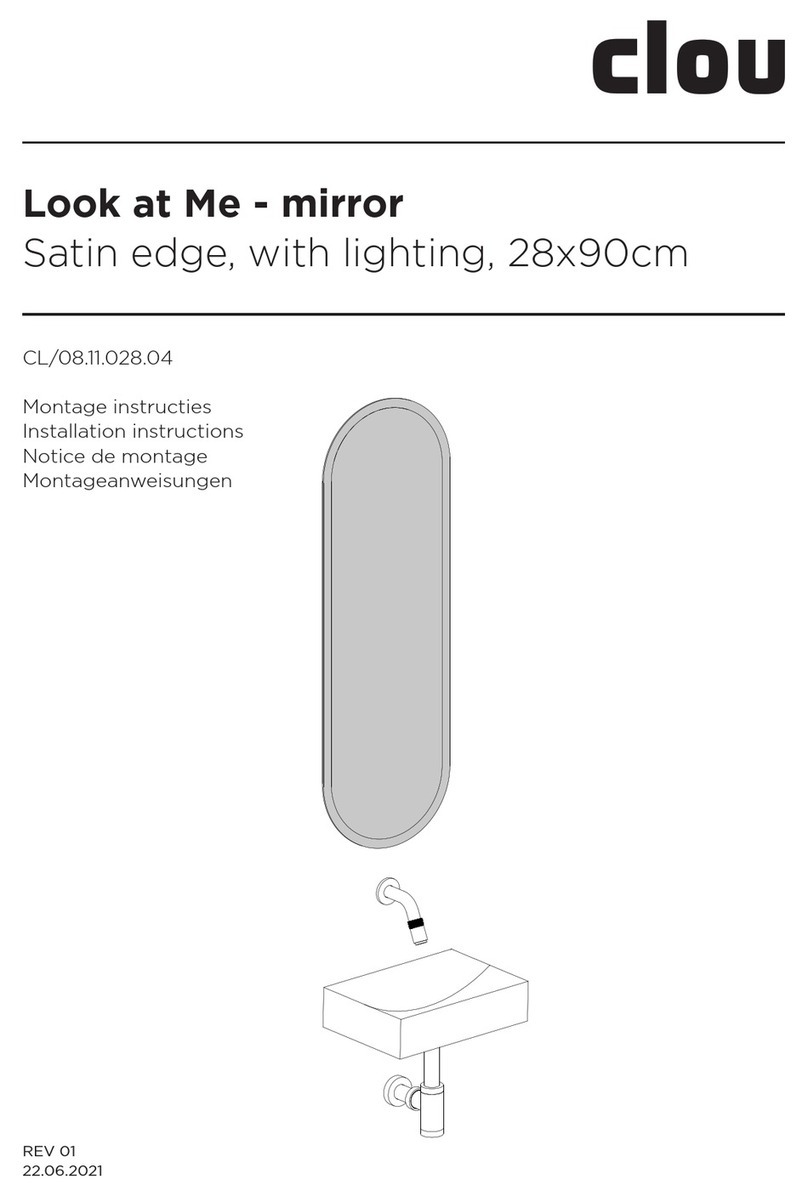
Clou Look at Me CL/08.11.028.04 User manual

Clou

Clou Look at Me CL/08.11.028.04 User manual

Clou hammock CL/07.66.207.50 User manual

Clou

Clou hammock CL/07.66.207.50 User manual

Clou Frame CL/07.49.109.21 User manual

Clou

Clou Frame CL/07.49.109.21 User manual

Clou match me CL/07.56.005.50 User manual
Clou

Clou match me CL/07.56.005.50 User manual

Clou Look at Me CL/08.09.070.21 User manual

Clou

Clou Look at Me CL/08.09.070.21 User manual

Clou match me CL/07.56.203.50 User manual

Clou

Clou match me CL/07.56.203.50 User manual

Popular Indoor Furnishing manuals by other brands

Emmezeta CUBIX MINI Assembling instructions

Emmezeta

Emmezeta CUBIX MINI Assembling instructions

IKEA FLÄRKE TV UNIT 25X17" instructions

IKEA

IKEA FLÄRKE TV UNIT 25X17" instructions

Pollard 126 Assembly instructions

Pollard

Pollard 126 Assembly instructions

atmosphera Chrysa 131161 instruction sheet

atmosphera

atmosphera Chrysa 131161 instruction sheet

DESKY LOCKABLE DRAWER instruction manual

DESKY

DESKY LOCKABLE DRAWER instruction manual

Costway OP70602 user manual

Costway

Costway OP70602 user manual

Lightolier CWL specification

Lightolier

Lightolier CWL specification

Argos Samuel Shorty Bunk Bed Assembly instructions

Argos

Argos Samuel Shorty Bunk Bed Assembly instructions

Furniture of America Persephone CM7661D Assembly instructions

Furniture of America

Furniture of America Persephone CM7661D Assembly instructions

Randolph Morris ATWELL RM8478GY-SWH installation guide

Randolph Morris

Randolph Morris ATWELL RM8478GY-SWH installation guide

Fox Broadway 7510016 quick start guide

Fox

Fox Broadway 7510016 quick start guide

Next CORSICA ROOM DIVIDER Assembly instructions

Next

Next CORSICA ROOM DIVIDER Assembly instructions

fantastic furniture HAVANA Assembly instructions

fantastic furniture

fantastic furniture HAVANA Assembly instructions

BRW SYRIUSZ X2W4S/9/18 Assembly manual

BRW

BRW SYRIUSZ X2W4S/9/18 Assembly manual

Philips P-5760-A Specifications

Philips

Philips P-5760-A Specifications

Essentials For Living NOBLE SIDEBOARD Assembly instructions

Essentials For Living

Essentials For Living NOBLE SIDEBOARD Assembly instructions

Kaboodle W-50130 quick start guide

Kaboodle

Kaboodle W-50130 quick start guide

SEGUE VK-1972 Setup instructions

SEGUE

SEGUE VK-1972 Setup instructions

manuals.online logo
manuals.online logoBrands
  • About & Mission
  • Contact us
  • Privacy Policy
  • Terms and Conditions

Copyright 2025 Manuals.Online. All Rights Reserved.