CNC Solutions DOOR MATE User manual

MANUAL

DOOR MATE
cnc automatic door system
Dear Customer,
Thank you for purchasing your Door Mate CNC automatic door system
from CNC Solutions llc. This manual contains all the important information
regarding safety, installation, usage and care of the Door Mate.
Please review and understand this manual before you get started with cnc
automatic door opener. If you have any questions, please send email
Sincerely,
The team of CNC Solutions LLC
CNC Solutions LLC
260 Grell Lane
Johnson Creek, WI 53038 USA
Phone: 888-392-8970
E-mail [email protected]
Website www.cncsolutionsllc.com

DOOR MATE
cnc automatic door system
INDEX
1
1-1
1-2
1-3
1-4
1-5
2
2-1
2-2
2-3
2-4
2-5
2-6
3
3-1
OVERVIEW
Safetyf rst
Warning
Designed intent
Limited Liability
Overview
Attaching to CNC Machine
Preparation
Mounting
Installing the Door Mate
Adjusting the Door Mate
Door Mate Set up Programming
Troubleshooting
MAINTENANCE
Maintenance overview

DOOR MATE
cnc automatic door system
1 OVERVIEW
1-1 SAFETY FIRST
Below are the safety symbols used in this manual:
1-2 Scope
This symbol is shown to avoid a serious injury or serious damage to
the CNC automatic door system and/or the cnc machine may occur if
the instruction is not followed properly
This symbol is shown to bring extra attention to the explanation, but
that there is no immediate danger for damage or injury
This symbol is shown to avoid a serious injury or serious damage to
the CNC automatic door system and/or the cnc machine may occur if
the instruction is not followed properly
Installation of the cnc automatic door system will change how the
safetyofthedooristted.ThesafetyoftheCNCMachineshouldbe
reevaluated with a safety risk assessment.

DOOR MATE
cnc automatic door system
1-3 DESIGN INTENT
1-4 Limited liability
The cnc automatic door system is an after-market product to an existing CNC machine.
TheautomaticopeningandclosingoftheCNCmachinedoorwaywillallowyoutoll
and remove parts from the CNC machine ergonomically and with Automation using
Robots.
CNC Solutions llc accepts no liability for damage by:
• Failure to comply with these operating instructions.
• Unintended use.
•Maintenancebyunqualiedpersonnel.
•Unauthorizedmodications.
• Technical changes.
• Use of spare parts not recommended by the manufacturer

DOOR MATE
cnc automatic door system
1-5Overview
Complete Door Mate Assembly
Exploded Door Mate Assembly View

DOOR MATE
cnc automatic door system
2 Attaching to CNC machine
2-1 Preparation
Inspect the Door mate upon delivery for any damages.
Tools Needed:
6mm Allen Wrench
9mm Drill bit
Pencil
Parts included in Kit:
Belt
Electrical Enclosure
Cable / Wire
Checkthatthereissucientstabilityaroundthe
CNC machine to enable a safe installation.
The installation of the automatic door opener
shouldbeperformedbyqualiedpersonnelof
the customer or appointed by the customer.

DOOR MATE
cnc automatic door system
2-2 Mounting on the CNC machine
The top covers need to be removed.
There are (10) 8mm x 1.25 BHCS screws and washers.
A 6mm Allen wrench is also needed to perform this task.
FIG. 2.2-2
FIG. 2.2-1

DOOR MATE
cnc automatic door system
2-3 Installing the Door Mate
Remove machine backing plate with threaded
holes from Door Mate brackets.
Shown in FIG 2.2-3
Place unit on top of machine and mark hole
pattern on the top of the door.
FIG. 2.3-2
FIG. 2.3-1
Remove machine threaded backing plate from
Door Mate brackets.
Shown in FIG 2.3-2
Place unit on top of machine and mark hole
patten on the top of the door to be installed to.

DOOR MATE
cnc automatic door system
Motor connection location
Installing the Electrical Box
Distance from the Electrical box must
not exceed 5 Meters.
Mount using hardware provided
(attached to box)
Place on top of machine or on the
side of the machine within the correct
distance for the legnth of the cable.
2-3 Installing the Door Mate

DOOR MATE
cnc automatic door system
Place unit on top of machine.
Measure stroke distance of the door and center the
Doormate accordingly.
Transfer and Mark hole pattens on the top of
machined.
Drill hole patterns through the top of the machine
and attach the provided threaded backer plates
beneath the sheet metal
2-4 Adjusting the Door Mate
Remove machine backing plate with threaded holes
from Door Mate door bracket.
Align bracket to the edge of the door and transfer
the holes.
Drill out the marks on that door, attach threaded
hole bracket from the bottom the door and tighten
bolts.
FIG. 2.2-6
FIG. 2-4-2
FIG. 2-4-1

DOOR MATE
cnc automatic door system
2-5 Adjustment of the Door Mate
Adjusting the belt tension.
Adjust bolt outwards till belt tension is good
and then tighten locking nut to hold tension.
Adjustability is built in with the slotted brackets
shown here in FIG. 2.2-4 for varying door
heights and parallelism need to run the belt
straight.
Adjust where needed to make belt run parallel.
Loosen the four bolts to adjust up or down.
FIG. 2-5-1
FIG. 2-5-2

DOOR MATE
cnc automatic door system
2-6 Programming Door Mate
Initial Setup - Starting a learn run when the line voltage is applied.
1. Push the door into the CLOSED position.
2. Disconnect the power supply from X3 (DC).
3. Press and hold the learn run button (S401)
4. Connect the power supply to X3 (DC).
5. Inital commissioning or motor adaptation: For the motors M4, MDG400, MDG400
NMS, M5 and MDG700 NMS, the output transmission [mm/rev]
MUST BE CONFIGURED.
For the M4, MDG400 and M5 motors, set default value to 176 mm/rev.
6. Press and hold the learn button (S401)
7. The learn run starts AUTOMATICALLY, and the learn run button can be released.
8. During the learn run, the door is opened about 10 cm, and closed once or twic as
slow start speed. The friction of the door system is then determined by opening and
closing the door once through a range of 25 cm at slow start speed.
The door then opens and closes through its complete range of movement at reduced
speed. After the door thas opened by approximatley 15 cm, it passes through an
additional short acceleration ramp to determine the mass to be moved.
9. The door parameters and the determined door with are saved when the door the
CLOSED postion.
This means that the door width and the mass to be moved are re- adapted and saved.
The default parameters for energy limitation, speed limitation, friction compensation
and all other travel curve parameters are also loaded.
10. Learn run completed.

DOOR MATE
cnc automatic door system
2-6 Programming
Initial Setup - Starting a learn run during operation
1. Push the door into the CLOSED position.
2. Press and hold the learn run button (S401).
3. The learn run starts automatically, and the learn run button can be released.
4. During the learn run, the door is opened about 10cm, and closed once or twice at
slow start speed. The friction of the door system is then deteremined by opening
and closing the door once through a range of 25 cm at slow start speed. The door
then opens and closes through its complete range of mevement at reduced speed.
After the oor has opened by approximately 15 cm, it passes through an additional
short acceeleration ramp to determine the mass to be moved.
5. The door parameters and the determined door width are saved when the door is in
the CLOSED postion.
This means that door width, mass to be moved, enery limiting, speed limiting and
friction compensation are re-adapted adn saved.
6. Learn run completed.

DOOR MATE
cnc automatic door system
2-7 Troubleshooting
2SHUDWLQJVWDWHVDUHLQGLFDWHGRQWKH+VHJPHQWGLVSOD\RUWKH+GLJLWDOGLVSOD\RI
WKHFRQWUROXQLW
7KH6,'225$7':$7':$7':FRQWUROOHUVDGGLWLRQDOO\HQDEOHUHWULHYDORI
VWDWXVLQIRUPDWLRQYLDWKHSDUDPHWHUUVWDWXVFRGH
7KHIROORZLQJRSHUDWLQJVWDWHVDUHVKRZQ
'LVSOD\ 0HDQLQJ
,QIR
/LJKWEDUULHUSUHVVXUHVHQVLWLYHHGJHLQWHUUXSWHG
0RWRUREVWUXFWHGLQWKHFORVLQJGLUHFWLRQ
F 2EVWUXFWLRQZKLOHRSHQLQJ
G 'RRUUHPDLQVVWDWLRQDU\GXULQJLQLWLDOL]DWLRQUXQQR23(1RU&/26(VLJQDOSUHVHQWRUGRRUKDVUHDFKHG
HQGSRVLWLRQ
+ 'HWHUPLQDWLRQRISDUDPHWHUVOHDUQUXQ
R )XQFWLRQ2.
X 'RRUFORVHG
)DXOW
5$0((3520RU&38HUURUV\VWHPHUURU
%UDNLQJFKRSSHUGHIHFWLYH
(UURULQWKHQG6KXWGRZQURXWH
0RWRUSURWHFWLRQPD[LPXPRSHQLQJRUFORVLQJWLPHRIVKDVEHHQH[FHHGHG
0RWRUXQGHILQHGದQROHDUQUXQFDUULHGRXWZLWKWKLVPRWRUW\SH
,IDGLIIHUHQWPRWRUYHUVLRQLVXVHGWKHOHDUQUXQPXVWEHUHSHDWHGDWSRZHURQDVGHVFULEHGLQWKHVH2S
HUDWLQJ,QVWUXFWLRQV6HH7DEOH6WDUWLQJDOHDUQUXQZKHQWKHOLQHYROWDJHLVDSSOLHG3DJH
(UURULQSXOVHJHQHUDWRU
266'(63(W\SHRUSUHVVXUHVHQVLWLYHHGJHದ)XQFWLRQWHVWIDLOHG
0RWRURYHUFXUUHQW
( 0RWRURYHUYROWDJH
) 0RWRUXQGHUYROWDJH
Q 2XWSXWVWDJHGHIHFWLYH
/ &XUUHQWPHDVXUHPHQWHUURU
W %HOWWRUQ
8 0D[PDVVWREHPRYHG
'LVSOD\ 0HDQLQJ
$ODUP
$XWRPDWLFH[WHQVLRQRIWKHKROGRSHQWLPHPRWRUSURWHFWLRQ
1HZPRWRUW\SHGHWHFWHGOHDUQUXQLVUHTXLUHG
3 3DUDPHWHUHUURUHUURUGXULQJOHDUQUXQ
\ 0DVWHUWLPHRXW
B &RQWUROOHUKDVQRSDUDPHWHUVDQGLVZDLWLQJIRUOHDUQUXQ
5HVHUYH
E ದ
K ದ

DOOR MATE
cnc automatic door system
3 Maintenance
Keep debris and dust clear of belts and
motor drive. Do a routine checkup of all
parts.
Make sure all bolts are tight and
brackets are properly aligned
FIG. 3-1-1
FIG. 3-1-2
Table of contents
Popular Door Opening System manuals by other brands
Scrigno
Scrigno antamatic OPEN 2.0 installation manual
Rixson
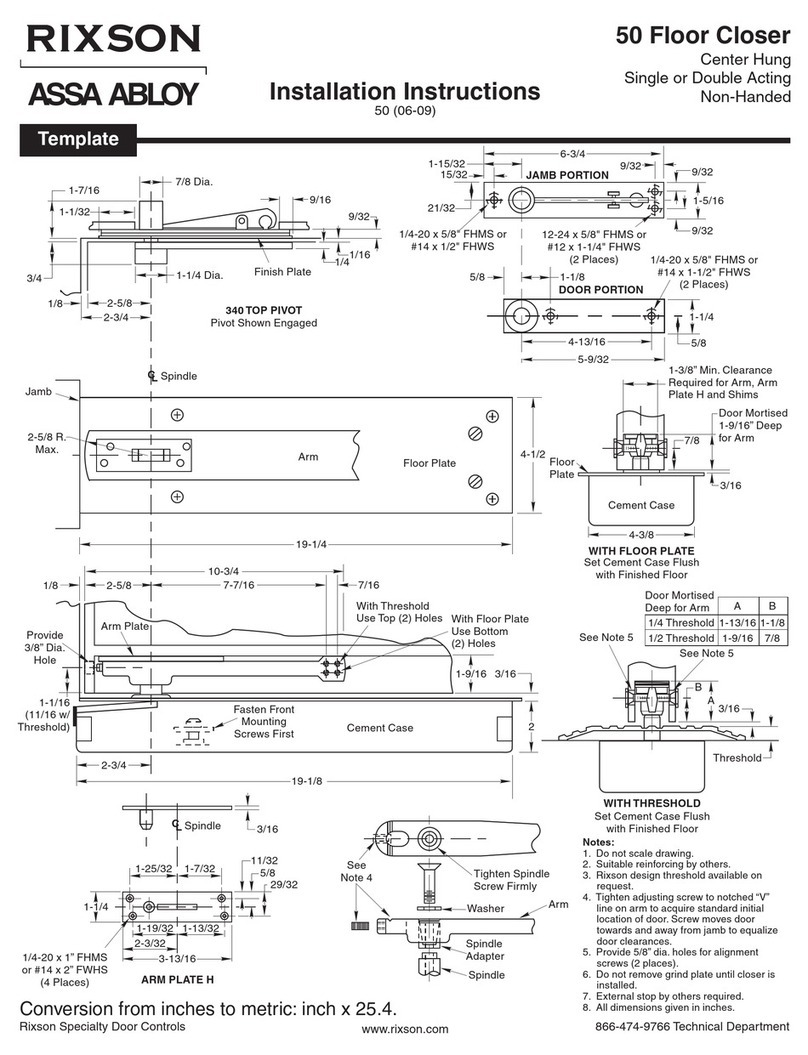
Rixson ASSA ABLOY 50 installation instructions

D+H
D+H ZA 35-BSY+(-HS) manual
CAME
CAME A 5024 installation manual

CornellCookson
CornellCookson AlarmGard FST-EPBD Series Installation instructions and operation manual
Schartec
Schartec ST201004 user manual
Yale
Yale Power Track Series installation instructions
Assa Abloy
Assa Abloy Besam SW200i US Installation and service manual
Assa Abloy
Assa Abloy NORTON RIXSON 6300 Series installation instructions

ETME
ETME SD series operating instructions
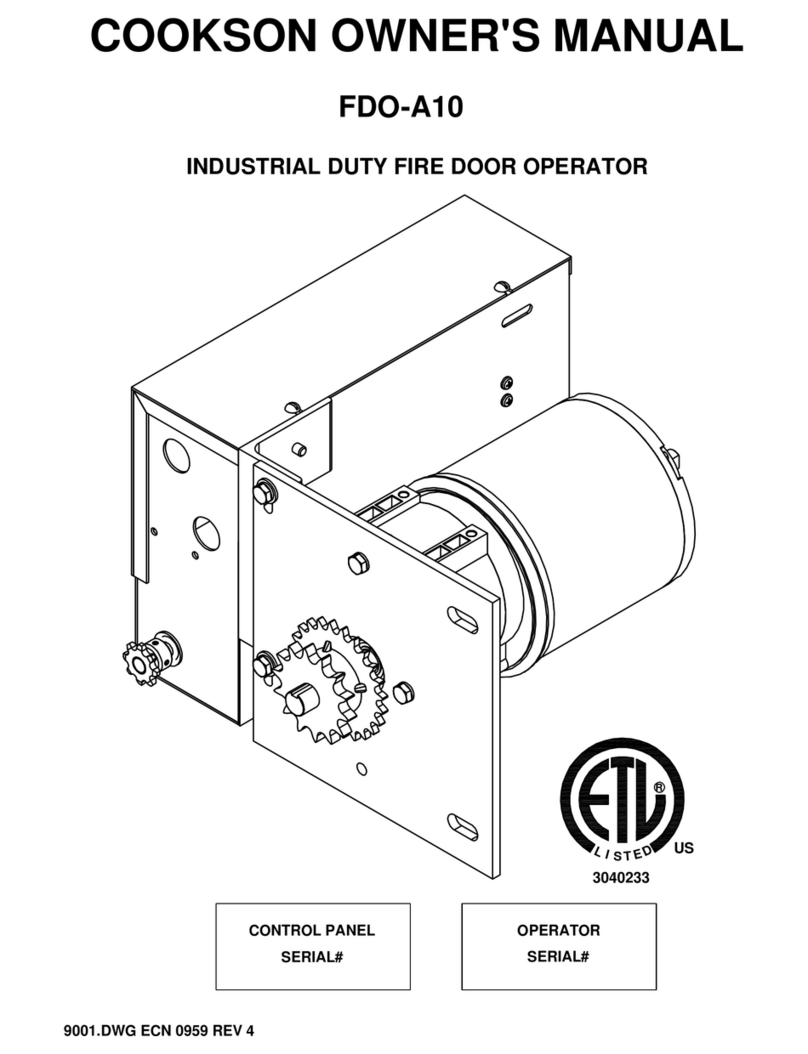
Cookson
Cookson FDO-A10 owner's manual

quiko
quiko Swingy QK-SW80 user manual
