Code Blue IPVT01 Manual

LS1000 VoIP Speakerphone
Administrator Guide
WARNING
ONLY QUALIFIED PERSONNEL SHOULD INSTALL THESE UNITS. THE INSTALLATION
SHOULD CONFORM TO ALL LOCAL CODES. IN SOME COUNTRIES, A CERTIFIED
ELECTRICIAN MAY BE REQUIRED.
NOTICE TO USERS
Copyright © Code Blue Corporation. All rights reserved. This guide or software
described herein, in whole or part, shall not be reproduced, translated or reduced to any
machine-readable form without prior written approval from Code Blue Corporation.
CODE BLUE CORPORATION PROVIDES NO WARRANTY WITH REGARD TO THIS
GUIDE, THE SOFTWARE OR OTHER INFORMATION CONTAINED HEREIN AND HEREBY
EXPRESSLY DISCLAIMS ANY IMPLIED WARRANTIES OF MERCHANTABILITY OR
FITNESS FOR ANY PARTICULAR PURPOSE WITH REGARD TO THIS GUIDE, THE
SOFTWARE OR SUCH OTHER INFORMATION. IN NO EVENT SHALL CODE BLUE
CORPORATION BE LIABLE FOR ANY INCIDENTAL, CONSEQUENTIAL, OR SPECIAL
DAMAGES, WHETHER BASED ON TORT, CONTRACT, OR OTHERWISE, ARISING OUT
OF OR IN CONNECTIONS WITH THIS GUIDE, THE SOFTWARE OR OTHER
INFORMATION CONTAINED HEREIN OR THE USE THEREOF.
Code Blue Corporation reserves the right to make any modifications to this guide or the
information contained herein at any time without notice. The software described herein
may also be governed by the terms of a separate user license agreement.
Code Blue® is a registered trademark of Code Blue Corporation. The names of actual
companies and products mentioned herein may be the trademarks of their respective
owners.
page 2 of 54 GU-164-B
Code Blue • 259 Hedcor Street • Holland, MI 49423 USA • 800.205.7186 • www.codeblue.com

LS1000 VoIP Speakerphone
Administrator Guide
Table of Contents
Section
Section Title
Page #
2
Introduction
5
LS1000 Model Photos
5
3
Safety Information
6
4
Getting Started
7
5
Power Requirements
8
6
Installation Instructions
12
Tools Needed
12
Basic Flush Mount Installation
12
Basic Surface Mount Installation
12
7
How to Update Connectors
13
8
Wiring Diagrams
15
9
Schematics
16
Flush Mount Schematics
16
Surface Mount Schematics
17
10
Setting Up Your LS1000
18
Determine IP Address
18
Default Login Information
19
Network - General Settings
19
Add Accounts
21
SIP Server Setting
22
Advanced SIP Settings
22
Manage Accounts
22
System Status
23
Audio
24
Multicast Audio
25
General Video
26
General Events
27
page 3 of 54 GU-164-B
Code Blue • 259 Hedcor Street • Holland, MI 49423 USA • 800.205.7186 • www.codeblue.com

LS1000 VoIP Speakerphone
Administrator Guide
Table of Contents
Section
Section Title
Page #
Action Scripts
28
Place Call Action
29
Control AUX Output
31
Recordings
34
Administration
35
Date & Time
36
Diagnostics
37
Firmware
38
Hardware Settings
39
11
In-Call Commands
40
12
Compatibility
41
13
Configuring for Cisco Unified Call Manager
42
14
Troubleshooting
46
15
Remote Beacon/Strobe Installation & Operation
47
16
Maintenance Schedule
50
17
Warranty
52
18
Download Information
53
19
Legal & Regulatory Information
54
page 4 of 54 GU-164-B
Code Blue • 259 Hedcor Street • Holland, MI 49423 USA • 800.205.7186 • www.codeblue.com

Some states require all parties to be aware that they are being recorded. Code Blue
phones offer the ability to play a message stating that the caller is being recorded and
giving the caller the option to continue or end the recorded call.
Thank you for choosing the Code Blue LS1000 full duplex VoIP speakerphone for indoor and
outdoor applications.
This speakerphone is part of our Emergency Signaling group of products built to meet the
latest regulations, withstand the harshest elements and be proactive solutions for when you
need them most. This guide provides basic and advanced configuration information for
obtaining the best performance with the LS1000 phones.
Single
Button
Single Button w/
Camera
Double
Button
Double Button w/
Camera
Double Button w/
Keypad
Double Button W/ Keypad
and Camera
Call Privacy Laws
LS1000 VoIP Speakerphone
Administrator Guide
page 5 of 54 GU-164-B
Code Blue • 259 Hedcor Street • Holland, MI 49423 USA • 800.205.7186 • www.codeblue.com
2 Introduction

LS1000 VoIP Speakerphone
Administrator Guide
page 6 of 54 GU-164-B
Code Blue • 259 Hedcor Street • Holland, MI 49423 USA • 800.205.7186 • www.codeblue.com
Indicates a hazardous situation which, if not avoided, will result in
death or serious injury.
Indicates a hazardous situation which, if not avoided, could result in
death or serious injury.
CAUTION
Indicates a hazardous situation which, if not avoided, could result in
minor or moderate injury.
NOTICE
Indicates a situation which, if not avoided, could result in damage to
property.
IMPORTANT
Indicates significant information that is essential for proper product
functionality.
NOTE
Indicates useful information that helps get the most out of a
product.
3 Safety Information
HAZARD LEVELS LEGEND
WARNING
DANGER
Safety Instructions
Code Blue products shall be installed by trained professionals. The installation should
conform to all local codes. In some countries, a certified electrician may be required.
When transporting a Code Blue product, use the original packaging or equivalent to
prevent damage to the product.
Code Blue products shall be used in compliance with local laws and regulations.
Store the Code Blue product in a dry and ventilated environment.
Do not install the product on unstable brackets, surfaces or walls.
Use only applicable tools when installing Code Blue products.
Do not use chemicals, caustic agents, steel wool or aerosol cleaners other than those
tested and recommended by Code Blue.
Use only accessories that comply with technical specifications of the product. These
can be provided by Code Blue or a third party.
Use only spare/replacement parts provided by or recommended by Code Blue.
Transportation
When transporting a Code Blue product, use the original packaging or equivalent to
prevent damage to the product.
WARNING
NOTICE
NOTICE

Single Button, Double Button, and Keypad configurations available
SIP 2.0 Protocol Support
3 Ethernet Ports
3 auxiliary N.O. input contact closures
3 auxiliary N.O. output contact closures
NEMA 3S Compliant
Peer-to-peer audio communication
Multicast audio
Multiple ADA compliant lettering choices with Braille
This guide contains information and a general overview for LS1000, including applications,
installation, and wiring.
LS1000 Features
LS1000 VoIP Speakerphone
Administrator Guide
page 7 of 54 GU-164-B
Code Blue • 259 Hedcor Street • Holland, MI 49423 USA • 800.205.7186 • www.codeblue.com
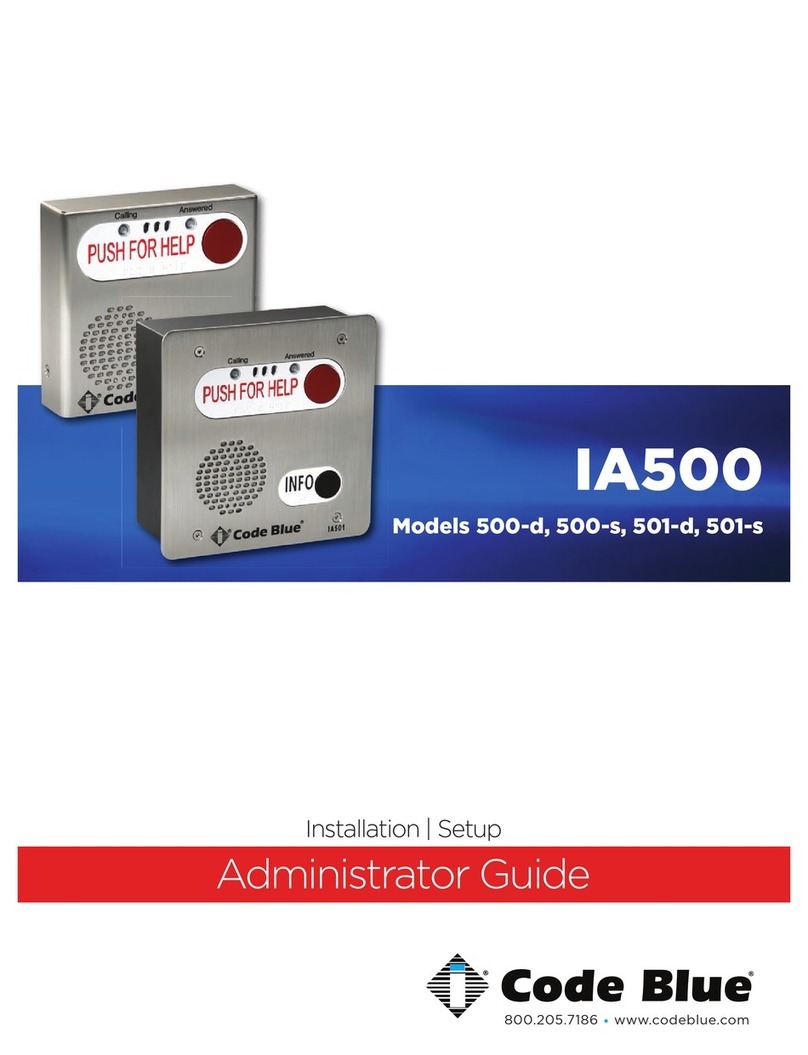
4 Getting Started

LS1000 VoIP Speakerphone
Administrator Guide
page 8 of 54 GU-164-B
Code Blue • 259 Hedcor Street • Holland, MI 49423 USA • 800.205.7186 • www.codeblue.com
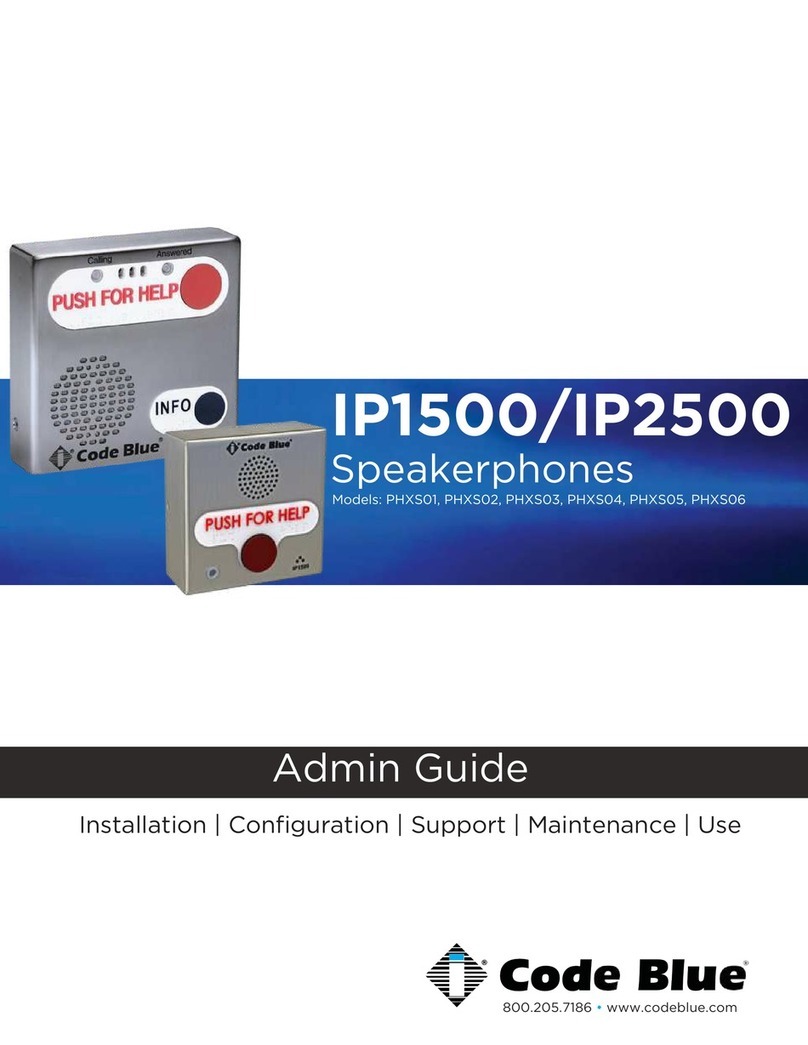
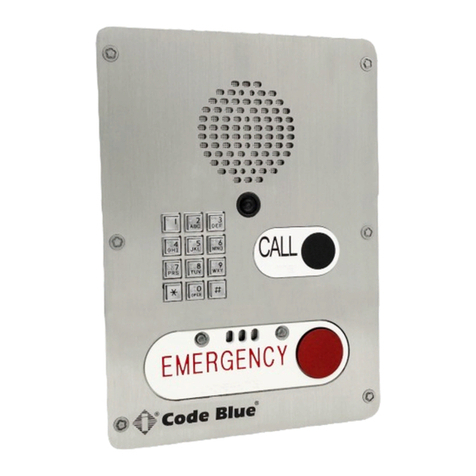
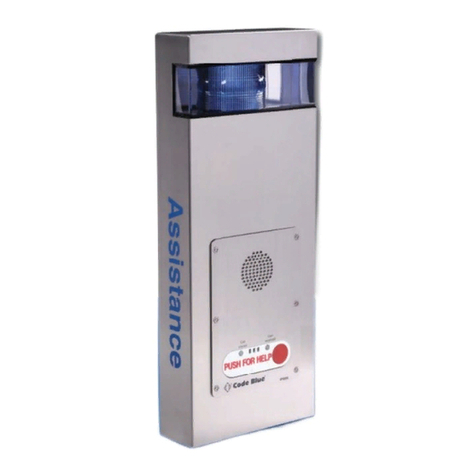
The following table on pages 8-11 includes LS1000 and ALL OTHER Code Blue Devices and
Enclosures for reference
5 Power Requirements

LS1000 VoIP Speakerphone
Administrator Guide
page 9 of 54 GU-164-B
Code Blue • 259 Hedcor Street • Holland, MI 49423 USA • 800.205.7186 • www.codeblue.com
LS1000 VoIP Speakerphone
Administrator Guide
page 10 of 54 GU-164-B
Code Blue • 259 Hedcor Street • Holland, MI 49423 USA • 800.205.7186 • www.codeblue.com
LS1000 VoIP Speakerphone
Administrator Guide
page 11 of 54 GU-164-B
Code Blue • 259 Hedcor Street • Holland, MI 49423 USA • 800.205.7186 • www.codeblue.com

LS1000 VoIP Speakerphone
Administrator Guide
page 12 of 54 GU-164-B
Code Blue • 259 Hedcor Street • Holland, MI 49423 USA • 800.205.7186 • www.codeblue.com
6 Installation Instructions
1. Drill and screws to mount unit to wall.
2. Code Blue Security bit and any 1/4” bit drive handle.
LS1000 faceplate tools needed for installation:
Tools Needed
Remove six security screws with Code Blue security bit and any 1/4” bit driver
tool.
Separate LS1000 from enclosure and set aside carefully. The flush mount
enclosure will come with no mounting holes. It can be mounted from the sides,
top or bottom. Once your mounting needs have been determined, drill the holes
needed for your specific installation requirements into the flush mount back box.
Mark the mounting holes onto the mounting surface. In order to comply with the
Americans with Disabilities Act (ADA) of 1990, the speakerphone button(s)
should be positioned between 34 and 48 inches from grade level. (Consult an
ADA specialist in your area to verify local and federal guidelines.)
Connect earth ground to the provided copper grounding lug using a minimum
14-gauge conductor.
Connect electrical and communications wiring using the wiring diagram below.
Follow all federal and local codes that apply.
Attach faceplate to enclosure using six security screws.
Basic Flush Mount Installation Instructions for use by Installers:
1.
2.
3.
4.
5.
6.
7.
Basic Surface Mount Installation Instructions for user by Installers:
1. Remove six security screws with Code Blue security bit and any 1/4” bit driver tool.
2. Separate LS1000 from enclosure and set aside carefully.
3. Mark the mounting holes onto the mounting surface. In order to comply with the
Americans with Disabilities Act (ADA) of 1990, the speakerphone button(s) should
be positioned between 34 and 48 inches from grade level. (Consult an ADA
specialist in your area to verify local and federal guidelines.)
4. Drill all marked holes.
5. Secure the housing to the wall – If you are securing to drywall, utilize drywall
screws and anchors. If you are securing to metal, utilize sheet metal screws. If you
are securing to brick, use Tapcon screws. Fasten all screws securely.
IMPORTANT: Ensure that conduit is aligned with wiring.
6. Connect earth ground to the provided copper grounding lug using a minimum 14-
gauge conductor.
7. Connect electrical and communications wiring using the wiring diagram below.
8. Follow all federal and local codes that apply.
9. Attach faceplate to enclosure using six security screws.

LS1000 VoIP Speakerphone
Administrator Guide
page 13 of 54 GU-164-B
Code Blue • 259 Hedcor Street • Holland, MI 49423 USA • 800.205.7186 • www.codeblue.com
As of 2020, many Code Blue products come with Wago connectors. These connectors
provide ease of use and a much stronger connection. Below are the steps needed to change
to the new connectors.
7 How to Update Connectors

LS1000 VoIP Speakerphone
Administrator Guide
page 14 of 54 GU-164-B
Code Blue • 259 Hedcor Street • Holland, MI 49423 USA • 800.205.7186 • www.codeblue.com

1 - Cat 5e - Connect to Switch (100 Mb)
2 - Cat 5e - Connect to Peripheral (100 Mb)
3 - Cat 5e - Connect to Peripheral (100 Mb)
4 - Optional 12V battery
5 - 12V DC power
6 - Aux outputs (3)
• The auxiliary outputs are Normally Open and can be triggered in your action script to close.
Duration is defined in your action script.
7 - Aux inputs (3)
• The auxiliary inputs are Normally Open and are triggered by voltage. The voltage range is 9 to
32V AC or DC with current protection of 1.25 Amps.
8 - Factory Reset Switch
• With power connected to LS1000, hold down this reset switch for 12 seconds and then release.
The unit will reboot. All settings will be lost.
LS1000 VoIP Speakerphone
Administrator Guide
page 15 of 54 GU-164-B
Code Blue • 259 Hedcor Street • Holland, MI 49423 USA • 800.205.7186 • www.codeblue.com
8 Wiring Diagrams

LS1000 VoIP Speakerphone
Administrator Guide
page 16 of 54 GU-164-B
Code Blue • 259 Hedcor Street • Holland, MI 49423 USA • 800.205.7186 • www.codeblue.com
9.1 Flush Mount Mounting Schematics
9 Schematics

LS1000 VoIP Speakerphone
Administrator Guide
page 17 of 54 GU-164-B
Code Blue • 259 Hedcor Street • Holland, MI 49423 USA • 800.205.7186 • www.codeblue.com
9.2 Surface Mount Mounting Schema Mou

You can find the IP address for your LS1000 speakerphone by matching its MAC address. You
can then browse to the IP address of the device. The recommended web browsers are Google
Chrome and Mozilla Firefox. You may experience erratic behavior with other browsers.
LS1000 VoIP Speakerphone
Administrator Guide
page 18 of 54 GU-164-B
Code Blue • 259 Hedcor Street • Holland, MI 49423 USA • 800.205.7186 • www.codeblue.com
Once you can browse into the device, you can switch to a static IP if desired.
Connect the LS1000 to your DHCP Network. The “Call Placed” red LED will flash while the
device is booting up. The LS1000 will acquire its network settings from the DHCP server on the
network. If the network is not running DHCP the device will default to the IP address of
192.168.0.249 after one minute.
If you do not have network scanner software, you can download many free ones. “Advanced IP
Scanner” is one example. Run a scan of the subnet the LS1000 device is plugged into, and your
PC if plugged into the same network.
Determine the IP Address
10 Setting Up Your LS1000

Username: admin
Password: admin
Once logged into the device, you can change the Network Settings in General
Settings under Network if you want to switch over to a static IP address.
Default login information is:
Network - General Settings
LS1000 VoIP Speakerphone
Administrator Guide
page 19 of 54 GU-164-B
Code Blue • 259 Hedcor Street • Holland, MI 49423 USA • 800.205.7186 • www.codeblue.com

Generally, you can leave the Host and Domain fields empty.
If limiting Network Ports, then the ports to have open are:
• tcp 22 SSH Secure Shell Protocol (Configurable)
• tcp 53 DNS Domain Name Service over TCP
• udp 53 DNS Domain Name Service over UDP
• tcp 80 HTTP Hyper Text Transfer Protocol
• tcp 161 SNMP Simple Network Management Protocol
• tcp 162 SNMP Trap Simple Network Management Protocol Trap
• tcp 443 SSL Secure Socket Layer (Deprecated)
• udp 554 RTSP Real Time Streaming Protocol
• udp 5060 SIP Session Initiation Protocol
• tcp 5061 SIP Session Initiated Protocol
• rtp 16384-32767 Real Time Transport (Configurable)
SSH Port 22 is enabled by default. You can change the Port and disable it, if desired.
LS1000 VoIP Speakerphone
Administrator Guide
page 20 of 54 GU-164-B
Code Blue • 259 Hedcor Street • Holland, MI 49423 USA • 800.205.7186 • www.codeblue.com
This manual suits for next models
6
Table of contents
Other Code Blue Intercom System manuals