COFFEtek VITRO RANGE User manual

VITRO RANGE
BEVERAGE MACHINES
OPERATORS MANUAL
81064630
Revision 4

2 OPERATORS MANUAL VITRO LINE

3 OPERATORS MANUAL VITRO LINE
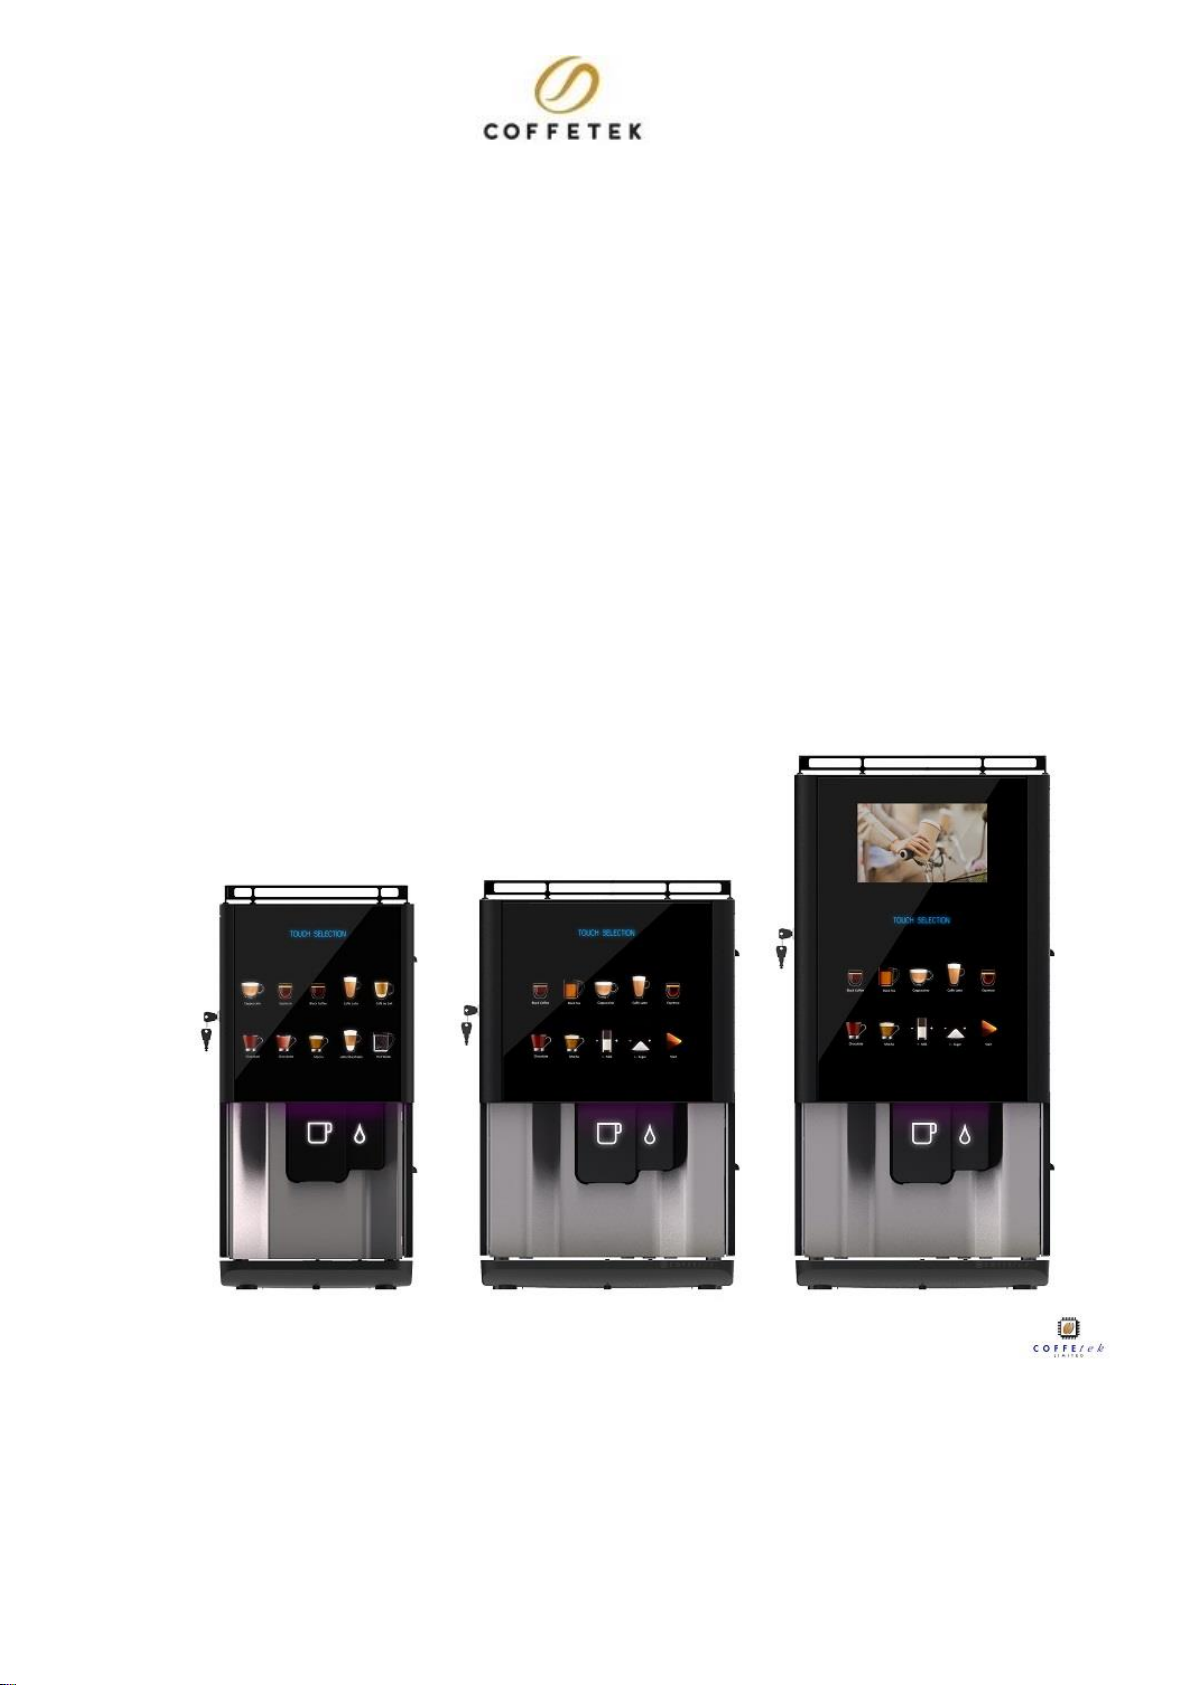
VITRO S2 / S3 / S4 / X3 & X4 MACHINES
OPERATORS MANUAL
CONTENTS PAGE
FOREWORD.................................................................................................................................................................. 4
SERVICES REQUIRED............................................................................................................................................... 6
WATER SUPPLY............................................................................................................................................................ 7
OPERATING ................................................................................................................................................................. 7
INTERNAL KEYPAD LAYOUT ........................................................................................................................................ 8
KEYPAD FUNCTIONS .................................................................................................................................................... 8
INITIATING AFLUSH CYCLE (BEAN TO CUP &DUO MACHINES)................................................................................. 8
CLEARING THE GROUT BUCKET FULL COUNTER (BEAN TO CUP &DUO MACHINES) ................................................. 8
OPERATORS PROGRAM................................................................................................................................................. 9
ACCESSING THE OPERATORS MODE ............................................................................................................................. 9
DISPLAY COUNTER....................................................................................................................................................... 9
TOTAL VENDS .............................................................................................................................................................. 9
RESET COUNTERS......................................................................................................................................................... 9
DISABLE VENDS..........................................................................................................................................................10
VIEW INGREDIENT COUNTERS.....................................................................................................................................10
MACHINE SERIAL NUMBER .........................................................................................................................................10
OUTPUT AUDIT DATA..................................................................................................................................................10
SAFETY WARNINGS .................................................................................................................................................11
INSTALLATION..........................................................................................................................................................12
LOCATION ...................................................................................................................................................................12
LEVELING....................................................................................................................................................................12
SECURING....................................................................................................................................................................12
CONNECTING THE WATER SERVICES ..........................................................................................................................13
CONNECTING THE ELECTRICAL SERVICES...................................................................................................................13
DESCALING THE ATMOSPHERIC BOILER.......................................................................................................................15
COMMISSIONING..........................................................................................................................................................15
DAILY HYGIENE........................................................................................................................................................17
CLEANING INSTANT UNITS..........................................................................................................................................17
CLEANING THE COFFEE BREWER................................................................................................................................17
RESET COUNTERS........................................................................................................................................................19
WEEKLY HYGIENE...........................................................................ERROR! BOOKMARK NOT DEFINED.
CLEANING TEA BREWER .............................................................................................................................................20
CLEANING INSTANT UNITS..........................................................................................................................................21
FILLING PRODUCTS.................................................................................................................................................23
FILLING BEAN HOPPER................................................................................................................................................23
FILLING PROCEDURE (ESPRESSO)................................................................................................................................23
FILLING PROCEDURE (INSTANT &TEA).......................................................................................................................23
FAULT FINDING GUIDE...........................................................................................................................................24

4 OPERATORS MANUAL VITRO LINE
FOREWORD
1. The information contained in this technical manual is
applicable to the Vitro Beverage Machines. Due to
customer requirements some units may vary from the
one described in the manual.
2. Personnel who have undergone relevant equipment
training must only undertake setup and maintenance.
3. The manufacturer reserves the right to make changes,
without notice, to the design of the beverage machine,
which may affect the information in this manual.
4. The Vitro Beverage Machines are designed for indoor
use, in an environment with an ambient temperature
range of between 1ºC and 40ºC.
5. This appliance can be used by children aged from 8
years and above, and persons with reduced physical,
sensory or mental capabilities or lack of experience
and knowledge if they have been given supervision or
instruction concerning use of the appliance in a safe
way and understand the hazards involved. Children
shall not play with the appliance. Cleaning and user
maintenance shall not be made by children without
supervision.
6. The beverage machine is a heavy item, care must be
taken when lifting it.
7. The unit must be mounted within 10º of the vertical for
safe operation. Ensure that the mount is secure and
that it can support the weight of the machine

5 OPERATORS MANUAL VITRO LINE
8. Ensure that the mains electrical supply is isolated
before connecting the supply cable to the machine
9. This appliance must be earthed
10. The machine mains cable must be connected to the
supply via a safety isolator switch which provides a
contact separation of at least 3mm
11. The A-weighted sound pressure level is below 70dB
12. UK ONLY: Refer to current requirements of The Model
Water Bylaws 1986 - Statutory Instrument (SI) No.1147
13. A Water Blocker to be fitted to the Main water supply
14. 15mm dia. water mains supply, terminating at a
convenient stop tap located within 1m of the beverage
machine is required
15. Water Pressure: Min: 100 KPa
Max: 800 KPa
16. Use the mains water hose supplied with the
equipment. Do not recycle a hose from a previously
installed product, this could lead to a health hazard
17. Replacement of the Type Y mains cable requires
special tools. Should the cable become damaged, a
trained person from an approved service agent must
only carry out replacement.
18. The unit should not be situated in an area where a
water jet could be used
19. Water should be connected before turning machine
on. Do not power up before connecting water

6 OPERATORS MANUAL VITRO LINE
Services Required
Electrical Supply
VITRO –S4
Three Heater Operation
1) Supply voltage : 380V/415V, 50Hz, 3-phase, fused supply
2) Current rating : 15A each phase
Two Heater Operation
1) Supply voltage : 230V~, 50Hz, single phase, fused supply
2) Current rating : 30A
Single Heater Operation
1) Supply voltage : 230V~, 50Hz, single phase, fused supply
2) Current rating : 10A/16A (13A UK)
The fused electrical supply should terminate at an appropriate isolator located within 1m of the
beverage machine.
VITRO –S2 Instant
Single Heater Operation
1) Supply voltage : 230V~, 50-60Hz, single phase fused supply
2) Current rating : 16A (13A UK)
3) Connection to the domestic mains supply is via a factory fitted mains lead incorporating a
moulded domestic plug suitable for connection to a switched socket. The socket should be
located within 1m of the beverage machine.
6kW Model for fused 30 Amp supply.
1) as above
2) Current Rating 23A
3) The fused electrical supply must be terminated at a safety isolator switch, which provides
a contact separation of at least 3mm. The isolator should be located within 1m of the
beverage machine. Note the mains lead appropriate to the 6kW heater load is not suitable
for use with a rewireable domestic plug and no attempt should be made to fit one.
Vitro S3/X3 DUO / BEAN TO CUP / ESPRESSO
1) Supply voltage: 230V~, 50Hz, single phase fused supply
2) Current rating: 16A (13A UK)
The fused electrical supply must be terminated at a safety isolator switch, which provides a contact
separation of at least 3mm. The isolator should be located within 1m of the beverage machine.

7 OPERATORS MANUAL VITRO LINE
Water Supply
15mm dia. water mains supply, terminating at a convenient stop tap located within 1m of the beverage
machine.
Water Pressure
Minimum: 100 KPa
Maximum: 800 KPa
A 15mm double back check valve, with inspection port, should be fitted prior to the flexible hose.
A Water Blocker must be fitted to the Main water supply
Do not power up before connecting water
Operating
The dispense area on the right marked with the water droplet symbol is used for Hot Water vends.
All other drinks use the central dispense area marked with a cup symbol.

8 OPERATORS MANUAL VITRO LINE
PROGRAMMING
Internal Keypad Layout
Keypad Functions
The Operator’s Program is available to the operator and Service Engineer. The Program
provides options for counting the number of drinks dispensed for each beverage, monitoring the
weight of ingredients used, showing the total vends dispensed and resetting the drink dispensed
counters if applicable. Additionally, the operator can set the machine to Out of Service if required.
Initiating A Flush Cycle (Bean To Cup & Duo Machines)
A self-clean cycle is initiated by pressing the FLUSH key. Note: A suitable receptacle should be
placed under the dispense nozzles to avoid filling the drip tray, before initiating the flush cycle.
The precise amount of liquid will vary according to machine configuration however a 0.5 litre
container is usually sufficient. A flush cycle will only start if the tank is correctly up to temperature.
Clearing The Grout Bucket Full Counter (Bean To Cup & Duo Machines)
The grout bucket full condition can be cleared by pressing and holding the ENTER key pressed
for 3 seconds. To use this method the machine must be in its normal operating mode. I.e. not in
the Operator’s Program, see below. Alternatively the grout bucket full condition may be cleared
via a menu within the Operator’s program. The machine will beep twice and briefly display the
message COUNTER RESET to confirm the action has occurred.
Note: The grout bucket full condition occurs when a predefined number of brewer
dispense cycles have taken place since the condition was last cleared. The state of the
bucket is not sensed directly. If the bucket full condition is cleared without emptying the
bucket it may subsequently overflow necessitating a complete strip and clean of the
carriage assembly. It is strongly recommended that the practice of emptying the bucket
before clearing the condition be adopted as standard operating procedure.
FLUSH PROG
ESC ENTER

9 OPERATORS MANUAL VITRO LINE
Operators Program
The Operator’s Program provides access to the machines audit facilities, allows the operator to
set the machine in or out of service and access an alternative method of clearing the grout bucket
full condition.
Keypad functions when used in the Operator’s programming mode, are as follows:-
1) Key (ENTER) used to access a function.
2) Key (ESC) used to escape from the operators mode.
3) Key (PROG) used to access the operators program, then used to change menu functions.
4) ARROWS UP (), DOWN (), LEFT (), RIGHT () are used for adjustments when in
program mode.
5) STAR (*) key is used for selecting option when in output test mode.
Accessing the Operators Mode
Accessing the Operator’s Program is by pressing the PROG key on the internal keyboard. The
display will show:
PRESS DRINK TO DISPLAY COUNTER
Display Counter
The DISPLAY COUNTER option is accessed on entering the Operator’s Program. The resettable
vend counts may be viewed by pressing each drink key (as shown on the capacitive touch
screen) in turn.
To access other options, press PROG on the internal keypad. The other options are as follows:
TOTAL VENDS
RESET COUNTERS
DISABLE VENDS
VIEW INGREDIENT COUNTERS
MACHINE SERIAL NUMBER
OUTPUT AUDIT DATA
Fill MDB TUBES
Total Vends
Access the TOTAL VENDS COUNT option using PROG key, the display will show total vend
count.
Reset Counters
Access RESET COUNTERS by using PROG key, to clear drink counters press ENTER. The
display will show:
ARE YOU SURE
ENTER (Y) ESC (N)

10 OPERATORS MANUAL VITRO LINE
Disable Vends
Access the DISABLE VENDS option by pressing the PROG key and then press ENTER when
DISABLE VENDS is displayed. This will then disable all of the vends selections until they are re
enabled.
View Ingredient Counters
Access the VIEW INGREDIENT COUNTERS option by using PROG key. Press ENTER to
display the first counter, and then press the UP arrow to scroll through the others.
Machine Serial Number
Access the MACHINE SERIAL NUMBER by pressing the PROG key until the machines serial
number is displayed on the LCD display.
Output Audit data
It allows communication with a USB key. Insert the key and select this function.

11 OPERATORS MANUAL VITRO LINE
SAFETY WARNINGS
1.
Maintenance of the beverage machine is only to be undertaken by trained personnel who
are fully aware of the dangers involved and who have taken adequate precautions.
2.
Lethal voltages are exposed when the mains electrical supply to the beverage machine is
available and any of the following items are removed:
•Lid and cover assembly
•Motor shelf
•Side panels
Maintenance personnel must ensure that the machine is isolated from the mains electrical
supply before removing any of these items.
3.
Replacement of the Type Y mains cable requires special tools. Should the cable
become damaged, a trained person from an approved service agent must only carry out
replacement.
4.
THIS APPLIANCE MUST BE EARTHED.
5.
Ensure that the connection to the water system is compliant with the pertinent
national and local legislation. In the UK the Model Water Bylaws 1986 Statutory
Instrument (SI) No.1147 are applicable.
6.
Ensure that the unit is positioned such that the plug connecting the unit to the mains
supply is accessible.
7.
The beverage machine is designed for indoor use, in an environment with an ambient
temperature range of between 1C and 40C. The machine should be located close to the
appropriate electrical and water services with a minimum of 100mm (4in) clearance
between the rear of the cabinet and the wall to allow adequate ventilation, and, if in a
corner location, not closer to the right hand wall than 400mm (16in) to accommodate
opening of the door.
The unit should not be situated in an area where a water jet could be used.
8.
The beverage machine is a heavy item. Care must be taken when lifting it.
9.
The water in the boiler, and the boiler itself, are hot enough to scald or burn, even
some time after the machine has been switched off. The boiler must be drained, filled with
cold water and drained again before any attempt is made to handle it or any of its
associated parts.
10.
Young children, the aged and the infirm should not be allowed to operate the beverage
machine unsupervised, in order to protect them from the risk of being scalded by hot
beverages.
FROST WARNING
1.
Care must be taken to protect the beverage machine from frost. Do not attempt to operate
the machine if it becomes frozen. Contact the nearest service agent immediately. Do not
restore the machine to operational use until it has been checked and approved for use by
the service agent.

12 OPERATORS MANUAL VITRO LINE
INSTALLATION
Location
The beverage machine is designed for indoor use, in an environment with an ambient
temperature range of between 1C and 40C. The machine should be located close to the
appropriate electrical and water services with a minimum of 100mm (4in) clearance between the
rear of the cabinet and the wall to allow adequate ventilation, and, if in a corner location, not
closer to the right hand wall than 400mm (16in) to accommodate opening of the door.
The unit should not be situated in an area where a water jet could be used.
Leveling
The machine should be levelled both fore and aft and side-to-side by adjustment of the four
leveling feet, using a spirit level on the cabinet floor to check for level.
The unit must be mounted within 10º of the vertical for safe operation.
Securing
The Vitro Beverage Machines is a free-standing unit which can be mounted on a secure table,
bench, cabinet or food and drink counter.
WARNINGS (1) THE BEVERAGE MACHINE IS A HEAVY ITEM. CARE MUST BE
TAKEN WHEN LIFTING IT.
(2) THE BEVERAGE MACHINE MAY TOPPLE IF THE MOUNT IS
WEAK OR INSECURE. ENSURE THAT THE MOUNT IS SECURE
AND THAT IT CAN SUPPORT THEWEIGHT OF THE MACHINE.
(3) ENSURE THAT THE MAINS ELECTRICAL SUPPLY IS ISOLATED
BEFORE CONNECTING THE SUPPLY CABLE TO THE MACHINE.

13 OPERATORS MANUAL VITRO LINE
Connecting The Water Services
Only to the UK: Refer to the current requirements of The Model Water Bylaws
1986
Statutory Instrument (SI) No.1147.
The water supply should be taken from a 15mm rising main at a pressure of between 100 kPa to
800 kPa and should be fitted with a stopcock to isolate the supply during servicing. A 15mm
double back check valve, with inspection port, should be fitted to the flexible hose.
A Water Blocker must be fitted to the main water supply
The outlet should be fitted with appropriate connections, standard in every country, and must be
positioned within 1.5m of the machine to ensure correct fitting of the hose. If possible, the outlet
should be located behind the machine to prevent misuse.
Before connecting the machine hose to the mains outlet, flush the system, via the stopcock, to
remove any impurities that may have accumulated in the mains supply pipe.
Connect the machine hose to the mains outlet using the seals supplied and ensure that all fittings
are tight. Turn on the water supply at the stopcock and check for leaks, both behind and inside
the machine.
Connecting the Electrical Services
WARNINGS THE MACHINE MAINS CABLE MUST BE CONNECTED TO THE SUPPLY
VIA A SAFETY ISOLATOR SWITCH WHICH PROVIDES A CONTACT
SEPARATION OF AT LEAST 3mm.
REPLACEMENT OF THE Y TYPE MAINS CABLE REQUIRES SPECIAL
TOOLS. SHOULD THE CABLE BECOME DAMAGED, REPLACEMENT
MUST ONLY BE CARRIED OUT BY A TRAINED PERSON FROM AN
APPROVED SERVICE AGENT.
ENSURE THAT THE SUPPLY TO THE ISOLATOR SWITCH IS ISOLATED
BEFORE MAKING ANY CONNECTIONS TO IT.
ENSURE THAT THE SUPPLY TO THE BEVERAGE MACHINE IS
ISOLATED BEFORE MAKING ANY CONNECTIONS TO THE TERMINAL
BLOCK AT THE REAR OF THE MACHINE.
IF THE EQUIPMENT WAS SUPPLIED WITH A MAINS WATER HOSE, THIS
HOSE SHOULD BE USED. DO NOT USE A HOSE FROM A PREVIOUSLY
INSTALLED PRODUCT EVEN IF IT WOULD FIT. TO DO SO COULD LEAD
TO A HEALTH HAZZARD.

14 OPERATORS MANUAL VITRO LINE
THE BEVERAGE MACHINE MUST BE EARTHED.
VITRO –S2/S3/X3/X4 / Bean to Cup / DUO / Espresso
The beverage machine is fitted with a domestic 3 pin plug for connection to a standard 13A
supply, alternatively, the beverage machine may be connected via a safety isolator switch
with a contact separation of at least 3mm, to a 230V~, 50Hz, 13A supply. Note that
replacement of the Y Type mains cable requires special tools. Should the cable become
damaged, replacement must only be carried out by a trained person from an approved
service agent.
To reconfigure the machine to operate from a 110V supply, move the voltage selector link
on the PSU to the 110V position and replace the 240V 3kW element (part no. 12345) with
a 110V 1.6kW element (part no. 56223).
VITRO –S4 Instant
The mains cable fitted to the machine should be 3-core, 4-core or 5-core, depending on the
electrical supply available and the number of heaters to be connected in circuit. The cable is
terminated at a terminal block at the base of the machine. Connection to the electrical supply
must not be carried out using a cable with more cores than required, e.g. do not use a 5-core
cable in place of a 4-core cable, etc.
Do not attempt to connect all three heaters to a 230V~ single phase supply. Similarly, do not
attempt to connect more than one heater to a 230V~, 10A or 16A single phase supply. The
mains cable must be connected to the supply via a safety isolator switch, preferably located
behind the machine. Ensure that the supply to the isolator switch is isolated before making
the connections. Ensure that the supply to the beverage machine is isolated before making
any connections to the terminal block. The machine must be earthed.
Connect the beverage machine, via a safety isolator switch with a contact separation of at
least 3mm, to a 230V~, 50Hz, 13A supply. Note that replacement of the Y Type mains cable
requires special tools. Should the cable become damaged, replacement must only be carried
out by a trained person from an approved service agent.
Changing the electrical configuration of a Vitro S4 Instant including its mains supply chord
requires special tools and training. It should only be undertaken by suitably qualified persons.
Preferably, the isolator switch should be located behind the machine to prevent accidental
damage or misuse

15 OPERATORS MANUAL VITRO LINE
Descaling The atmospheric boiler
WARNING
ENSURE THAT THE TANK IS FLUSHEDWITH COLD WATER
BEFORE ATTEMPTING TO HANDLE IT.
If the tank requires descaling, proceed as follows:
1) Isolate the machine from the electrical supply.
2) Flush the tank with cold water.
3) Remove the tank, taking note of the connections, which have been removed.
4) Remove the solenoid operated valves and the thermostat probe from the tank.
5) Check the heater element for signs of deterioration. Replace if necessary.
6) Descale the tank in the approved manner.
7) After descaling, flush the tank thoroughly with cold water, refit the solenoid operated
valves and thermostat probe, and install and reconnect the tank to the machine.
8) Restore the electrical supply to the machine and carry out a test of the quality of each
beverage before returning the machine to operational use.
Commissioning
WARNINGS (1) TO AVOID EXPOSURE TO HAZARDOUS VOLTAGES, DO NOT
LEAN INTO THE MACHINE OR TOUCH ANY EXPOSED LIVE
POINTS WHEN THE MAINS SUPPLY IS AVAILABLE TO THE
MACHINE AND ANY OF THE FOLLOWING ITEMS ARE
REMOVED: INGREDIENT CANISTER ENCLOSURE, LID AND
COVER ASSEMBLY, MOTOR SHELF, SIDE PANELS.
(2) THE WATER IN THE BOILER IS HOT. AVOID CONTACT WITH
WATER LEAKING FROM THE BOILER OR FROM ANY OF ITS
ASSOCIATED VALVES, TUBES AND PIPES.

16 OPERATORS MANUAL VITRO LINE
It is essential that the Service Engineer responsible for installing and commissioning the machine
ensures that:
(1) all electrical and water supplies are correctly and safely connected;
(2) all covers, panels or access doors are in place and secured, and the machine is left in a
SAFE condition;
(3) the Operator is familiar with the SAFETY PRECAUTIONS for the machine;
(4) the importance of hygiene and regular cleaning is fully appreciated by the Operator.
With the water and electrical supplies connected to the machine, proceed as follows:
(1) Set the On/Off switch on the machine to OFF.
(2) Isolate the electrical supply from the machine.
(3) Open the cabinet door and locate the waste tray.
(4) Ensure that the overflow pipes are not trapped.
(5) Restore the electrical supply to the machine.
(6) Set the On/Off switch on the machine to ON.
(7) Check that the boiler fills with water and that the water supply cuts off when the correct
level is reached, i.e. no water overflows into the waste tray. (The machine may have to
be switched OFF and ON several times in order to fill the tank).
(8) Check that the heater heats the water to the correct temperature.
(9) Select the Engineer's Program and run through the Output Test to check that all
components are functioning correctly.
(10) Fill the ingredient canisters.
(11) Check the complete range of machine operations.
(12) If required, select the Engineer's Program and change the pre-set values to suit
customer requirements.
(13) Set the On/Off switch on the machine to OFF.
(14) Isolate the electrical supply from the machine.
(15) Check all hose connections for leaks.
(16) Clean the interior and exterior of the cabinet.
(17) Restore the electrical supply to the machine.
(18) Set the On/Off switch on the machine to ON.
(19) Operate the machine through the complete range of dispense operations and check that
each one is correct.

17 OPERATORS MANUAL VITRO LINE
DAILY HYGIENE
Cleaning Instant Units
Set the On/Off switch on the machine to ON.
Remove the instant ingredient canisters. Wipe clean the exterior surfaces of the canister
assembly. Wipe dry.
Remove the coffee grouts bucket. Empty the contents of the bucket and wash and dry it.
Remove the waste tray and grille. Empty the contents of the tray and wash and dry the
tray and grille.
Put a container of at least 300ml capacity under the dispensing nozzles.
Press the FLUSH button once on the internal keypad. The screen will ask if you wish to
flush the espresso system. Press UP several times until it shows FLUSH INSTANT. Press
ENTER
The machine will run warm clean water through the instant bowl whilst running the whipper
motor. This process will clean any residual product that has been left in any of the
systems.
Once again remove the coffee grouts bucket. Empty the contents of the bucket and wash
and dry it then refit into the machine.
Note: Some of these operations should only be performed in machines that incorporate tea
or coffee brewers or espresso group brewers. If your machine doesn't incorporate this
elements, perform the next step.
Cleaning The Coffee Brewer
Set the On/Off switch on the machine to OFF and isolate the mains electrical supply from
the machine. Unlock and open the cabinet door.
Remove the ingredient canisters. Wipe clean the exterior surfaces of the canister
assembly. Wipe dry.
Remove the waste tray and grille. Empty the contents of the tray and wash and dry the
tray and grille.
Remove the coffee grouts bucket. Empty the contents of the bucket and wash and dry it.
Disconnect the tube connecting the coffee brewer to
the mixing bowl by pulling the black right-angled fitting
(A) away from the brewer itself. Remove the coffee
brewer safety cover and lift the lower carriage locking
lever (B) to the vertical, (unlocked position). Remove
the carriage assembly by pulling it gently towards the
front of the machine.
Disconnect the ball and socket coupling visible inside the coffee brewer extract chamber.
This is accomplished by pulling the lower vertical rod towards the front of the machine.
A
N
a
B
N
a
t

18 OPERATORS MANUAL VITRO LINE
Move the upper locking lever (C) to the vertical, (unlocked position) and remove the brew
chamber assembly (D) by pulling it gently towards the front of the machine.
Wash and dry the carriage and brew chamber assembly.
Inspect the filter belt and if necessary remove and clean or replace it. Anticipated belt life
is between 1000 and 3000 operations depending on the coffee grind, water hardness and
frequency of washing. Belts may be washed in clean warm water or a de tanning agent to
prolong their life. However replacement will become necessary to avoid the brewer
becoming blocked. Belt removal can only be done with the carriage removed. The
procedure is to compress the tension roller between left hand forefingers and thumb (A).
Then push in and rotate the red lever approximately an 1/8th turn clockwise (B). Having
rotated the lever allow it to return in direction (C) to lock the tension rollers in the
compressed position. The belt should be free to rotate and can be removed by sliding it
back and forth whilst pulling it in direction (D).
To replace the belt follow the first part of the above procedure to compress the tension
roller. Then refit the new / cleaned belt. Release the tension roller by pressing the red
lever in (B). It is not necessary to rotate the lever. It is spring tensioned.
C
D

19 OPERATORS MANUAL VITRO LINE
Disconnect the pipes from the mixing bowls and dispense head. Remove the mixing
bowls, tubes and dispense nozzles, and also the whipper paddle and whipper base.
Wash and dry these items.
Wash and dry the dispense area
Wipe clean all accessible inner and outer surfaces of the machine. Wipe dry.
Refit the whipper bases, paddles, mixing bowls, tubes and dispense nozzles and brewer
parts. The assembly procedure for the brewer is the reverse of the disassembly
procedure. Ensure that both brewer-locking levers are in the locked, (horizontal position)
before proceeding to the next section.
Replace the grouts collection bucket and refit the front cover, ingredient canister
Turn on the power. Note the brewer will cycle to reach its home position.
Carry Out a FLUSH operation, see below. Check that there are no leaks and that the
brewer indexes properly. A container with a capacity of at least ½ liter should be placed
beneath the dispense point to catch the liquid dispensed during the flush operation.
Reset Counters
Press star key (centre of internal keypad) to bring up menu. Screen will change to
“GROUP TRANSIENTS”
Use up or down arrow to scroll between “GROUP TRANSIENTS”, “GROUT BIN”, and
“ESPRESSO CLEAN”
Press enter to reset
Reset both “GROUT BIN” and “”ESPRESSO CLEAN” (Applies only to Espresso
machines)

20 OPERATORS MANUAL VITRO LINE
CLEANING TEA BREWER –TO BE DONE WEEKLY
Remove the coffee grout bucket.
Disconnect the tube connecting the tea brewer to the
dispensing nozzle by pulling the black right-angled
fitting (A) away from the brewer itself. Lift the lower
carriage locking lever (B) to the vertical, (unlocked
position). Remove the whole carriage assembly by
pulling it gently towards the front of the machine.
Once the carriage is removed slide the tea chamber
towards the front of the machine to remove.
Wash and dry the carriage and tea chamber. Check the
filter belt for signs of wear or damage and if necessary
replace.
FLUSHING THE “ESPRESSO” BREWER – TO BE DONE EVERY 3 MONTHS
Ensure both the water waste and grout buckets are in place as they are both used during
this process. The total process will take approximately 5 minutes to complete.
Press the “FLUSH” key on the internal keypad.
The machine’s internal display will show: “Flush Sys Esp, Enter Yes, Esc No”
The brewer will move to various positions and will dispense water in to the grout bucket.
Once this initial flush has completed the machines beep will change and the internal
display will show: “Insert Tablet, Press Enter”
Insert the tablet into the brewer and press Enter
The cleaning of the “Espresso” brewer will now
continue, at the end of the cycle the machine will do
three espresso drinks to ensure all of the residue from
the tablet has be purged from the system.
For best results remove the brewing piston and clean
the upper filter with a soft brush to eliminate any
particles which remain
A
B
This manual suits for next models
5
Table of contents
Other COFFEtek Kitchen Appliance manuals