www.colorguardrailing.com
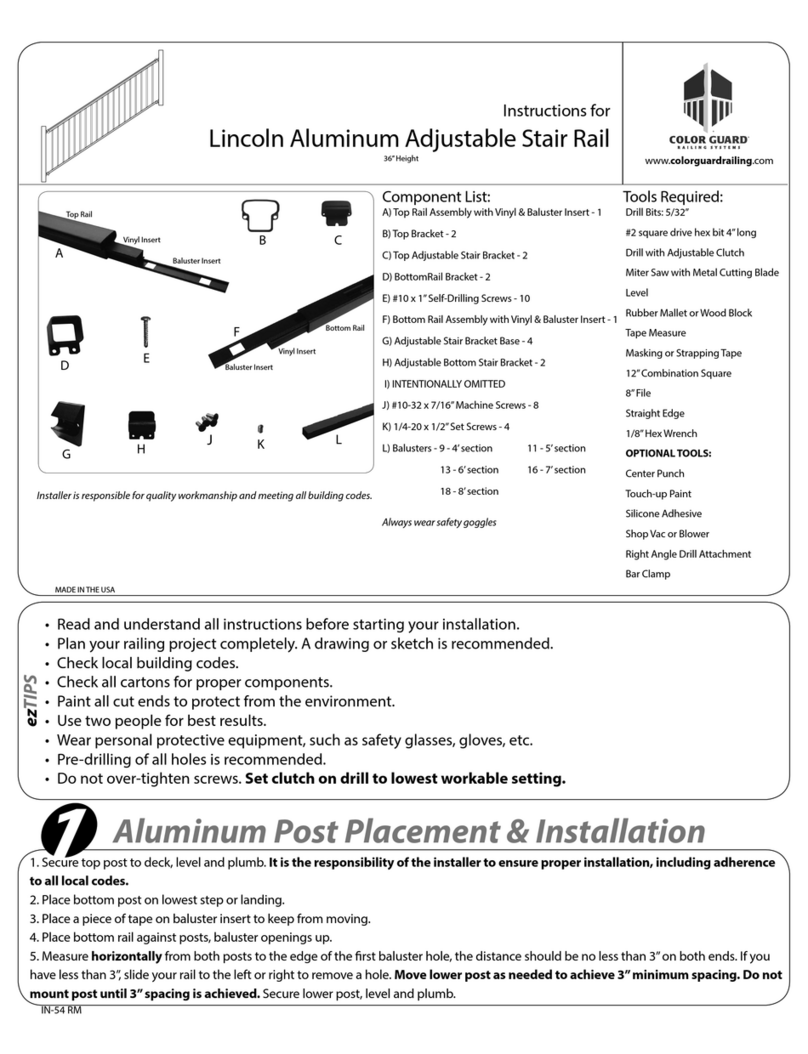
A) Top Rail Assembly with Vinyl & Baluster Insert - 1
B) Top Bracket for Upper Post - 1
C) Top Bracket for Lower Post - 1
D) Bottom Bracket for Upper Post - 1
E) Bottom Bracket for Lower Post - 1
F) Bottom Rail Assembly with Vinyl & Baluster Insert - 1
G) #10 x 1”Self-Drilling Screws - I0
H) Balusters - 9 - 4’section 11 - 5’section
13 - 6’section 16 - 7’section
18 - 8’section
Drill Bits: 5/32”
#2 square drive hex bit 2”& 4”long
Drill with Adjustable Clutch
Miter Saw with Metal Cutting Blade
Level
Rubber Mallet or Wood Block
Tape Measure
Masking or Duct Tape
12”Combination Square
8”File
Straight Edge
Center Punch - optional
Touch-up Paint - optional
Silicone Adhesive - optional
Shop Vac or Blower - optional
Always wear safety goggles
Installer is responsible for quality workmanship and meeting all building codes.
Instructions for
Lincoln Aluminum Fixed Stair Rail
36” Height
Component List: Tools Required:
MADE IN THE USA
• Read and understand all instructions before starting
your installation.
• Plan your railing project completely. A drawing or
sketch is recommended.
• Check local building codes.
• Check all cartons for proper components.
• Paint all cut ends to protect from the environment.
• Use two people for best results.
• Wear personal protective equipment, such as safety
glasses, gloves, etc.
• Pre-drilling of all holes is recommended.
• Do not over-tighten screws. Set clutch on drill to
lowest workable setting.
IN-45 RM 02/08/2017
F
C
A
Top Rail
Vinyl Insert
Baluster Insert
H
D
G
Vinyl Insert
Bottom Rail
Baluster Insert
B
E
Top Upper Post
Bottom Upper Post
Top Lower Post
Bottom Lower Post
1. Secure top post to deck, level and plumb. It is the responsibility of the installer to ensure proper installation, including adherence to all local codes.
2. Place bottom post on lowest step or landing.
3. Place a piece of tape on baluster insert to keep from moving.
4. Place bottom rail against posts, baluster openings up.
5. Measure horizontally from both posts to the edge of the rst baluster hole, the distance should be no less than 1½”on both ends. If you have less than 1½”, slide your rail to the left or right to
remove a hole. Move lower post as needed to achieve 1½” minimum spacing. Do not mount post until 1½” spacing is achieved. Secure lower post, level and plumb.
Aluminum Post Placement & Installation
1
ezTIPS
ezTIP: Place a 2”x 4”on the steps – this will be your guide for the bottom rail
length and angle of cut.
Place the bottom rail on the 2 x 4, baluster openings up.
Measure the gap on each end and adjust until this is equal in distance.
Draw a vertical line at each end that shows the cut required for each end
between posts.
2”x 4”guide
2
Cut Bottom Rail


