ColorMatic VitoMat I User manual

1
User Manual
For the manual
filling machine
VitoMat I

2
Instructions for the usage of VitoMat I
Chapter Page
1. General notes 3
2. Directions for use for VitoMat I 4
3. Filling of cans 4
4. Cleaning 6
5. Safety instructions 7
6. Maintenance 7
7. Elimination of possibly occuring failures 7
8. Accessories and spare parts 8
9. Liability 8
10. Address 8
11. Declaration of conformity 9

3
1. General notes
The hand operated unit of the VitoMat assortment for filling of aerosol cans is used for the
quick and easy filling of pre-filled ColorMatic cans with lacquer. The cans are already filled
with propellant and solvent.
1.1. VitoMat I consists of:
Outside:
•Chassis made from stainless, high quality steel with
safety door
•Control elements and monitoring display
•Stand panel
•Filling lever
Inside:
•Movable lifting device with pressing-on plate for the can
•Cylinder for the colour and holding device
•Movable piston and adapter for the filling
Dimensions: 32 x 25 x 75 cm
1.2. Advantages of VitoMat I:
•Every customer gets the desired colour he wants within a short time even for just one
can.
•The machine is easy to use.
•The piston is detachable and not fixed, therefore a longer defensibility.
•Easy to clean and maintain.
•Adjustable pedestals and handhold for transport
•The bottom part can be screwed to the place of employment
•Requires little space, relatively low weight
•High working security by solid construction and easy handling
•Short filling times
•Quick amortisation by low prime cost
1.3. Advantages of using a CleanJector
•Parts which have contact with laquers don’t have to be cleaned
•Thereby less contact of the skin with harmful solvent
•Shortened filling times
•Reduces solvent and allows a quicker colour change
•Filling piston and filling cylinder are from now on free from wear

4
2. Directions for use of VitoMat I
2.1. Instructions for use
With VitoMat I filling machines ColorMatic pre-filled cans with solvent and propellant will be
additional filled with lacquers of different manufacturers and different paint qualities. These
cans are constructed for a fill quantity of 400ml and 150ml (for the filling of 150ml cans a
special adapter is necessary) and a test gauge pressure of 15bar. 400ml cans are pre-filled
with approx. 300ml (depending on the product) of a solvent-propellant-mixture and therefore
they have a free filling space of 100ml more or less. By means of a press-in construction this
lacquer will be additional filled into the cans.
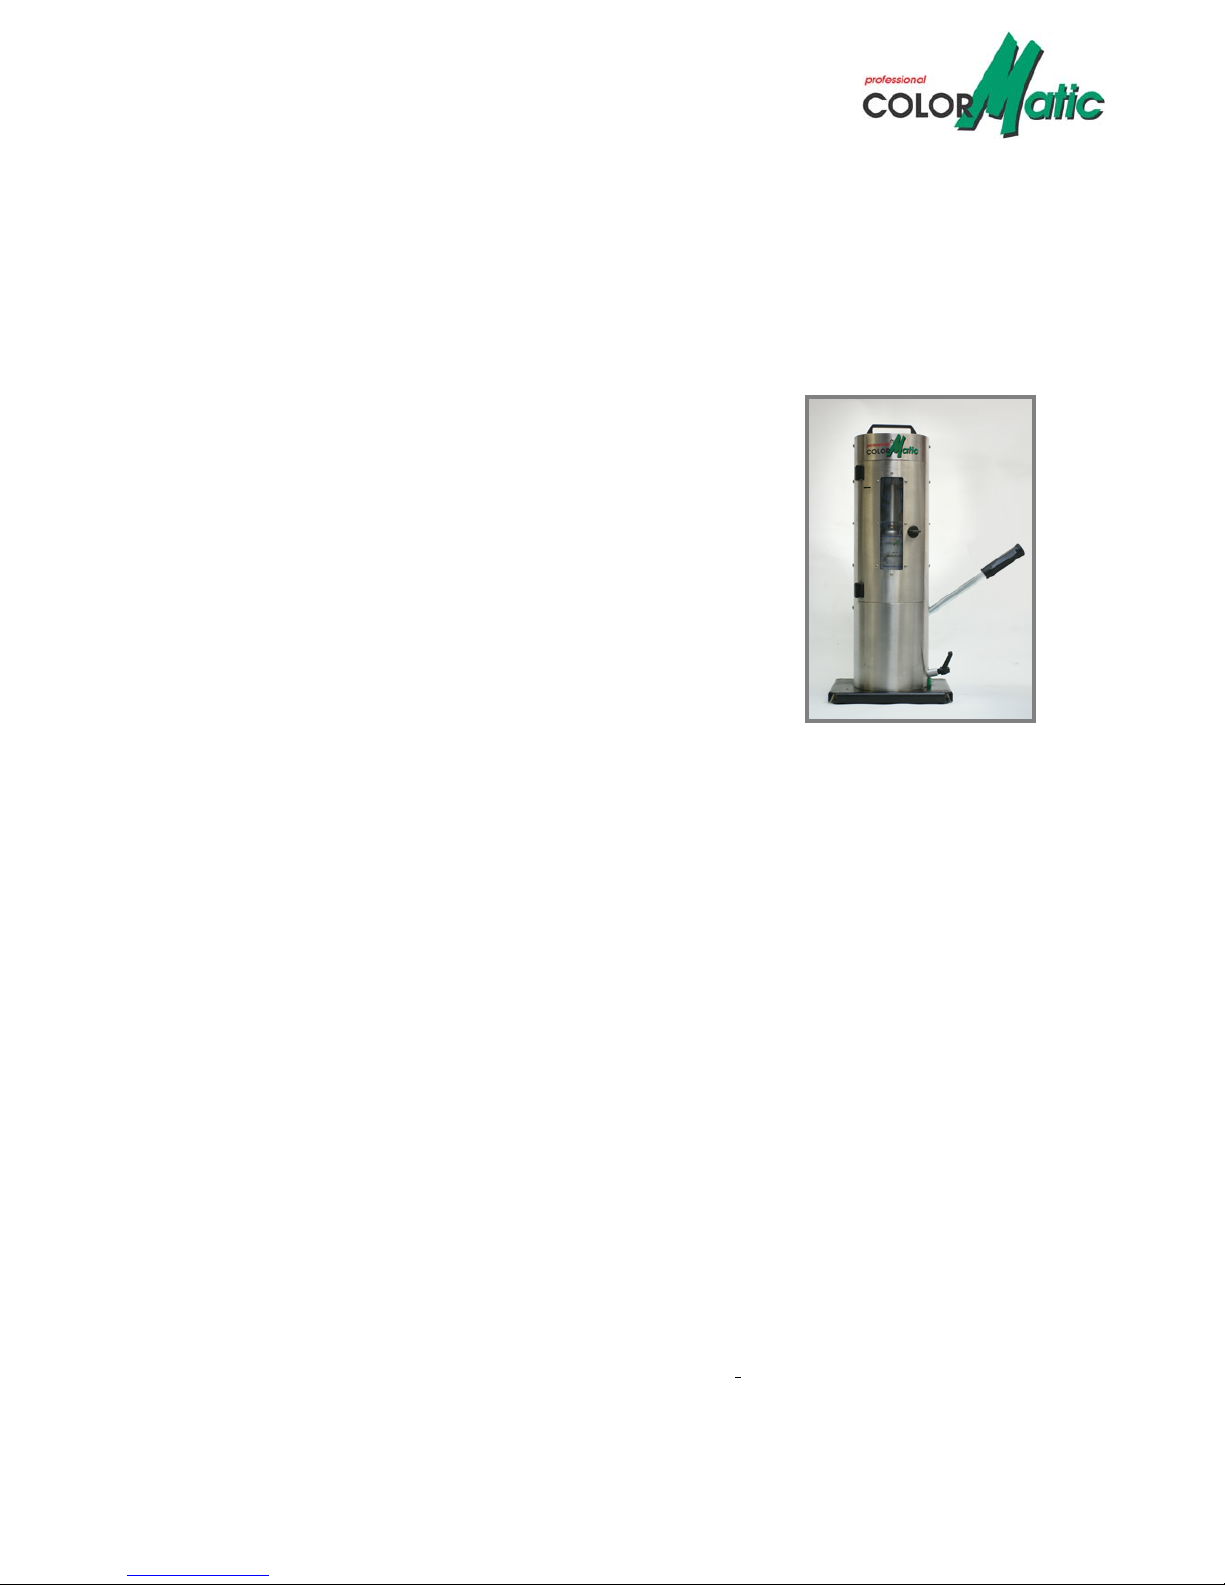
2.2. Mounting and starting up
The filling machine is pre-installed by the manufacturer except the
filling lever (which is only to stick into the therefore designed
appliance).
The lever is to
stick into the
aperture on the
right side.
2.3. Assembly
Put the filling machine on a safe and solid work place and, as the case may be, adjust with
the variable pedestals. In addition, the bottom part can be screwed to the place of
employment.
3. Filling of cans
3.1. Take the nozzle off from an empty Colormatic can and put a canister with the paint to be
filled into the demountable bowl aside the filling machine. If using a CleanJector take the
therefore designed cylinder and insert the CleanJector.
3.2. Put the can with the colour cylinder on a scale and fill the accordant quantity of the filling
colour into the cylinder, respectively into the CleanJector. (Possibly consult comparative
tables based on declarations of weight.)
3.3. Open the door of the machine and clip the can with the cylinder between the therefore
destined guide hole and pressing-on plate. The cylinder has to snap on the right position so
that a correct filling process is guaranteed.
Standard filling 400ml Filling 150ml Filling with CleanJector
Ensure that the
can is on the
stop position

5
3.4. Now close the door.
3.5. The filling process
Turn the small lever on the right side vertical up. Move the lever several times equally from
top to bottom till you can see a red marking on the left side. Now you can open the small
lever again, the can is already filled. How long this lasts depends on the viscosity of the
lacquer and the operation of the lever.
The lever is to
move equally from
the top to bottom –
so the best filling
result is reachable.
With this lever you can
block the moveable press-
on table. It is necessary
that it is turned vertical up,
otherwise a correct filling
process isn’t warranted.
3.6. The filling process is finished when on the left side in the keyway a red marking appears.
Now it’s possible to open the door and take out the can with the cylinder.
The red marking
shows that the filling
process is finished.
Release the locked press-on plate
with the lever on the side.

6
3.7. Put the cylinder from the can. If you used a CleanJector, then you can dispose it of.
Without CleanJector the valve has to be cleaned with a soft and absorbent tissue possibly
also with thinner. Then put the spray nozzle on the can and shake well for approx. 3 minutes.
Then the can should be labelled according to the filled colour.
Attention:
From the filling process varnish rests could remain in the riser tube; which could cause
splatters. These have to be removed by the end user or the dealer before spraying by
- either overhead spraying the valve empty
- or before the real spraying spray two to three times on a board
4. Cleaning
4.1. If you had used a CleanJector, the cleaning is not applicable. If not, then
immediately clean the cylinder and piston with thinner, so as to prevent that the
colour dries on the devices.
Attention:
•Dried varnish rests could result on an inaccurate position of the piston and cylinder
which could cause abrasion.
•A not perfect cleaning could lead to extreme colour shade modifications.
If using a CleanJectors the cleaning
of the cylinder and piston is not
applicable. Take out the CleanJector
and throw it away and the cylinder is
ready for use again.
4.2. Clean the moveable filling piston immediately with a
soft and absorbent tissue or wipe off with a thinner
moistened cloth, so that it is clean and ready for use
for the next filling (not applicable at using a
CleanJector).
4.3.

7
5. Safety instructions
In case of appropriate using there is no risk of injury coming from the filling machine. This will
be achieved by the following engineered safeguards.
•The filling process takes place within a closed housing.
•It is only allowed to use original ColorMatic replacement parts and components.
(cylinder, piston, adapter or CleanJector).
•We recommend to wear safety goggles and gloves if you handle with lacquers.
•Avoid eating, drinking and smoking during the whole filling process.
•Avoid open fire and spark formation.
6. Maintenance
•The machine doesn’t need a special maintenance.
•The machine doesn’t need lubrication.
•A thorough cleaning is of particular importance, otherwise dried fragments of paint
can cause damages (possibly a correct positioning of the cylinder is impeded and
therefore the correct filling isn’t possible).
7. Elimination of possibly occuring failures
•Leakage of the piston, fluid is dripping out the “leak tube”.
Check:
If the cock/cylinder/adapter possibly is damaged (this could happen at faulty or not
tidily cleaning).
Solution:
Replace appropriate parts.
•The filling process cannot activate
Check:
Is the press-on plate is arrested?
Solution:
Lock the small lever on the right side vertical up
•For all further irregularities while working please inform our service team of MOTIP
DUPLI GmbH (phone +49 (0) 6266 75 0)

8
8. Accessories and spare parts
Cylinder 723452
Piston 723476
Adapter 723483
Set: cylinder/piston/adapter for 400ml: 878763
Accessory for the filling of 150ml cans: 254970
Adapter for 150ml cans: 254987
Clean Jector rebuild-set (metal cylinder + metal piston) 226540
Clean Jector 72 pc.: 225031
225031
CleanJector 226540
CleanJector rebuild-set
9. Liability
The term of liability for the operability of the machine is one year. The guarantee is not
applicable at incorrect using and mechanical damage. Also if the customer doesn’t use
original spare parts or accessories.
The manufacturer doesn’t take responsibility in the following cases:
•If the filling machine is used for another purpose then the filling of pre filled
ColorMatic cans.
•The machine wasn’t installed according to the rules.
•If maintenance work wasn’t done correct
•If the machine was rebuilt
•Not using original spare parts
•On non-observance of the operating instructions
10. Address
MOTIP DUPLI GmbH
Kurt-Vogelsang-Str. 6
74855 Haßmersheim
Phone: ++49 (0) 6266 75-0
Fax: ++49 (0) 6266 75-340
P.O. Box 1140
74851 Haßmersheim
Table of contents
Other ColorMatic Dispenser manuals
Popular Dispenser manuals by other brands

Rubbermaid
Rubbermaid LumeCel AutoFoam Frequently asked questions

Zojirushi
Zojirushi CD-LCC30 Operating insructions

Georgia Pacific
Georgia Pacific enMotion 52065 reference guide

DRIFTON
DRIFTON 206-DF Operation manual

Franke
Franke EXOS Series Installation and operating instructions

Dacor
Dacor Discovery DYWS4 manual

Zojirushi
Zojirushi CD-JSC22 operating instructions

lancer
lancer TouchPoint installation guide

ASI
ASI EZFILL 0394 Series Installation and maintenance guide

Mac Faucets
Mac Faucets PYOS-V1 Series installation manual

Georgia Pacific
Georgia Pacific enMotion 52052 Specification sheet

MIND READER
MIND READER STRAWDISP Assembly guide