2
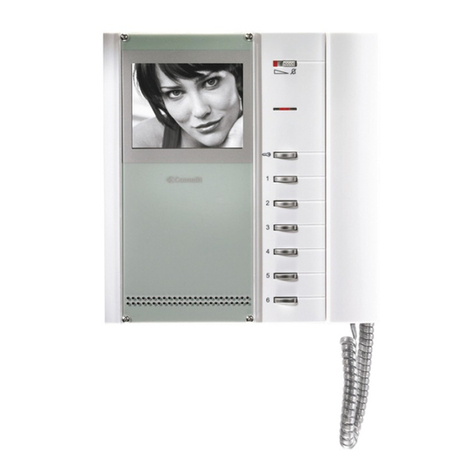
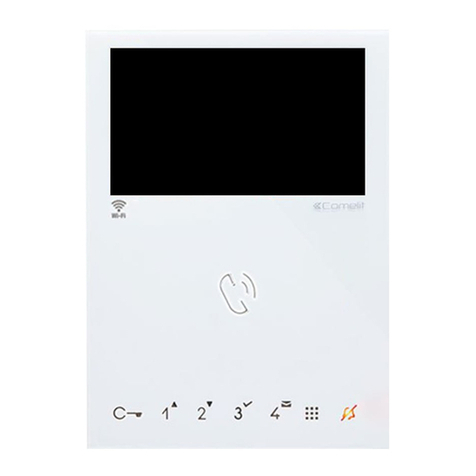
Monitor description......................................................................... 3
Soft-touch key description......................................................................4
Indicator LED description........................................................................4
Technical specifications ................................................................. 5
Installation........................................................................................ 7
Removing / Fitting the terminal ..............................................................8
Connections..................................................................................... 8
Monitor configuration ..................................................................... 9
Standard configuration for soft-touch keys ..........................................9
Activation/deactivation automatic answer mode .................................9
Configuration of Main and Secondary internal units - Dip 8 of S2 ....10
Power supply configuration and management - Dip 7 of S2 .............10
Advanced monitor configuration ..........................................................11
Warning.............................................................................................11
Programming for intercom call..........................................................11
Programming/deleting intercom address
(selective intercom only) ............................................................11
Programming buttons for intercom call .....................................12
Direct programming of intercom call .........................................13
Programming keys for generic or coded actuator ............................14
Programming buttons for other functions.........................................15
Programming range ..........................................................................16
Monitor ringtone selection ................................................................16
Programming reset ...........................................................................17
System performance and layouts ................................................ 17
Table of contents
Warning

